Wrap yourself in warmth and style with a cozy crochet cardigan featuring handy pockets which is for staying comfortable and chic on any occasion.
On a breezy evening, imagine wrapping yourself in something warm, stylish, and full of charm. A crochet cardigan with pocket isn’t just another piece of clothing, it’s a perfect blend of comfort and beauty. The soft texture and easy drape make it versatile for any setting, whether you’re lounging at home or layering up for a casual outing.
Crochet Cardigan with Pocket Pattern for Daily Comfort
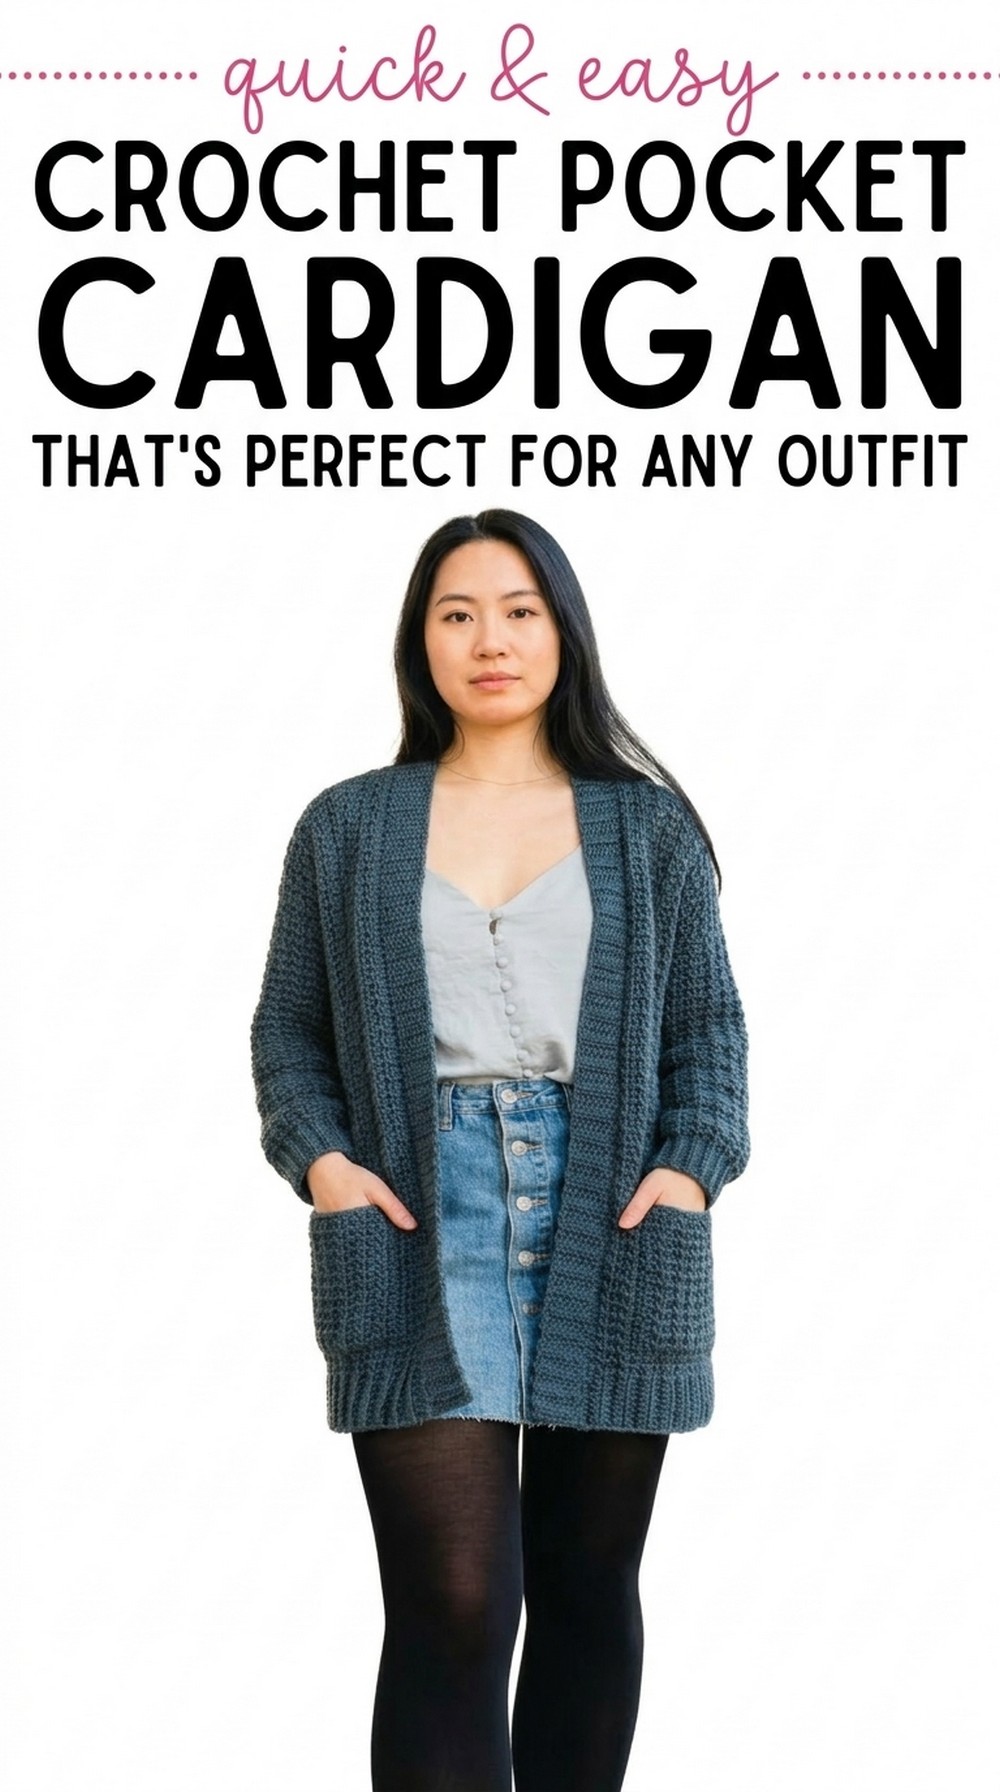
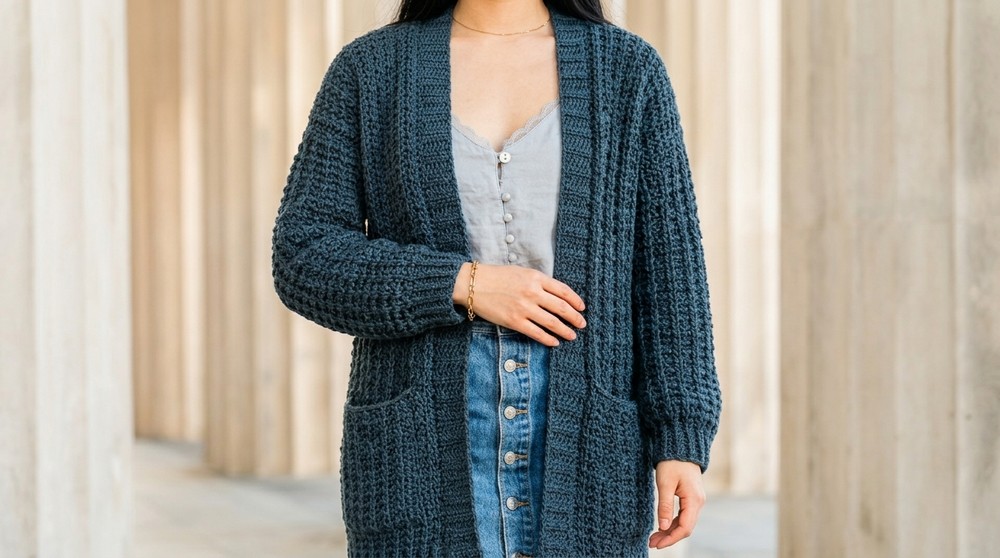
The pockets add a practical yet adorable touch, giving you space for small essentials or a cozy spot for your hands. This cardigan’s design brings an effortless elegance to your wardrobe, making it perfect for all occasions and seasons. Choose your favorite colors and watch it become your most-loved piece, one stitch at a time. It’s not just about wearing something, it’s about feeling confident, comfortable, and uniquely you.
Crochet Cardigan with Pocket Pattern
Skill Level
- Intermediate.
- Familiarity with Half Double Crochet (HDC), Back Loop stitches, Front Loop stitches, Slip Stitches, and basic assembly techniques is essential.
Finished Size
- This pattern creates a size Small. However, the free written pattern (from XS to 5XL) is available in the blog linked in the original transcription.
Materials Needed
- Yarn:
- Aran/Worsted weight yarn (Medium #4): Use the suggested quantities based on size.
- Yarn used in the tutorial: ~Lion Brand Heartland Yarn.
- Hook:
- 6.0 mm crochet hook.
- Other Supplies:
- Darning needle for weaving in tails and sewing seams.
- Scissors.
- Stitch markers or safety pins (optional, for holding pieces together during assembly).
Gauge
- 10 cm x 10 cm (4 in x 4 in):
- 13 half double crochet (hdc) stitches and 9 rows.
- Always make a gauge swatch before beginning the project. Adjust hook size as necessary to meet the required gauge.
Key Abbreviations (US Terminology)
- ch: Chain.
- hdc: Half Double Crochet.
- sl st: Slip Stitch.
- bl-hdc: Back Loop Half Double Crochet.
- fl-hdc: Front Loop Half Double Crochet.
- st(s): Stitch(es).
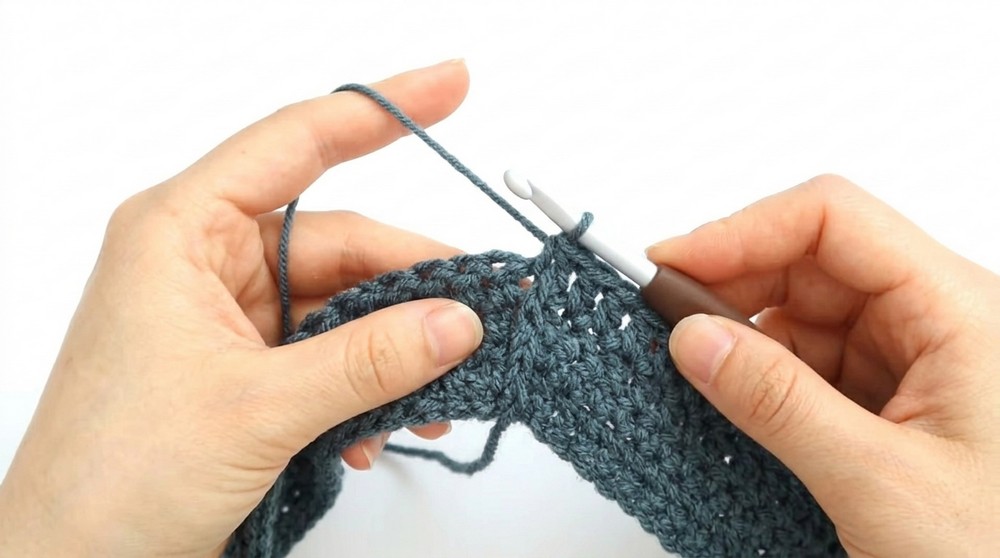
Special Techniques
- Back Loop Half Double Crochet (bl-hdc):
- Crochet into the back loop only of a stitch to create a ribbed texture.
- Front Loop Half Double Crochet (fl-hdc):
- Crochet into the front loop only of a stitch for structural texture.
- Working into Back Bumps of a Foundation Chain:
- Provides a neatly finished edge, ideal for cardigan body and structural consistency.
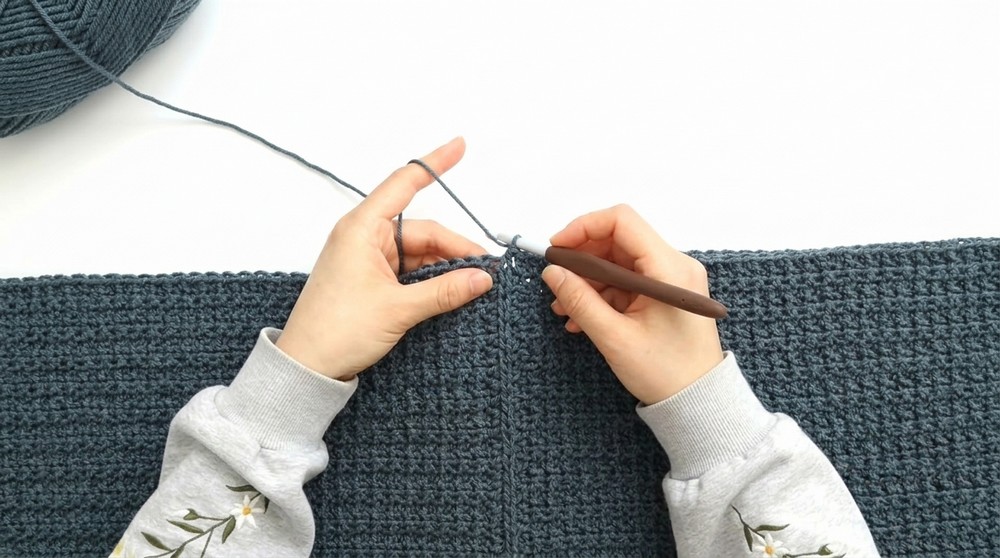
- Even Seaming:
- Use Whip Stitch along seams for invisible joins between panels and armholes.
Pattern Instructions
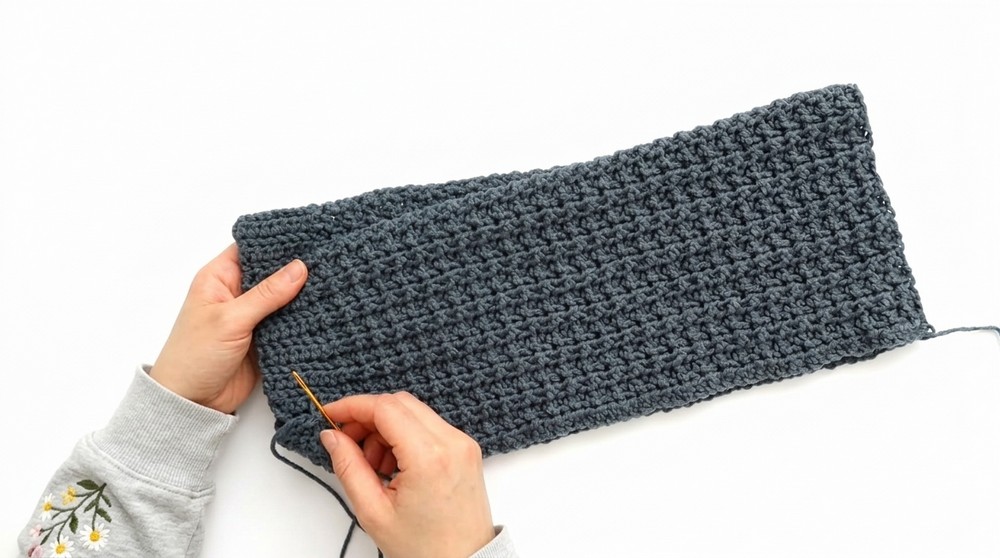
Body Panel (Worked as One Piece)
- Foundation Chain:
- Create a slip knot and attach it to the hook.
- Ch 95 (adjust based on size from the blog).
- Row 1:
- Start in the second chain from the hook using the back bumps:
- Work 1 hdc into each chain across (94 sts total).
- Turn your work.
- Start in the second chain from the hook using the back bumps:
- Row 2 (Body Row B):
- Ch 1 (does not count as a stitch).
- Alternate stitch pattern:
- Work 1 bl-hdc in the first st.
- Work 1 fl-hdc in the next st.
- Repeat this sequence (bl-hdc, fl-hdc) until you have 10 sts left in the row.
- Ribbing Edge: Work 1 bl-hdc in next 9 sts, followed by 1 hdc in the last st (94 sts total).
- Turn work.
- Row 3 (Body Row A):
- Ch 1.
- Ribbing Edge: Work 1 bl-hdc into the first 9 sts.
- Work alternating fl-hdc and bl-hdc stitches across until 1 st is left.
- Final Stitch: Work 1 hdc in the last st (94 sts total).
- Turn work.
- Continue Repeating Rows 2 and 3:
- Alternate Body Row A and Body Row B (rows 2 and 3).
- Stop when you’ve completed 20 rows (for the first front panel).
- Back Panel:
- Continue working without fastening off.
- Repeat Body Rows A and B for the back panel to complete 50 rows.
- You should now have 70 rows in total (20 for the front panel, 50 for the back panel).
- Second Front Panel:
- Work similarly to the first front panel but on the other side.
- Repeat Body Rows A and B for 20 rows.
- You now have 90 total rows for the entire body panel.
- Final Body Row (To Match the Foundation Edge):
- Work 1 hdc into each st across (94 sts total).
- Fasten off.
Sleeves
- Foundation Chain:
- Create a slip knot.
- Ch 63.
- Row 1:
- Work 1 hdc into the second chain from the hook, then 1 hdc into each chain across (62 sts total).
- Turn work.
- Row 2:
- Ch 1. Alternate pattern:
- Work 1 bl-hdc into the first st.
- Work 1 fl-hdc into the next st.
- Continue this sequence until 10 sts remain.
- Work 9 bl-hdc.
- Cuff: Work 1 sl st in the last st to finish the cuff ribbing.
- Ch 1. Alternate pattern:
- Row 3:
- Ch 1.
- Work 1 bl-hdc into the first 9 sts (ribbing).
- Work alternating bl-hdc and fl-hdc across the rest of the row.
- Work 1 hdc in the last st (62 sts in total).
- Turn.
- Continue Repeating Rows 2 and 3:
- Work for 30 rows.
- End with a repeat of Row 2.
- Fasten off.
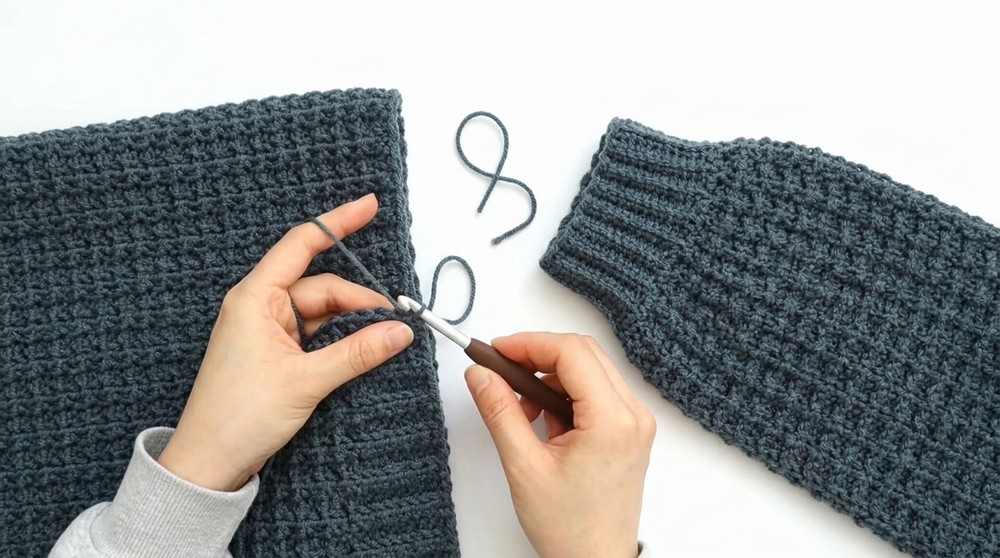
- Seaming the Sleeves:
- Fold the sleeve lengthwise.
- Use the Whip Stitch to seam the long edges of the sleeve together.
- Fold the sleeve lengthwise.
- Repeat Steps for the Second Sleeve.
Assembly
- Seam the Shoulders:
- Place the front panels over the back with right sides facing each other.
- Whip stitch the shoulder seams together securely.
- Attach the Sleeves:
- Align the seams of the sleeves with the armhole openings.
- Whip stitch the edges of the sleeves to the armholes.
- Side Seams:
- If there is a gap below the armholes, sew it closed using whip stitches.
- If there is a gap below the armholes, sew it closed using whip stitches.
Neckline Ribbing
- Foundation Chain:
- Create a slip knot.
- Ch 8 (ribbing height).
- Row 1:
- Work 1 hdc in the second chain from the hook.
- Work 1 hdc in each chain across (7 sts total).
- Turn.
- Row 2 and Beyond:
- Ch 1.
- Work 1 bl-hdc in each st across the row.
- Continue working rows until the ribbing matches the full neckline length.
- Seaming the Neckline Ribbing:
- Fasten off and whip stitch the edges of the neckline ribbing to the cardigan.
Optional Pockets
- Foundation Chain:
- Ch 25.
- Work 24 sts across, alternating bl-hdc and fl-hdc for 12 rows.
- Final Row:
- Work 24 hdc sts across for a clean edge (Row 13).
- Pocket Top:
- Rotate the pocket and sl st across the raw edge to form the pocket’s top opening.
- Attachment:
- Pin the pockets to the cardigan and test placement before whip stitching the sides and bottom of the pocket in place.
Customization Tips
- Size Adjustments:
- Adjust the foundation chain length for each panel for larger or smaller sizes.
- Add or decrease rows to adjust length.
- Color Choices:
- Use contrasting colors for ribbing, cuffs, or pockets for a stylish look.

- Use contrasting colors for ribbing, cuffs, or pockets for a stylish look.
Conclusion
Congratulations! Your Cardigan with Pocket is complete! This cardigan features a unique texture and cozy design, making it a versatile, stylish addition to your wardrobe. The waffle texture adds beautiful depth, and the ribbed edges complete the polished look.
Important Notes
- Blocking: Gently block your cardigan to even out the stitches and shape the fabric.
- Washing: Hand wash or machine wash on a gentle cycle (check the yarn care instructions).
- Pocket placement is optional—skip this step if you prefer a sleek look.