Organize your essentials in style using this Free Crochet Tote Bag Pattern that combines function, charm, and comfort into one beautifully handmade carryall.
A simple habit of morning walks led many to realize the inconvenience of juggling keys, phone, and water bottle without a dependable carryall. That common need has inspired the charm and function of a thoughtfully handmade tote—lightweight, reliable, and surprisingly stylish. The Free Crochet Tote Bag Pattern brings both functionality and beauty together in a single piece you’ll reach for daily. Whether heading to the farmer’s market, library, or a casual meet-up, this tote offers a practical solution without sacrificing appeal.
How to Crochet Tote Bag Pattern That’s Actually Useful
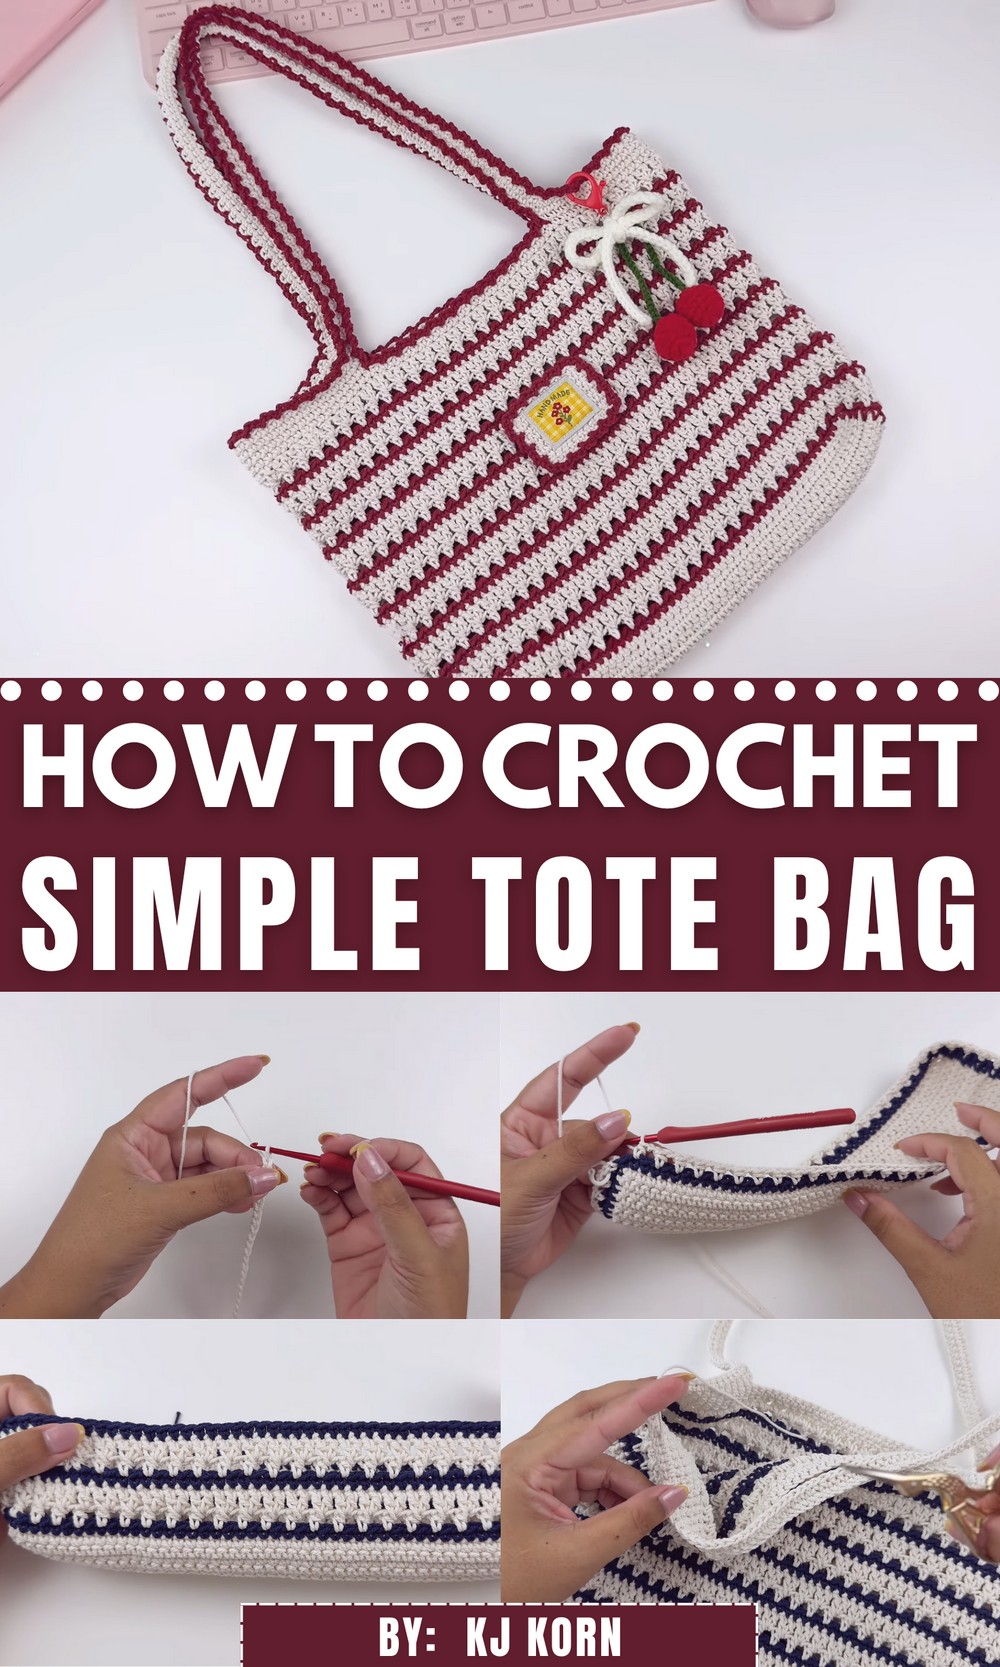
Its generous capacity is ideal for holding everything from books to groceries, while the textured body and sturdy straps offer strength with a comfortable feel. The shape holds well thanks to structured rows, while open stitches in sections let the bag breathe, making it perfect for warmer days. This project moves from a strong base, gradually expanding in rounds with easy-to-follow stitch repeats.
As the body grows taller, simple increases and consistent tension result in neat symmetry. Once the main bag is complete, secure handles are worked directly onto the top, maintaining a seamless finish. Easy to care for and endlessly useful, this tote brings everyday ease with an element of handmade pride. It’s an item that makes both errands and leisure feel a touch more personal.
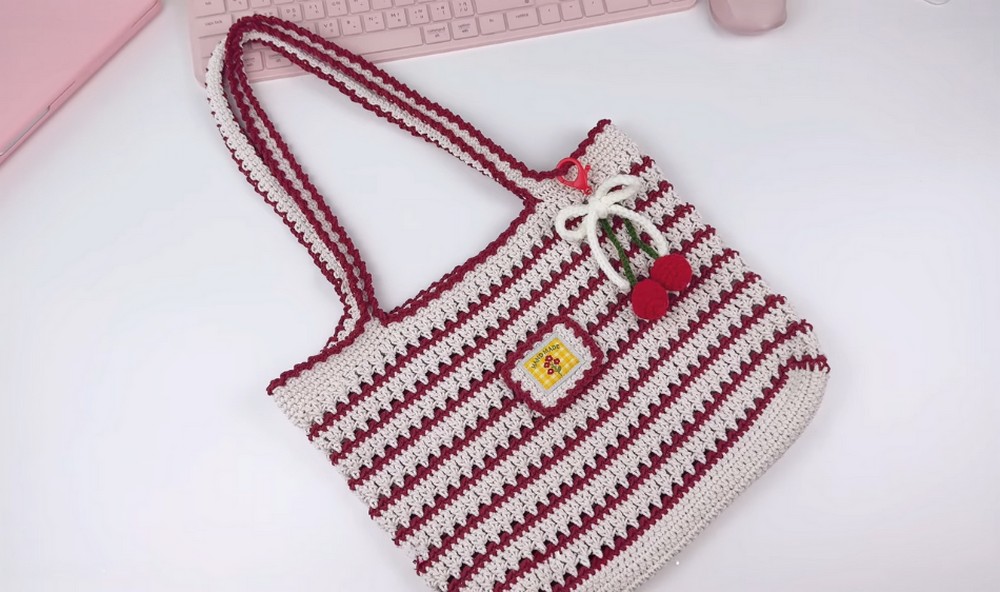
Materials Needed
- Yarn: 2 mm cotton rope (total weight: ~300 g). The primary color requires slightly more yarn than the secondary one.
- Crochet Hook: Size 5/0 (3 mm).
- Other Tools: Scissors, yarn needle, stitch markers, and a handmade tag for detailing (optional).
- Additional Notes: A link to purchase the handmade tag is provided in the video description.
Step-by-Step Instructions
1. Crocheting the Base
- Starting Out:
Begin by making a slip knot and chaining 50. Ensure the count is even. The resulting chain will measure about 26 cm.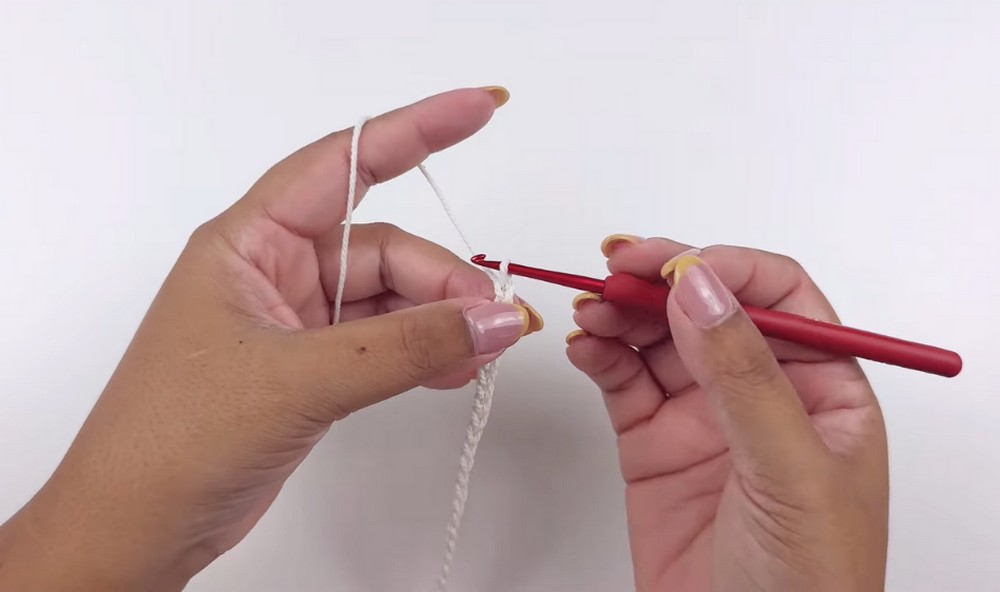
- Rows 1 and 2:
- Row 1: Chain 1, then single crochet into the second chain from the hook. Continue single crocheting in each chain until the end.
- Row 2: Chain 1, turn, and single crochet into each stitch across.
- Repeat Row 2 until you’ve completed 12 rows.
- Base Dimensions: 28 cm long by 6.5 cm wide.
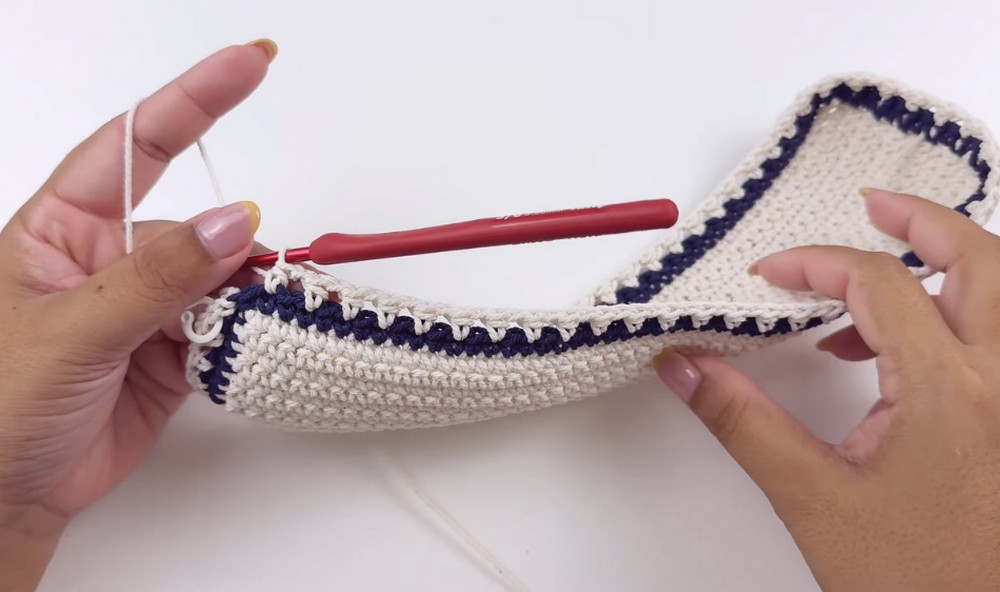
- Custom Adjustments: To make a larger base, start with more chains (keeping the count even).
- Finish: Chain 1, cut the yarn, and secure the edges.
2. Crocheting the Bag’s Body
- Row 1: Setting up the Foundation
- Attach the second yarn color with a slip knot and connect it to the last stitch of the base.
- Crochet 10 single crochets on one short side, 50 along the long side, 11 on the other short side, and 50 on the remaining long side (for a total of 122 stitches).
- Close the row cleanly with a yarn needle.
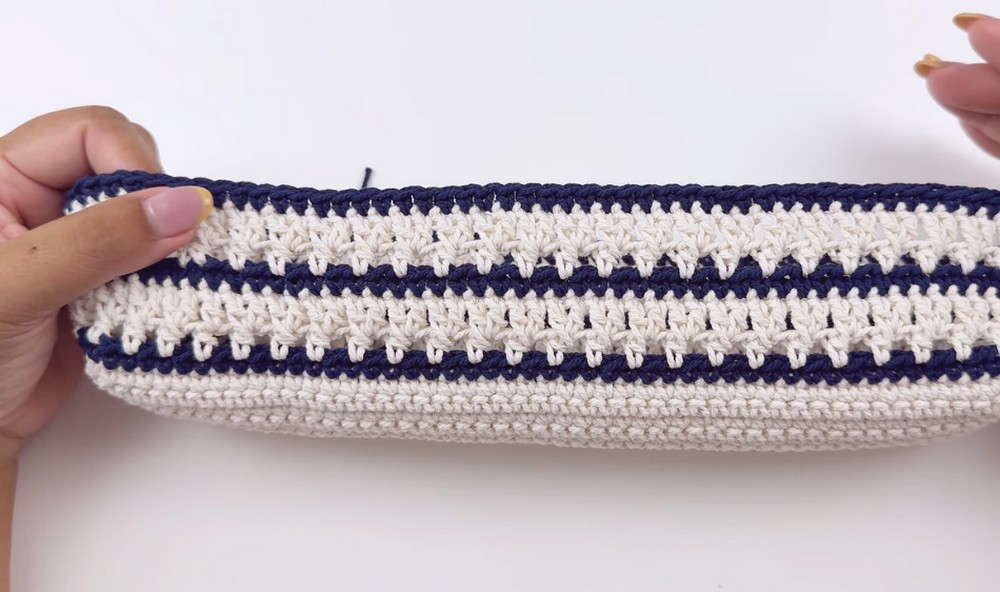
- Establishing the Pattern:
The body pattern consists of a 3-row repeat:- Row 2: Start with the secondary color. Chain 2, then chain 1, skip a stitch, and make a half double crochet. Repeat this pattern (chain 1, skip 1, half double crochet) until the end.
- Row 3: Continue with the current color. Chain 3, and work crossed double crochets by skipping 1 stitch and working back into the skipped space.
- Row 4: Switch to another color and make single crochets in each stitch.
3. Repeating the Rows
Repeat Rows 4–6 for the remaining body until the desired height is achieved. In this video, the creator completed 27 rows, creating 9 sets of the pattern. The final bag height measured about 23 cm.
4. Adding the Shoulder Strap
- Marking the Strap Placement: Fold the bag to find the center. Divide the edge into sections, leaving 17 stitches for each strap attachment point.
- Crocheting the Strap:
- Chain 100 (or adjust for your preferred length) and attach the strap to the other marked end.
- Repeat the steps for the opposite strap.
- Thickness Adjustments: Add or reduce rows of single crochets for thicker/thinner straps.
5. Finishing Touches
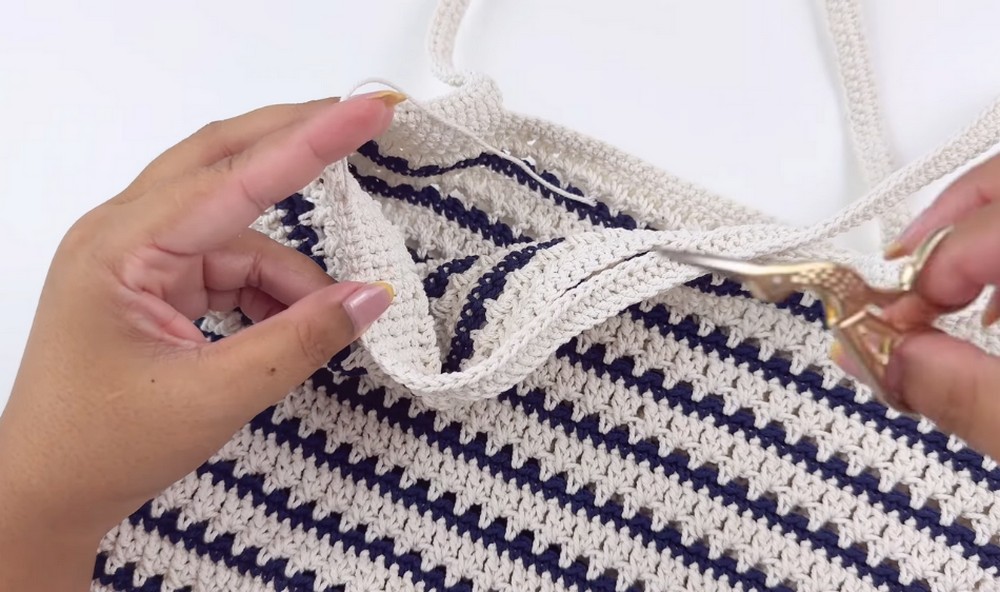
- Strap Edging: Add decorative borders to each side of the strap by doing a “chain 2, skip 1, slip stitch” pattern around the edges. Repeat for both the inner and outer strap edges.
- Final Round: Add one more round of single crochets to the straps for a neat finish.
Special Features
- Elegant Pattern Design: A criss-cross double crochet pattern and a chain-skip technique give the bag a unique texture.
- Customizable: You can adjust the bag’s dimensions, colors, and strap length/width to suit your preferences.
- Professional Look: The finely crafted details and optional handmade tag add a polished touch.
Level of Difficulty
- Beginner to Intermediate: The video explains the techniques step by step, making it accessible to beginners with some basic crochet experience. Stitch markers and careful stitch counting are recommended for accuracy.
Tutor’s Suggestions
- Use Stitch Markers: These help track the starting points and stitches, especially for beginners.
- Take Your Time: Clean and neat stitches may take longer but are worth the effort for a professional finish.
- Choose Your Own Color Palette: Experiment with different color combinations to make the bag your own.
Uses
This crochet tote bag is perfect for carrying lightweight items or using as a stylish accessory. It’s versatile enough to be used for shopping, a casual outing, or even as a handmade gift!
Pro Tip
When working on the strap, ensure that the chains are not twisted before connecting them. This prevents distortion and helps maintain the bag’s symmetry.
Conclusion
By following this detailed pattern, you can create a unique, handmade tote bag that combines functionality with style. The repetitive but creative pattern makes the project enjoyable, even for those with limited crochet experience. Remember, the key to success is patience and practice.
