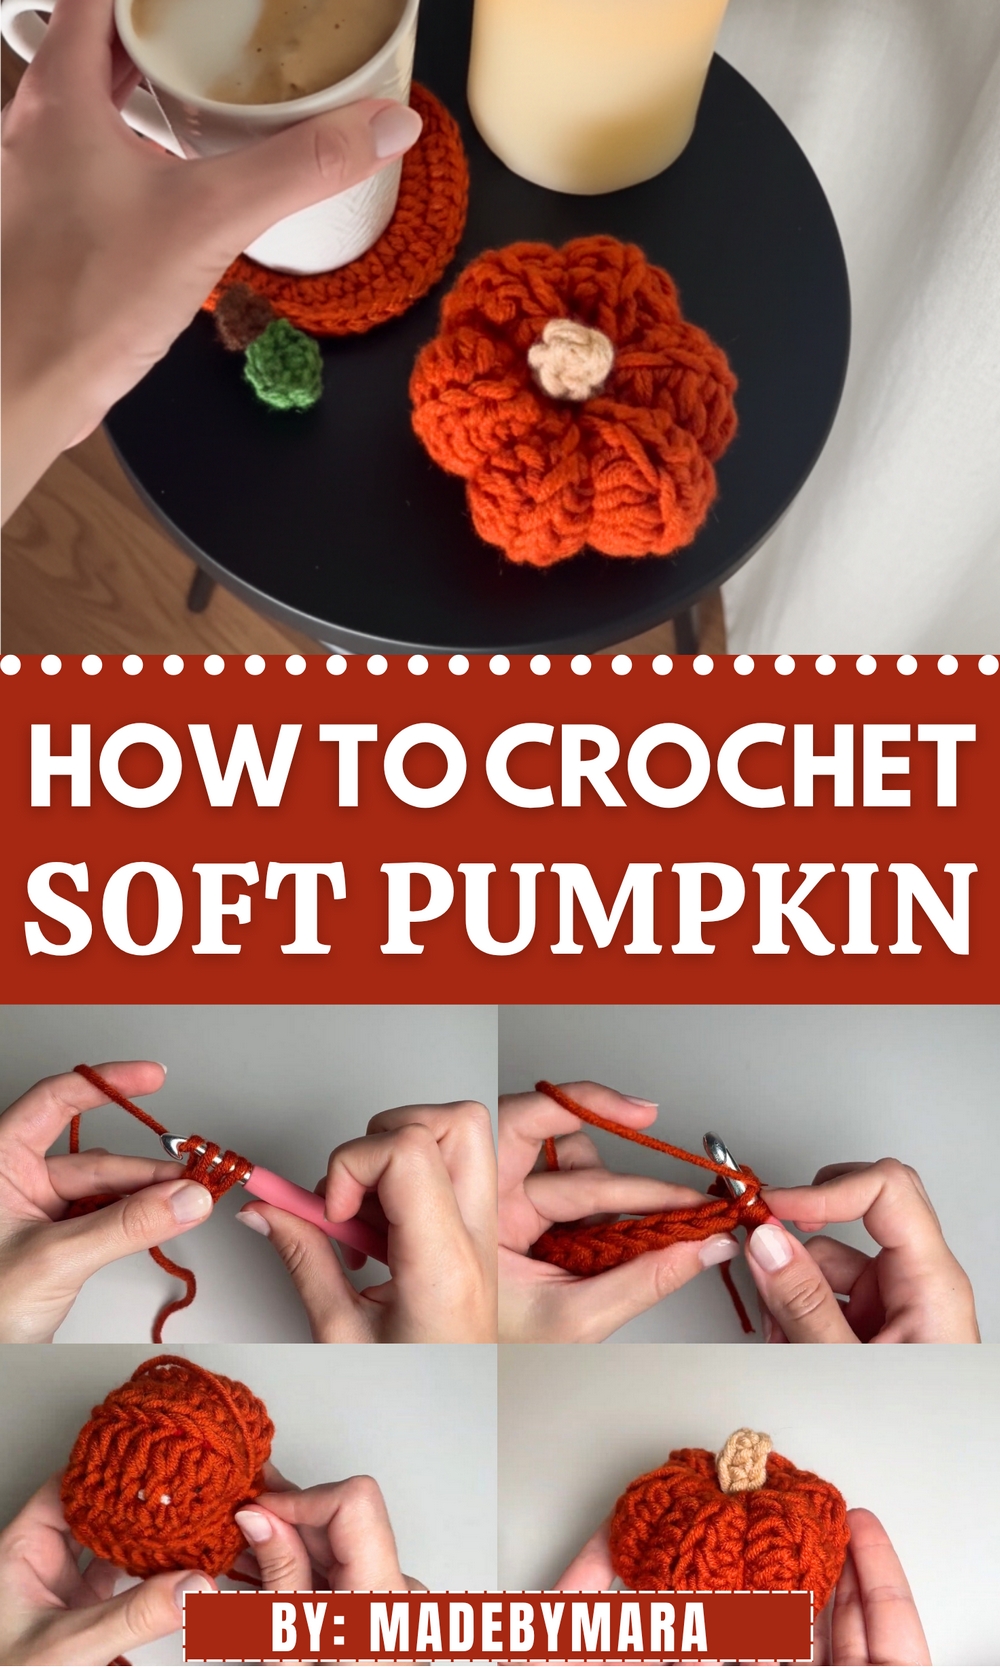
Celebrate fall vibes with this Free Crochet Pumpkin Pattern, ideal for cozy décor, festive gifts, and adding a warm handmade touch to your seasonal style.
When autumn arrives, it brings a comforting mix of golden leaves, soft light, and the familiar charm of harvest décor. The Free Crochet Pumpkin Pattern captures that seasonal warmth, turning yarn into adorable, textured pumpkins that add a touch of rustic beauty to any space. Their plump shape and cozy feel make them perfect for table displays, shelf décor, or thoughtful handmade gifts that carry the essence of fall.
Autumn Magic Crochet Pumpkin Pattern for Cozy Fall Decor

Beyond their visual appeal, these pumpkins symbolize comfort and creativity, bringing lasting seasonal beauty without the need for real produce. The Free Crochet Pumpkin Pattern turns simple materials into delightful keepsakes that celebrate fall’s cozy spirit, adding character, color, and a touch of handmade magic to any home throughout the season and beyond.

Clear step-by-step instructions ensure accessibility for beginners, while experienced hands can experiment with different yarn weights and tones to create a variety of pumpkins in their own signature style. Whether arranged in a basket, placed on a mantel, or used as festive accents during gatherings, these crochet pumpkins bring a handmade charm that feels warm and inviting.
Special Features
- Beginner-Friendly Design: The pumpkin is created using simple stitches such as chains, half double crochets, and single crochets.
- Customizable Size: You can adjust the number of foundation chains and rows to create different-sized pumpkins.
- Environmentally Friendly: Scrap yarn can be creatively used as stuffing for the pumpkin, reducing yarn waste.
- Realistic Texture: Back loop stitches add a unique ribbed effect, giving the pumpkin a natural look.
- Personalized Design: Choose colors, yarn types, and stem length to suit your unique style.
Materials Needed
- Yarn: Bulky yarn for the pumpkin base and contrasting-colored yarn for the stem (e.g., Yarn Art bulky yarn).
- Crochet Hook: Size 8 hook. Adjust if using different yarn weights.
- Scrap Yarn or Fiber Filling: For stuffing the pumpkin.
- Additional Tools: Yarn needle, pair of scissors, and optional stitch markers.
Step-by-Step Guide
1. Preparing the Pumpkin’s Base
- Create a Slip Knot
- Make a loop with the yarn, insert your hook into the loop, grab the long yarn, pull, and tighten.
- Foundation Chains
- Create 11 chains (or more/less depending on the preferred size of the pumpkin). The longer the chain, the larger the pumpkin will be.

- Create 11 chains (or more/less depending on the preferred size of the pumpkin). The longer the chain, the larger the pumpkin will be.
- First Row: Half Double Crochets
- Skip the first chain (which is for turning). Yarn over, insert your hook into the second chain from the hook, yarn over, pull up a loop (you’ll now have 3 loops on your hook).
- Yarn over again and pull through all three loops — this is your first half double crochet (HDC).
- Mark the first stitch using a stitch marker (optional for beginners). Repeat this process into the remaining chains until you complete 10 HDCs (the last chain is only for turning).

- Subsequent Rows
- Begin each row by chaining 1 to turn your work and start the next row. Work HDC stitches into the back loop only of each stitch to create a textured ribbed effect.
- Ensure each row has the same number of stitches (in this tutorial, 10 HDCs per row).
- Repeat this process until you have completed 12 rows, or adjust based on your desired pumpkin size.
2. Joining the Pumpkin Base
- Fold the rectangle with the two short edges meeting.
- Insert your hook into the first stitch of both edges and make slip stitches to join the rectangle into a tube shape. Once completed, tie off the yarn and leave a long tail for sewing up the top of the pumpkin.
3. Closing the Pumpkin
- Close the Bottom
- Thread the yarn needle with the long tail. Insert the needle in and out of the top stitches surrounding one end of the tube. Pull tightly to close the bottom, and secure with additional stitches.
- Stuff the Pumpkin
- Flip the tube inside out so the seam is hidden. Then insert scrap yarn or fiber stuffing into the pumpkin until it reaches the desired shape and firmness.
- Close the Top
- Repeat the same process for the other end of the pumpkin by weaving the yarn tail through the top stitches, pulling tightly to close the opening. Tie off securely.

- Repeat the same process for the other end of the pumpkin by weaving the yarn tail through the top stitches, pulling tightly to close the opening. Tie off securely.
4. Creating Pumpkin Ridges
- Thread the yarn left from closing the pumpkin onto your needle.
- Work the needle from the top center to the bottom center of the pumpkin, making a stitch across the exterior to create a ridge. Pull the yarn tightly to achieve the desired depth, creating a realistic pumpkin shape.
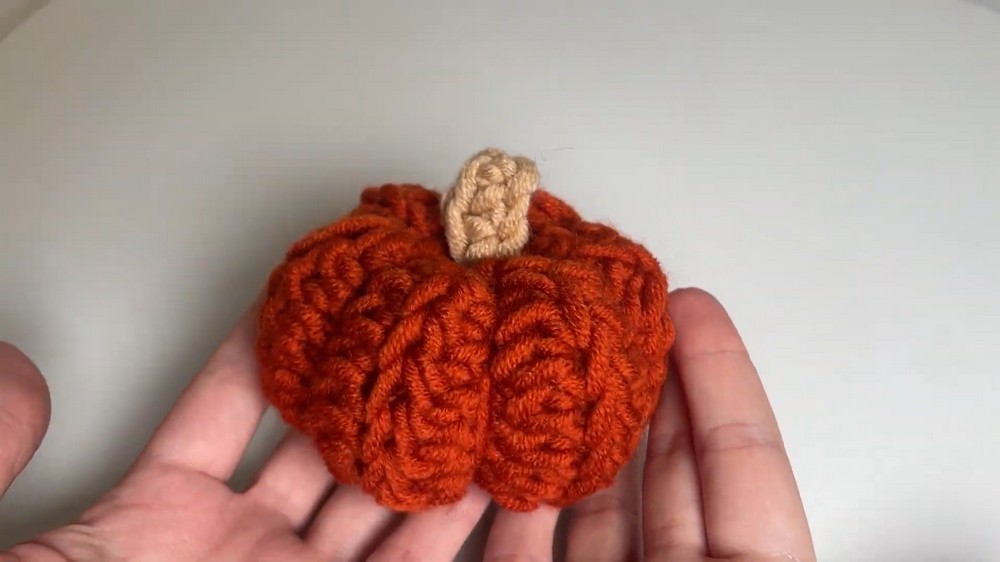
- Rotate and repeat the process around the pumpkin, spacing the ridges evenly. The final number of ridges depends on your style preference, but 5–6 ridges typically look balanced.
- Once ridges are complete, tie the yarn tails securely at the base of the pumpkin, hide the ends, and trim any excess yarn.
5. Adding the Stem
- Stem Foundation
- Create a slip knot and crochet 4 chains (or customize based on how long you want the stem to be).
- Work single crochets (SC) in the second chain from the hook and into each subsequent chain. You will end up with 3 single crochets.
- Attach the Stem
- Leave long yarn tails when tying off the stem. Using the yarn needle, attach the stem to the top center of the pumpkin by weaving the yarn ends into the stitches.
- Pull each end through the center of the pumpkin, tie securely, hide the tails inside the pumpkin, and trim any excess.
Level of Difficulty
- Beginner: This tutorial is beginner-friendly, as it uses basic crochet techniques such as slip knots, chains, half double crochets, and single crochets. The instructions are clear and visually demonstrated, making it ideal for first-time crocheters.
- Intermediate Precision: Shaping the pumpkin with ridges and properly securing the stem may require attention to detail and consistent tension, but with practice, it’s manageable for any skill level.
Tutor’s Suggestions
- Customization: Adjust the number of chains and rows to create pumpkins of varying sizes. In the provided example, 12 rows and 10 stitches create a medium-sized pumpkin.
- Count Stitches: Make sure each row has the same number of stitches to maintain the pumpkin’s consistent shape and avoid irregularities.
- Use a Stitch Marker: Beginners may find it helpful for keeping track of the first stitch in each row.
- Stuffing Choice: Scrap yarn works as an eco-friendly alternative to fiber filling for stuffing your pumpkin.
Uses of Crochet Pumpkins
- Seasonal Decor: Perfect as fall or Thanksgiving decorations for dining tables, mantels, or cozy setups.
- Gifting: Handmade pumpkins make thoughtful gifts.
- Creative Projects: Can be integrated into wreaths, garlands, or playroom accessories for kids.
Pro Tip
When creating ridges, pull the yarn consistently across the pumpkin for an even look. Experiment with pulling softer for rounded ridges or tighter for sharper valleys, customizing the visual texture to match your desired style.
Conclusion
This crochet pumpkin tutorial is an excellent project for beginners and seasoned crocheters alike. With basic stitches, simple tools, and easy-to-follow instructions, it’s perfect for creating charming pumpkin decor and seasonal delights. The textured ridges and adorable stem give it a realistic yet handmade touch, while the ability to customize size and color adds creative versatility.
