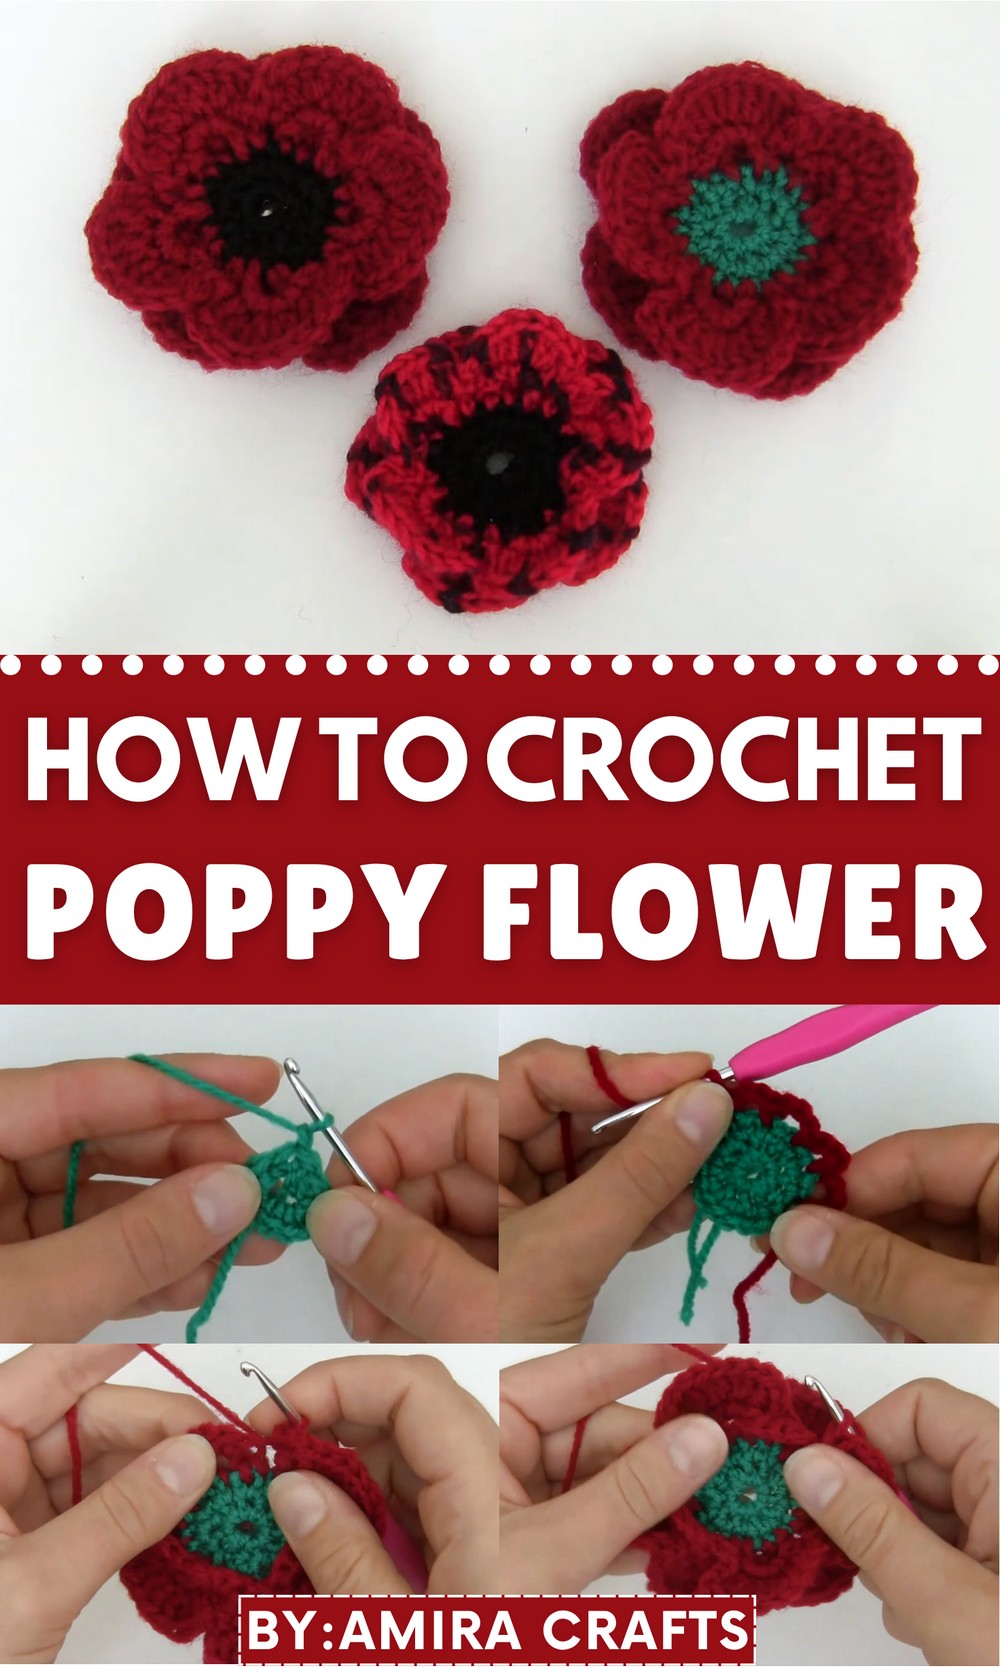
Bring vibrant charm to your space with the Free Crochet Poppy Flower Pattern, creating delicate, lifelike blooms that add elegance to any project.
A gentle breeze once carried the vibrant colors of a poppy across a quiet meadow, inspiring countless hearts with its simplicity and charm. The Free Crochet Poppy Flower pattern brings this same delicate beauty into your hands, offering a handcrafted touch to brighten any space. Its bold petals and realistic form make it a versatile addition to home décor, bouquets, or wearable accents, while its lightweight structure allows effortless placement and styling.
Quick Crochet Poppy Flower That Brings Joy to Projects
This pattern’s specialty lies in its lifelike layering and subtle textures, giving each flower a natural depth that mimics real blooms. Creating these poppies provides a calming and mindful experience, promoting focus and relaxation while encouraging skill development for both beginners and seasoned crocheters. Small yet striking, each flower carries a sense of elegance that complements gifts, seasonal arrangements, or personal projects.
With this approach, your handmade poppies achieve a professional look while remaining approachable for any skill level. Functional, charming, and soothing to make, these crochet poppies offer more than decoration, they provide a tactile connection to nature’s beauty and a satisfying sense of accomplishment for anyone who brings them to life.
Materials Needed
- Yarn: Two colors – red for the petals and black for the center.
- Crochet hook: Suggested hook size appropriate for the yarn used.
- Other supplies: Scissors and a tapestry needle.
- Optional: A pin or fastener to attach the finished poppy for wearing.
Special Features of the Crochet Poppy
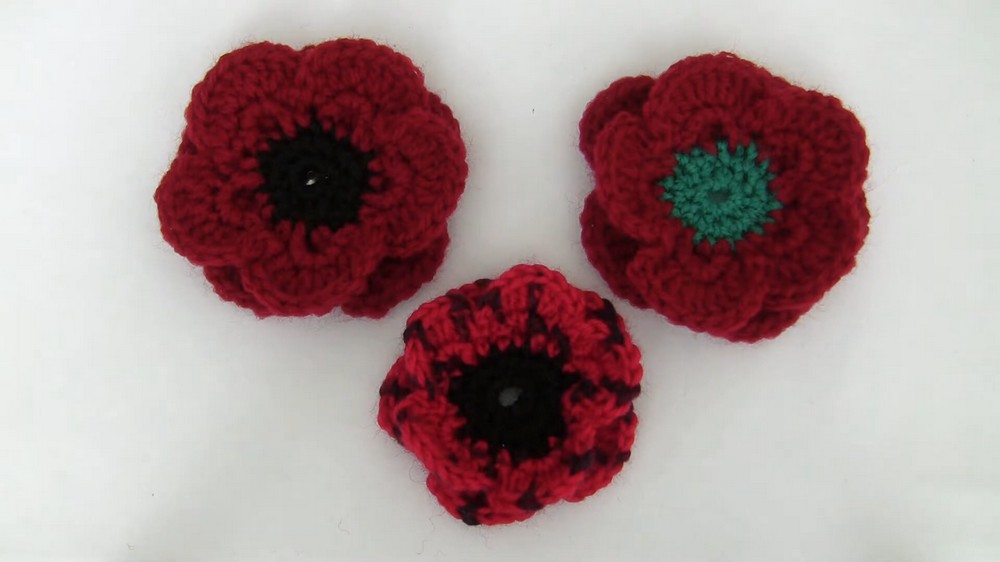
- Symbolic Design: This red flower, with its black center, is a tribute to soldiers who have fallen in the line of duty.
- Layered Petals: The flower consists of two rows of delicate petals made from the same pattern, carefully layered for a full, blooming effect.
- Beginner-Friendly Stitches: Simple techniques including slip knots, single crochet, double crochet, and slip stitches are utilized throughout the project.
Step-by-Step Instructions
Part 1: Preparing the Center
- Start by making a slip knot.
- Twist your yarn to form a loop, pull one end through, insert the hook into the loop, and tighten it.
- Chain 2 stitches: Yarn over, pull through two loops.
- Create the center circle:
- Work 10 single crochets into the first chain stitch, inserting the hook into the chain, yarn over, pull through, and finish each single crochet.
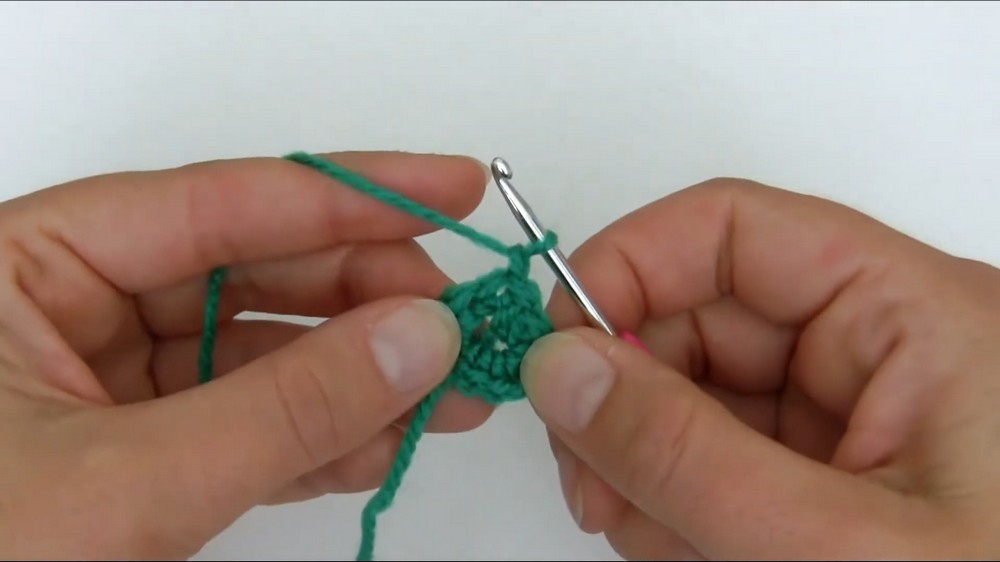
- Work 10 single crochets into the first chain stitch, inserting the hook into the chain, yarn over, pull through, and finish each single crochet.
- Close the round:
- Insert your hook into the first single crochet, yarn over, pull through, and then pull through the loop on your hook to finish the round.
Part 2: First Round of Petals
- Begin the next round by chaining Chain 1 (this does not count as a stitch).
- Work 2 single crochets into each single crochet from the previous round, creating a total of 20 single crochets by the end.
- End the round:
- Slip stitch into the first single crochet, NOT into the chain.
- Chain 1, cut the yarn, and pull through.
Part 3: Adding Petals – Layer 1
- Change yarn color and begin with a slip knot.
- Insert the hook into any single crochet space from the previous round and join the new color.
- Work the following pattern:
- Single crochet into a stitch.
- Chain 3, skip the next stitch, and single crochet into the stitch after it.
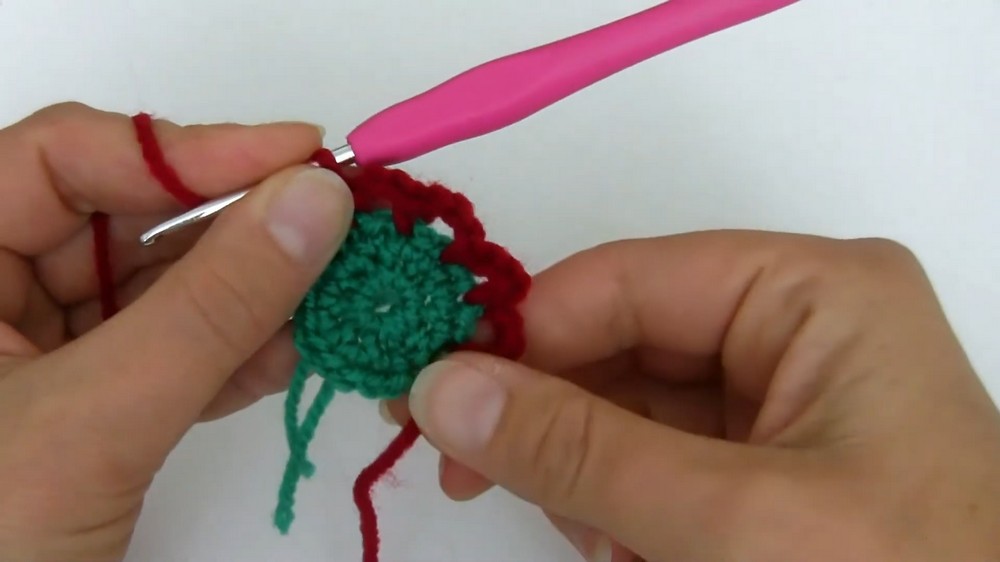
- Repeat the pattern of chain three, skip a stitch, and single crochet until you complete the round.
- To finish this round: Slip stitch into the first single crochet.
Part 4: Creating the Petals – Layer 1
- Begin the next round by slip stitching into a chain 3 space and working 5 single crochets into this space.
- Work into the single crochet of the second row, located underneath the next chain 3 space:
- Move the chain 3 space in front of your work, insert the hook into the stitch, and work 1 single crochet.
- Skip the chain space and work 5 single crochets into the next chain 3 space.
- Continue this alternating pattern (5 single crochets into chain spaces, single crochet into the stitch under the chain space) until the round is completed.
- Finish by slip stitching into the first single crochet of the round.

Part 5: Creating the Petals – Layer 2
- Slip stitch into the first single crochet of the petal (from Layer 1).
- Work Chain 2 (counts as the first double crochet), and then work one double crochet into the same single crochet.
- For each of the next 4 single crochets of the petal:
- Work 2 double crochets into each stitch.
- Finish the petal by working a single crochet around the final double crochet post (insert hook under the post, then complete the single crochet).
- Slip stitch into the single crochet made in round 2 behind the chain space.
- Repeat the same sequence for all remaining petals, with 10 double crochets and 1 single crochet behind each petal.
Part 6: Adding the Back Petals
- Flip work and start the next round using unused chain 3 spaces from round 3.
- Create a slip knot, insert the hook under any chain space from round 3, and work 5 single crochets into the space.
- Into the stitch underneath the petal, insert the hook and work 1 single crochet.
- Skip the next chain 3 space and work 5 single crochets into the following chain 3 space.
- Again, work 1 single crochet into the stitch under the next petal.
- Repeat this pattern until all remaining chain spaces and stitches are used.
- End by slip stitching into the first single crochet of the round.
Step 7: Final Back Petals
- Repeat the previous step for the final back petals, creating 10 double crochets in each chain space.
- End the round by working a slip stitch into the same space where the first double crochet of the round was worked.
Tutor’s Suggestions
Anya emphasizes:
- Pay attention to stitch placement. Be sure to work behind the chain spaces where required for a neat, layered effect.
- Count accurately: Ensure you create the correct number of stitches in each round and petal to maintain the poppy’s balanced shape.
- Keep tension consistent to ensure each petal looks uniform.
Level of Difficulty
This project is beginner-friendly. It uses basic crochet stitches, such as slip knots, single crochet, double crochet, slip stitches, chain stitches, and the magic ring technique, making it accessible to those new to crochet.
Uses for the Crochet Poppy
- Wearable Accessories: Add a back pin to wear the poppy on Remembrance Day.
- Decorative Pieces: Use the poppy for embellishing home decor, gifting, or crafting keepsakes.
- Meaningful Tokens: Show your respect and gratitude by gifting handmade poppies to loved ones or veterans.
Conclusion
This crochet poppy is a beautiful and meaningful addition to your crochet repertoire. With its striking red petals and a black center, the poppy symbolizes remembrance and honors those who sacrificed their lives. The project’s simplicity and versatility let you create heartfelt accessories with just a few basic materials and skills.
Crochet Tip
When working with chain spaces, always ensure you handle your tension carefully. Loose loops can cause the petals to look uneven, while tight loops can bunch up the petals. Maintain a steady pace for uniform results!