Personalize your summer style with a free crochet crop top pattern that’s perfect for warm days, easy to customize, and pairs beautifully with any outfit.
A warm day calls for something light, stylish, and uniquely personal! A free crochet crop top pattern with ruffle straps lets you tailor your wardrobe with endless possibilities. Ideal for casual outings, summer festivals, or pairing with high-waisted skirts and shorts, this versatile top fits any look. Style it with a denim jacket for cool evenings or wear it solo for a relaxed vibe—it effortlessly brings creativity to your everyday fashion.
Free Crochet Crop Top Pattern You’ll Want to Wear Daily
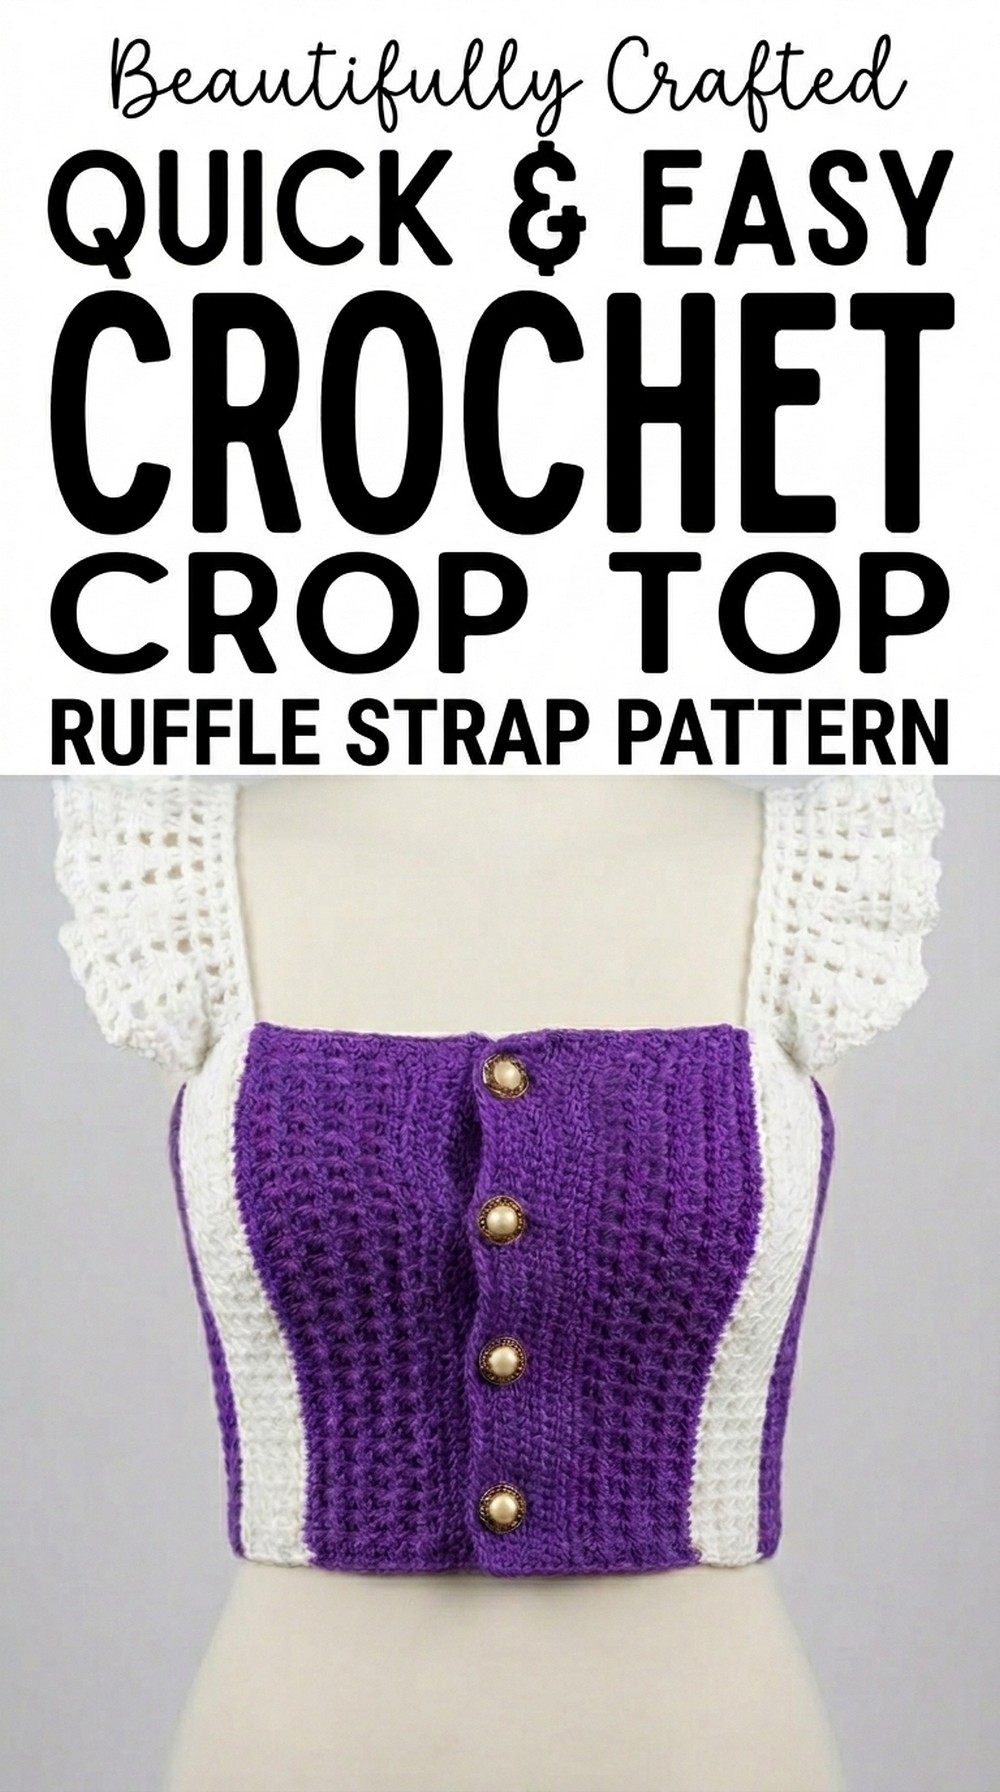
Choosing to crochet your own crop top isn’t just about trendy style; it’s about having control over fit, color, and comfort while embracing a sustainable, mindful approach to clothing. Explore airy stitches, playful textures, and bold color palettes to crochet a functional and chic piece for your collection. With its charming ruffle straps and personally curated details, this project combines fashion, creativity, and skill for a wardrobe win.
Crochet Crop Top Pattern
Materials
Yarn:
- Polyester yarn in two contrasting colors:
- Purple
- White
- Total yarn needed: ~200g.
Hook Sizes:
- 3.5 mm crochet hook (for the trinity stitch and mesh stitches).
- 2.5 mm crochet hook (for button bands, borders, and straps).
Additional Tools:
- Stitch Markers: To mark increase points and buttonholes.
- Scissors: For cutting yarn.
- Buttons: As per your style preference (align with the buttonholes).
- Tape Measure: To ensure accurate sizing while crocheting.
- Tapestry Needle: For weaving in loose ends and sewing buttons.
Key Measurements
Note: Measurements can vary for custom sizing.
- Upper chest width: 19.5 cm
- Bottom band width: 3.5 cm
- Side length: 5 cm (10 rows of trinity stitches) for purple.
- White portion: 4.5 cm (8 rows of trinity stitches).
- Mesh back length: 21 cm, or 26 rows.
- Waistline: 69 cm or 27 inches.
Skill Level
Intermediate.
Key Abbreviations (US Terminology)
- CH: Chain
- SC: Single Crochet
- HDC: Half Double Crochet
- DC: Double Crochet
- SL ST: Slip Stitch
- TRC: Trinity (Single Crochet Together, Chain 1)
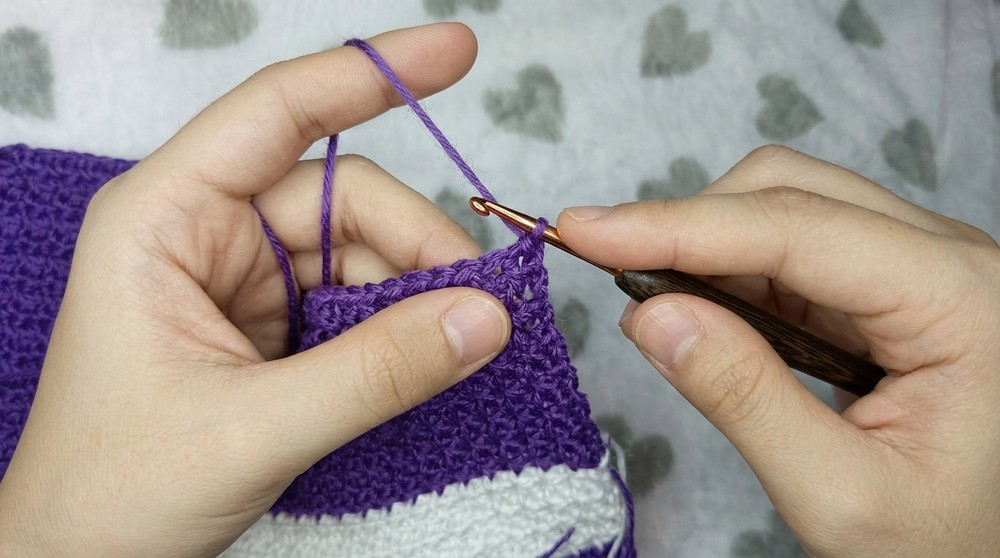
Special Techniques
- Trinity Stitch (TRC):
- Insert hook, pull up a loop (2 loops on hook).
- Insert hook into next stitch, pull up a loop (3 loops on hook).
- Insert into the next stitch again, pull up a loop (4 loops on hook).
- YO and pull through all 4 loops.
- CH 1 before starting the next TRC.
- Mesh Stitch:
- Using HDC, work into stitches alternated with CH spaces for a breathable effect.
- Buttonholes:
- Leave gaps (CH 3 and skip corresponding STS) to create spaces for buttons.
Pattern Instructions
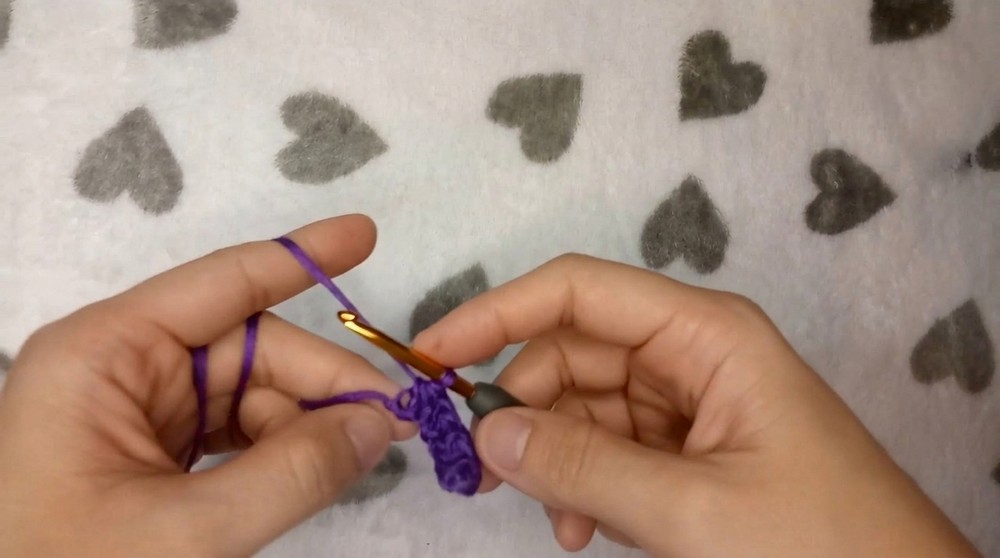
Step 1: Creating the Front—Trinity Stitches
Foundation Chain
- For the front width, make an even number of chains divisible by 2. Example: 48 chains.
- Adjust chain length based on your torso size.
Row 1 (Foundation Row):
- Use the 3.5mm crochet hook.
- Skip the first chain and insert the hook into the second chain (back loop only) to work the first SC.
- Make another unfinished SC in the same chain.
- Insert hook into the next chain, YO, and pull up a loop (now 4 loops on the hook).
- YO and pull through all 4 loops.
- CH 1 and repeat the process across the foundation chain using the TRC technique.
Row 2 and Beyond:
- Turn your work, CH 1.
- SC into the first chain space.
- Work a single TRC in each stitch/space across.
- Ensure loose tension to maintain stitch flexibility.
Row Counts:
- Work 10 rows of trinity stitch with purple yarn.
- Switch to white yarn (contrasting color), and work 8 rows of trinity stitch.
- Switch back to purple and work 20 rows of trinity stitches.
Note: Ensure the trinity stitch section extends to your bust point, allowing for proper alignment and coverage.
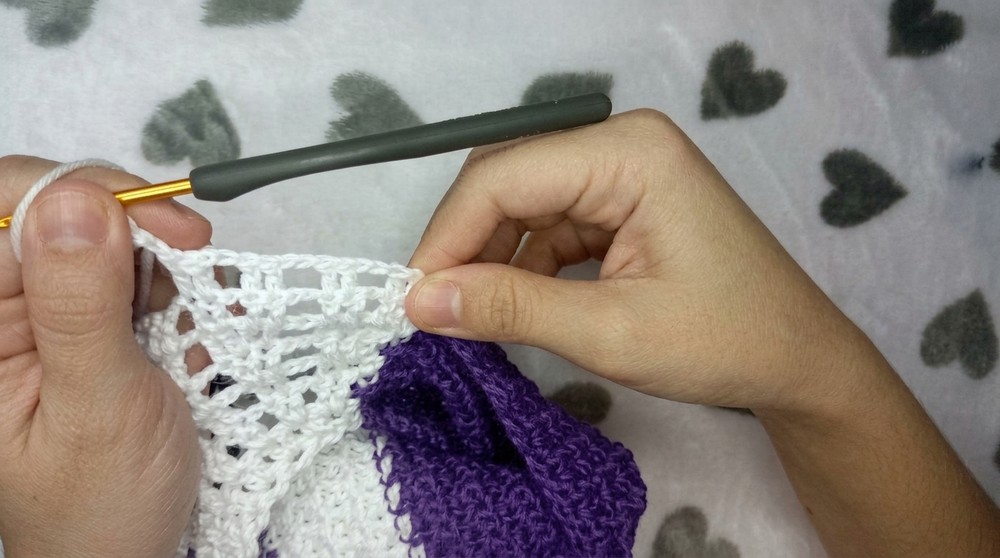
Step 2: Mesh Back Design
Foundation of Mesh Panel
- After completing the purple trinity stitches on the sides, CH 2 (acts as HDC).
- Use the 3.5mm crochet hook for mesh stitches.
Row 1 (Mesh Foundation Row):
- Work 1 HDC in each of the next two stitches.
- CH 2 and skip 2 stitches, then work 2 HDC into the next two STS.
- Repeat [HDC, HDC, CH 2, skip 2] until you complete the row.
Rows 2 to 26:
- To continue the mesh pattern:
- CH 2, turn, work 2 HDC in the first two stitches.
- CH 2, skip 2 stitches, and repeat the row pattern.
- Ensure the mesh panel reaches a length of 26 rows (or 21 cm).

Measure frequently to fit the panel size to your body.
Step 3: Left and Right Panels
- Work the left and right panels using TRC rows, matching the same length as the front trinity stitches.
- Repeat single crochet rows to create clean sides for proper joining with the back mesh panel.
Step 4: Button Band and Buttonholes
Button Band:
- At the right edge, attach purple yarn.
- Use the 2.5mm crochet hook to create clean edges.
- Work 5 rows of HDC for the button band.
Buttonholes:
- On Row 3 of the button band:
- SC to the marked stitch.
- CH 3 (for buttonhole space), skip 2 STS, then continue SC across the band.
- Repeat every 7-8 stitches for subsequent buttonholes.
Step 5: Border and Finishing
- Work a single crochet border around the entire top for a smooth finish.
- Alternate 1 SC and 2 SC rows.
- Ensure all yarn ends are securely woven in.
Step 6: Straps
- Attach purple yarn to the cup top corners.
- Use the 2.5mm crochet hook:
- CH 2, turn, SC into the strap row with [2 DC, CH, 2 DC].
- Work rows until the strap comfortably fits around your shoulder to the back mesh panel (around 28 DC stitches).
- Attach the strap to the 9th row of the back mesh panel using a single crochet join.
Finishing
- Attach buttons securely, ensuring proper alignment with buttonholes.
- Block your crochet top gently to fix shape and drape.
- Trim and secure all loose ends.
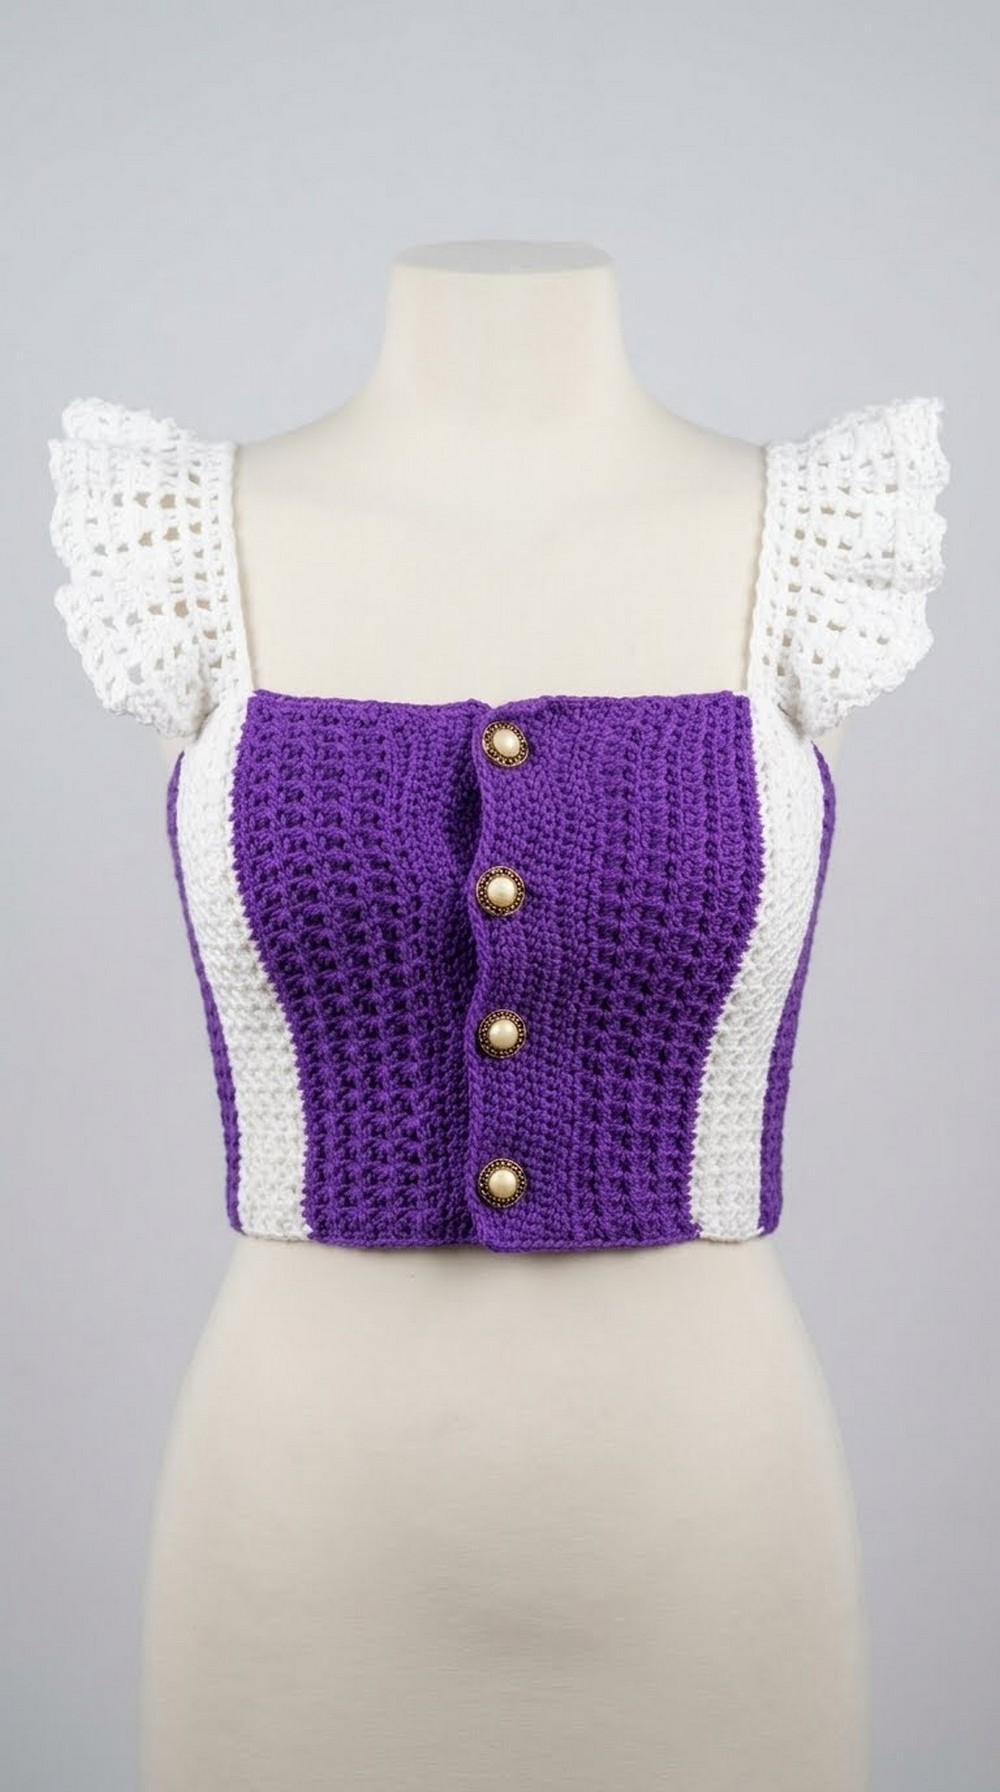
Final Words
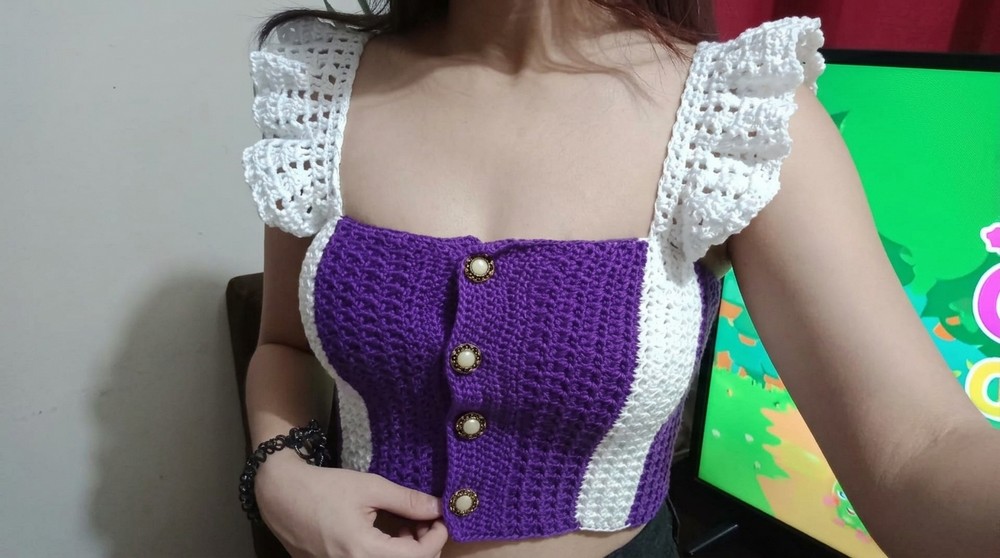
This Purple Trinity Crochet Top offers versatility and elegance. Its breezy back mesh panel and smooth straps combine practicality with aesthetic style. You can adapt this pattern to create different color palettes and combinations for unique versions.
Tips and Maintenance
- Prevent Tightness:
- Maintain a loose tension during construction for a flexible and soft finish.
- Block Regularly:
- Gently block the finished project after each wash to maintain its shape.
- Yarn Care:
- Use yarn with proper washing instructions (e.g., hand washing or machine washable) to preserve its vibrancy and texture.
- Adjust Sizing:
- Modify panel row counts and strap lengths to fit your body measurements perfectly.