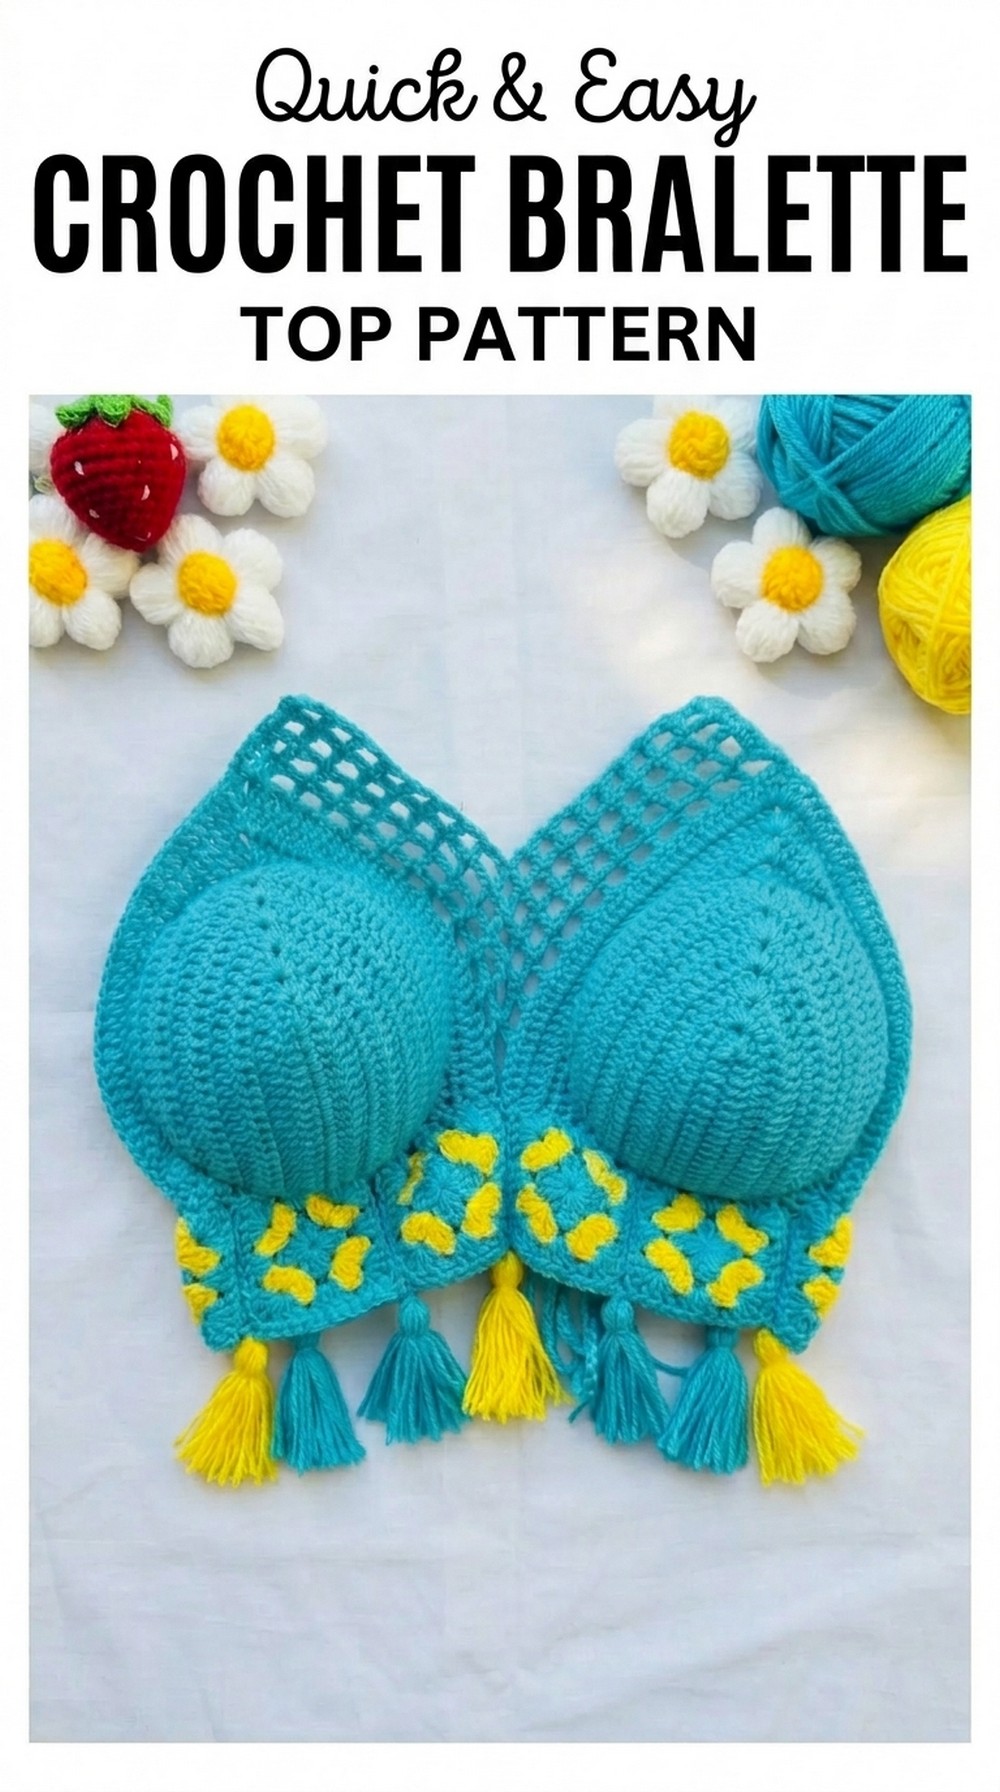
Learn how to crochet a stylish and comfortable bralette top for free, perfect for casual outings, summer vibes, and showcasing your unique personal style.
What’s better than a stylish, breathable top that fits you perfectly? A crochet bralette top you’ve made yourself! With a free crochet bralette top pattern, you can create a one-of-a-kind piece that’s not just fashion-forward but also tailored to your taste. Whether you’re heading to a beach day, a casual outing, or a music festival, this bralette combines effortless charm with ultimate versatility.
Free Crochet Bralette Top Pattern Everyone Will Admire
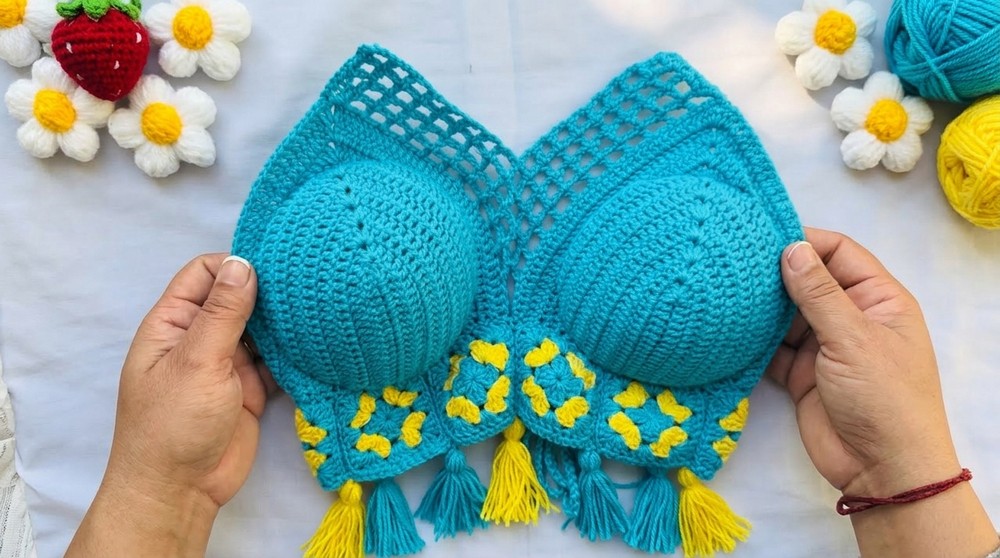
 Layer it under a sheer blouse for a trendy look, pair it with high-waisted shorts for a breezy vibe, or wear it solo to showcase the intricate stitches. The beauty of crocheting your own top lies in the endless possibilities—choose colors, patterns, and textures to perfectly match your style. Beyond its aesthetic appeal, this project fosters creativity, sustainability, and the joy of handmade fashion, all rolled into one.
Crochet Crop Top Pattern
Materials List
Yarn:
- 4-ply cotton or acrylic yarn in desired colors:
- Example used: Blue and Yellow
Hook:
- 2.25 mm crochet hook
Additional Tools:
- Scissors
- Tapestry Needle: For weaving in ends.
- Stitch Markers: To help mark increases or corners.
- Measuring Tape: To ensure accurate sizing.
Skill Level
Intermediate
Key Abbreviations
Written in US crochet terminology.
- CH: Chain
- SC: Single Crochet
- HDC: Half Double Crochet
- DC: Double Crochet
- SL ST: Slip Stitch
- REP: Repeat
- ST(S): Stitch(es)
Special Notes
- Foundation Chains: Ensure the chain count matches your chest size.
- Customization: All measurements (width, body length, straps, and net patterns) are adjustable based on individual size.
- Neat Edges: Weave in all yarn ends securely as you go to maintain a smooth finish.
Pattern Instructions
Step 1: Crop Top Cups
Foundation Chain
- Start by making a slip knot.
- CH 17 chains (this will vary depending on your size).
- Add 1 additional chain for turning.
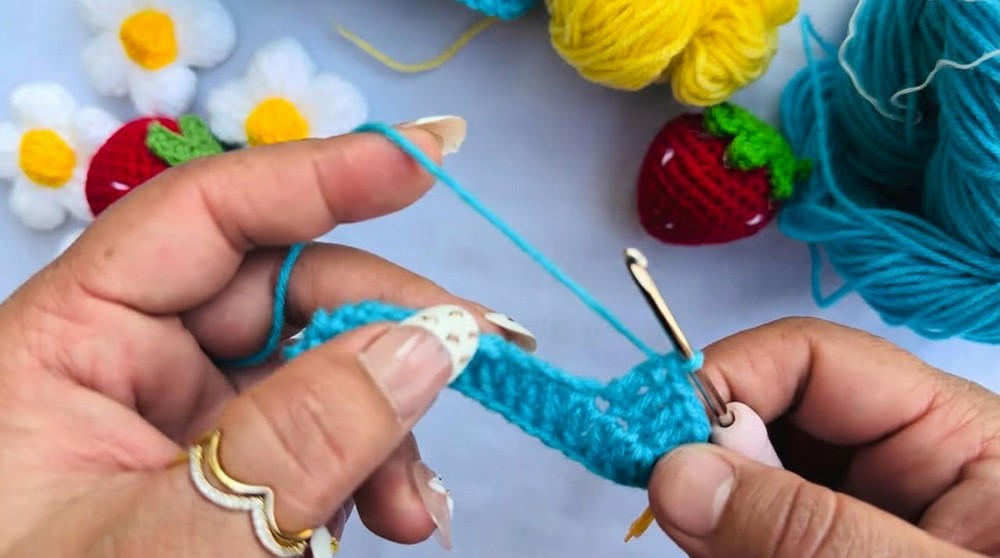
Row 1: Double Crochet Foundation Row
- Skip the first 2 CH (counts as the turning chain).
- Work 1 DC into the 3rd chain from the hook.
- Continue working 1 DC into each chain across.
- At the last chain, increase by placing 3 DC into the same chain (this forms the point of the bust cup).
Row 2: Mirror Side of Cup
- Chain 1 (turning chain), turn your work.
- Place 1 DC into each stitch on the opposite side of the foundation chain.
- Mark the increase point (3 DC cluster at the center) with a stitch marker for future rows.
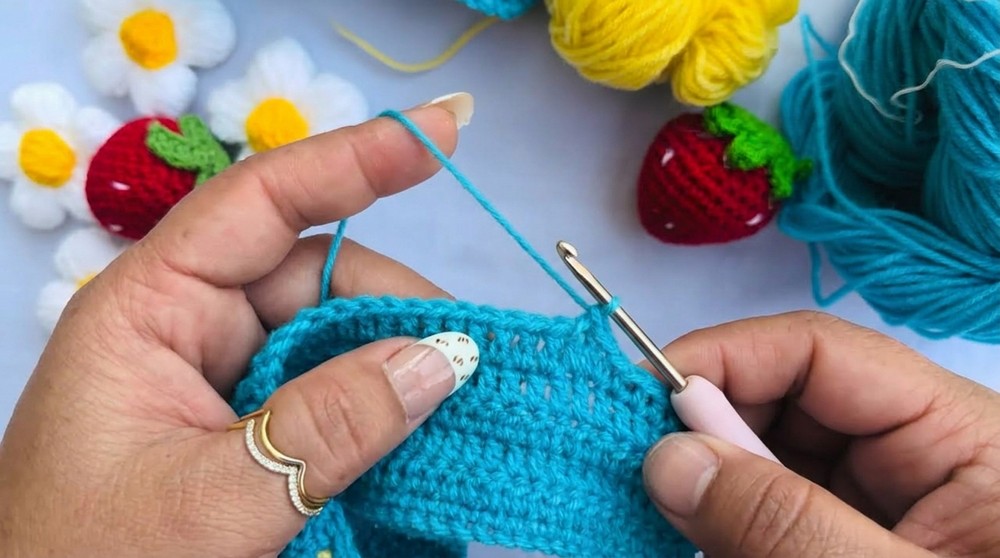
Rows 3 to Desired Height (Cup Shaping)
- Continue in the same pattern, increasing at the center point as follows:
- At each row’s center point, place 3 DC into the marked stitch.
- For outer edges, place 1 DC in each stitch.
- Continue until the cup reaches the desired size.
- Example: Approximately 6 rows.
- Fasten off and weave in the yarn.
Step 2: Create the Second Cup
- Repeat Step 1 to create the second cup.
- Ensure both cups are symmetrical.
Step 3: Join the Cups
- Align both cups side by side.
- In the center joining stitch, attach your yarn and begin working across:
- CH 2, HDC across the bottom edge of the first cup.
- Once the first cup is completed, move directly to the next cup and continue working HDC across its base.
Step 4: Bottom Band (Belt Section)
- Work across both joined cups to create a decorative bottom band.
- Start with your chosen yarn color (e.g., Blue).
- Row 1: CH 4, DC into each stitch along the base of the joined cups.
- Chain 1 after every 3 stitches for small gaps.
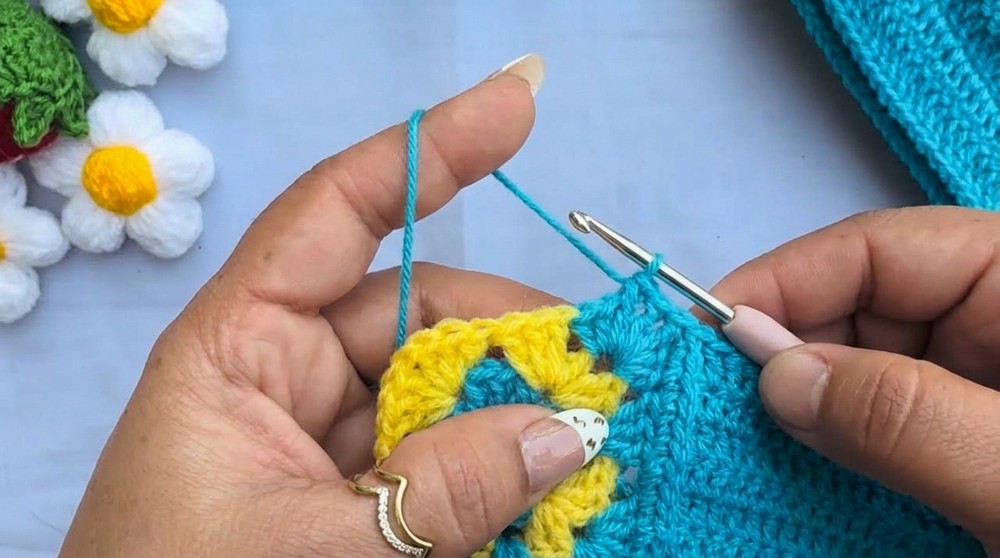
- Chain 1 after every 3 stitches for small gaps.
- Row 2: Switch to the next color if desired.
- Create a repeating pattern of 3 DC, 1 CH, and skip 1 ST along the row to form a net-like pattern.
- Continue this alternating “DC and chain” pattern to the desired length (~3-5 rows).
Step 5: Neckline Net Design
- Attach Yarn to Center Top Point of Cup:
- CH 4 and attach it to the top point of the cup base.
- Work a net pattern as follows:
- CH 4, skip 2 stitches, and work DC into the next stitch.
- Repeat this pattern (CH 4, DC) across the neckline for a lacy look.
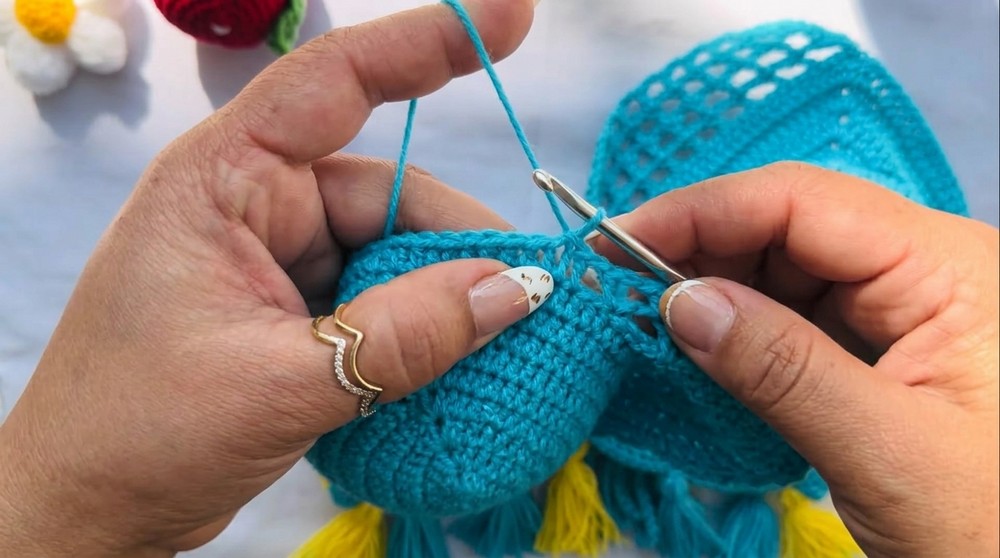
- For the second row, connect the layers by:
- Working DC in the gaps from the previous row.
- Repeat for 3-5 rows. Tie off yarn and weave in ends.
Step 6: Tassels
How to Create Tassels:
- Take a thread (e.g., Blue/Yellow) and cut several strands of equal length.
- Fold in half to form a loop.
- Use a smaller thread to tie off the top loop securely.
- Trim the tassel ends evenly.
Attach Tassels:
- Using a yarn needle, attach tassels to the bottom band or neckline loops for added flair.
Step 7: Side and Strap Connections
Side Straps:
- Attach yarn to any bottom corner of the cups.
- Work a CH strap to your desired length for tying around the torso.
Neck Straps:
- Attach yarn at the top of each cup.
- CH your desired strap length for tying behind the neck.
- Fasten off and weave in yarn.
Conclusion
This Crochet Crop Top combines elegant textures with simple assembly steps. The combination of lacework, tassel detailing, and vibrant colors creates a bold, summery design perfect for casual outings or the beach.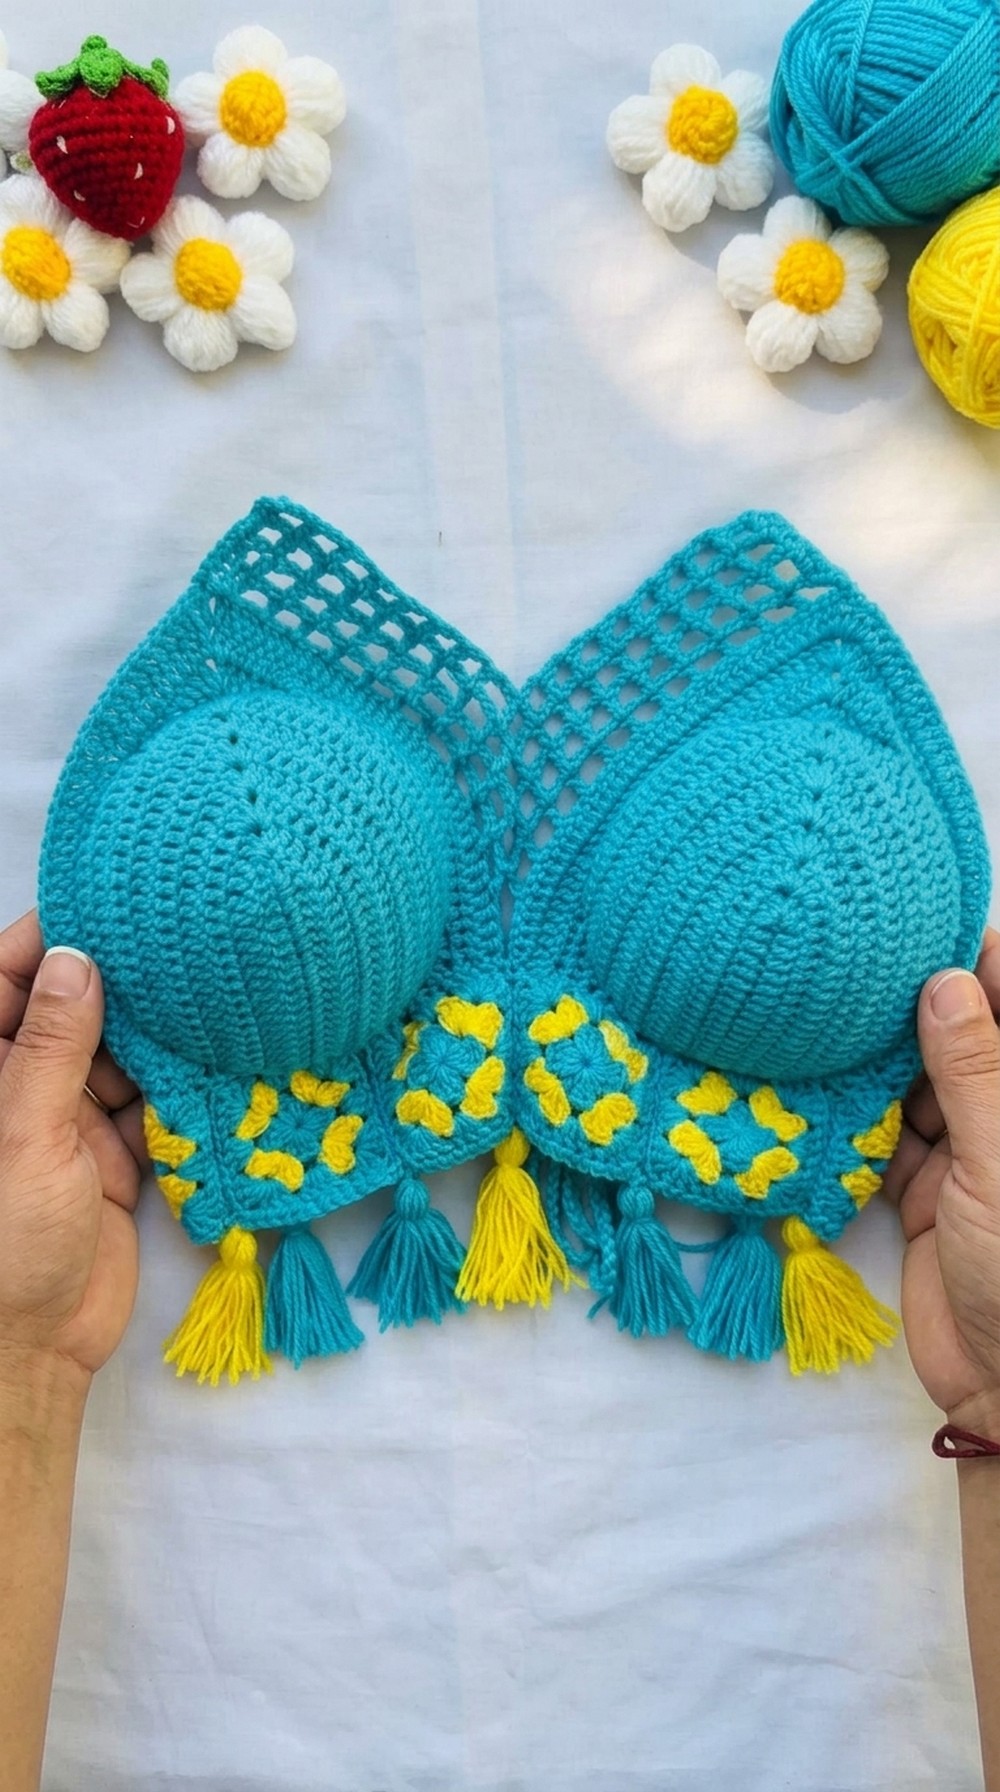
Pattern Corrections
- When turning rows, ensure accurate stitch counts, particularly in the DC increases at the cup points. Missing increases can cause the cups to lose their shape.
- For symmetry, always align the starting stitch on both cups when joining.
Tips
- Custom Fit: Adjust the chain lengths and row counts based on your measurements.
- Durability: Reinforce tassels and strap joins to prolong wear.
- Blocking: Lightly block the final top for a polished finish and proper shaping.