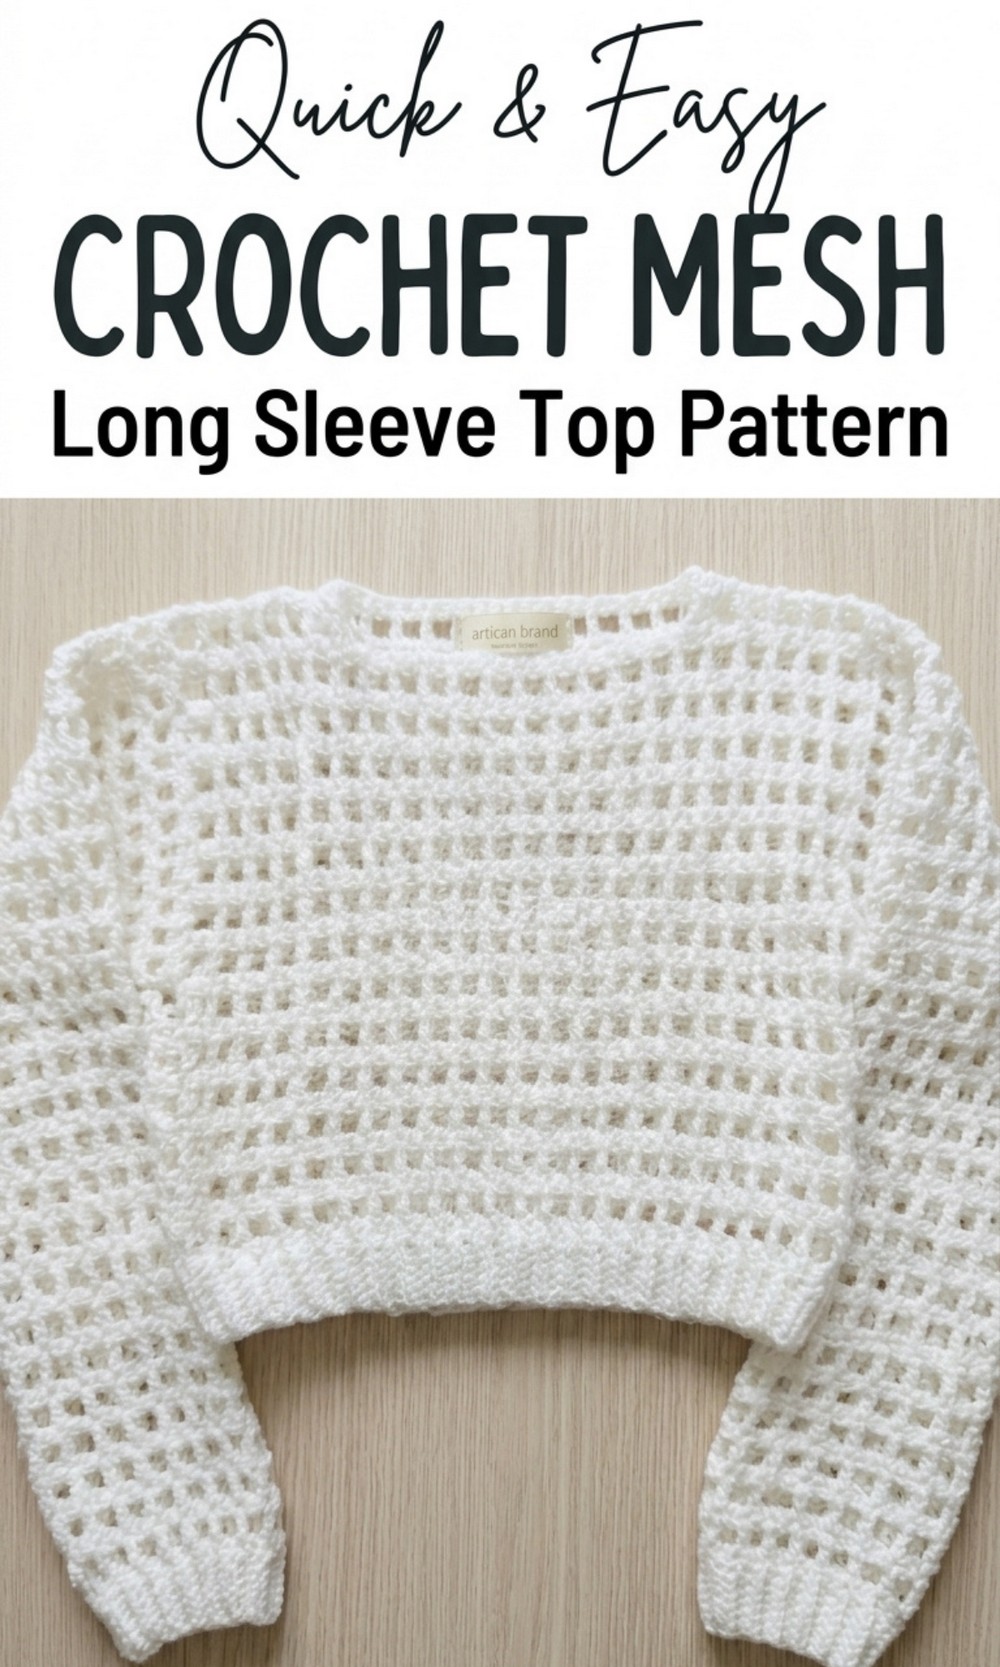
Stay cool and stylish with the Crochet Mesh Top Pattern that’s for sunny days and enjoying breathable comfort with a handmade touch.
Tired of tops that feel heavy and suffocating on warm days? The Crochet Mesh Top pattern offers a lightweight, airy alternative that keeps you cool while looking effortlessly stylish. Perfect for sunny afternoons or casual evenings out, this top can be layered over a simple camisole or paired with high-waisted shorts for a modern, chic look.
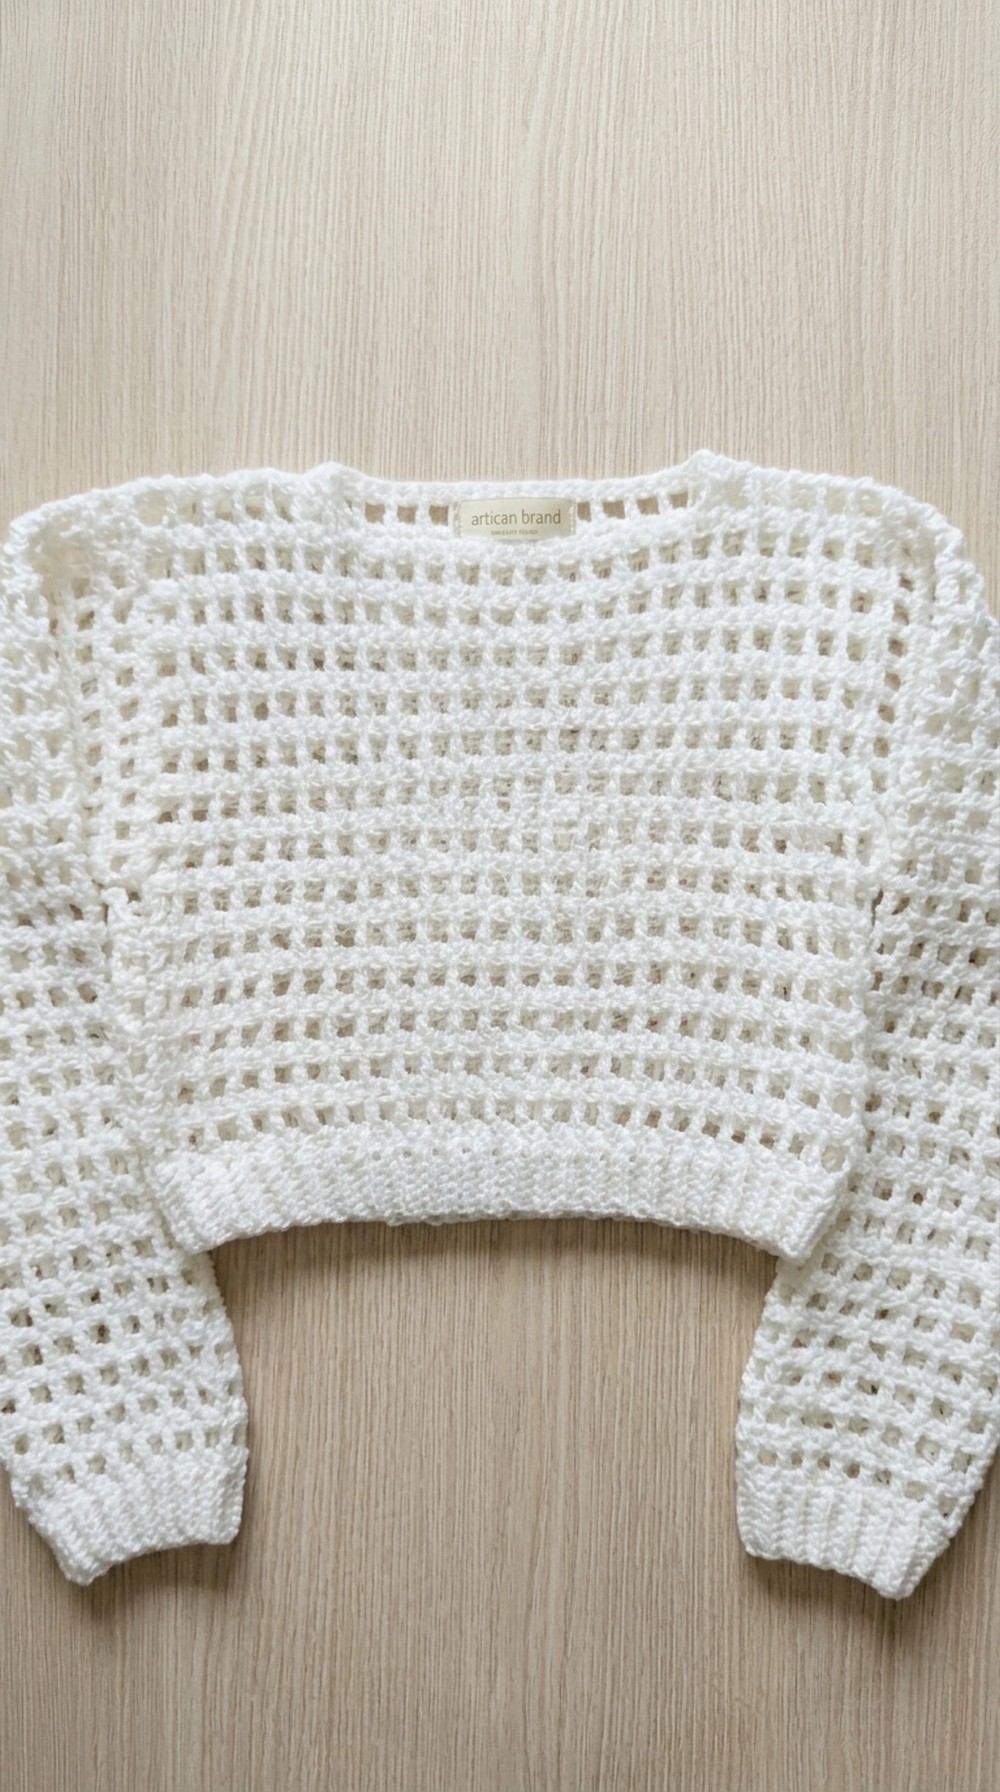
Free Crochet Mesh Top Pattern for Stylish Summer Outings
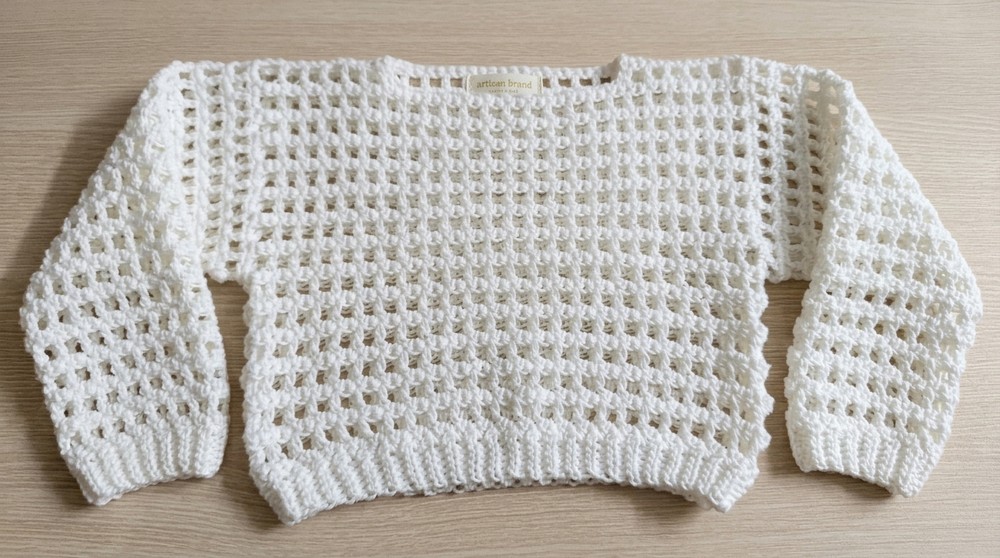
The openwork design not only enhances breathability but adds a delicate, handmade charm to your wardrobe. Ideal for beach trips, coffee dates, or weekend strolls, the Crochet Mesh Top pattern combines comfort, style, and a flattering fit. Its easy-to-wear elegance makes it a versatile choice for anyone wanting fashion and function in one graceful piece.
Crochet Simple Mesh Top Pattern
Skill Level
Beginner to Intermediate
This pattern is suitable for anyone familiar with basic stitches like single crochet, double crochet, slip stitches, and using stitch markers to join panels.
Materials
- Yarn:
- Medium weight acrylic yarn (e.g., size 4) in white; adjust based on size.
- Hook Size:
- 5 mm crochet hook (adjust for personal tension).
- Additional Tools:
- Measuring tape
- Yarn needle for weaving in ends and joining panels
- Scissors
- Stitch markers
Key Abbreviations (US Terminology)
- ch: Chain
- sc: Single Crochet
- dc: Double Crochet
- sl st: Slip Stitch
- BLO: Back Loop Only
- yo: Yarn Over
Special Notes
- The foundation chain should be half of the bust circumference. Ensure this chain length is a multiple of 2 to align with the mesh pattern.
- Measurements provided in this pattern are based on a bust circumference of 36 inches. Adjust for larger or smaller sizes.
- Panels are worked flat, then joined before adding sleeves or leaving as a sleeveless top.
Step-by-Step Instructions
Part 1: Front and Back Panels
Step 1: Foundation Chain
- Create a slip knot and chain the length equivalent to half of your bust measurement.
- For example: With a bust circumference of 36 inches, chain for 18 inches when slightly stretched.
- Ensure the chain length is a multiple of 2. In this case, ch 50 for a tutorial example.
- Row 1 – Single Crochet (Base Row):
- Skip the first ch. Insert hook into the second ch and work 1 sc into each ch across.
- The number of sc will be 1 less than the foundation chain (e.g., 49 sc for a foundation chain of 50).
- At the end of the row, turn your work.
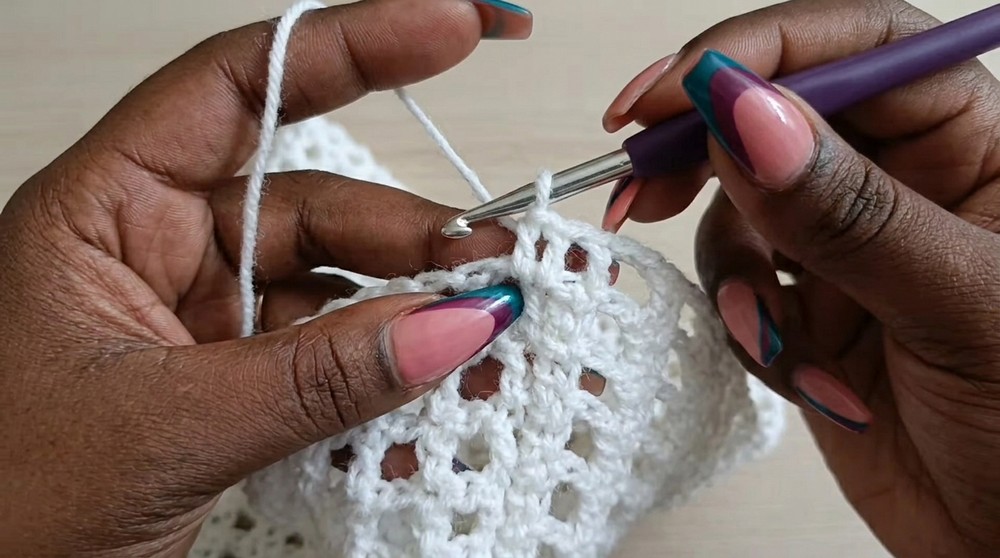
Step 2: Mesh Pattern
Row 2 – Mesh Row (Double Crochet with Chains)
- Ch 4 (counts as 1 dc + 1 ch).
- Skip the next 2 stitches, and dc into the third stitch.
- Repeat Pattern:
- Chain 1, skip the next stitch, and dc into the next stitch.
- Continue until the end.
- At the end of the row, ch 1 and work the final dc into the last stitch.
Row 3 – Single Crochet Row
- Ch 1 and turn.
- Work 1 sc into each stitch, including into the chain-1 spaces between the dc stitches.
- This creates solid rows alternating with the mesh rows.
Step 3: Repeat Row Pattern
- Alternate between mesh (dc with chain) rows and single crochet rows.
- Repeat until the length of the panel reaches 1 inch less than your desired top length.
- Example: For a length of 15 inches, stop at 14 inches (~29 rows).
- Repeat until the length of the panel reaches 1 inch less than your desired top length.
- Always end with a single crochet row to prepare for the ribbing section.

Part 2: Ribbed Hem
Creating the Ribbing
- Ch 6 at the end of the last sc row, turn.
- The ribbing will add 1 inch to complete the desired length.
- Work sl sts into the back loops only (BLO):
- Skip the first ch, and sl st into each of the remaining 5 ch stitches.
- Slip Stitch Attach:
- Sl st into the next 2 stitches of the panel, turn.
- Ribbing Row:
- Work sl sts into the BLO of the previous 5 sl sts.
- Repeat:
- Attach the ribbing to the panel in 2 sl st increments, turn, and work into the BLO to continue ribbing.
- Repeat until ribbing is attached to the entire row of the panel.
- Fasten Off:
- Once the ribbing is completed, cut yarn and weave in ends securely.
Part 3: Joining Panels
Step 1: Identify the Center and Shoulder Areas
- Place the two panels together, wrong sides facing out.
- Use stitch markers to define the neck opening:
- Locate the center of the panel.
- Mark 4 inches on each side of the center for the neck opening.
- You should have 12 stitches on either side of the neckline markers for a symmetrical fit.
Step 2: Seam the Shoulders
- Attach the yarn to the first stitch of one shoulder, and match it to the corresponding stitch on the other panel.
- Work 1 sc into each pair of stitches across the shoulder, joining the panels.
- Repeat for the other shoulder and fasten off.
Step 3: Joining the Sides
- Measure and mark 8 inches from the shoulders for the armholes.
- Starting from the bottom edge, match stitches and work 1 sc into each pair of stitches up to the stitch marker. Fasten off.
- Repeat for the other side to finish seaming.
Part 4: Sleeves (Optional)
Step 1: Sleeve Foundation
- Attach yarn to the armhole by working into the seam stitch.
- Round 1:
- Work sc evenly along the armhole opening to prepare for the mesh pattern.
- Use 2 sc in the edges of double crochet rows and 1 sc in single crochet rows.
- Slip stitch to the first sc to close the round.
Step 2: Mesh Pattern for Sleeves
- Repeat Mesh Pattern:
- Begin the mesh pattern (dc with chain spaces) as you worked in the main top section.
- Alternate with sc rounds, adjusting the number of rows for your desired sleeve length.
- Example for Full-Length Sleeves: Work 48 rows of alternating mesh and sc rounds.
Finishing the Top
- Weave in Ends: Secure all loose ends with your yarn needle.
- Block (Optional): Lightly block the finished piece to smooth stitches and achieve the correct measurements.
Conclusion
Your Simple Mesh Top is now complete! This lightweight top is perfect for layering or summer wear. With easy-to-follow instructions and a flexible pattern, you can adjust the sizing or sleeve design to suit your style.
Pattern Corrections/Adjustments
- Always ensure foundation chains are multiples of 2.
- Adjust ribbing rows for a looser or tighter hem fit.
Tips for Success
- Measuring: Always take bust measurements and make the panels slightly snug as acrylic yarn stretches with wear.
- Sleeve Width: Increase or decrease by adding or omitting initial stitches during the sleeve foundation.
- Light Tension: Keep stitches relaxed to maintain an even mesh pattern.