
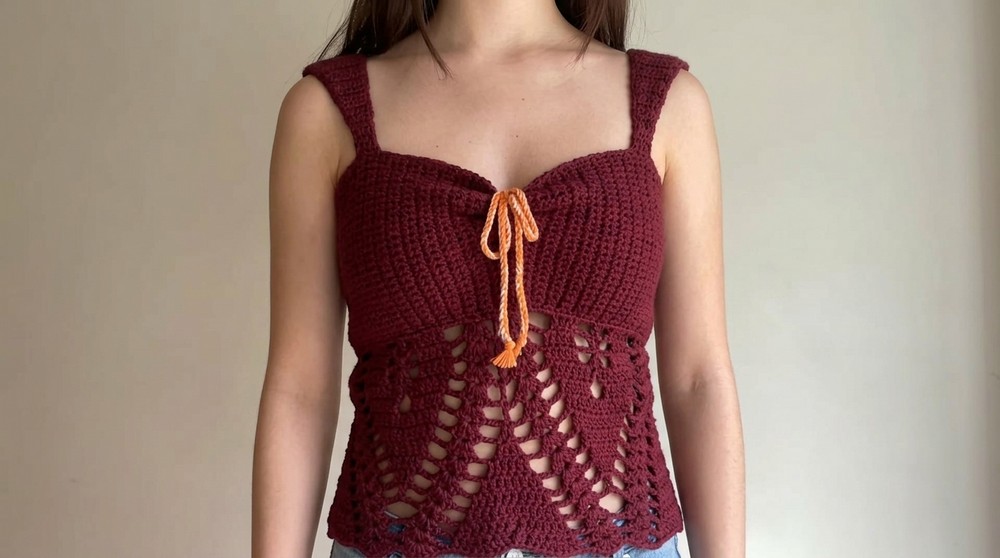
Bring a soft, elegant look with the Free Crochet Fiona Lace Top Pattern and create a light, top that’s perfect for summer days, and adding charm to your outfits.
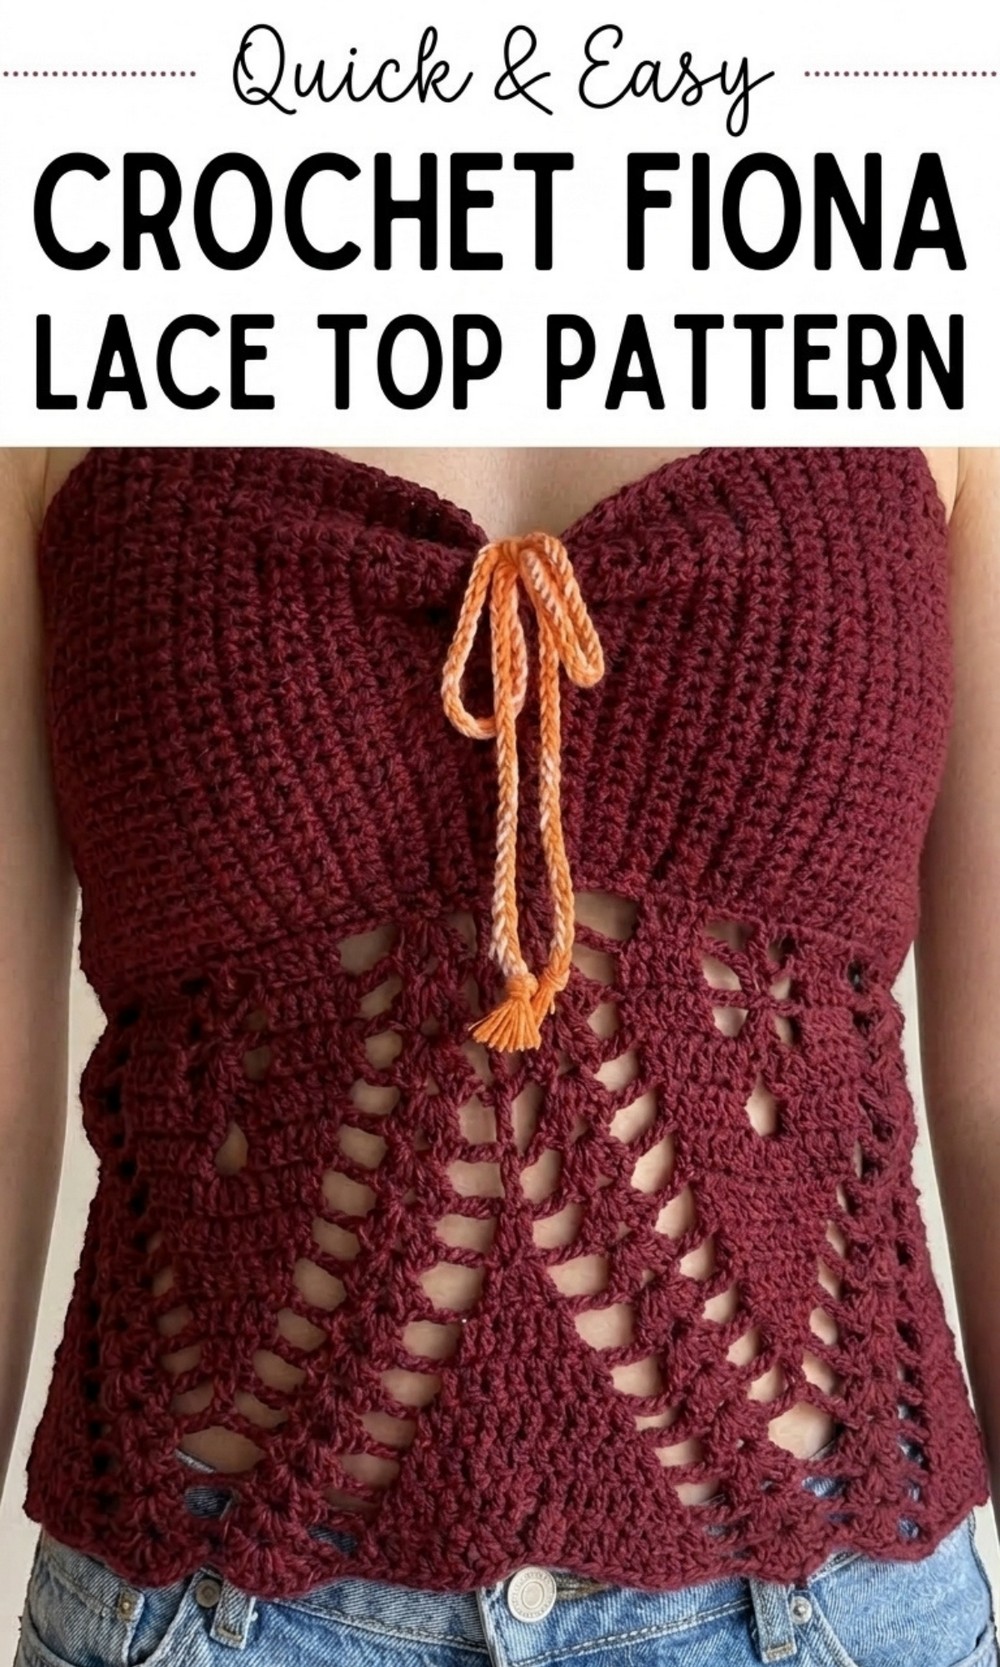
Free Crochet Fiona Lace Top Pattern That’s So Easy to Style
Upgrade Your Wardrobe with This Free Crochet Lace Top that is both beautiful and practical. It is a light, stylish, and easy to make piece that’s perfect for casual outings, beach days, or even layering over your favorite outfits. Its delicate lace design and flattering cinched neckline make it a standout addition to your collection.
The top is both breathable and comfortable, making it ideal for warm weather. This free crochet pattern is simple to follow, even for beginners, and uses basic stitches like single and double crochet to create an elegant lace effect. 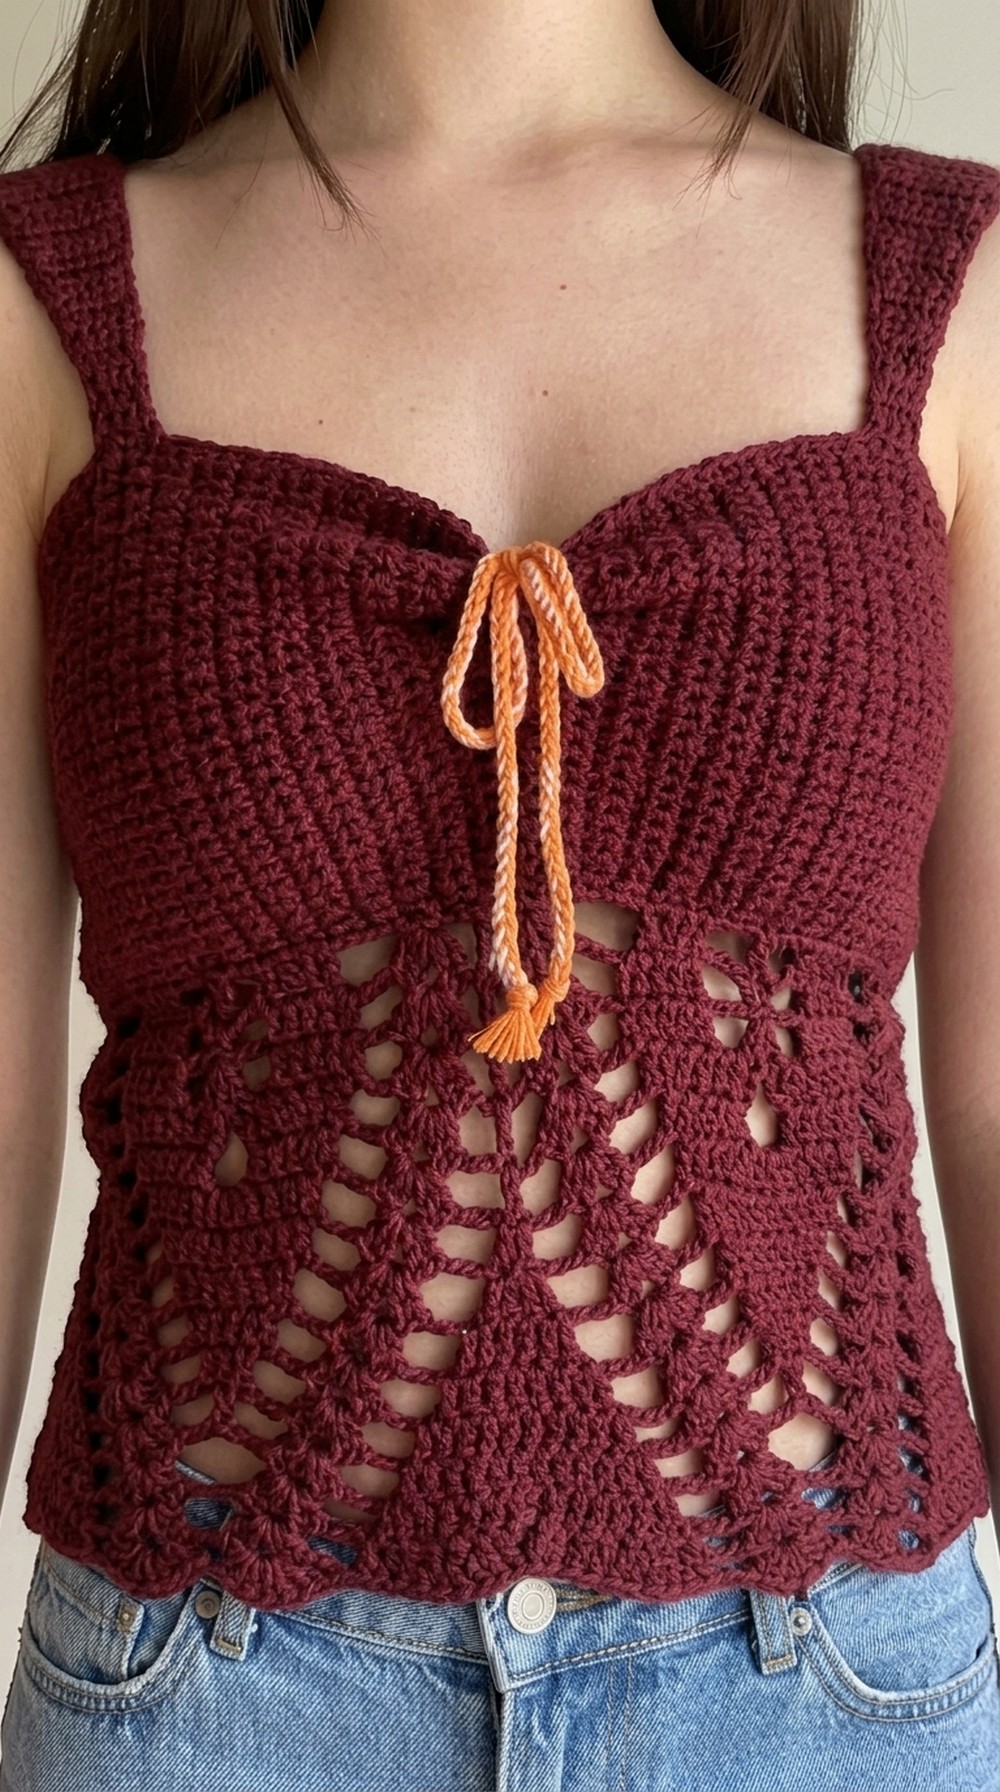
The adjustable straps make it wearable for all sizes, while the soft texture adds extra comfort. Whether you’re looking to improve your crochet skills or crochet a stunning handmade fashion piece, this beautiful lace top is the perfect project for you.
Crochet Fiona Lace Top Pattern
Materials Needed
To create the Fiona Top, gather the following:
- Base color yarn: Loops and Threads Impeccable Acrylic Yarn (285 yards; use 2 balls).
- Highlighting yarn: For decorative bows and ties.
- 4mm crochet hook.
- Flexible measuring tape: To ensure proper fitting.
- Needle: For sewing lace panels to the top.
- Scissors: To cut and trim yarn.
Special Techniques Used
This pattern contains advanced crocheting techniques. Ensure that you are comfortable with the following:
- Single Crochet (SC).
- Double Crochet (DC).
- Slip Stitch (SS).
- Puff Stitch.
- Blocking (optional for shaping).
- Crochet decreases for shaping.
Step by Step Instructions
1. Measure Yourself for the Top
Take three essential measurements:
- Rib Cage Measurement: Wrap the tape around your rib cage, directly under your bust.
- Bust Height: Measure from above your bust (near the armpit) down to the rib cage.
- Divide the rib cage measurement in half, as this will dictate the starting chain length for the back panel.
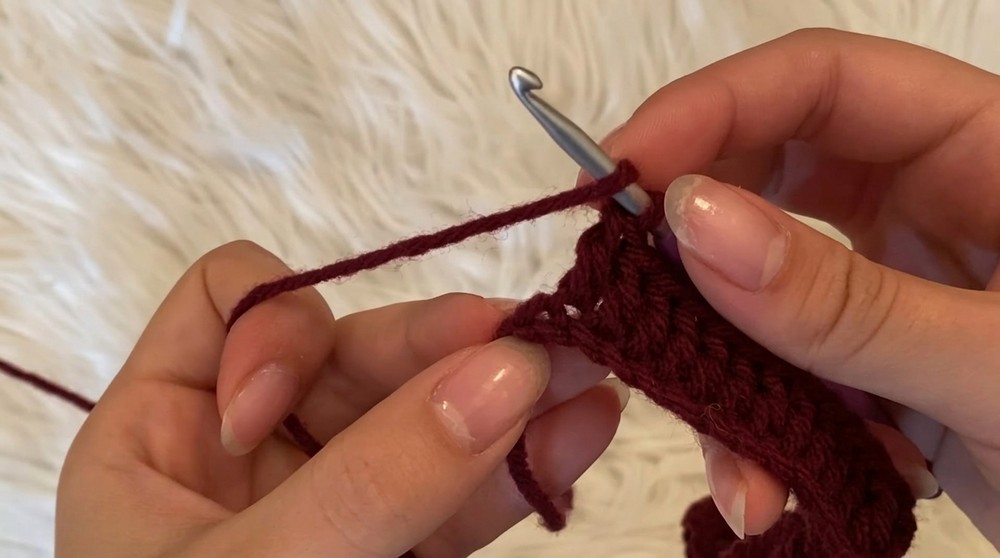
2. Crochet the Back Panel
- Slip Knot: Start with a slip knot on your hook.
- Chain: Chain the length equal to half of your rib cage measurement. Slightly stretch the chain (if using acrylic yarn).
- Row 1: Chain 2, DC into the 3rd chain from the hook. DC in each chain until the end.
- Rows 2+: Chain 2, turn, DC into each stitch across. Repeat until the height matches your bust measurement.
3. Crochet the Bust Panels
Each bust panel covers half of the back panel:
- Row 1: Chain 1, SC twice into each DC row along one edge of the back panel.
- Rows 2+: Chain 1, turn, SC into each stitch across. Repeat until the panel height equals half of the back panel.
- Bind Off: Secure the end and cut the yarn. Repeat on the other side for symmetry.
4. Add the Cinched Neckline
- Create a drawstring with the highlighting yarn for the neckline:
- Measure two wingspans of yarn, make a slip knot, and knot tightly.
- Pull the drawstring through loops along the top panel using the crochet hook method described in the tutorial.
- Cinch the neckline for a snug fit. Tie a bow at the top for decoration.
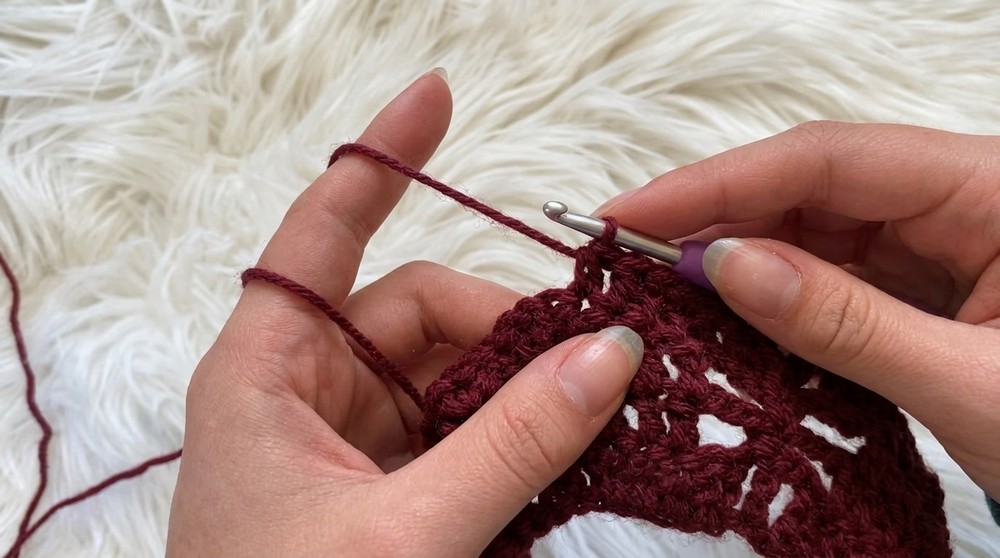
5. Crochet the Lace Panel
The lace panel adds elegant detail to the bottom edge of the top and follows a complex pattern:
- Foundation Chain: Chain a multiple of 29 + 1, slightly smaller than your rib cage measurement.
- Row 1: Double crochet, puff stitch, and chain sequences according to the pattern diagram. Adjust tension carefully.
- Continue Rows: Follow the lace stitch pattern for successive rows (recommend consulting the diagram in the video description for visual guidance).
6. Assemble the Lace Panel
- Block the lace panel using steam or preferred techniques.
- Align the non stretchy edge of the lace panel with the top bust panel. Pin and mark both ends for proper positioning.
- Sew the lace panel securely using the needle and yarn, ensuring it fits snugly around the bottom edge of the top. Leave a small gap at the back for comfort.
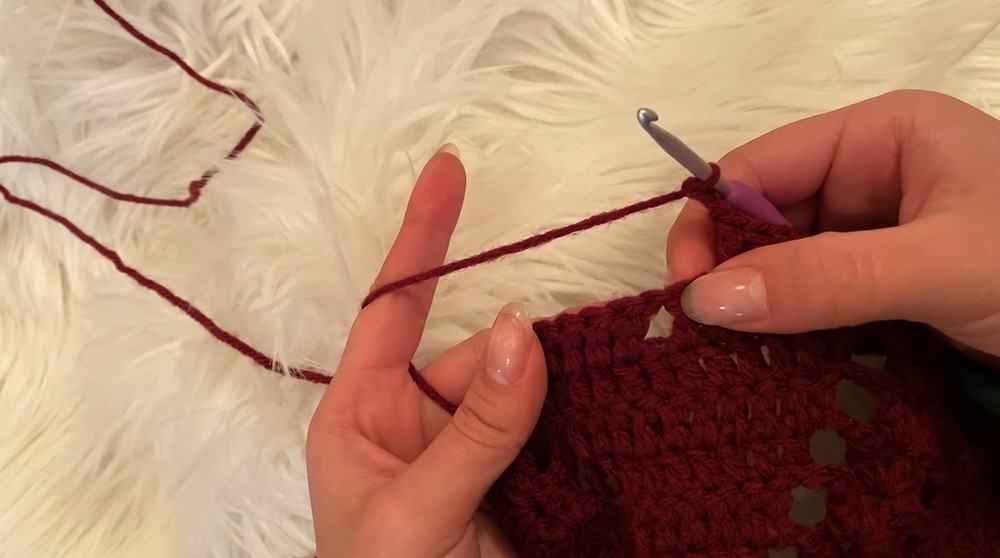
7. Create Straps for the Top
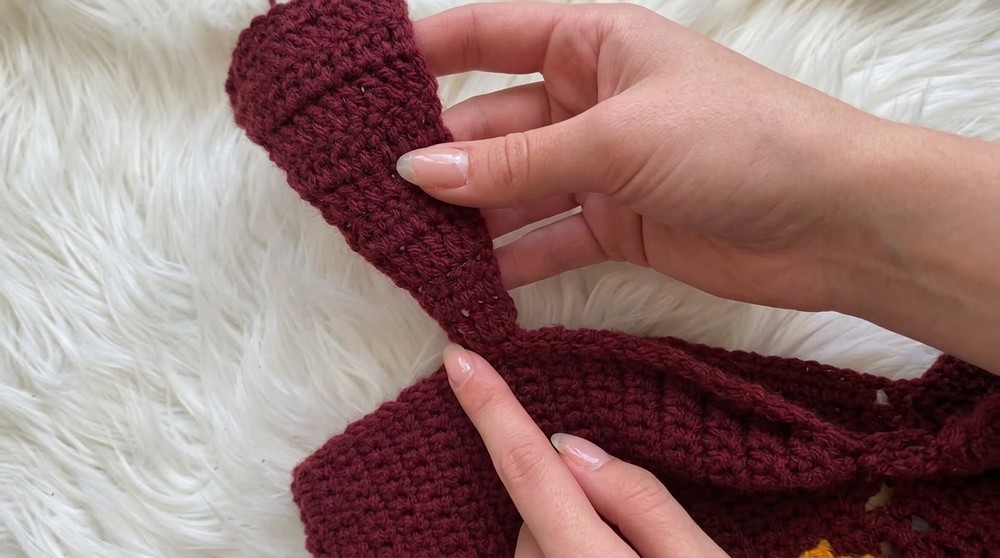
- Start Straps: Mark positions for straps at the front and back to align with your bra straps.
- Front Straps: Use DC rows with increases on one side to create a slant. Stop when the strap reaches the desired height.
- Back Straps: Use DC rows with decreases on one side to shape the back strap. Align straps perfectly and secure them to the top using slip stitches.
Finishing the Pattern
- Secure all loose ends and weave them in using the needle.
- Adjust the fit by cinching the neckline and testing the strap length and lace snugness.
- Block the top to finalize the shape (optional but recommended).
Tips to Maintain Your Top
- Wash gently following yarn care instructions (hand wash or machine wash on mild).
- Avoid stretching the neckline excessively to maintain its shape.
- Store the top folded neatly to preserve the lace panel’s design.
Final Words
Congratulations on completing your Fiona Top, This project showcases creativity and advanced crochet skills. Every stitch is a labor of love, resulting in a unique handmade piece that you’ll treasure. If you enjoyed this project, continue practicing with more patterns to expand your skill set.