Make a fun and breezy crochet mesh top with this easy free pattern that’s perfect for sunny days, stylish looks, and adding your own creative touch.
Creating a light and breezy top that’s perfect for warm days and fun outings. This pattern helps you make a beautiful mesh top with a stunning open design that looks stylish on anyone. It’s so airy and comfortable that you’ll want to wear it all the time. The top is designed to be simple and fun to create, even for beginners. You can customize it with different colors, making it unique and perfectly suited to your style.
Free Crochet Mesh Top Pattern: Perfect Fit for All Sizes
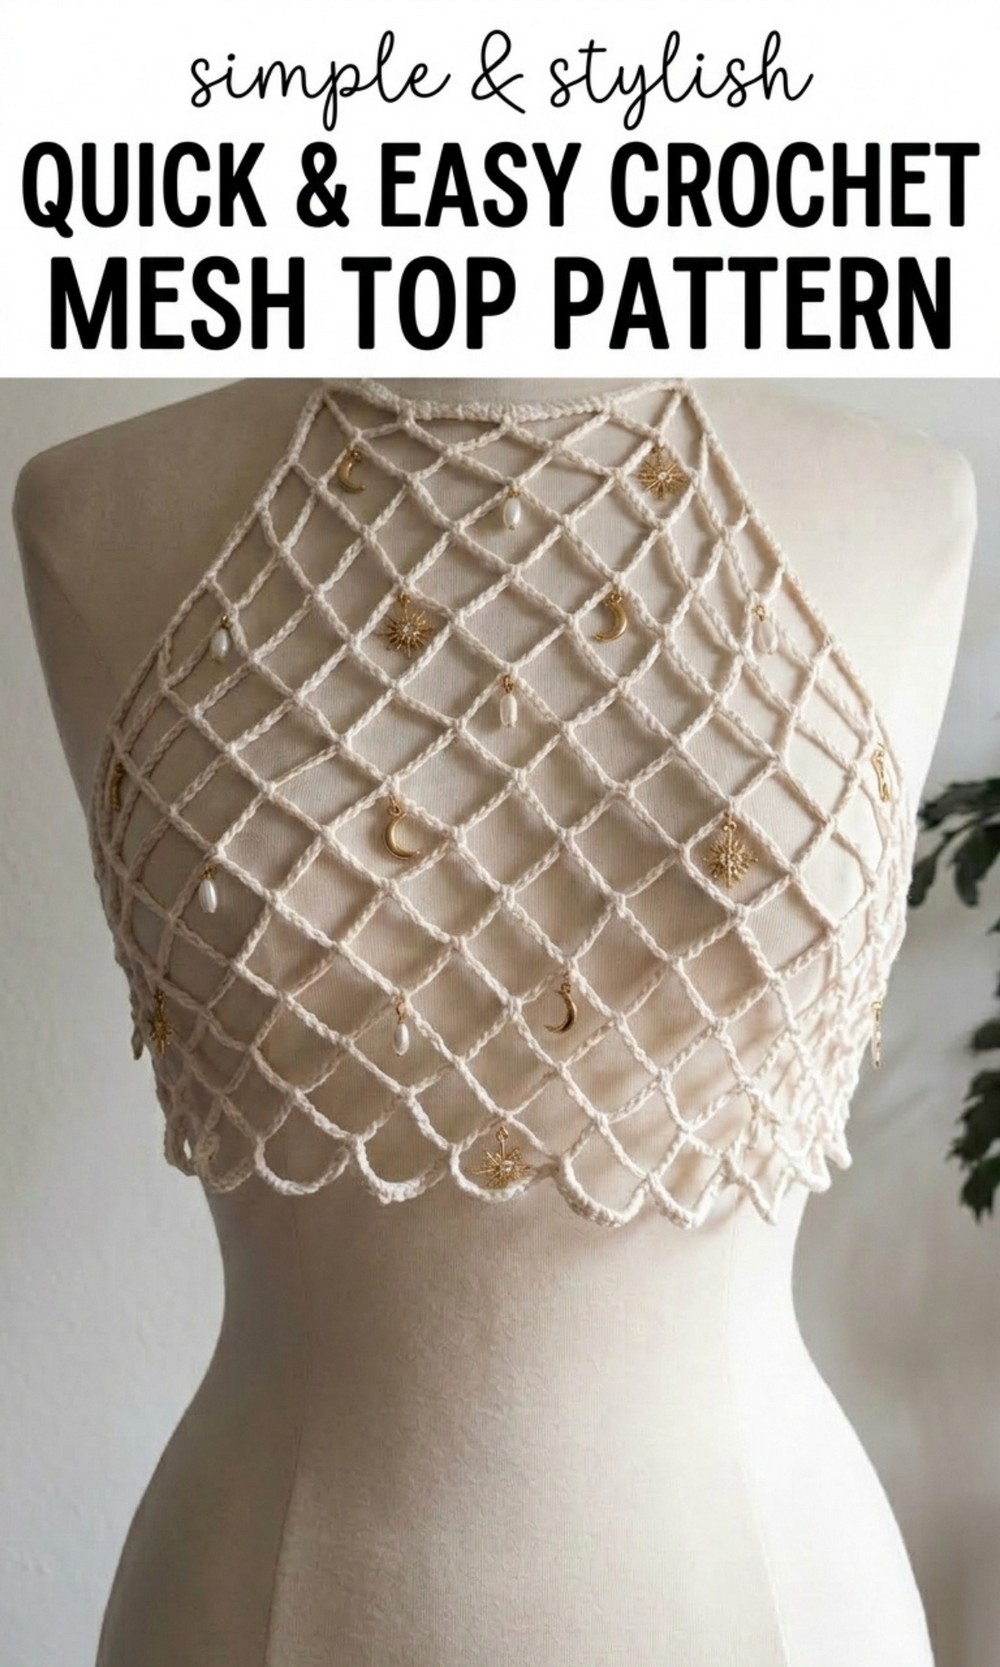
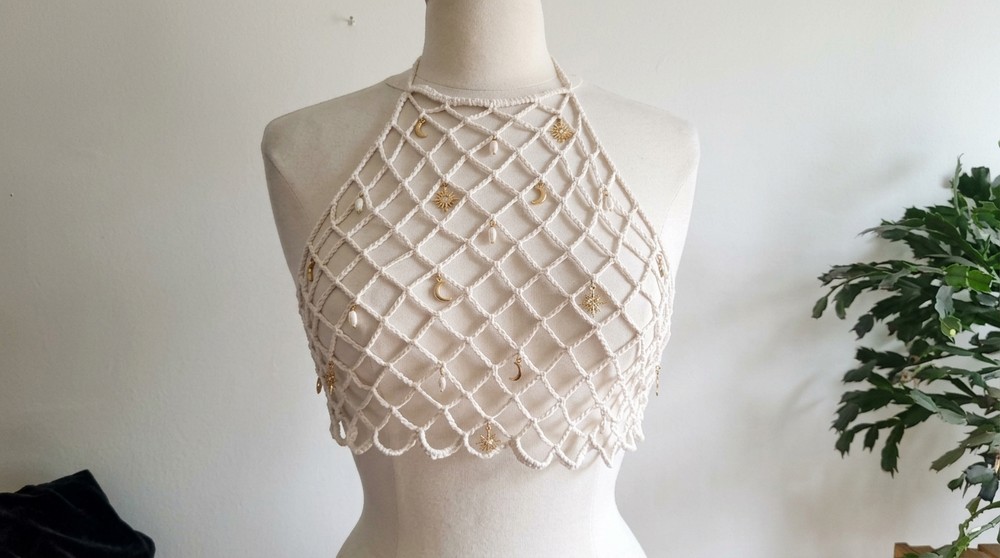
The mesh design not only makes it breathable but also gives it a trendy, modern appearance. Wear it over a tank top, swimsuit, or even as a layering piece for a casual look. This project is not just about creating something useful; it’s about enjoying the beauty of crochet and making a piece that you’ll proudly show off.
Easy Crochet Mesh Top Pattern
Materials Needed
- Yarn: Lightweight or medium-weight yarn that stretches well (such as cotton or acrylic). Choose a color combination that complements your style.
- Crochet Hook: Select a hook size suitable for your yarn (recommended size: 4mm or 4.5mm).
- Stitch Markers: At least one, to mark specific stitches.
- Scissors: To cut the yarn at the end of rows or straps.
- Tapestry Needle: To weave in ends after finishing.
- Optional: Charms or beads for personalization.
Gauge
This pattern uses squares as the base structure, and the design stretches to fit various sizes. However, gauge is important for consistency:
- Measure after finishing the first square: 1 square should be approximately 4” x 4” (10cm x 10cm).
- Adjust your hook size or tension if your square is larger or smaller than this measurement.
Finished Size
The top works for most sizes due to its stretchy nature. To ensure it fits comfortably:
- Make 16 squares for an average size (S/M).
- For larger sizes (L+) add more rows of squares (instructions included).
Pattern Instructions
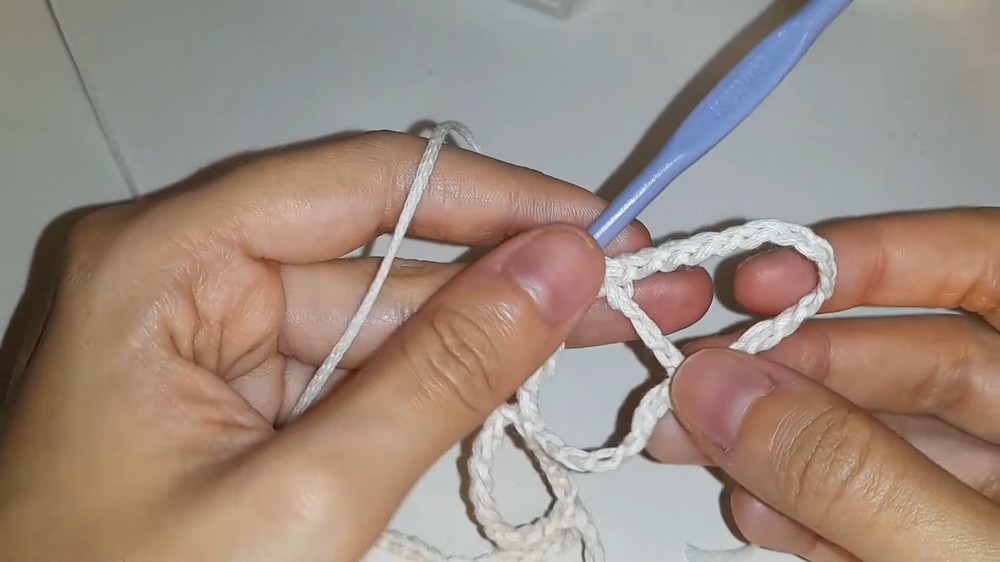
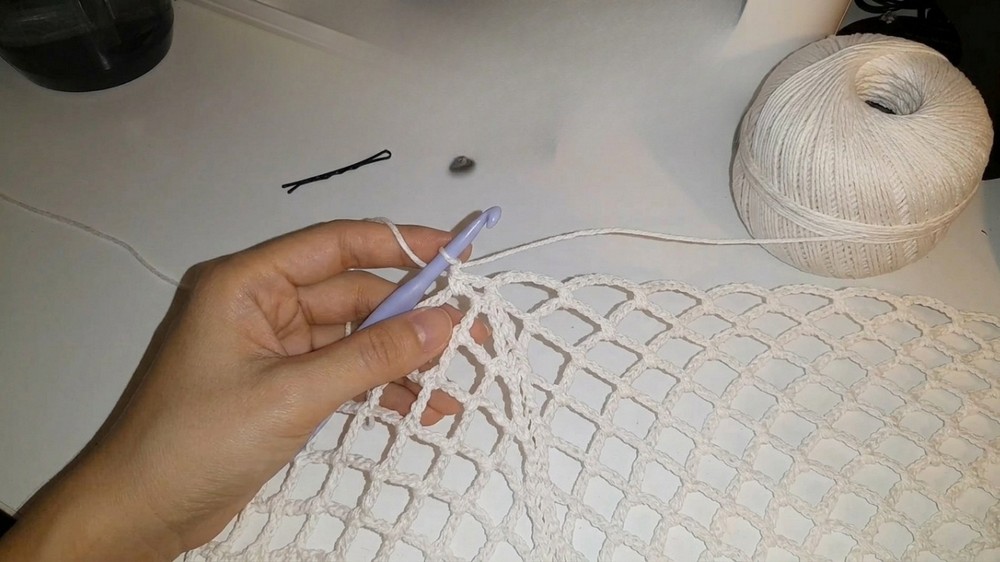
Step 1: Chain Foundation
- Start with a Slip Knot
- Begin your project with a basic slip knot.
- Chain Stitch Base
- Chain 29 stitches for the foundation row.
- Place a stitch marker on the 29th chain to keep track.
- Add Extra Chains
- Chain 10 more stitches.
Step 2: Create First Row of Triangles
- Skip Chains
- Skip 6 chains behind the stitch marker.
- Single Crochet
- Insert your hook into the 7th chain and make a single crochet (SC).
- Chain 10
- After the single crochet, chain 10 stitches.
- After the single crochet, chain 10 stitches.
- Repeat Triangle Pattern
- Skip 6 chains, then work a single crochet into the 7th chain.
- Continue this pattern until you reach the end.
- Chain 15 (End of Row)
- To turn the row, chain 15 stitches, then turn your work.
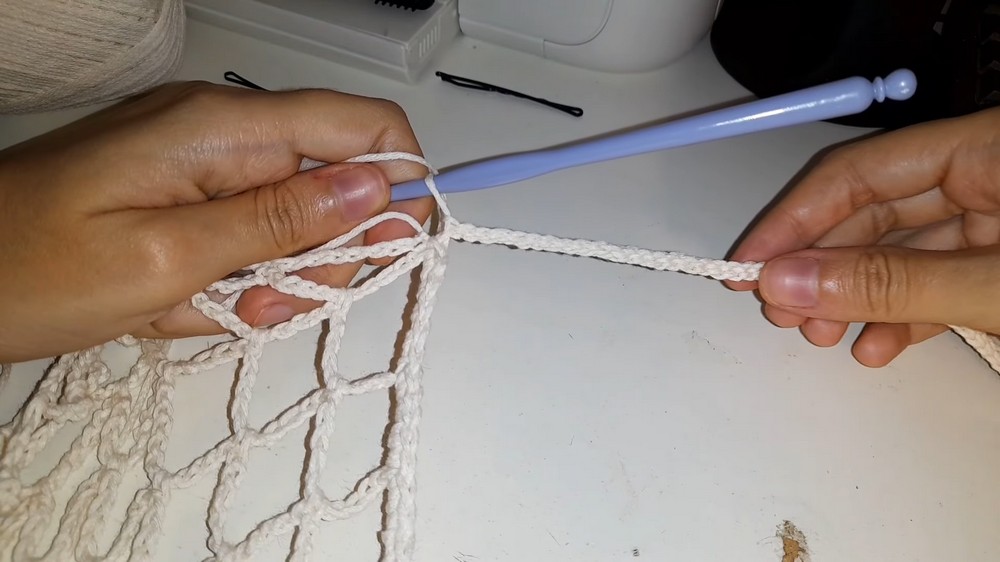
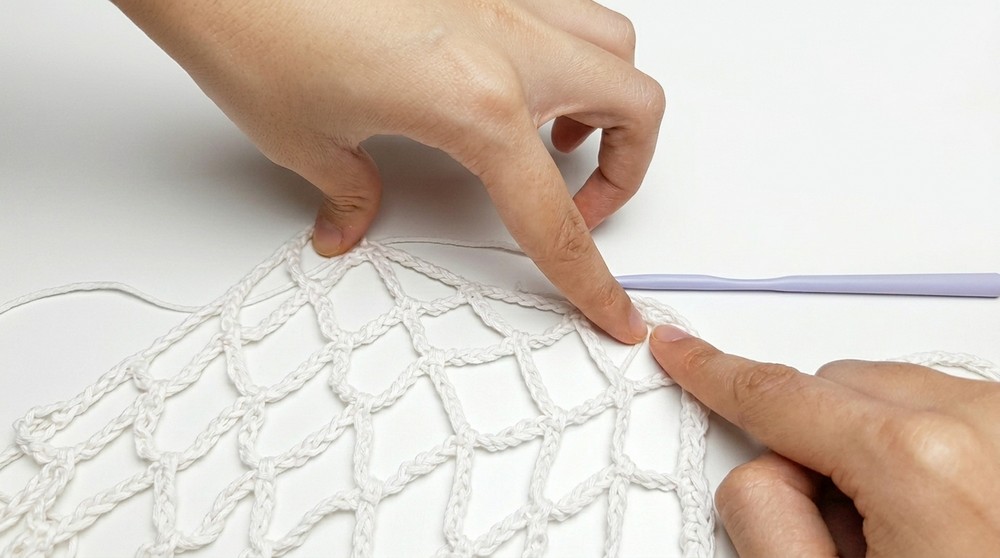
Step 3: Work Rows of Triangles
- Anchor in Triangles
- Insert your hook into the middle of the first triangle and work a single crochet under the chains.
- Chain 10 Again
- Continue with 10 chains, and then make a single crochet in the middle of the next triangle.
- Repeat Row Pattern
- Continue this process (single crochet in triangles, followed by 10 chains) until you reach the end of the row.
- End of Row Stitch
- At the end of each row, chain 10 and insert into the 7th chain (or stitch marked). This completes the last triangle.
- Work 16 Rows
- Repeat this same process until you have a total of 16 rows of squares.
Step 4: Adjust for Bigger Sizes
- To make the top larger:
- Simply continue adding rows of squares until the desired fit is achieved.
- Check fit by placing the squares across your chest, adjusting as needed.
Step 5: Add Finishing Touches to Squares
- Single Crochet Across Squares
- Work 10 single crochets into each square across your final row.
- Create Straps
- Chain 60 for each strap.
- Skip 1 chain and work slip stitches into each remaining chain to return to the base.
- Repeat for Neck and Back Straps
- You’ll need 4 straps total:
- Two straps for the back of the top.
- Two straps for the neck (tie behind your neck).
- You’ll need 4 straps total:
Step 6: Work Side Edges
- Single Crochet on Sides
- On each side of the top, work 5 single crochets into each square to reinforce the structure.
- Final Strap
- After finishing the last side, add the final strap following the same method (chain 60 and work slip stitches).
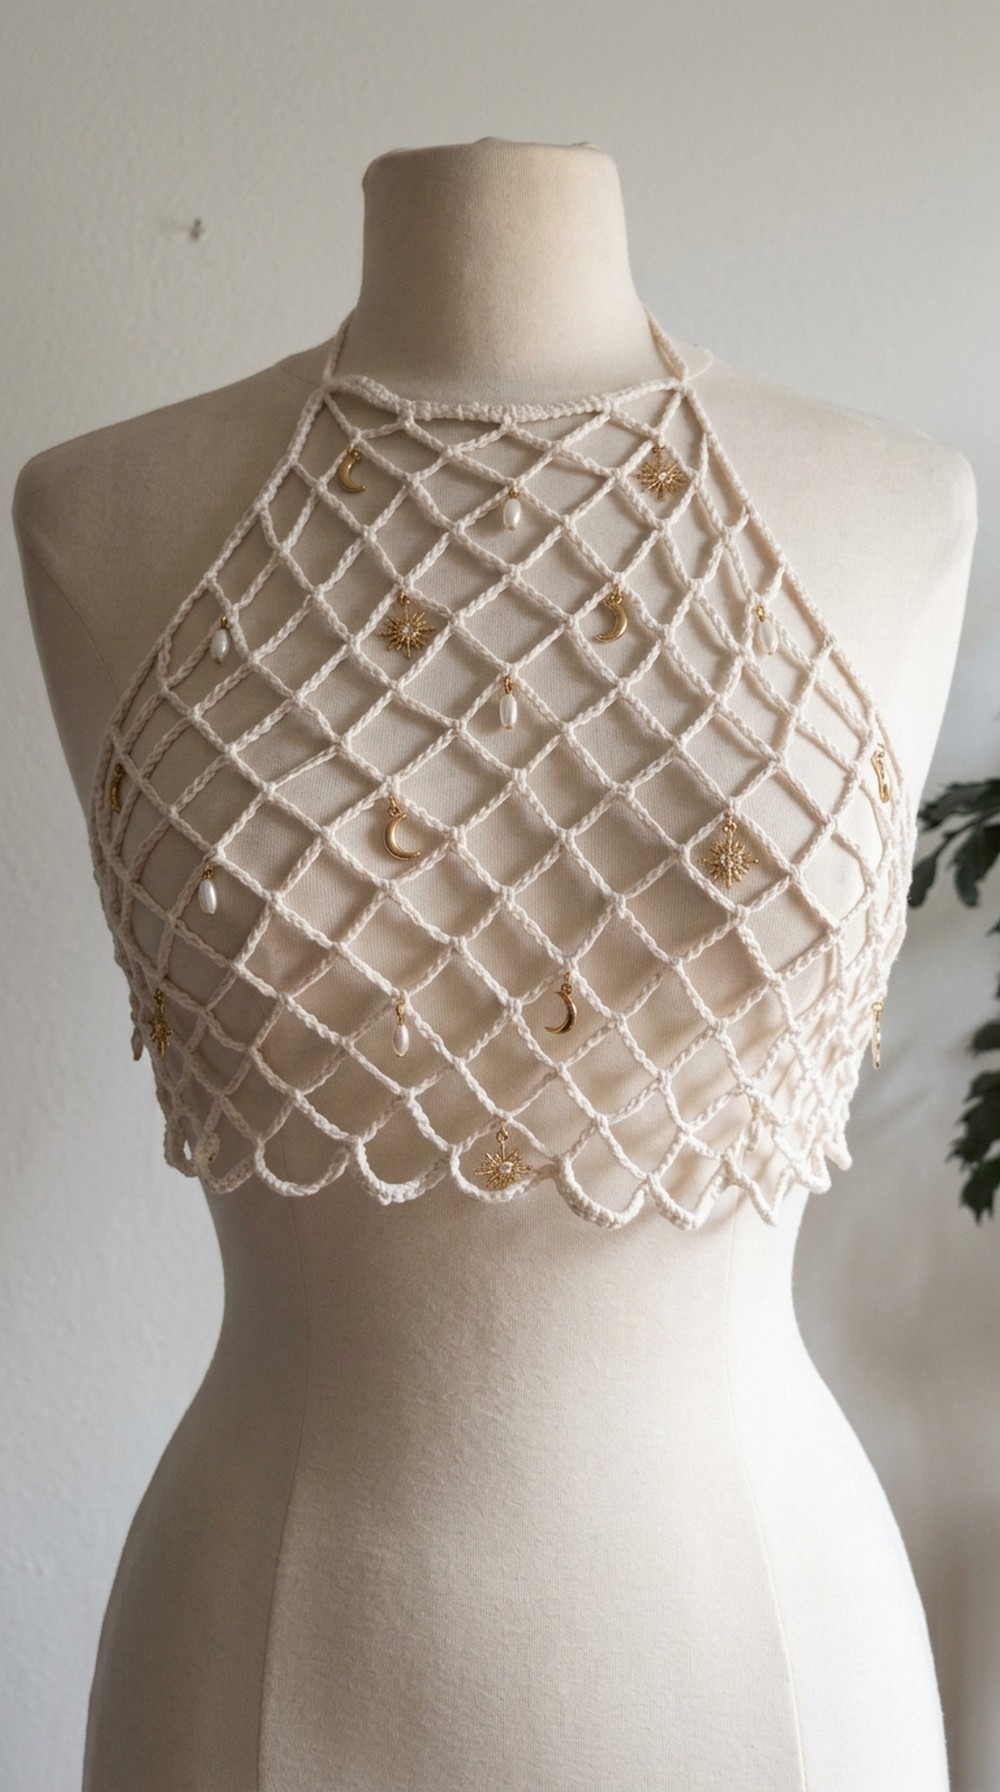
Step 7: Optional Customization
- Add Charms
- Personalize your top by adding charms, beads, or decorative motifs to the straps or squares.
- Color Customization
- Alternate colors for rows or triangles to create a multi-toned effect.
- Alternate colors for rows or triangles to create a multi-toned effect.
Special Techniques
- Slip Knot and Chain Foundation
- Essential for starting almost all crochet projects.
- Single Crochet (SC)
- A basic stitch that forms the foundation of the triangles.
- Slip Stitch
- Used for finishing straps and joining edges smoothly.
- Used for finishing straps and joining edges smoothly.
Tips and Suggestions
- Blocking
- After completing your top, block the squares gently to ensure they lie flat and maintain shape.
- Testing Fit
- Try on the top as you progress to ensure it fits well. Adjust the strap lengths if necessary.
- Beginner-Friendly Adjustment
- If you’re new to crochet, stick with single-colored yarn to simplify the process.
- Strap Variations
- Instead of slip stitches, experiment with braided straps or yarn cord for added texture.
Conclusion and Final Remarks
This crochet mesh top is an excellent project for beginners and intermediate crocheters alike. Its structured design, anchored triangles, and customizable straps make it both functional and stylish.
The finished look is airy and textured—perfect for summer wear or layering over casual outfits. Adding charms or adjusting colors makes it a unique wardrobe piece.
Important Note:
Always measure your squares or top during the process to ensure a proper fit. Crochet stitches stretch slightly over time, so ensure straps are tight but comfortable.