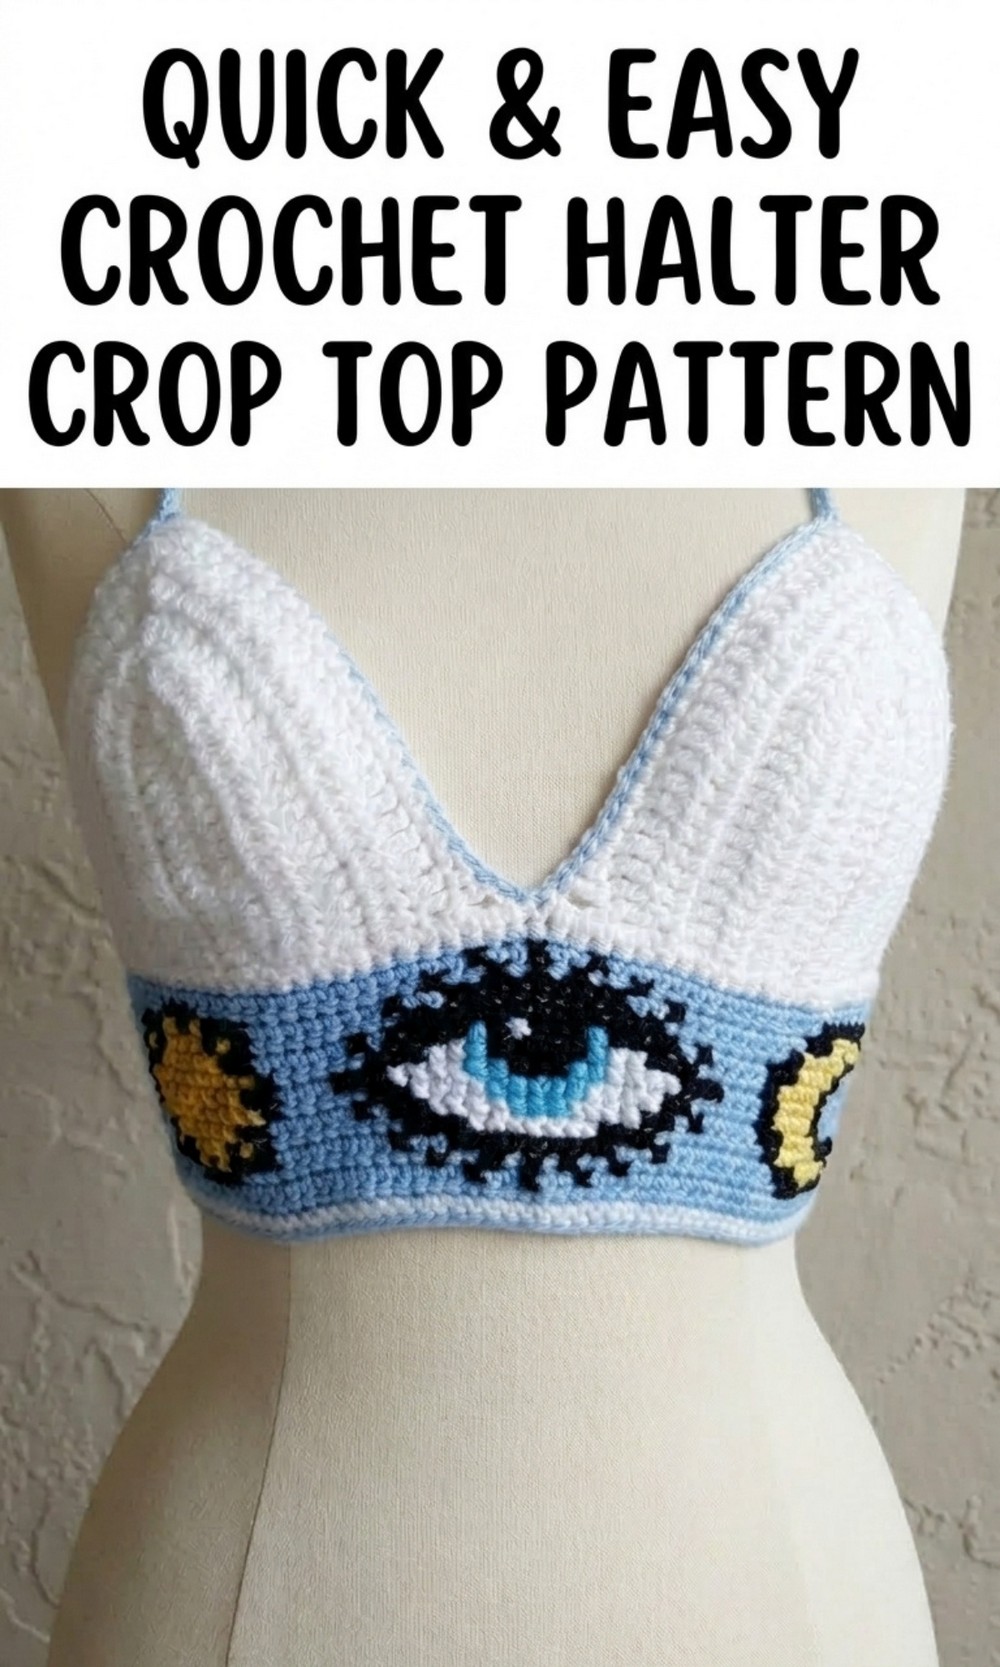
Style your summer with a trendy and easy halter crop top that’s perfect for warm days and can be customized in any color you love.
Looking for a fun and stylish project? This crochet crop top is perfect for sunny days, giving you a light, breezy, and trendy outfit for casual outings or beach trips. The design is simple yet beautiful, featuring soft fabric with a neat texture that’s comfortable to wear all day. Its cute halter neck style and cropped length add a modern and playful vibe to your look.
Easy Crochet Halter Crop Top with Free Pattern & Adjustable Sizes
You can make it in any color or combination to match your personal style, making it a versatile piece for your wardrobe. With its adjustable straps, it fits perfectly, and it’s a great way to show off your creativity. Whether you’re relaxing at home or heading to a summer party, this top pattern is sure to turn heads with its unique charm and practicality. It’s easy, fun, and perfect to try out today.
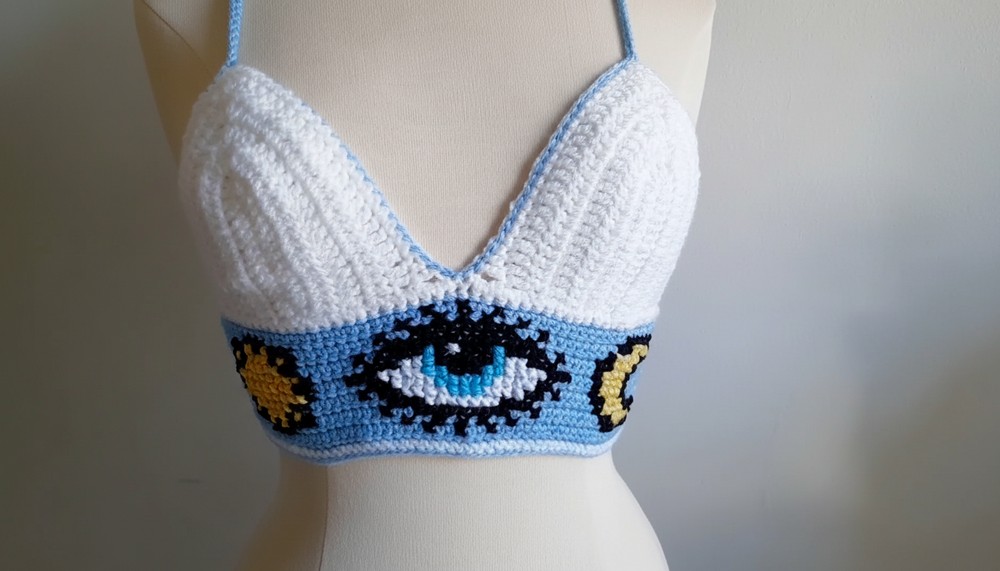
Crochet Cross Stitched Summer Top Pattern
Skill Level
- Intermediate to Advanced: This project incorporates both traditional crochet techniques and cross-stitching on crochet to achieve a customizable design.
Materials List
- Yarn:
- Use sport or DK weight yarn (e.g., cotton or acrylic) in two colors:
- Base color for the main top and background.
- Secondary colors for cross-stitch designs (optional).
- Choose yarn with good stitch definition for clear cross-stitch placement.
- Use sport or DK weight yarn (e.g., cotton or acrylic) in two colors:
- Crochet Hook:
- Use a 4mm (G/6) or 4.5mm hook depending on gauge.
- Tapestry Needle:
- Required for cross stitching and weaving in yarn ends.
- Stitch Markers:
- Recommended for marking key stitches (optional but helpful).
- Measuring Tape:
- To measure bust dimensions and strap lengths.
- Scissors:
- To cut yarn ends.
Key Abbreviations and US Crochet Terminology
- ch: Chain
- sc: Single Crochet
- hdc: Half Double Crochet
- dc: Double Crochet
- tr: Treble Crochet
- sl st: Slip Stitch
Special Notes Before Starting
- If you’re unfamiliar with cross stitching on crochet, it’s a technique where embroidery (X shapes) is worked using a tapestry needle onto crochet stitches.
- Each square from the cross-stitch pattern represents one crochet stitch to guide placement.
- Adjust the number of rows to ensure a proper fit by measuring dimensions as you work.
Pattern Instructions
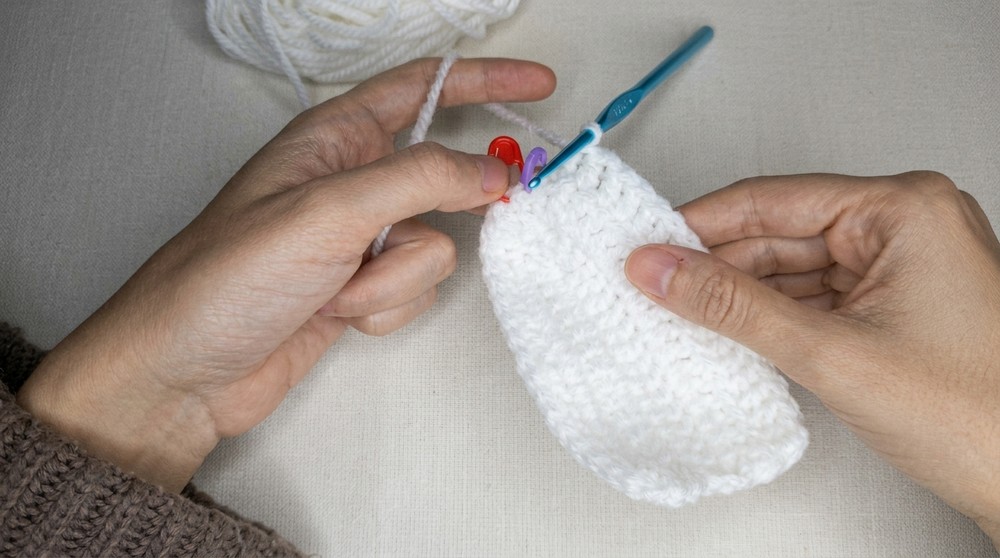
Step 1: Create Crochet Cups
Part A: Foundation Chains
- Determine Length:
- Create a foundation chain that measures the distance from your nipple to your underbust. Use measuring tape for accuracy.
- Begin Crochet Base:
- Make a slip knot and work the required number of ch stitches to match the length.
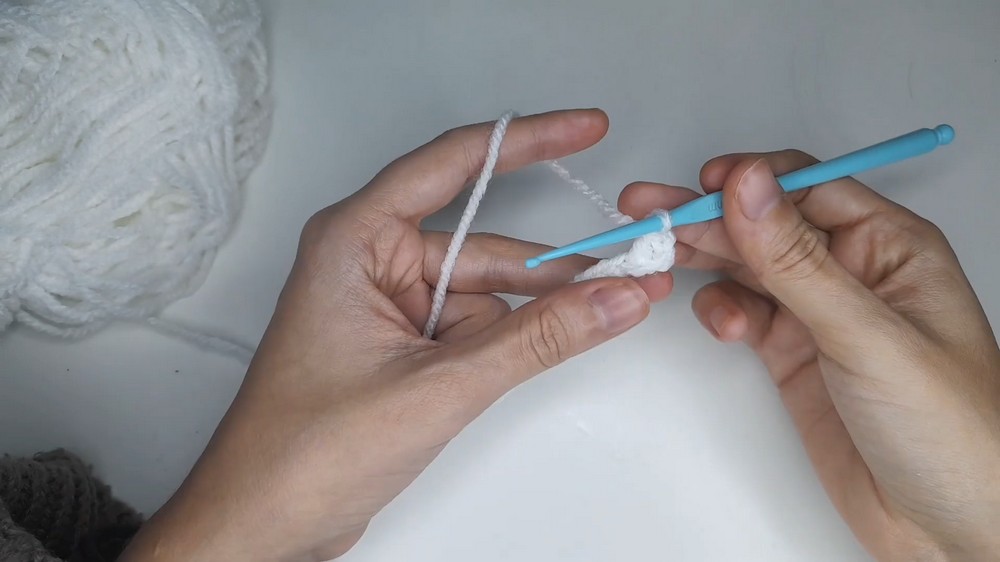
- Make a slip knot and work the required number of ch stitches to match the length.
Part B: Row 1 (Cup Base)
- Start Double Crochet Foundation:
- Chain 3 (counts as the first dc).
- Work 1 dc into the fourth chain from the hook.
- Continue working 1 dc into each chain until you reach the last chain.
- Increase at Last Chain:
- In the last chain, work 3 dc in the same stitch.
- Place a stitch marker in the third dc (center stitch of the increase).
- Work 3 more dc into the same stitch and place a second stitch marker in the first dc of these 3 dc.
- Return to Base:
- Continue working 1 dc in each chain along the opposite side of the foundation chain.
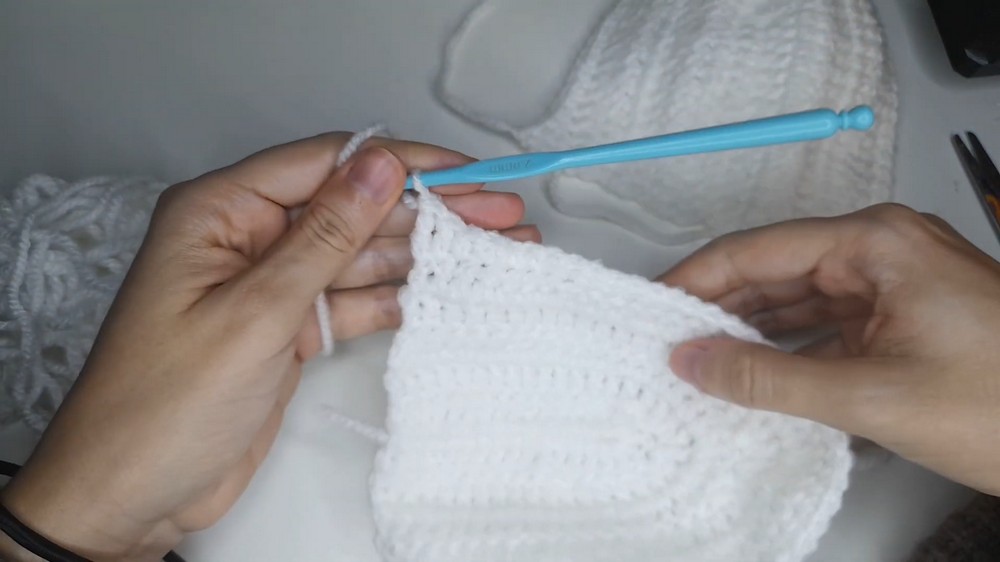
Part C: Additional Rows to Shape the Cup
- Start Row 2:
- Ch 2 (counts as the first dc), turn your work.
- Work 1 dc into the second stitch (skip the first).
- Continue working 1 dc in each stitch until you reach the first marked stitch.
- Increase at Stitch Markers:
- At the first stitch marker, work 3 dc in the same stitch and place a new stitch marker in the last dc of this set.
- At the second stitch marker, work 3 dc in the marked stitch and place another stitch marker in the first dc of this set.
- Finish Row:
- Work 1 dc in each stitch until the end.
- Work 1 dc in each stitch until the end.
- Repeat Pattern for Rows:
- For each new row, chain 2, turn your work, and repeat the same steps:
- Place 3 dc in stitches with markers.
- Mark the third and fourth dc in each increase for future rows.
- For each new row, chain 2, turn your work, and repeat the same steps:
- Stop Increasing:
- Continue working and increasing at the stitch markers until the cup is the desired size for your bust.
Part D: Border and Cups Joining
- Border for Left Cup:
- With the base color yarn, attach yarn and chain the desired length for your side strap.
- Work sc evenly around the cup except for the last 3 stitches.
- On the last three stitches:
- Work 1 hdc, 1 dc, and 1 tr. Fasten off.
- Border for Right Cup:
- Mirror the process for the right cup but with the wrong side facing you.
- Mirror the process for the right cup but with the wrong side facing you.
- Join Cups:
- Make sc across the chains of both cups to join them together. Add additional chains between the cups for spacing if required.
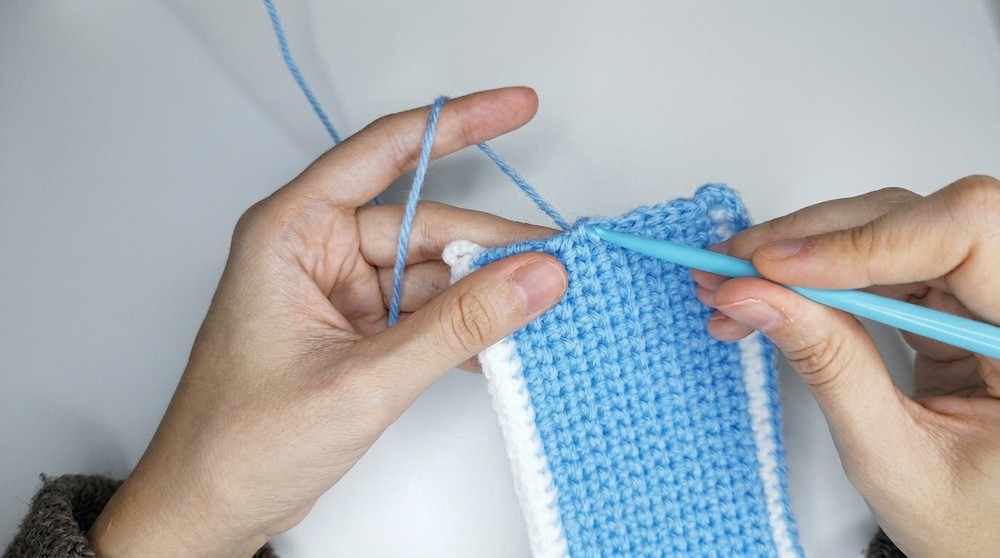
Step 2: Back Panel Design
Part A: Background Color Rows
- Switch to Background Color:
- Work 15 sc rows (or the number of vertical squares required by your cross-stitch design).
- Insert the crochet hook underneath stitches instead of over the top for sc rows.
Step 3: Add Final Edging and Straps
- Slip Stitch Border:
- Work sl st along all edges to create a smooth and professional finish.
- Create Holes for Straps on Side Edges:
- On small side sections, work ch 4, skip 1 stitch, continue with sl st, repeat for two holes on each side.
- Neck and Back Straps:
- Chain to desired lengths:
- Neck Straps: Approx. 35 cm (13.8″).
- Back Straps: Approx 40 cm (15.8″).
- Shoulder Straps: Approx 180 cm (70.8″) (wrap around waist).
- Slip stitch back across each chain and attach securely.
- Chain to desired lengths:
Step 4: Cross Stitch Design
- Design Selection:
- Choose a design with a solid background for ease and comfort.
- Pick patterns from Pinterest or customize ideas.
- Work Cross Stitches:
- Insert tapestry needle into the corners of crochet squares diagonally to create an X shape.
- Use contrasting yarn colors and weave ends securely.
Conclusion
This cross-stitched summer top is perfect for adding creative customization while maintaining a functional and stylish design. Cross stitching combined with crochet elevates the project to a unique artistic level.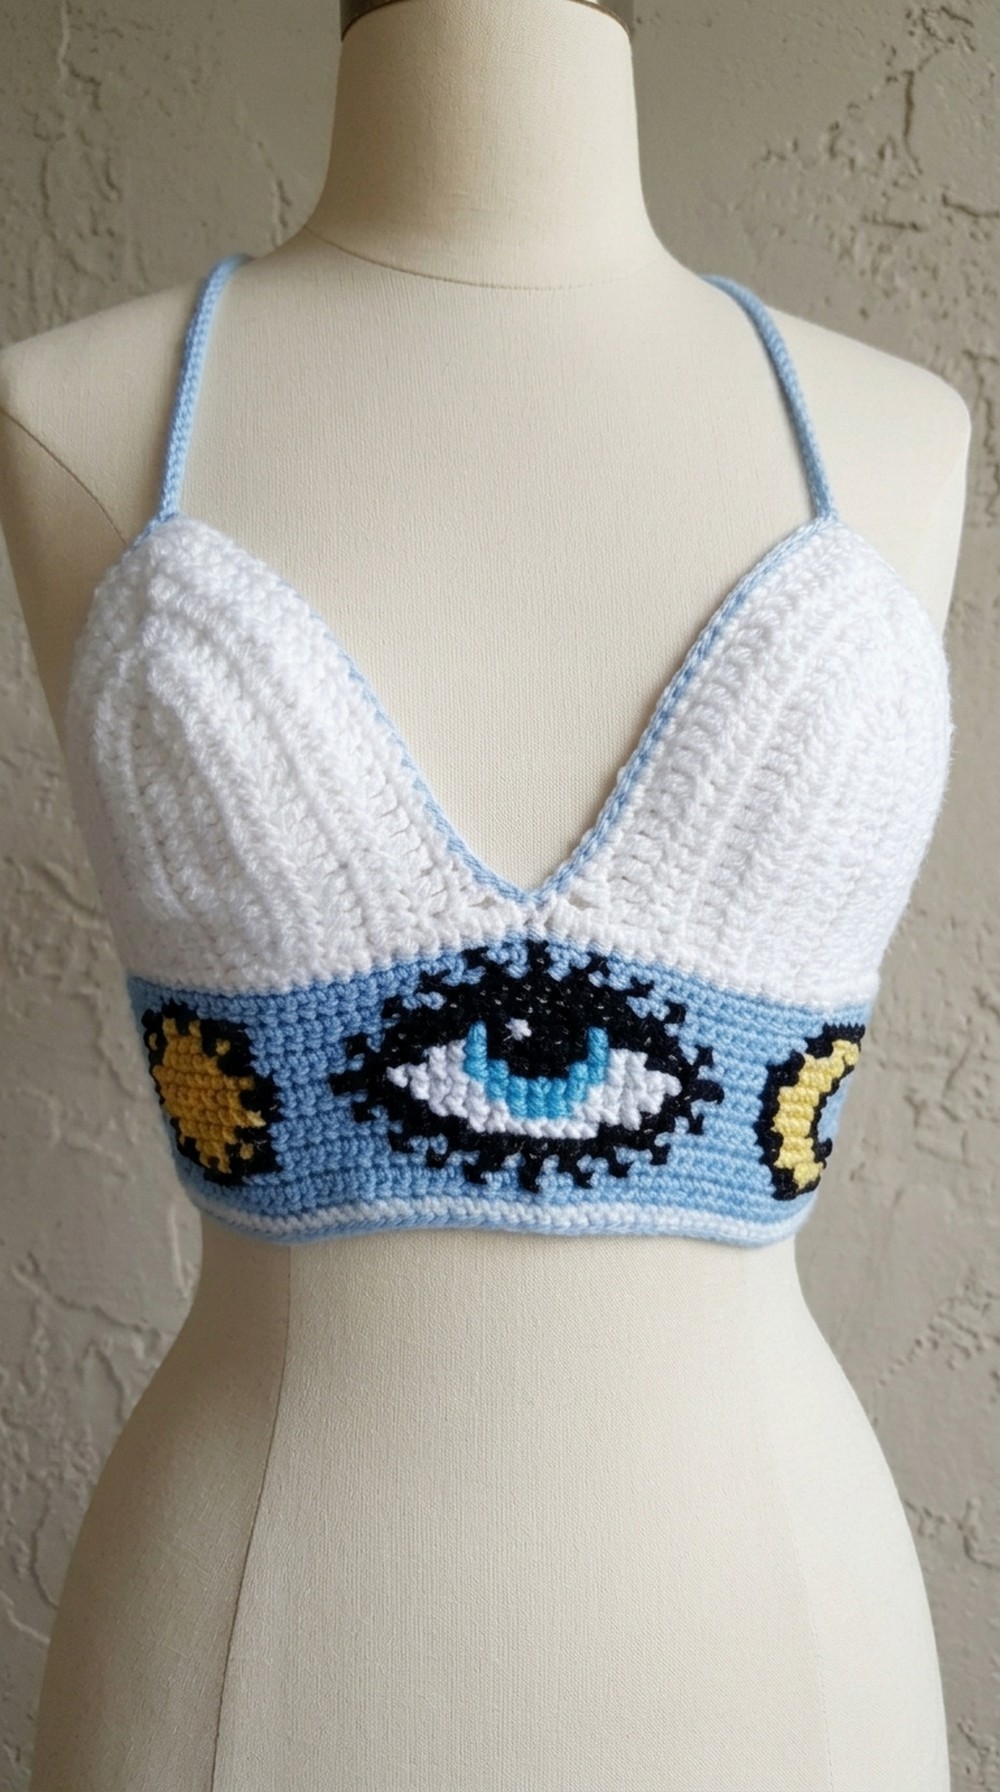
Pattern Corrections
In case the fit isn’t perfect:
- Adjust Chains: Lengthen or shorten chains for straps or cups.
- Spacing Adjustments: Add extra chains between cups if too close together.
Tips for Success
- Check Measurements Often: Lay pieces flat and compare to measurements for accuracy.
- Choose High-Contrast Colors: Cross-stitch designs stand out more with lighter backgrounds and darker embroidery yarns.
- Weave Ends Neatly: Secure all loose ends early to avoid tangling during assembly.