From yarn to a cute bunny this free crochet bunny amigurumi pattern guides you in a simple way to create something soft and full of charm.
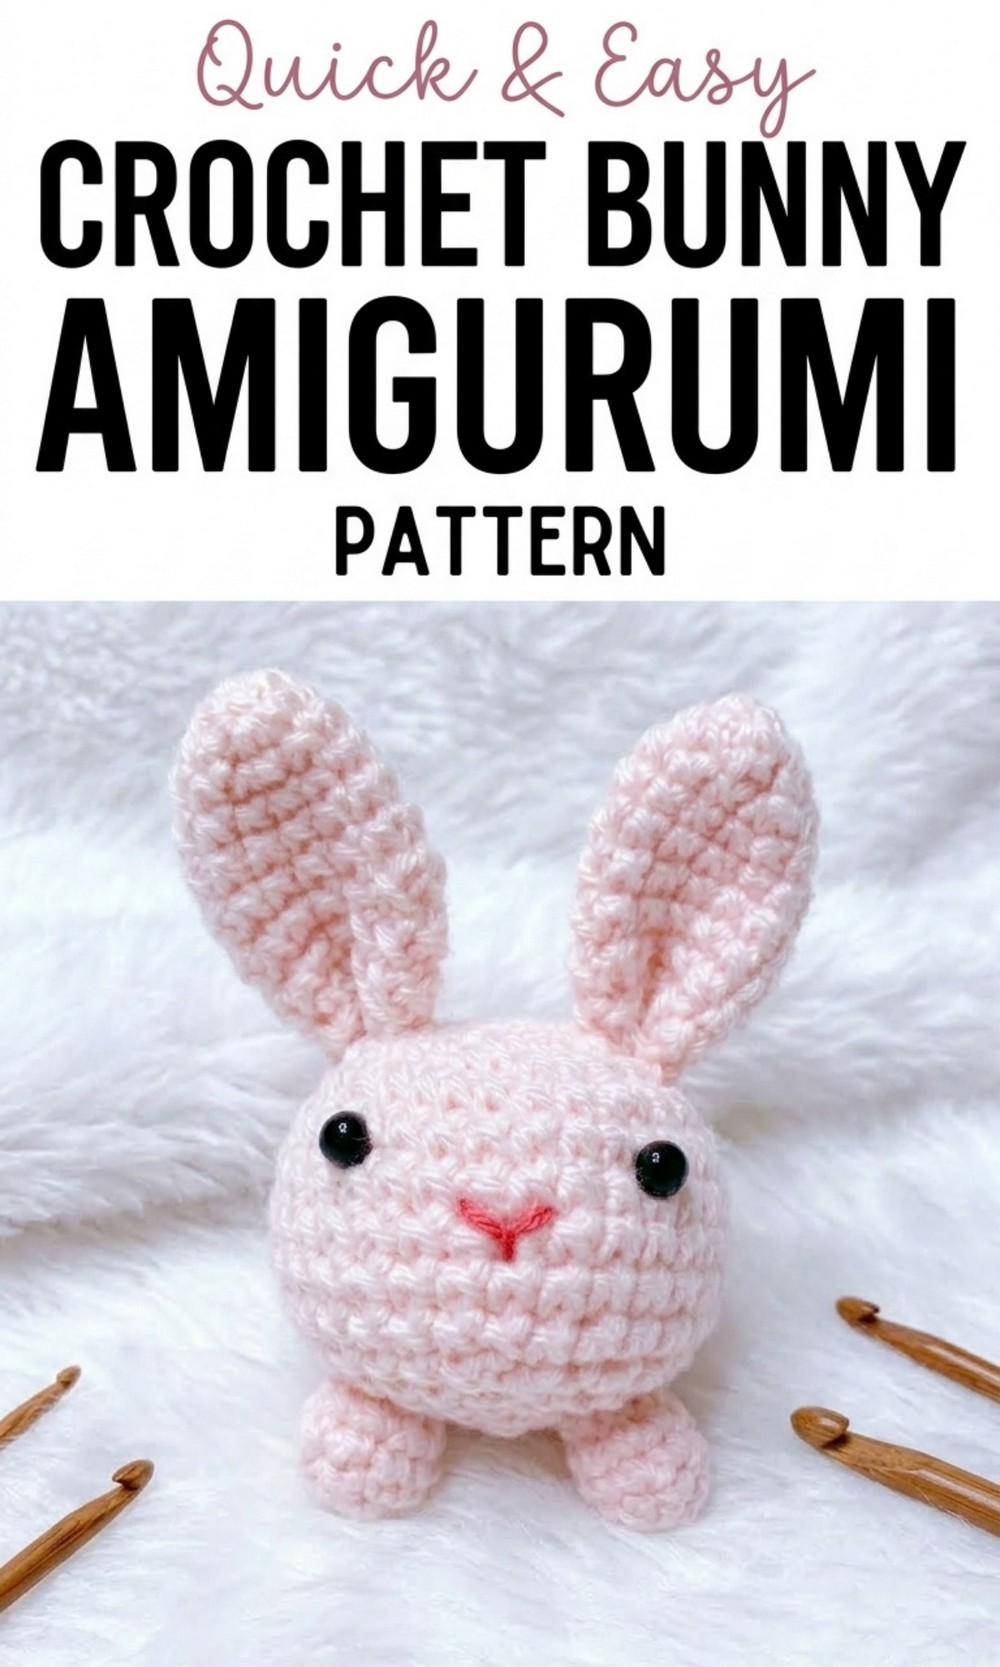
Free Crochet Bunny Amigurumi Pattern So Soft and Sweet
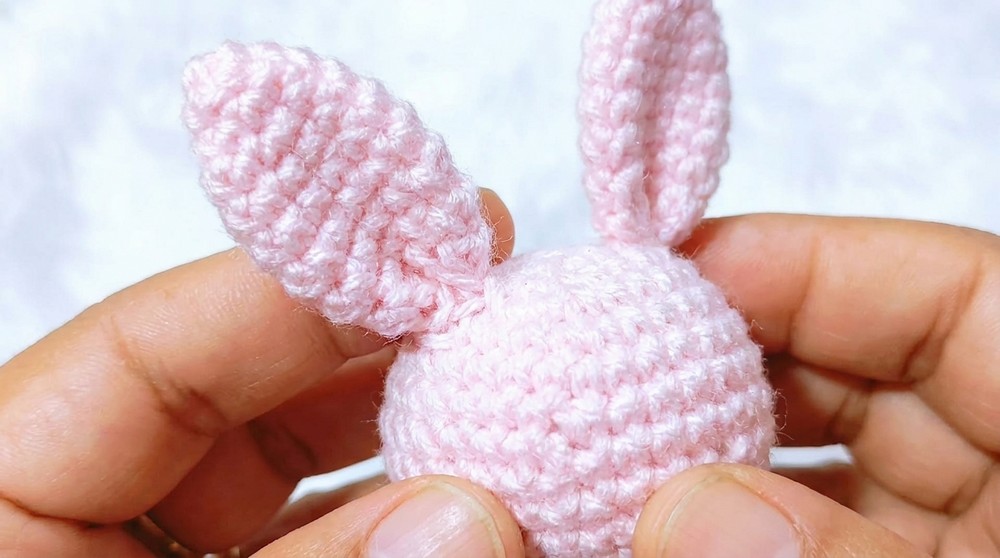
Who doesn’t love a cute, cuddly bunny? A Free Crochet Bunny Amigurumi Pattern lets you create your very own soft and squishy bunny friend with just yarn and a hook. This adorable bunny has floppy ears, a round, huggable body, and the sweetest little tail that will melt your heart. It’s super easy to make and perfect for beginners or anyone looking for a fun new project. You can use it as a toy for kids, a gift for loved ones, or even as a cute decoration for your room.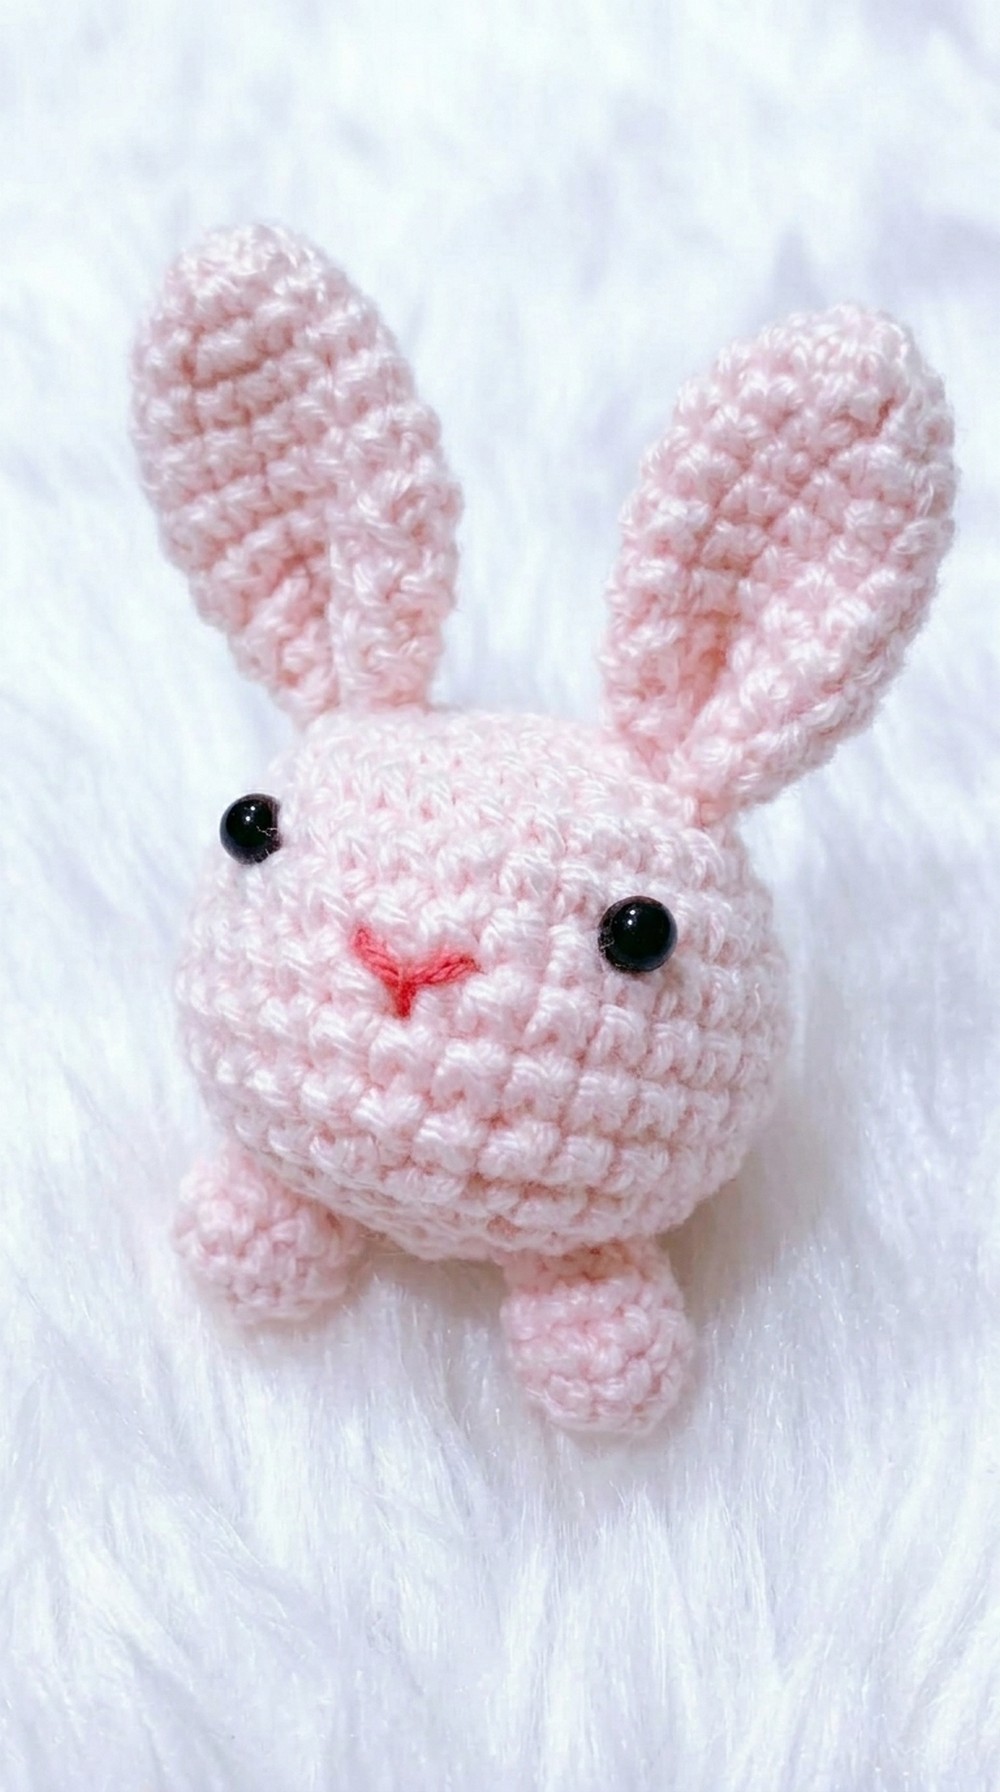
Thought having a bunny in your favorite colors sitting on your shelf or as a special handmade gift for someone you care about. Making this bunny is exciting, creative, and oh so satisfying—everyone will fall in love with it
Materials Required
- Yarn: Wool (3 ply)
- Hook: 2.5 mm crochet hook
- Filling: Cotton or Polyfill for stuffing
- Needle: Yarn needle for assembly
- Scissors
Gauge
Since specific gauge measurements were not mentioned, aim for medium tension, ensuring the stitches are tight enough to maintain shape but flexible enough for smooth crocheting.
Finished Size
The finished MB Room will be approximately 6–7 inches tall, depending on the yarn tension and stuffing.
Pattern Instructions
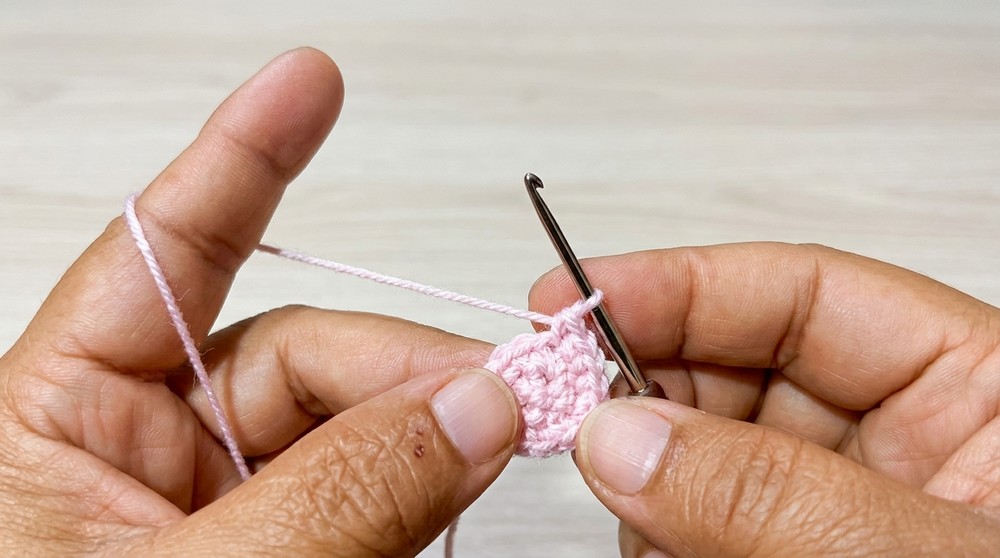
1. Head
- Begin with a magic ring.
- Inside the magic ring, crochet 1 chain followed by 6 single crochet stitches.
- Pull the yarn to tighten the magic ring.
- Slip stitch into the first chain to close the round.
Round 2:
- Chain 1.
- Crochet 2 single crochet in each stitch around (increase).
- Total stitches: 12.
- Slip stitch into the first chain to close the round.
Round 3:
- Chain 1.
- 2 single crochet in the first stitch, then 1 single crochet in the next stitch. Alternate this pattern around the round.
- Total stitches: 18.
- Slip stitch into the first chain to close.
Round 4:
- Chain 1.
- Crochet 2 single crochet in the first stitch, followed by 1 single crochet in the next two stitches. Alternate this pattern around the round.
- Total stitches: 24.
- Slip stitch into the first chain to close.
Round 5:
- Chain 1.
- Crochet 2 single crochet in the first stitch, followed by 1 single crochet in the next three stitches. Alternate the sequence around the round.
- Total stitches: 30.
- Slip stitch into the first chain to close.
Rounds 6–10 (No Increase):
- Chain 1.
- Crochet 1 single crochet in each stitch around. Repeat for 5 rounds to build the height.
- Slip stitch at the end of each round.
At this stage: Add cotton/polyfill stuffing for shape.
2. Decreasing for Head Shape
- Chain 1.
- Alternate 1 single crochet and 1 decrease stitch (crochet 2 stitches together).
- Continue around the round.
Final Rounds:
- Gradually decrease at the top while stuffing firmly to avoid deformations.
- Slip stitch into the first chain, cut the yarn, and fasten off.
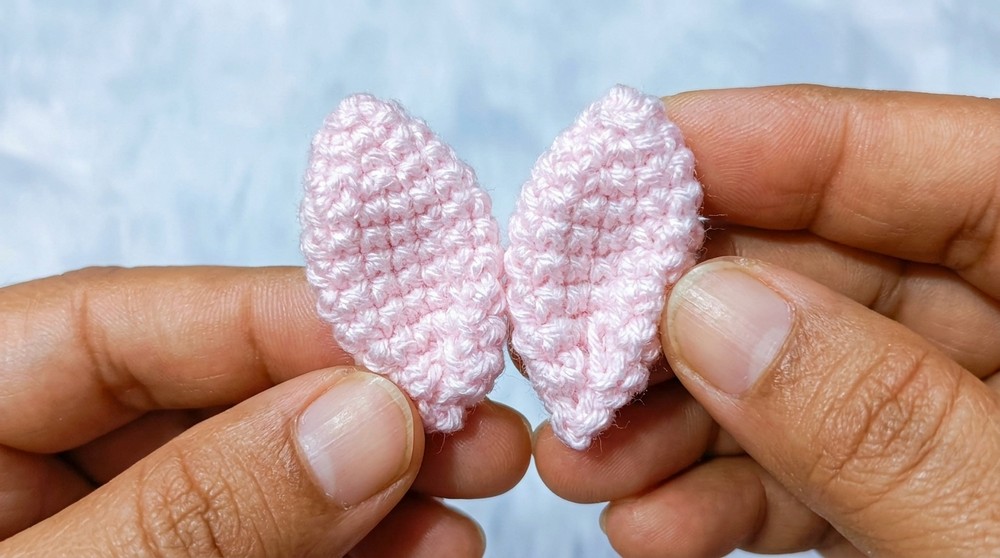
3. Ears
Round 1:
- Begin with a magic ring.
- Crochet 1 chain followed by 3 single crochet stitches inside the ring.
- Pull to tighten and slip stitch to close the round.
Round 2:
- Chain 1.
- Crochet 2 single crochet in each stitch (increase).
- Total stitches: 6.
- Slip stitch into the first chain to close the round.
Round 3:
- Chain 1.
- Crochet 2 single crochet in the first stitch, followed by 1 single crochet in the next stitch. Alternate this sequence.
- Total stitches: 9.
- Slip stitch into the first chain to close the round.
Round 4:
- Chain 1.
- Crochet 2 single crochet in the first stitch, followed by 1 single crochet in the next two stitches. Alternate this pattern.
- Total stitches: 12.
- Slip stitch into the first chain to close.
Rounds 5–10:
- Chain 1.
- Crochet 1 single crochet in each stitch around without increasing.
- Slip stitch to close each round.
4. Feet
Repeat similar steps to the ears but use fewer stitches as follows:
Round 1:
- Begin with a magic ring.
- Inside the ring, crochet 1 chain followed by 6 single crochet stitches.
- Tighten the ring and slip stitch to close.
Rounds 2–4:
- Chain 1.
- Crochet 1 single crochet in each stitch around without increasing.
- Slip stitch to close each round.
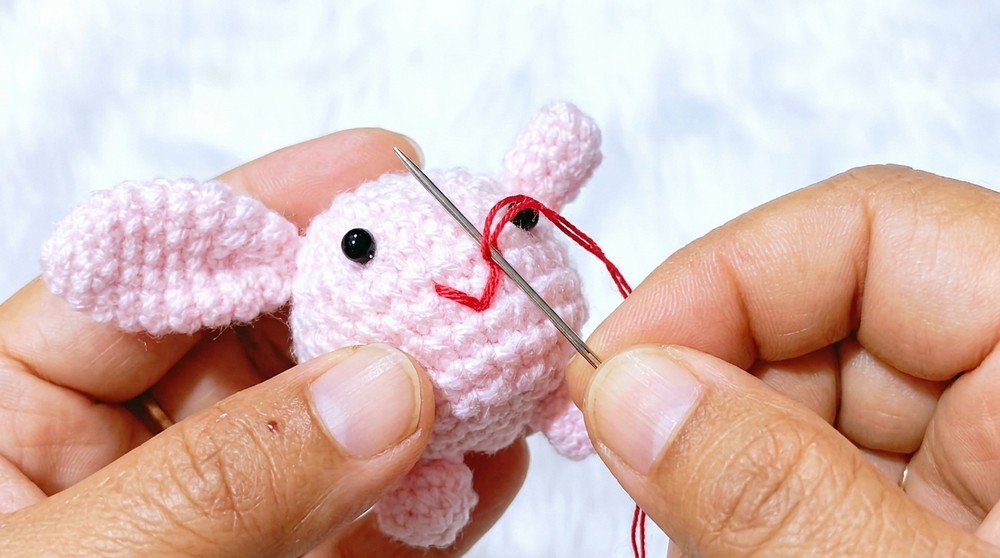
Assembly Instructions
- Use a yarn needle to attach the ears and feet to the head.
- For ears, count 3–4 rounds from the top and align evenly before stitching.
- For feet, align centrally at the base, ensuring balance.
Tips for Customization
- Colors: Consider using different yarn colors to customize the MB Room for various themes or occasions.
- Decorative Additions: Embroider small patterns, add beads, or stitch buttons for added detail.
- Size Variations: Use thicker yarn and larger hooks for a bigger MB Room, or thinner yarn for a smaller version.
Special Techniques Used
- Magic Ring: Ensures a neat and tight circle for the base.
- Basic Stitch Types: Single crochet, slip stitch, increase, decrease.
- Stuffing: Gradual filling to maintain shape while crocheting.

Conclusion
This Free Crochet MB Room is a delightful decorative item that combines comfort with charm. Whether it’s for gifting, home decor, or personal enjoyment, this little crochet creation is versatile and unique in its appeal.
Important Remarks
- Ensure your stitches are consistent and tension remains steady for a polished look.
- Add stuffing gradually to avoid creating lumps or uneven surfaces.
- Always weave in loose ends securely to prevent unraveling.