Bright colors come alive with this free crochet mushroom amigurumi pattern that is fun to create, and perfect for crocheting a soft and adorable piece.
Fun Free Crochet Mushroom Pattern That Makes Everyone Smile
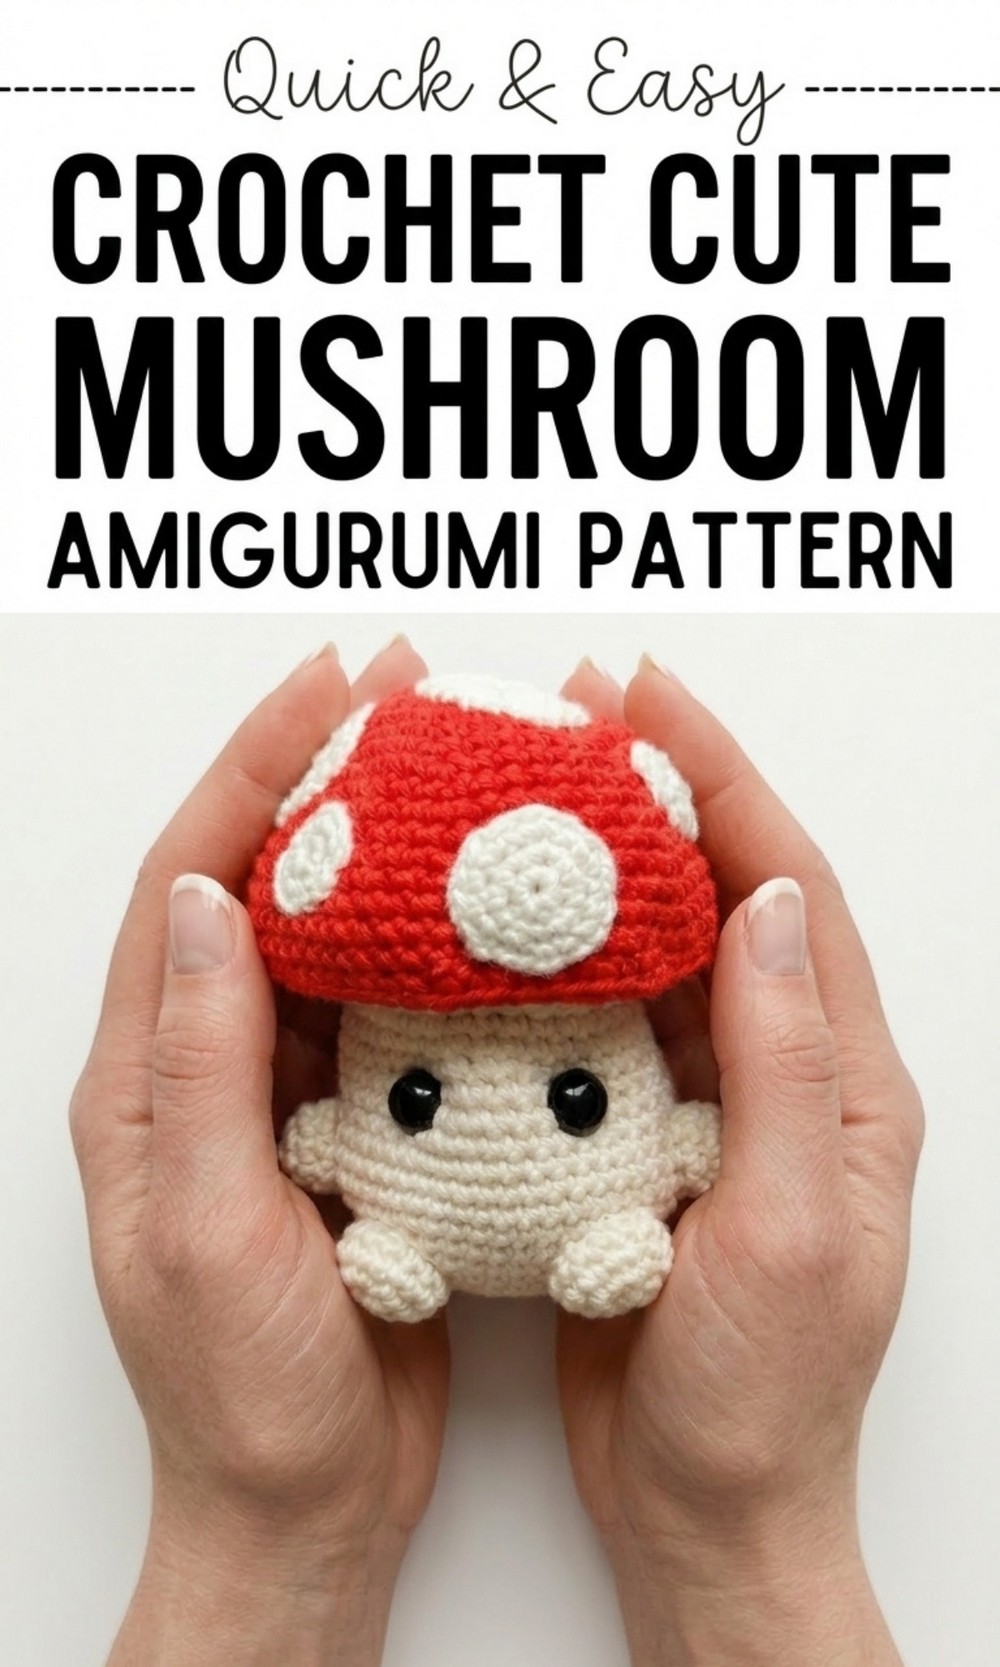
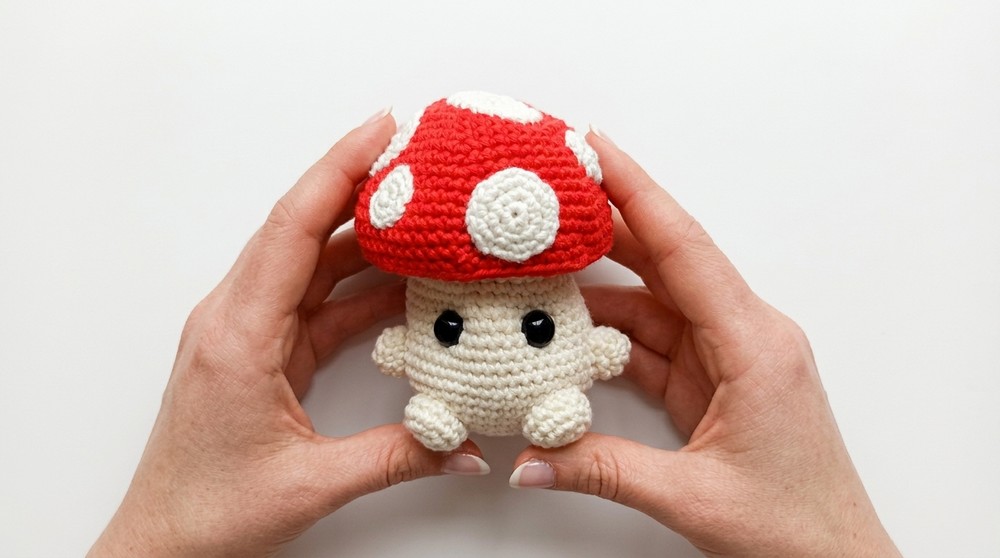
Crochet lovers, get ready to enjoy making an adorable mushroom amigurumi with this Free Crochet Mushroom Amigurumi Pattern. The mushroom is a soft, squishy design with a round red cap, cute spots, and a plump off white body that brings charm and joy to any corner. You can choose different types of yarn to create a unique look, such as acrylic for sturdiness, cotton for softness, or fluffy chenille for extra cuteness. 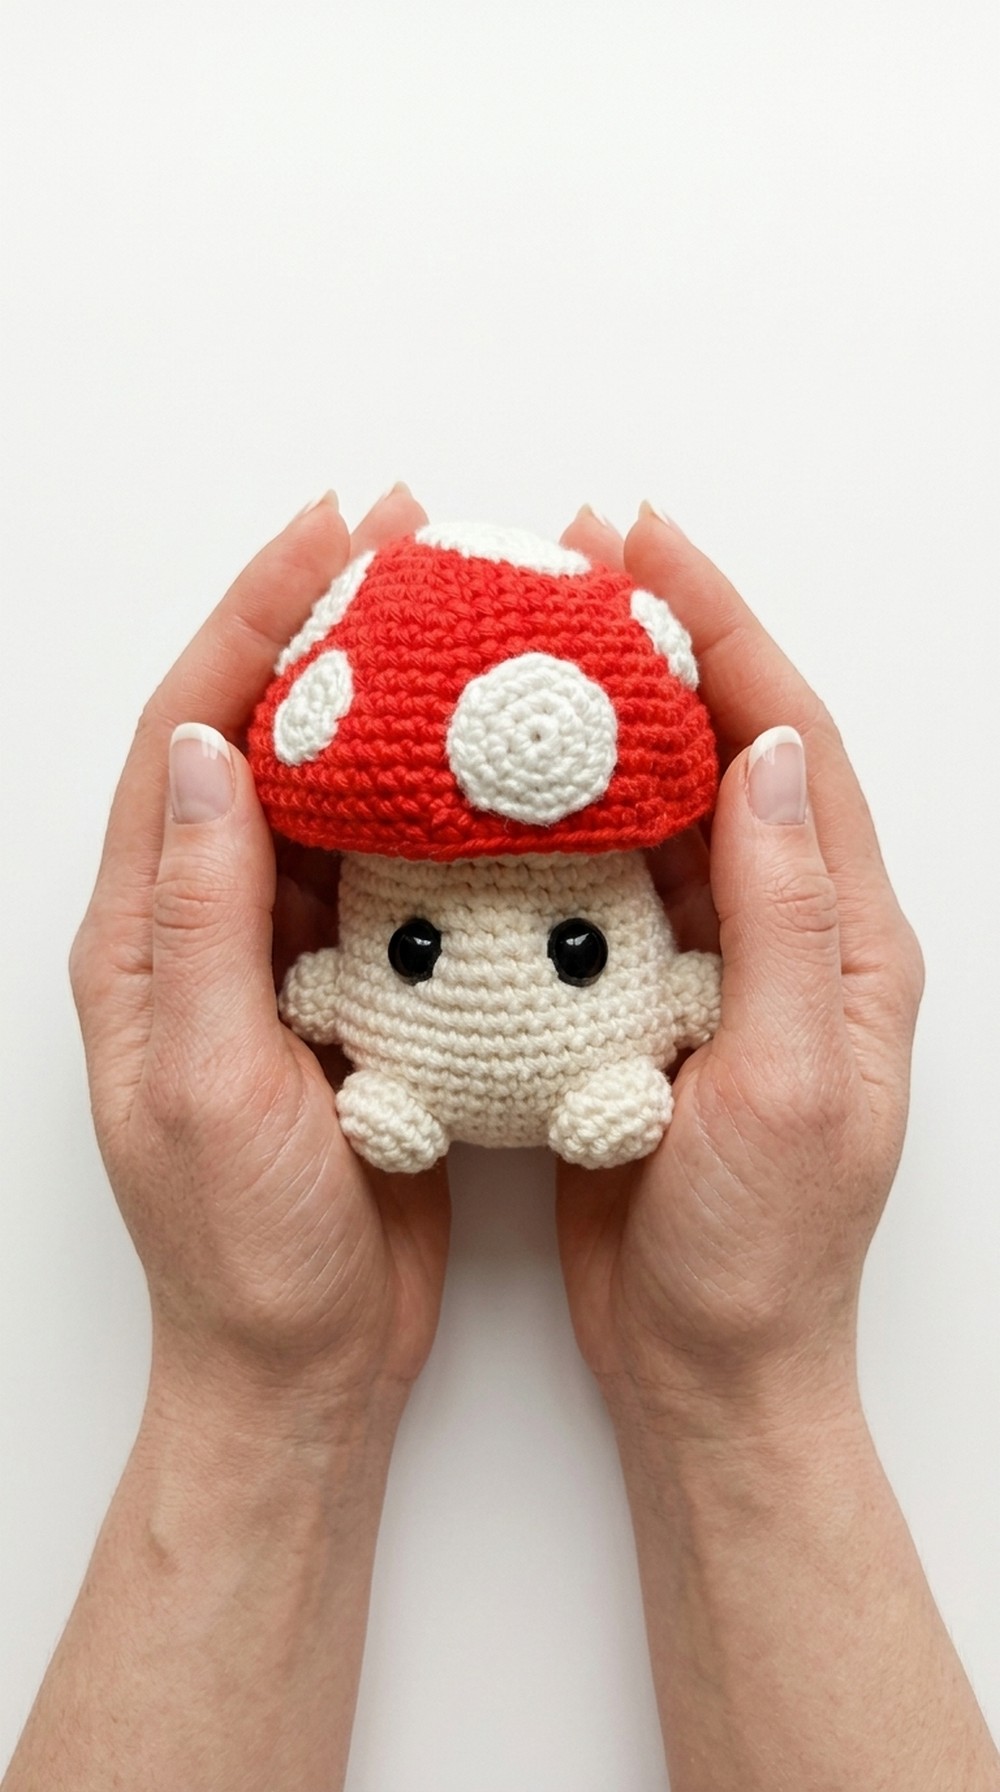
This mushroom can be used as a decorative piece, a playful gift, or even a keepsake to add a handmade touch to your life. Its versatile design allows you to adjust colors and sizes, making every creation special. With simple stitches like single crochet and fun decreases, you’ll enjoy making your own whimsical mushroom in no time.
Crochet Mushroom Amigurumi Pattern
Materials:
- Yarn:
- Red for the mushroom cap.
- Light off white for the stalk and spots.
- Optional: Try acrylic yarn, cotton yarn, or chenille for varied textures.
- Crochet Hook:
- Acrylic yarn: 3mm hook (used in this tutorial).
- Cotton yarn: 2.5mm hook.
- Chenille yarn: 4.5mm hook (creates soft and fluffy mushrooms).
- Safety Eyes:
- 12mm size. If using a smaller or larger crochet hook, adjust the eye size accordingly.
- Toy Stuffing: For the mushroom’s plump and firm structure.
- Tapestry Needle: For sewing pieces together and shaping features.
- Pins: Useful for assembling the mushroom components.
- Scissors: To cut yarn tails neatly.
Stitches and Techniques:
- Magic Ring.
- Single Crochet (SC).
- Single Crochet Increase.
- Single Crochet Decrease.
- Working in Back Loops Only.
Pattern Instructions:
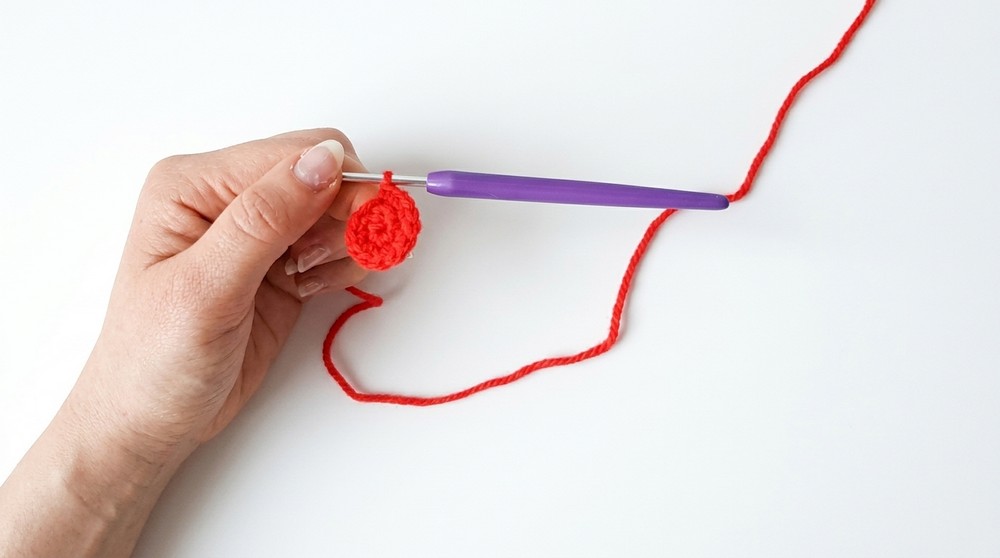
1. Mushroom Cap (Top):
- Round 1:
- Start with a Magic Ring.
- Crochet 6 SC into the ring. (6 stitches)
2. Round 2:
- Crochet 1 increase in each stitch (6 increases).
- Total stitches: 12 SC.
3. Round 3:
- Crochet 1 SC, 1 increase, repeat 6 times.
- Total stitches: 18 SC.
4. Round 4:
- Crochet 2 SC, 1 increase, repeat 6 times.
- Total stitches: 24 SC.
5. Round 5:
- Crochet 3 SC, 1 increase, repeat 6 times.
- Total stitches: 30 SC.
6. Round 6:
- Crochet 4 SC, 1 increase, repeat 6 times.
- Total stitches: 36 SC.
7. Round 7:
- Crochet 5 SC, 1 increase, repeat 6 times.
- Total stitches: 42 SC.
8. Round 8:
- Crochet 6 SC, 1 increase, repeat 6 times.
- Total stitches: 48 SC.
9. Round 9:
- Crochet 1 SC in each stitch.
- Total stitches remain: 48 SC.
10. Round 10:
- Crochet 7 SC, 1 increase, repeat 6 times.
- Total stitches: 54 SC.
11. Round 11:
- Crochet 1 SC in each stitch.
- Total stitches remain: 54 SC.
12. Round 12:
- Crochet 8 SC, 1 increase, repeat 6 times.
- Total stitches: 60 SC.
13. Round 13:
- Crochet 1 SC in each stitch.
14. Round 14:
- Crochet 9 SC, 1 increase, repeat 6 times.
- Total stitches: 66 SC.
15. Rounds 15to 16:
- Crochet 1 SC in each stitch of both rounds.
- Total stitches remain: 66 SC.
16. Round 17: (Start decreasing)
- Crochet 9 SC, 1 decrease, repeat 6 times.
- Total stitches: 60 SC.
17. Round 18: (Work in Back Loops Only)
- Crochet 8 SC, 1 decrease, repeat 6 times.
- Total stitches: 54 SC.
18. Round 19:
- Crochet 7 SC, 1 decrease, repeat 6 times.
- Total stitches: 48 SC.
19. Round 20:
- Crochet 6 SC, 1 decrease, repeat 6 times.
- Total stitches: 42 SC.
20. Round 21:
- Crochet 5 SC, 1 decrease, repeat 6 times.
- Total stitches: 36 SC.
21. Round 22:
- Crochet 4 SC, 1 decrease, repeat 6 times.
- Total stitches: 30 SC.
22. Round 23:
- Crochet 3 SC, 1 decrease, repeat 6 times.
- Total stitches: 24 SC.
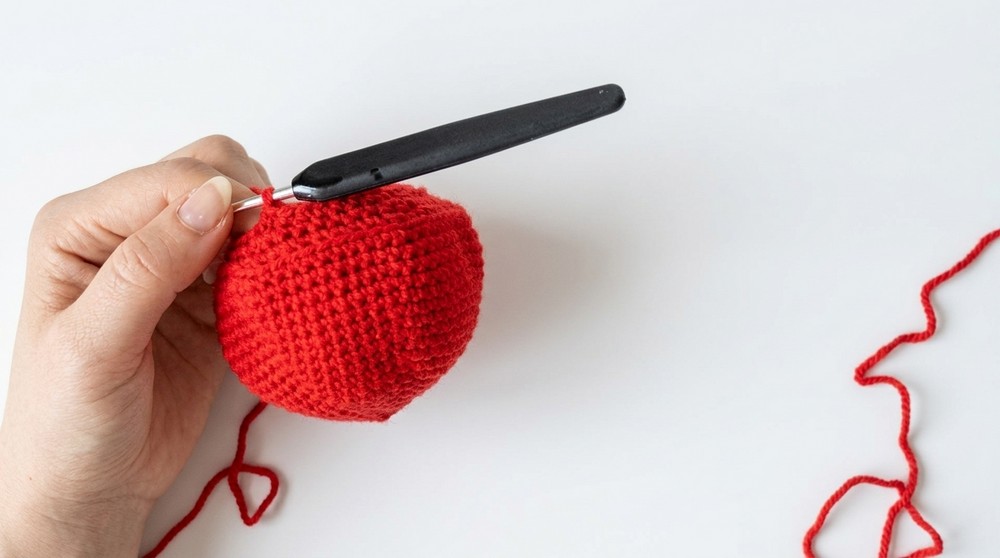
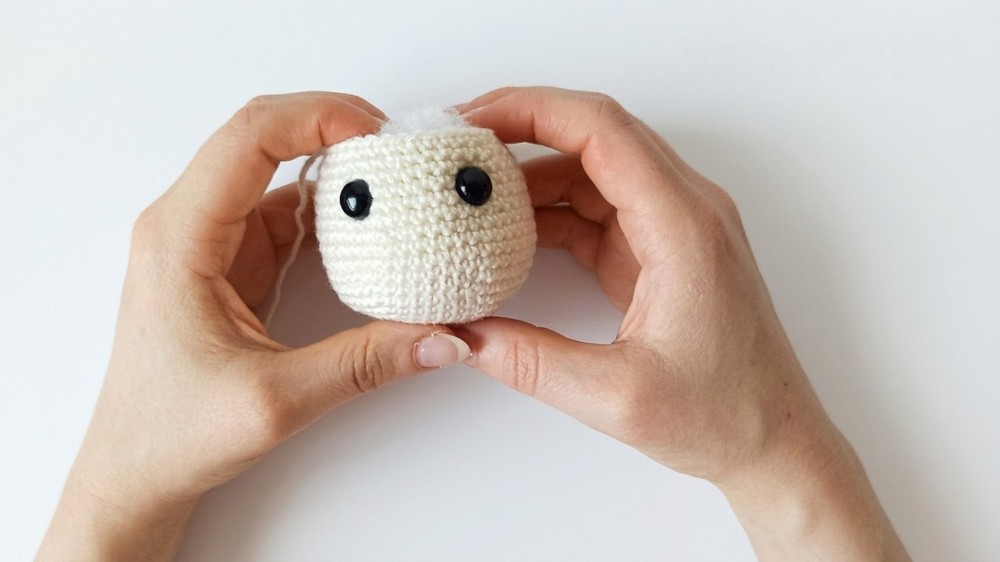
Stuffing the Head:
Before proceeding with further rounds, lightly stuff the mushroom cap. Ensure one side remains flat due to the back-loop row, while the other side forms a dome. Adjust stuffing to maintain this shape.
23. Round 24:
- Crochet 2 SC, 1 decrease, repeat 6 times.
- Total stitches: 18 SC.
24. Round 25:
- Crochet 1 SC, 1 decrease, repeat 6 times.
- Total stitches: 12 SC.
Round 26 (Final Round for Top):
- Crochet 6 decreases.
- Total stitches: 6 SC.
Fasten Off:
Slip stitch the final round and leave a long tail for sewing.
2. Mushroom Body:
1.Round 1:
- Start with a Magic Ring.
- Crochet 6 SC into the ring.
2. Round 2:
- Crochet 1 increase in each stitch.
- Total stitches: 12 SC.
3. Round 3:
- Crochet 1 SC, 1 increase, repeat 6 times.
- Total stitches: 18 SC.
4. Round 4:
- Crochet 2 SC, 1 increase, repeat 6 times.
- Total stitches: 24 SC.
5. Round 5:
- Crochet 3 SC, 1 increase, repeat 6 times.
- Total stitches: 30 SC.
6. Round 6:
- Crochet 4 SC, 1 increase, repeat 6 times.
- Total stitches: 36 SC.
7. Round 7:
- Crochet 5 SC, 1 increase, repeat 6 times.
- Total stitches: 42 SC.
8. Round 8:
- Crochet 6 SC, 1 increase, repeat 6 times.
- Total stitches: 48 SC.
9. Rounds 9 to 13:
- Crochet 1 SC in each stitch for all 5 rounds.
- Total stitches remain: 48 SC.
10. Round 14: (Start decreasing)
- Crochet 6 SC, 1 decrease, repeat 6 times.
- Total stitches: 42 SC.
11. Rounds 15 to 17:
- Crochet 1 SC in each stitch for these 3 rounds.
12. Round 18:
- Crochet 5 SC, 1 decrease, repeat 6 times.
- Total stitches: 36 SC.
3. Arms and Legs:
Arms:
- Start with Magic Ring.
- Round 1: 8 SC into the ring.
- Round 2: Crochet 3 SC, 1 increase, repeat twice. Total stitches: 10 SC.
- Round 3: 1 SC in each stitch.
Legs:
- Start with Magic Ring.
- Round 1: 6 SC into the ring.
- Round 2: 1 increase in each stitch (12 SC).
- Round 3: (Back Loops Only) Crochet 3 SC, 1 Increase, repeat 3 times (15 SC).
- Round 4: 1 SC in each stitch.
4. Head Spots:
Large Spots:
- Round 1: Magic Ring, 6 SC into the ring.
- Round 2: 6 increases (12 SC).
- Round 3: Crochet 1 SC, 1 Increase, repeat 6 times (18 SC).
Small Spots:
- Round 1: Magic Ring, 6 SC into the ring.
- Round 2: 6 increases (12 SC).
Assembly:
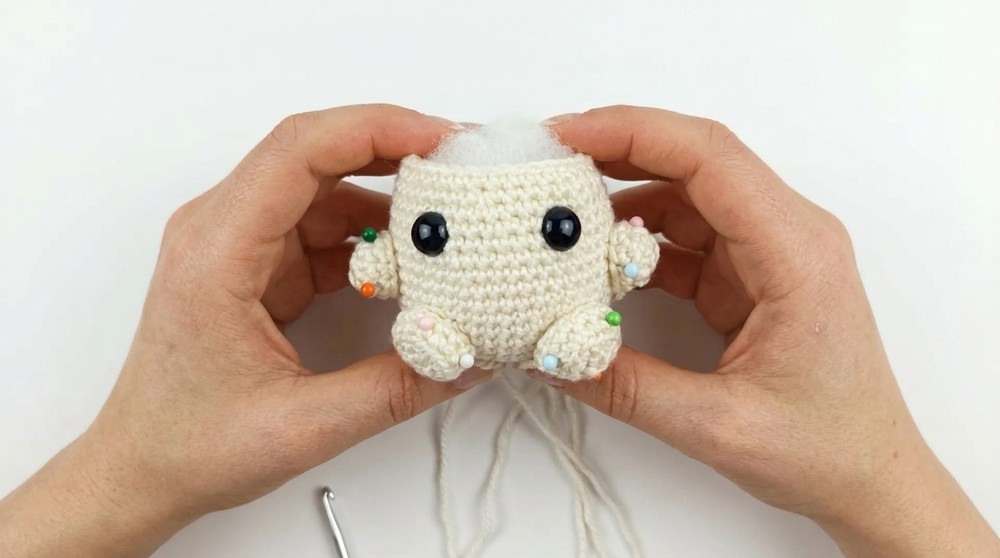
- Eyes Placement: Insert safety eyes between rounds 15–16 of the body, keeping them approx. 6 stitches apart.
- Sew Arms: Attach arms symmetrically along rounds 11–14. Use pins for placement accuracy.
- Sew Legs: Attach legs at the bottom of the body, counting stitches to ensure symmetry. Legs should cover rounds 5–10.
- Attach Spots: Sew spots onto the mushroom cap, alternating larger and smaller sizes. Place randomly for a natural look.
- Attach Head to Body: Align the cap with the body, ensuring stitches line up. Sew securely.
Finishing and Final Words:
- After assembly, adjust any loose threads or shaping.
- Optional: Use yarn tails to deform the eyes slightly inward for added character.
Tips:
- While stuffing, avoid overfilling to maintain defined shapes.
- Experiment with yarn textures for unique mushrooms.
- Use pins during assembly for symmetry.
This charming mushroom amigurumi can bring joy as a handmade gift or whimsical decoration.