Hook your own adorable sea turtle with this easy crochet pattern, creating a soft, and lovable friend that’s perfect for playtime or cozy cuddles.
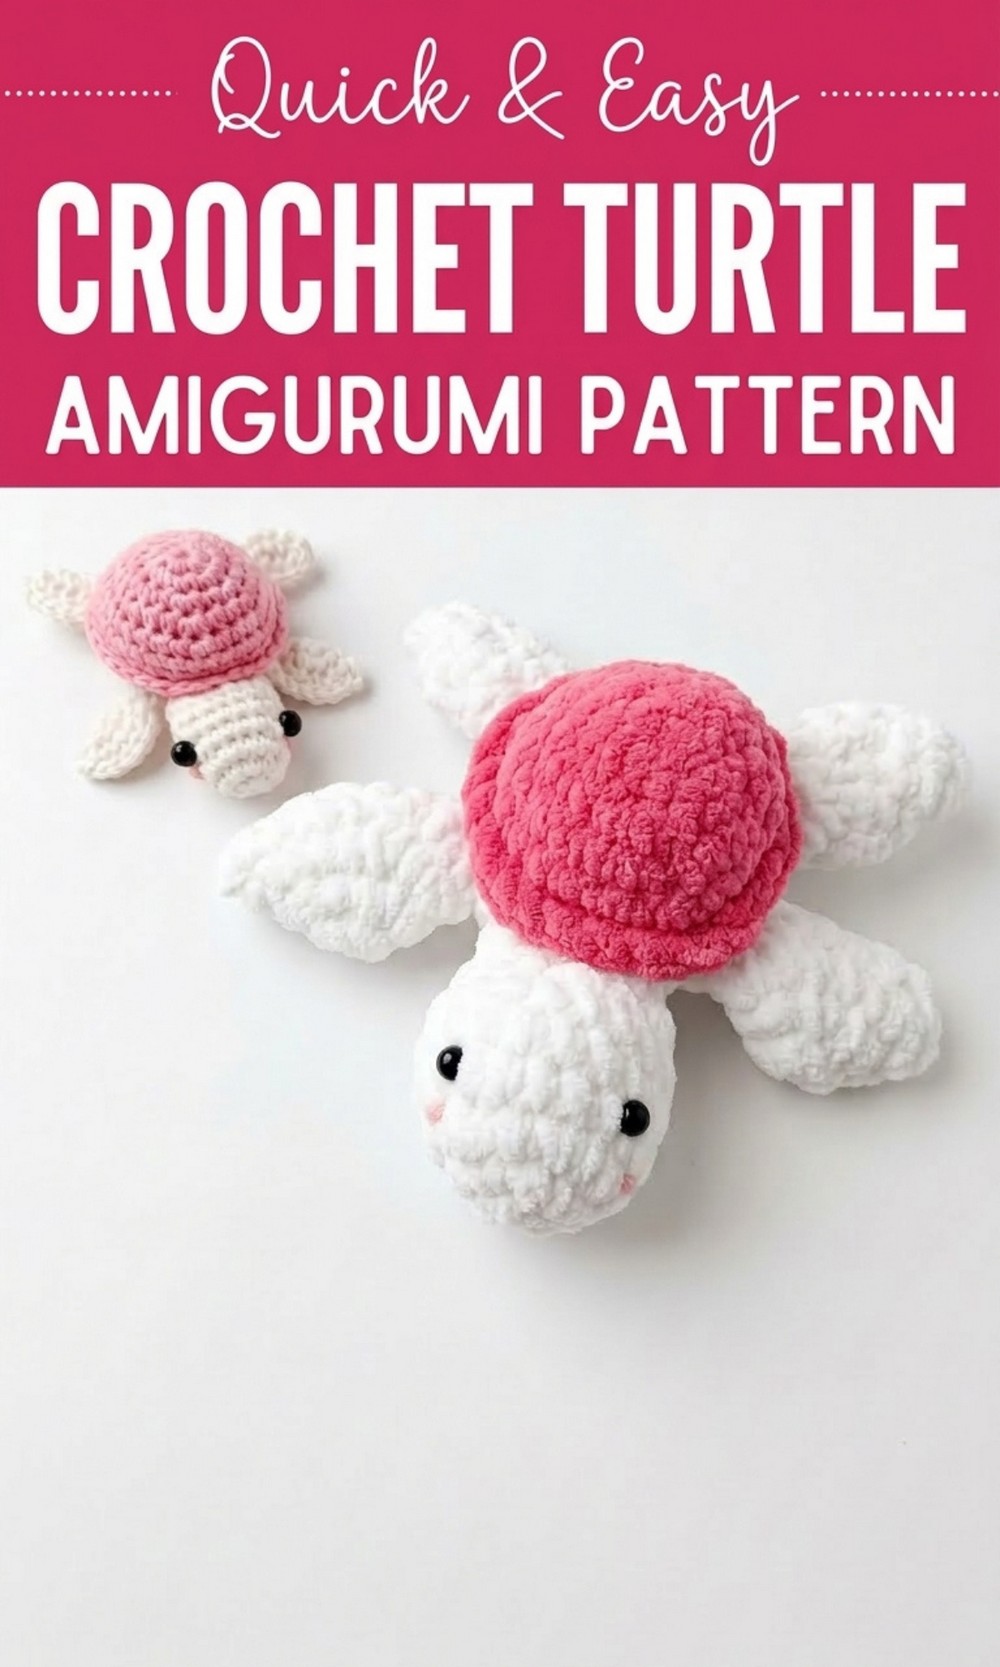
Cute Free Crochet Turtle Pattern that Everyone Will Love
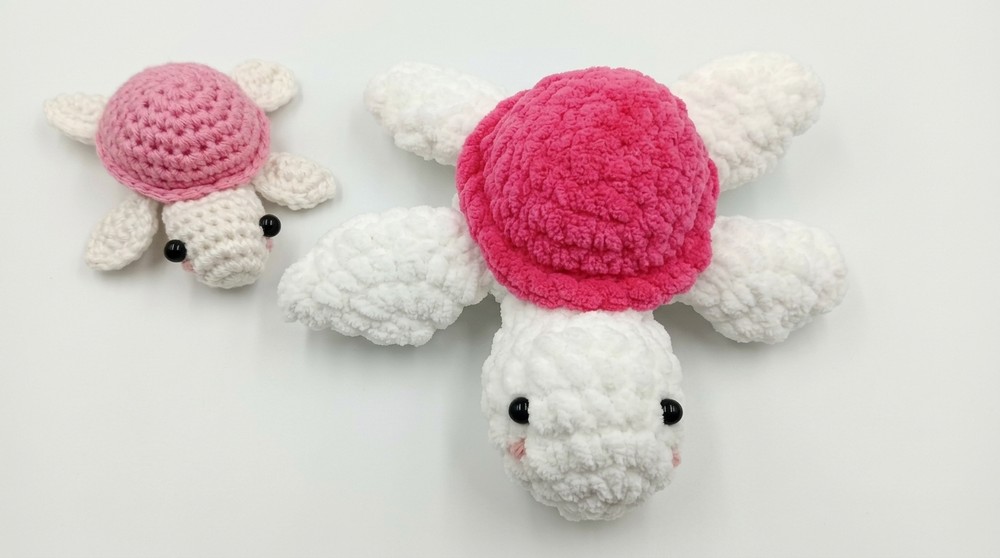
It is a fun and simple crochet project that lets you bring an adorable turtle amigurumi to life. With its cute little legs, a round shell, tiny tail, and a big friendly smile, this turtle is sure to make anyone fall in love at first sight.
The free crochet turtle pattern is easy to follow, making it perfect for beginners or anyone who wants to create something cheerful and unique. You can use soft velvet yarn for a cuddly feel or standard yarn for a classic look — the choice is yours. Its bead eyes make it extra charming, and you can use it as a gift, a cozy room decoration, or even a playful keychain. 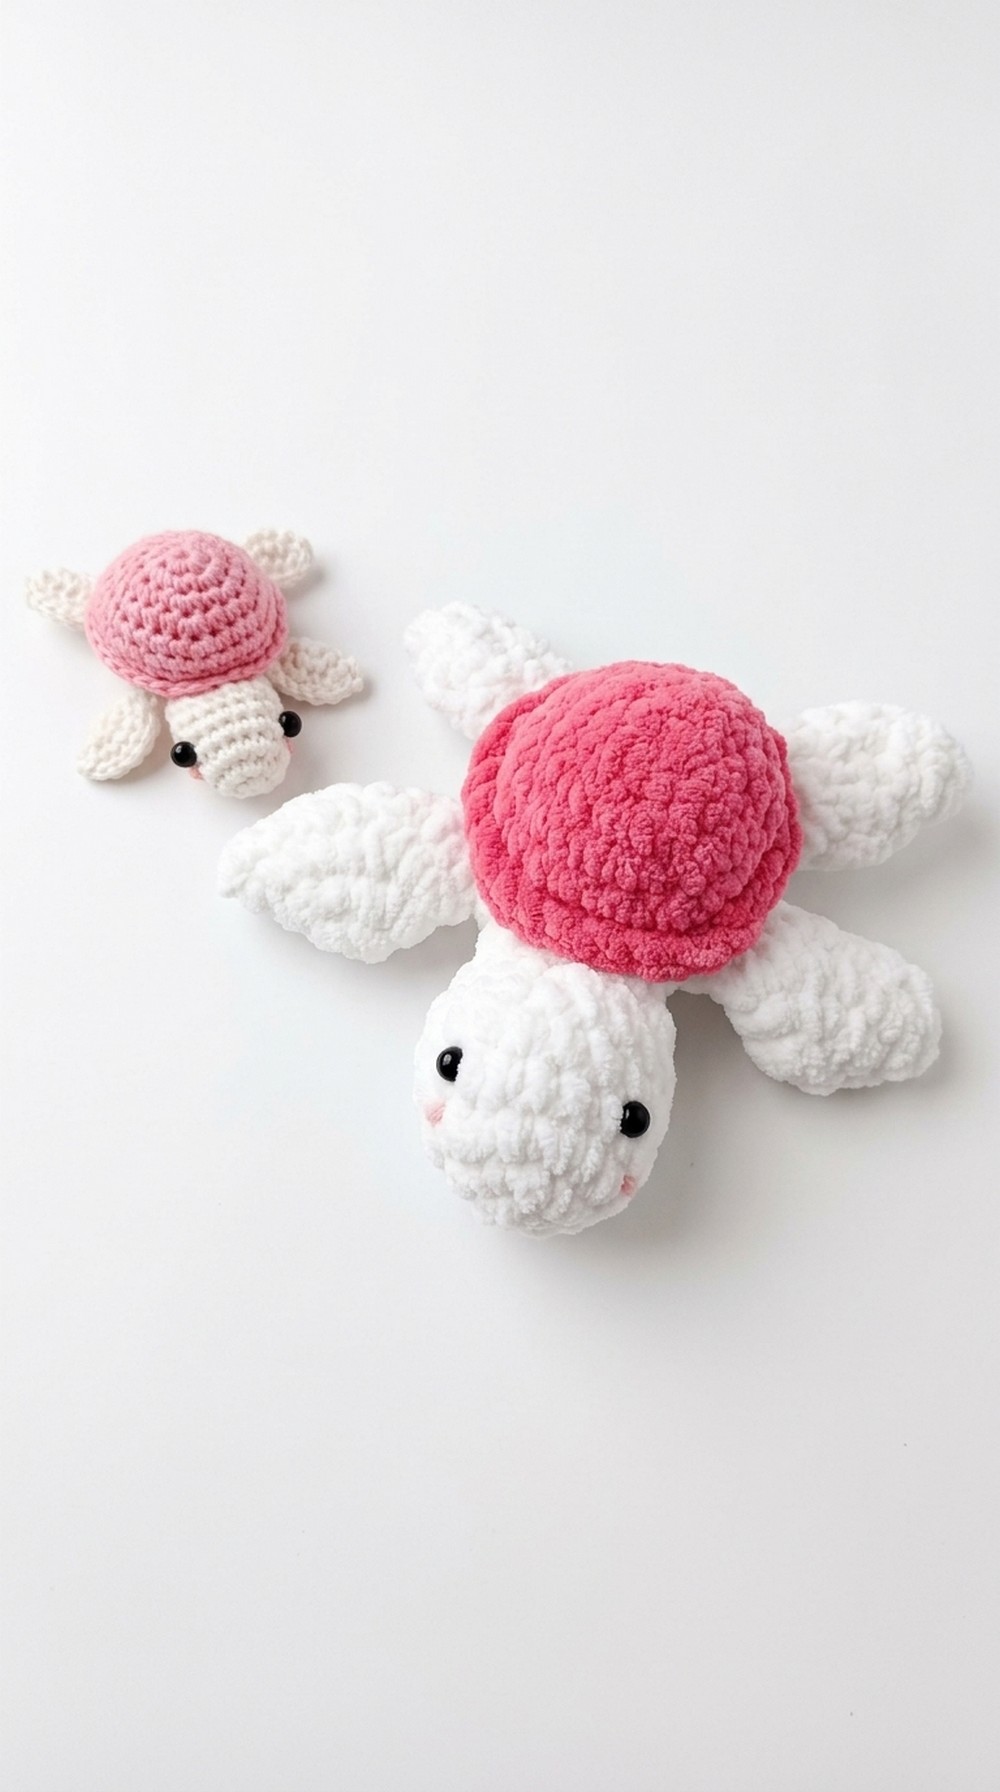
Whether you’re crocheting for fun or sharing joy with loved ones, this sweet turtle is guaranteed to add beauty and happiness to your day.
Crochet Turtle Amigurumi Pattern
Materials Required
- Yarn Options:
- 4 ply or velvet yarn (as per the desired size and texture).
- You may also use 2 ply or 3 ply wool for smaller versions.
- Crochet Hook: Match the hook size to the thickness of the yarn (e.g., 2mm to 4mm).
- Stuffing Material: Cotton or polyester fiber for filling.
- Black Beads: For eyes.
- Thread or Yarn: Additional contrasting colors for detailing and finishing.
- Stitch Marker (or contrasting thread): To mark rows and rounds.
- Needle and Scissors: For sewing and finishing threads.
Special Techniques
- Single Crochet (SC): Insert the hook into the stitch, yarn over, pull up a loop, yarn over, and pull through both loops.
- Slip Stitch (SS): Insert the hook into the stitch, yarn over, and pull through both loops on the hook.
- Increase: Work two single crochet stitches in the same space.
- Decrease: Insert the hook into the stitch, yarn over, pull up a loop, insert the hook into the next stitch, yarn over, pull up a loop, yarn over, and pull through all loops on the hook.
- Front Loop Only (FLO): Crochet into only the front loop of the stitch.
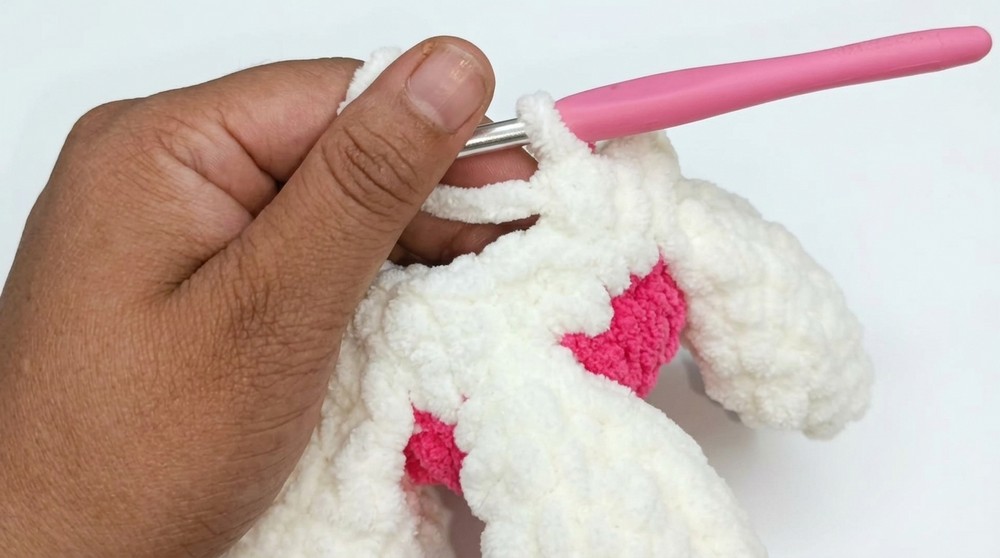
Step by Step Instructions
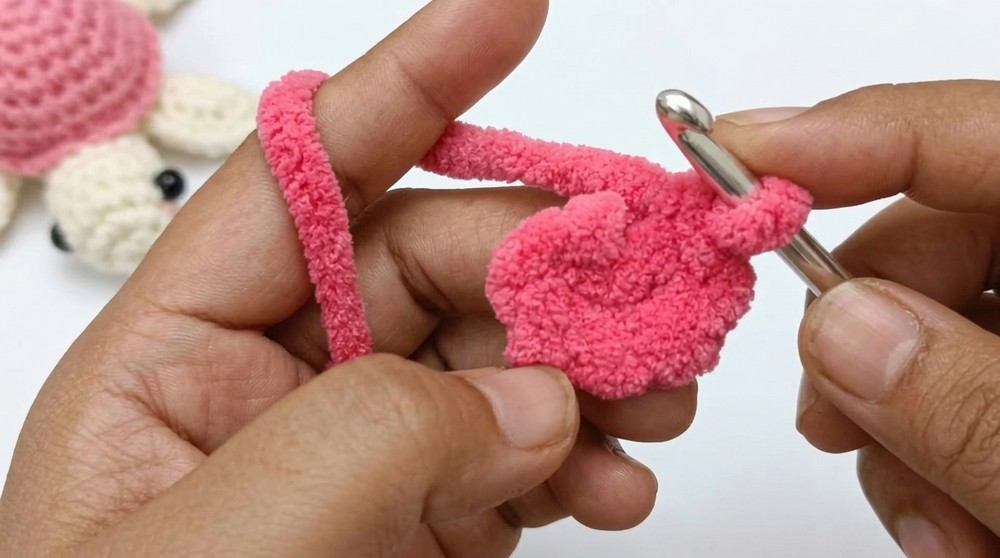
1. Base (Turtle Shell)
- Create a magic ring or begin with a single loop.
- Round 1: Work 6 single crochets into the ring. (6 SC)
- Pull the thread to close the ring tightly.
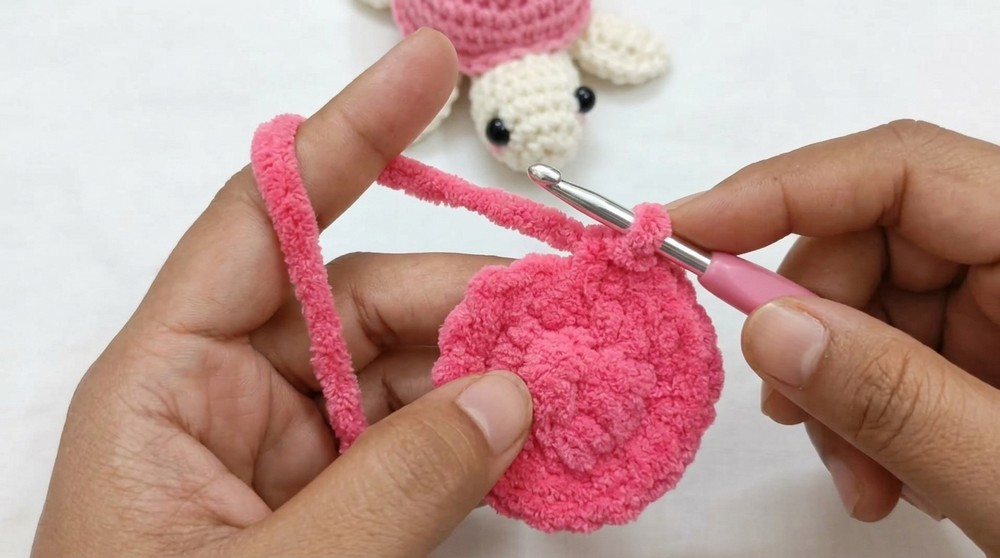
- Round 2: Work 2 single crochets in each stitch around. (12 SC)
- Round 3: Alternate 1 single crochet in the first stitch, then 2 single crochets in the next. Repeat around. (18 SC)
- Round 4: Alternate 1 SC in the next 2 stitches, then 2 SC in the next. Repeat around. (24 SC)
- Rounds 5-6: Work 24 single crochets evenly for 2 rows.
- Switch to working in the front loop only (FLO) as follows:
- Work 24 single crochets in the FLO for 1 round.
- Secure the thread and fasten off.
2. Head
- Start with a magic ring and make 6 single crochets in the ring. (6 SC)
- Round 2: Work 2 single crochets in each stitch around. (12 SC)
- Round 3: Alternate 1 single crochet in the first stitch, followed by 2 single crochets in the next stitch. (18 SC)
- Work 3 additional rounds with 18 single crochets evenly.
- Stuff the head with cotton or fiber before closing.
- Gradually decrease by converting every 2 stitches into 1 single crochet until 9 stitches remain. Finish sewing up the edges tightly.

3. Flippers and Legs (Make 4)
- Start with a magic ring and make 6 single crochets in the ring. (6 SC)
- Round 2: Work 2 single crochets in each stitch. (12 SC)
- Round 3: Alternate 1 single crochet in the first stitch, followed by 2 single crochets in the next stitch. (18 SC)
- Fold the piece in half. Without stuffing, join the opening with slip stitches or single crochets to create a firm flipper.
4. Tail
- Start with 4 chains.
- Starting from the second chain, work slip stitches back up to the original stitch. (3 times)
- Secure and fasten off to create a small tail.
5. Assembling the Turtle
- Using the back loop from the turtle shell, attach the flippers and legs:
- Place two flippers on opposite sides of the shell for the front legs.
- Place two legs on opposite sides and slightly below the flippers for the back legs.
- Attach the head to the edge of the shell using the identified stitches (5 SC).
- Secure the tail in the center bottom position at the back of the shell.
- Sew all pieces tightly to ensure durability.
6. Adding the Face
- Use black beads or black thread:
- Attach one bead on either side of the head for the eyes.
- If using thread, stitch a small circle in place of the bead.
- Use thin pink or red thread to create a smiling mouth on the head.
- Attach one bead on either side of the head for the eyes.
Finishing
- Tuck in all the loose thread ends and secure them inside the shell or hide them within the stitches.
- Add any optional details like decorative embroidery or hanging loops if you’d like to use the turtle as a keychain or a hanging ornament.
Final Words
Congratulations, Your adorable crochet turtle is now complete. It’s a versatile and fun piece that children will love, and it can also be used as a decorative item or a lovely handmade gift.
Tips to Maintain Your Crochet Turtle
- Handwash gently in cold water if needed and air dry only.
- Store in a dry place to avoid damage to the yarn.
- If using beads for the eyes, ensure they are secured tightly to prevent them from falling off.
If you’re gifting it to children, consider carefully stitching the features to the turtle instead of using small detachable pieces. Most importantly, enjoy the process of crocheting and get creative with different yarn colors and styles.