Try this free crochet turtle coaster pattern to make something unique and useful, perfect for your table or as a thoughtful handmade gift.
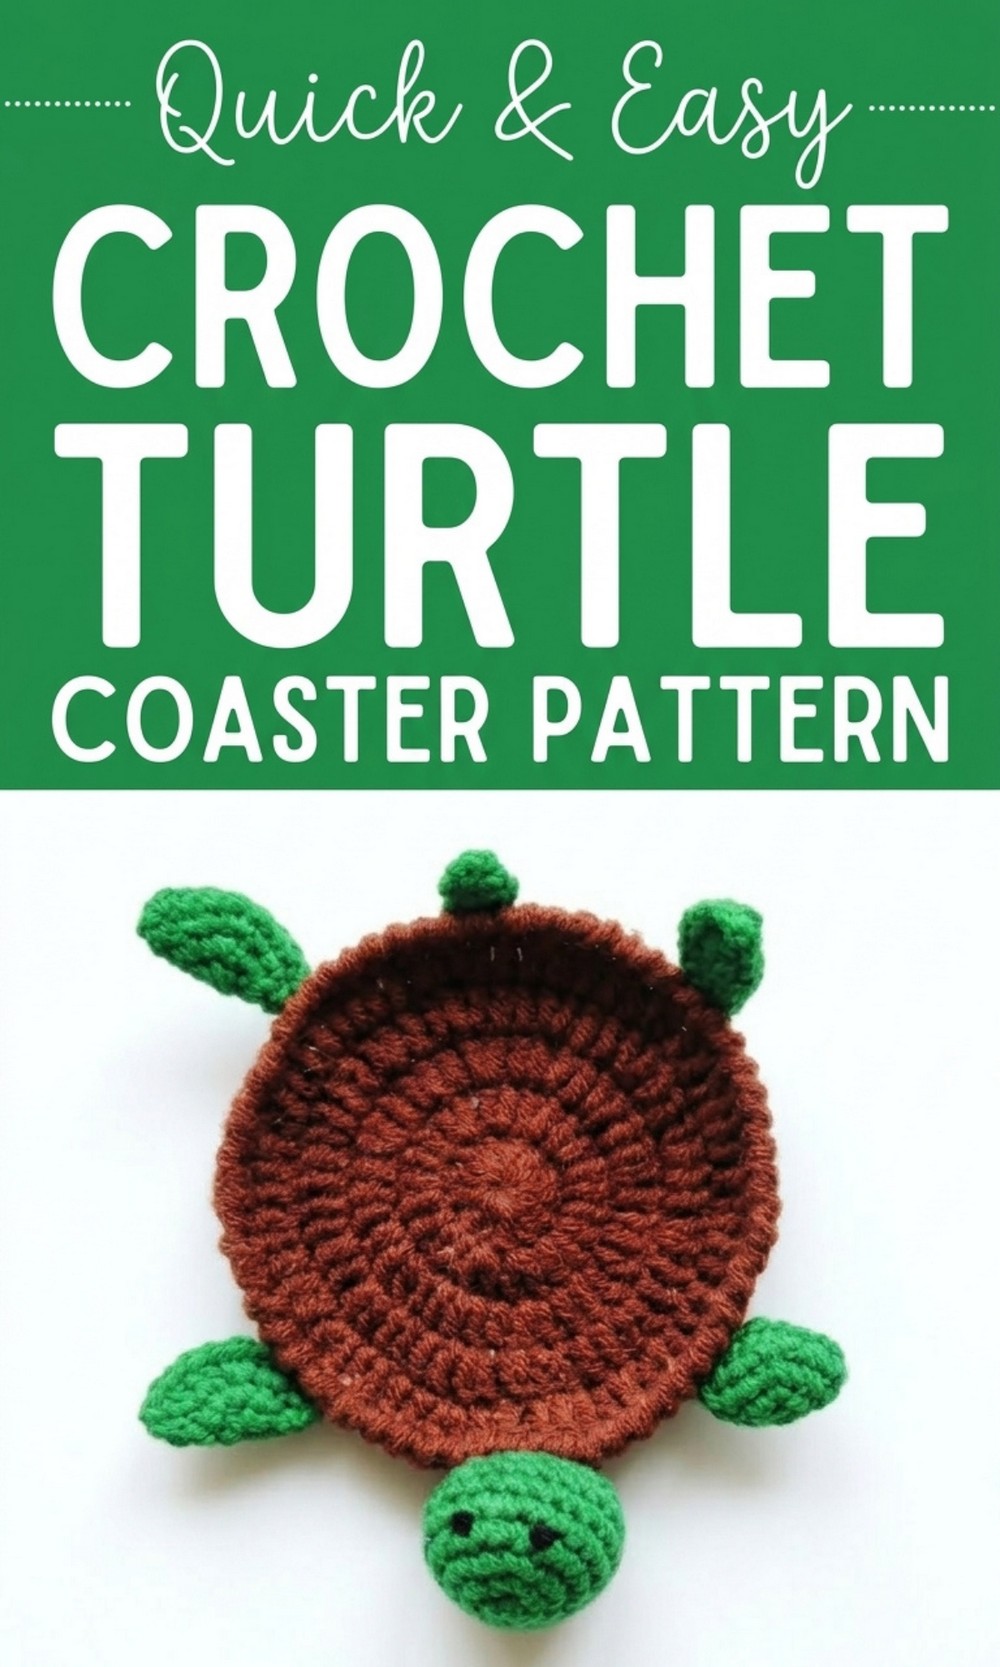
Boost Your Table Setup with a Free Crochet Turtle Coaster Pattern
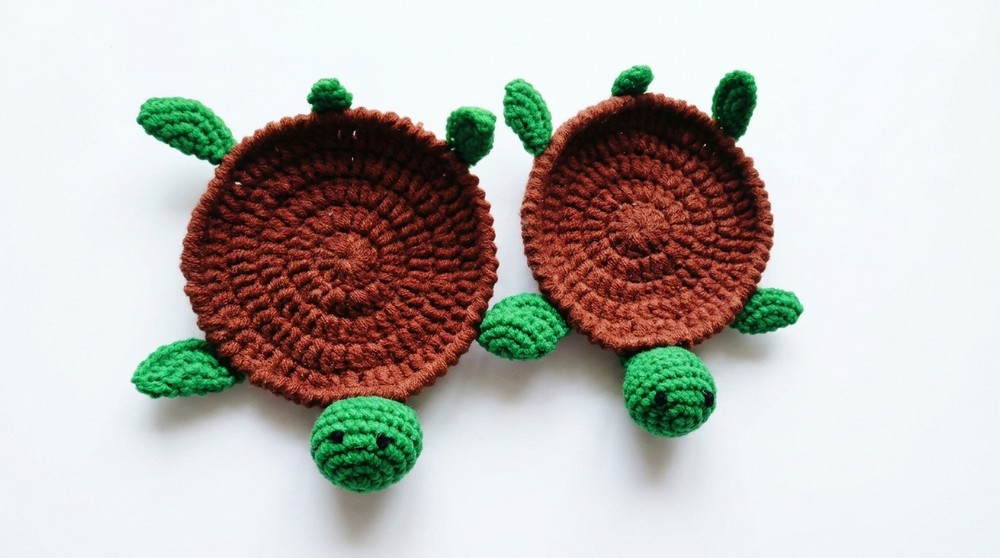
Do you want to make something fun, cute, and easy? This Free Crochet Turtle Coaster Pattern is perfect for you. It’s not only adorable but also very useful. This coaster looks just like a tiny turtle with a colorful shell and little legs, a head, and a tail. It is perfect for decorating your table or giving as a gift to your loved ones. 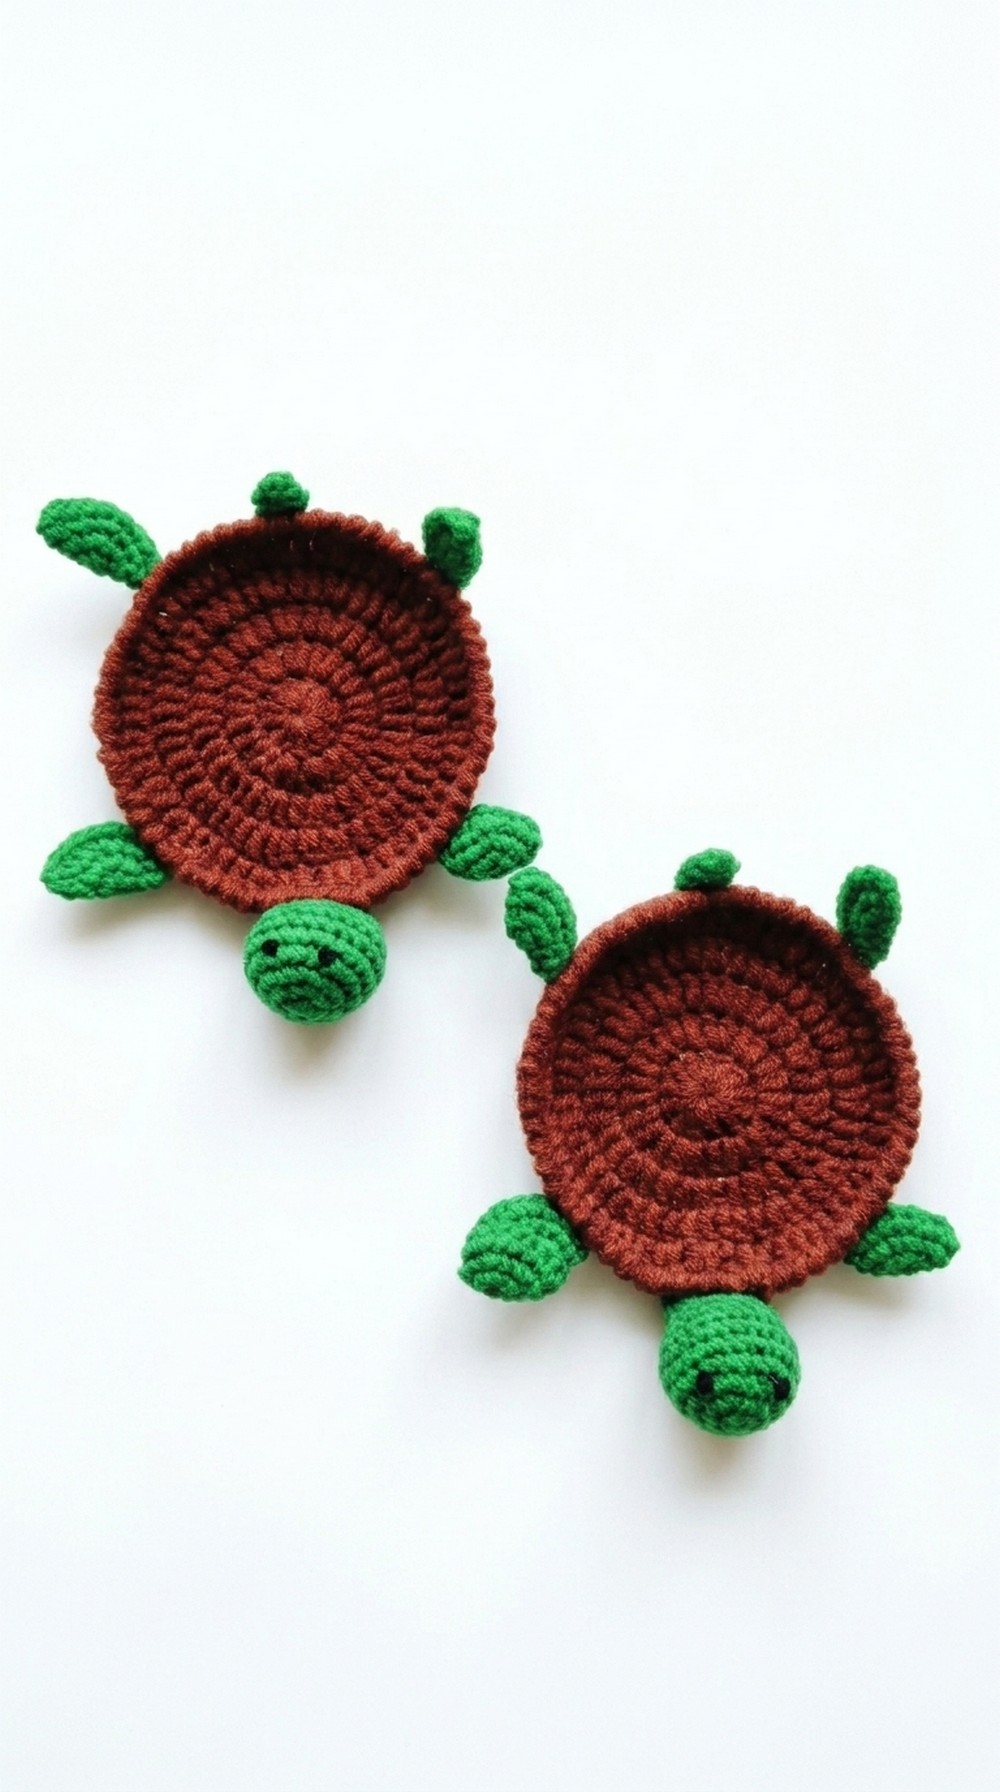
You can also fill the head with cotton to make the turtle more playful. The coaster is designed to be sturdy with tight stitches, so it holds its shape well. You can use it to keep your table neat and clean or as a cute toy for kids. This project is easy to make and guaranteed to make everyone smile while showcasing your creativity.
Cheerful Crochet Turtle Coaster Pattern
Materials Required:
- Yarn:
- Dark Brown Yarn: 2 balls (double strand for the shield).
- Green Yarn: Single strand for head, legs, and tail.
- Black Yarn: A small amount for eyes (optional if using safety eyes).
- Yarn Type: 4-ply acrylic yarn (suggested brand: Vardhman).
- Hook:
- Size: 2.5 mm crochet hook (referred to as 4-number hook).
- Additional Items:
- Scissors.
- Needle for stitching.
- Cotton fiber or stuffing material for the head and tail (optional for legs).
Pattern:
1. Crochet the Shield (Body):
- Preparation:
- Use Dark Brown Yarn doubled for thickness.
- Start with a magic ring.
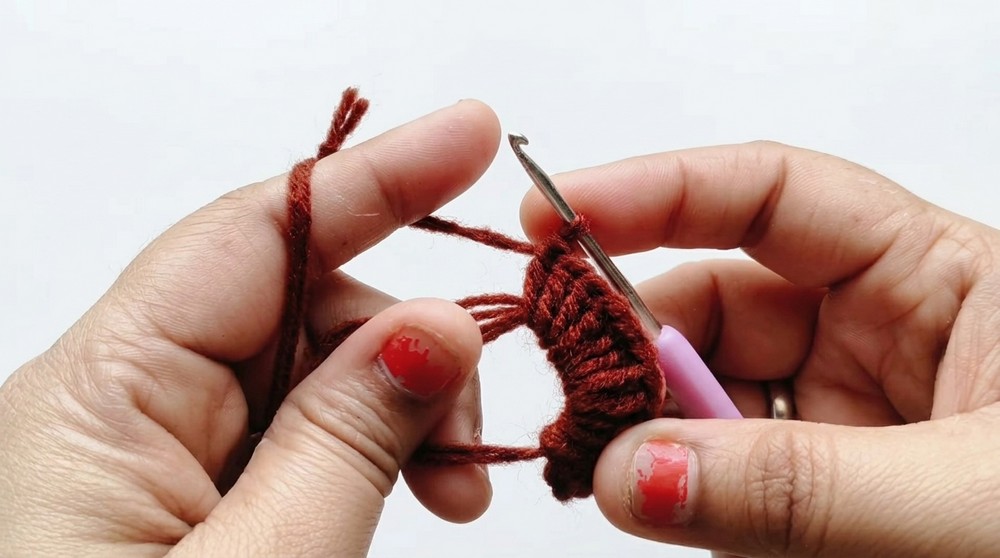
- Round 1:
- Chain 2 (does not count); make 12 Double Crochet (DC) inside the magic ring.
- Pull the ring closed and join to the first DC with slip stitch.
- Round 2:
- Chain 2 (does not count); make 2 DC in each stitch around.
- Total stitches: 24 DC.
- Round 3:
- Chain 2 (does not count); alternate 1 DC in the first stitch and 2 DC (increase) in the next stitch.
- Repeat this pattern around (12 repetitions).
- Total stitches: 36 DC.
- Round 4:
- Chain 2 (does not count); alternate 2 DC in the first two stitches and then 2 DC (increase) in the next stitch.
- Repeat this pattern around (12 repetitions).
- Total stitches: 48 DC.
- Round 5:
- Chain 2 (does not count); alternate 3 DC in the first three stitches and then 2 DC (increase) in the next stitch.
- Repeat this pattern around (12 repetitions).
- Total stitches: 60 DC.
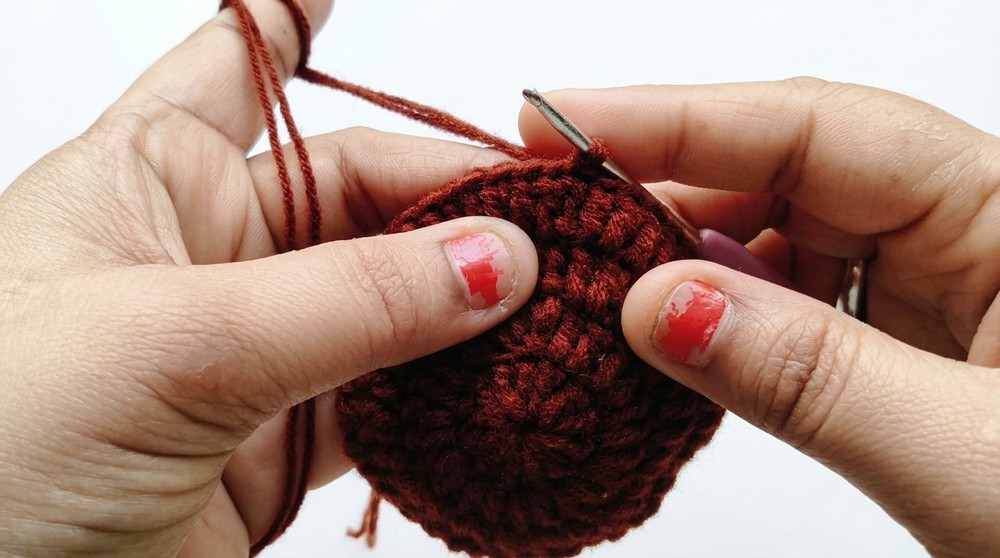
- Special Border (Reverse Single Crochet):
- Use single strand of the brown yarn.
- Work Reverse Single Crochet (RSC) in each stitch around the edge (insert hook backward into stitches).
- Total stitches: 60 RSC.
- Fasten off and secure loose ends.
2. Crochet the Legs (4 Pieces):
- Leg Pattern (Each Leg):
- Use Green Yarn single strand.
- Start with a magic ring.
Round 1: Create 6 Single Crochet (SC) inside the ring, pull tight, and slip stitch to join.
Round 2: Chain 1 (does not count); make 2 SC in each stitch (increase every stitch).
Round 3: Chain 1 (does not count); alternate 1 SC and 2 SC (increase).
Round 4 (Shape & Join): Fold the piece and stitch across 9 SC evenly.- Fasten off and hide loose ends.
3. Crochet the Tail:
- Tail Pattern:
- Use Green Yarn single strand.
- Start with a magic ring.
Round 1: Make 4 SC inside the ring, pull tight, and slip stitch to join.
Round 2: Chain 1 (does not count); alternate 1 SC and 2 SC (increase) in 4 stitches.
Round 3: 1 SC in every stitch.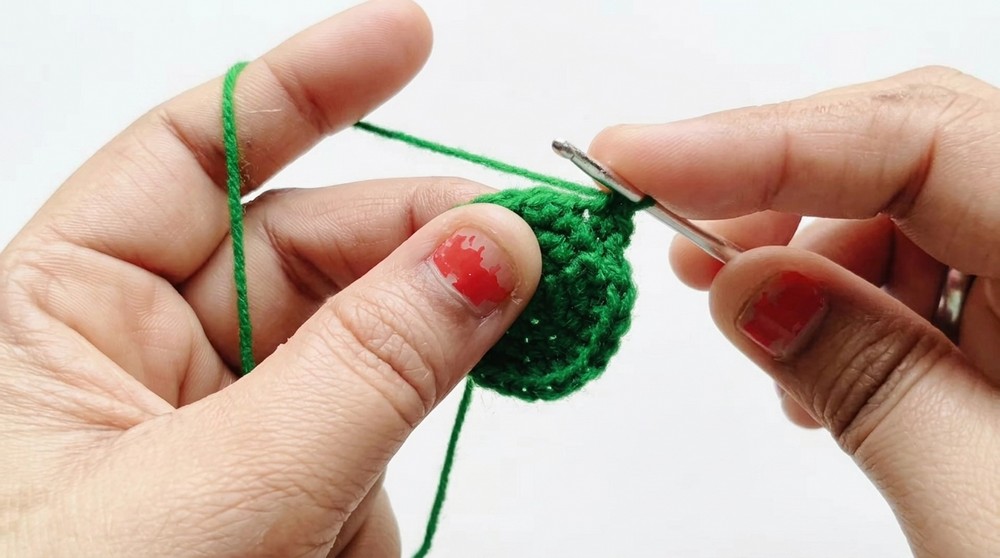
Round 4: Fold and stitch across 3 SC evenly.- Fasten off and secure.
4. Crochet the Head:
- Head Pattern:
- Use Green Yarn single strand.
- Start with a magic ring.
Rounds 1-4 (Increasing Rounds): Follow the transcription pattern to grow the head from 6 SC in Round 1 up to 24 SC in Round 4.
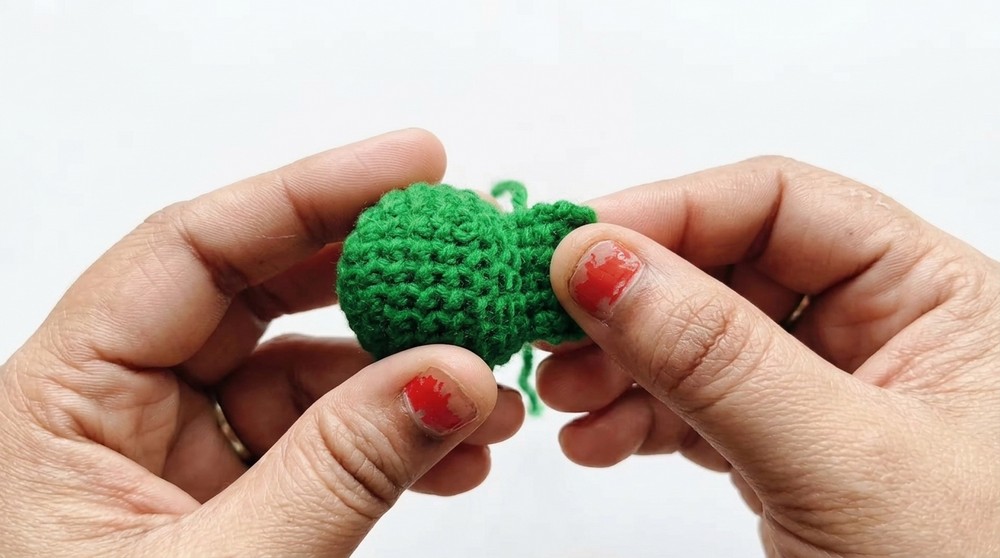
Rounds 5-14 (Height Rounds): Work 1 SC in each stitch across 24 stitches for 9 consecutive rounds.
Round 15 (Decreasing Shape): Reduce by working 8 decreases evenly spread, ending with 12 SC.
Round 16-17 (Final Shape & Closing): Secure stuffing material in the head, stitch across to flatten, and close tightly using a sewing needle.
5. Assembly Instructions:
- Attach Head: Sew the head securely to the shield, aligning shapes for proper orientation (round decreases facing downward).
- Attach Tail: Position the tail directly opposite the head, sewing it firmly into place.
- Attach Legs: Place legs evenly at four corners of the shield, ensuring symmetry, and sew or glue securely.
6. Adding Eyes:
- Use Black Yarn or safety eyes. Position eyes between the 4th and 5th round of the head.Steps for Yarn Eyes:
- Wrap yarn in loops on the needle (4 to 5 times for thick dots).
- Fix securely on the designated spot.
- Adjust for symmetry and secure ends.
Finishing:
- Double-check all stitches for security.
- Trim excess yarn and hide all loose threads.
- Lightly shape and adjust the turtle coaster for best appearance.
Final Words & Tips:
- This Turtle Coaster is versatile: it can be used for decoration, gifting, or as a kids’ toy.
- For beginners, take your time with techniques like the magic ring and reverse single crochet; practice if necessary.
- Ensure all pieces are tightly secured, especially if intended for children.
- Clean the coaster occasionally by handwashing it gently in cool water.