
Follow this easy step-by-step tutorial to stitch your own adorable Crochet Kirby Amigurumi and add a charming touch to your collection today for endless fun.
This is a small, soft doll that looks like Kirby, a popular video game character. The Crochet Kirby Amigurumi is great for decorating your room, giving as a gift, or adding to your handmade toys. It’s a fun and easy project to crochet.
Simple Crochet Kirby Amigurumi Free Pattern for Toys
Credit:
This pattern is based on the original YouTube video (Link is below) by Divine Crochets. Thanks to Divine Crochets for the design and tutorial. Please visit their channel to watch the full video and support their work.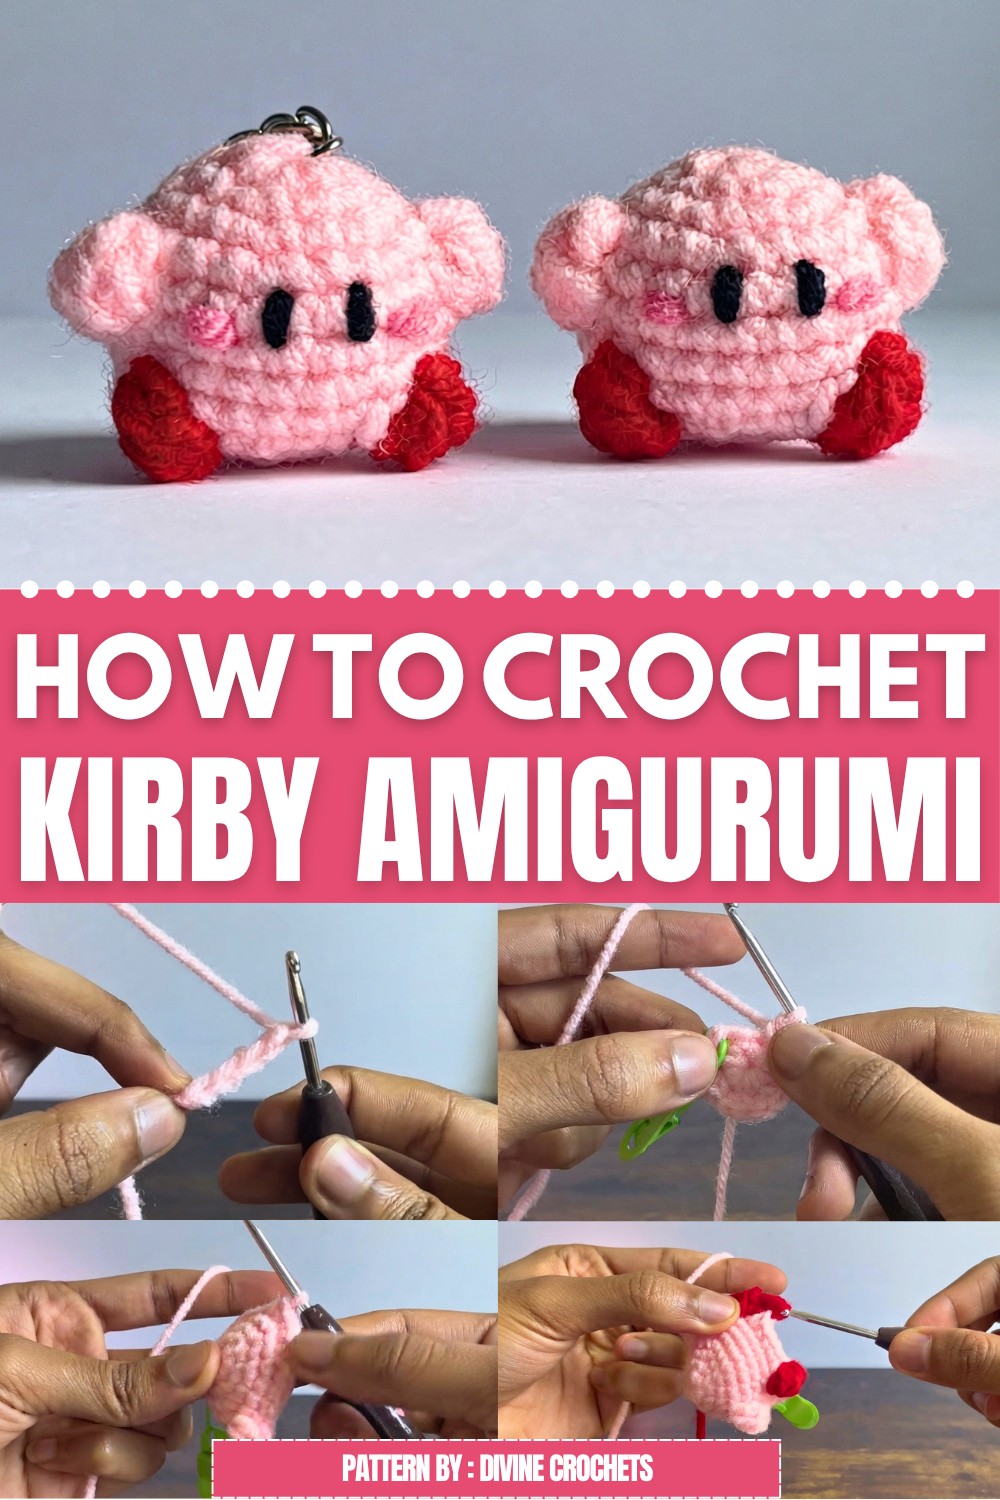 The doll is round with big eyes and pink cheeks. It is soft and cuddly because it’s made from yarn. The size is just right to hold in your hand or put on a shelf. This project is good for beginners because it uses simple crochet stitches.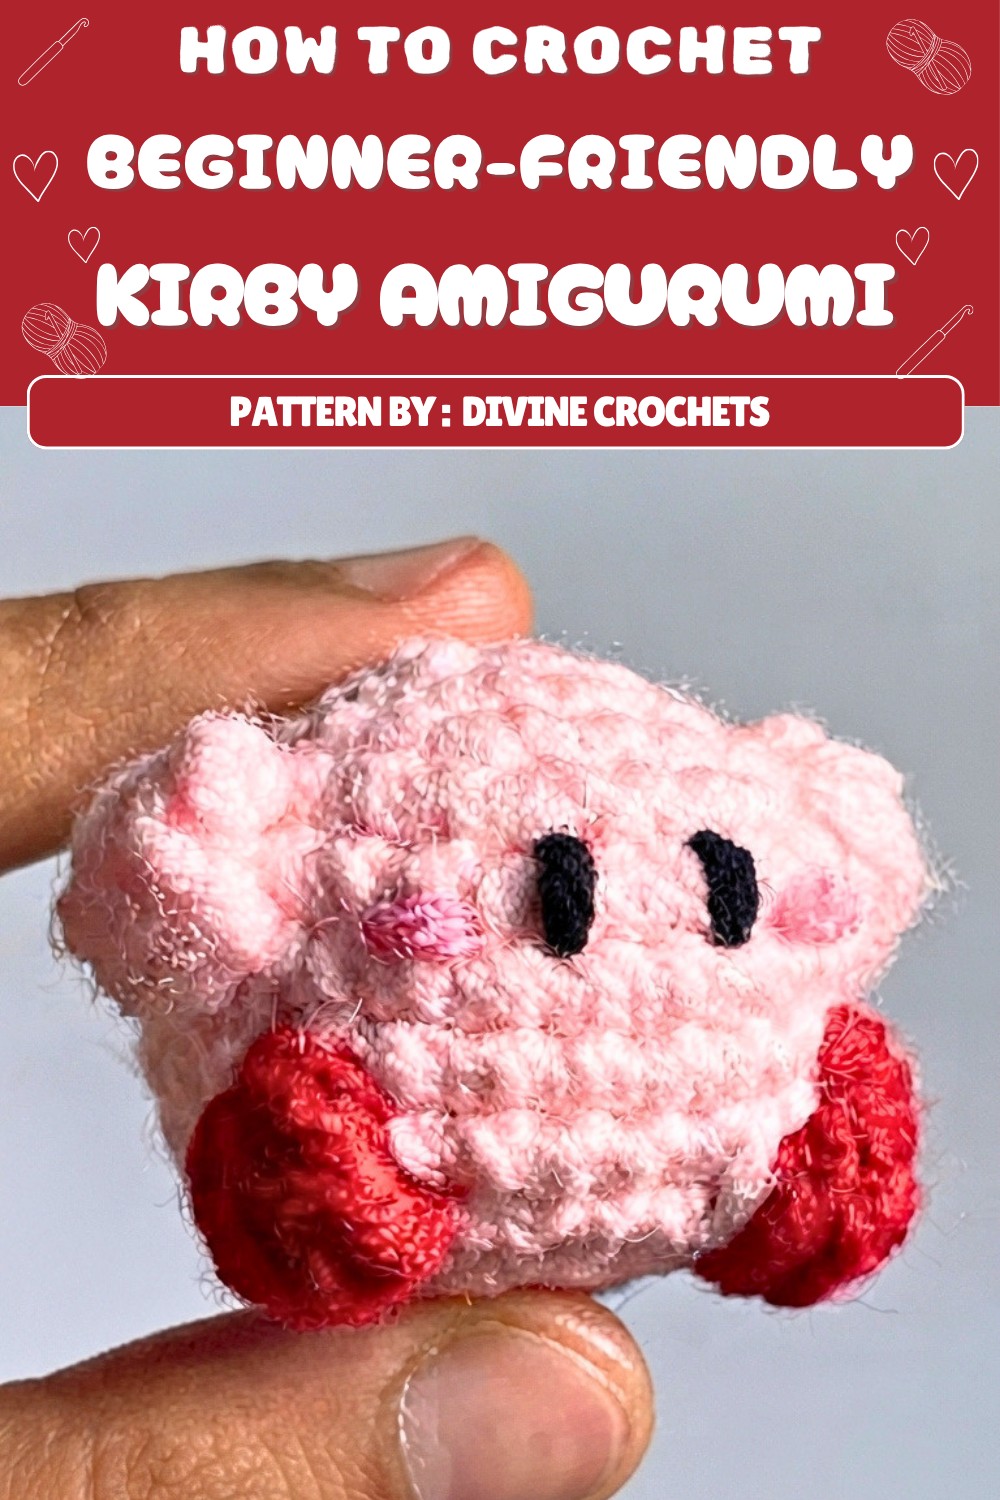
You will need pink, white, red, and black yarn, a crochet hook, stuffing, and a yarn needle. The pattern is simple but makes a cute and nice-looking doll.
Making this Crochet Kirby Amigurumi is a good way to learn and have fun crocheting. It also makes a sweet gift or a nice toy to keep.
Crochet Kirby Amigurumi Keychain Pattern
This approachable pattern guides you through crocheting a delightful Kirby, a classic character beloved by many. The main sphere, arms, and color changes for feet are formed seamlessly in-the-round using fundamental techniques, making this a useful study in circular crochet, basic embroidery, and working with simple colorwork. Clear explanations emphasize every detail, from initial grip and tension to closing your plush and carefully embroidering features. The result is a round, soft Kirby, suitable as a keychain, bag charm, or a joyful, collectible plushie, making this project ideal for practicing the foundational methods of beginner amigurumi.
Pattern Basic Points
Key Construction Features
- Kirby’s round body, arms (bobble stitches), and feet (colorwork bobbles) are worked seamlessly.
- Minimal sewing—eyes, blush, and attaching the keyring use simple embroidery.
- Fully photo- and marker-friendly: Designed for easy tracking with stitch markers for those just starting.
- The project uses only a few basic stitches: single crochet, slip stitch, and bobble stitch.
Technique and Process Highlights
- Includes detailed explanations for holding yarn and hook, starting with a chain ring “magic ring” method.
- Uses clear indications of stitch marker placement to track your position.
- Decreases are made using the invisible single crochet decrease for a polished appearance.
- Embroidery techniques for facial features are detailed for a soft, finished look.
Special Notes
- Maintain a consistent but not overly tight tension—this helps your Kirby remain plump and ensures stitches hide the stuffing.
- Bobble stitches are used to create Kirby’s arms and feet; make sure to pop them outwards for a three-dimensional look.
- Stuff the body firmly, but avoid overstuffing, which may stretch your stitches.
- Embroider facial features after closing, using generous knots and tucking yarn ends inside for security.
- The key ring attachment is optional and can easily be omitted if a plush is desired without hardware.
Skill Level
Beginner
This pattern is written with those new to amigurumi in mind. It suits individuals who may have some basic understanding of crochet stitches or are looking for a pattern to further develop their skills, especially those related to working in the round, increasing and decreasing stitches, bobble stitch formation, and basic color changes.
Materials
- Worsted weight yarn (Weight 4) in main Kirby color (pink recommended)
- Red yarn (feet)
- Small amounts of pink and black yarn (for blush and eyes)
- 3.5 mm crochet hook
- Scissors
- Stitch marker (paperclip or bobby pin is sufficient)
- Tapestry/yarn needle
- Polyester stuffing or yarn scraps for filling
- Key ring (optional, for keychain version)
Measurements / Sizing
- Finished Kirby will be approximately 2.5–3 inches (6–8 cm) tall and round in shape.
- Sizing can slightly vary based on yarn type, hook size, and individual tension.
Gauge (and Stitch Pattern if Applicable)
- Gauge is not essential for this project but aim for firm, even stitches to keep stuffing inside.
- Main Stitch Pattern: Single crochet in continuous rounds, with occasional bobble stitches for limbs.
Stitch Abbreviations
| Abbreviation | Meaning |
|---|---|
| ch | chain |
| sc | single crochet |
| sl st | slip stitch |
| inc | increase (2 sc in the same stitch) |
| dec | decrease (see “Special Stitches”) |
| st(s) | stitch(es) |
| bobble | 4 partial dc closed together (see “Special Stitches”) |
Special Stitches
- Magic Ring (beginner-friendly version): Ch 4, join into first chain with sl st to form ring, work round one stitches in ring.
- Invisible Decrease (dec): Insert hook through front loops only of each of next two stitches, yarn over, draw up a loop through both, yarn over, draw through two loops on hook.
- Bobble Stitch:
- Yarn over, insert hook in next st, yarn over and pull up a loop, yarn over and pull through first two loops on hook.
- Repeat this in same stitch for a total of 4 times (you will have five loops left on your hook).
- Yarn over, pull through all 5 loops at once.
- Immediately single crochet into next st and pop bobble to outside.
Free Pattern
Starting Out
- Make a slipknot on hook. Ch 4, sl st in first ch to form ring.
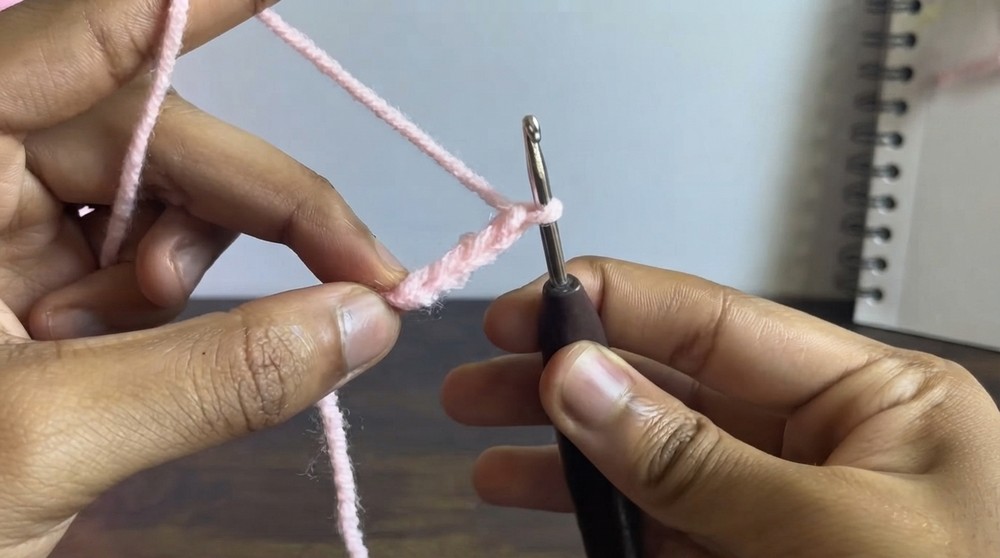
Holding the Yarn and Hook
- Hold yarn tail in right hand, working yarn in left.
- Tension with pinky and ring finger, working yarn over forefinger.
- Knife or pencil grip for hook; choose based on comfort.
Body and Arms (worked in rounds)
- Use a stitch marker to keep track of rounds, moving it up each time you start a new round.
Pattern Rounds (with milestones and stitch counts)
R1:
- 6 sc in ring. (6 sts)
- Mark first stitch.
R2:
- 2 sc in each st around (inc in every st). (12 sts)
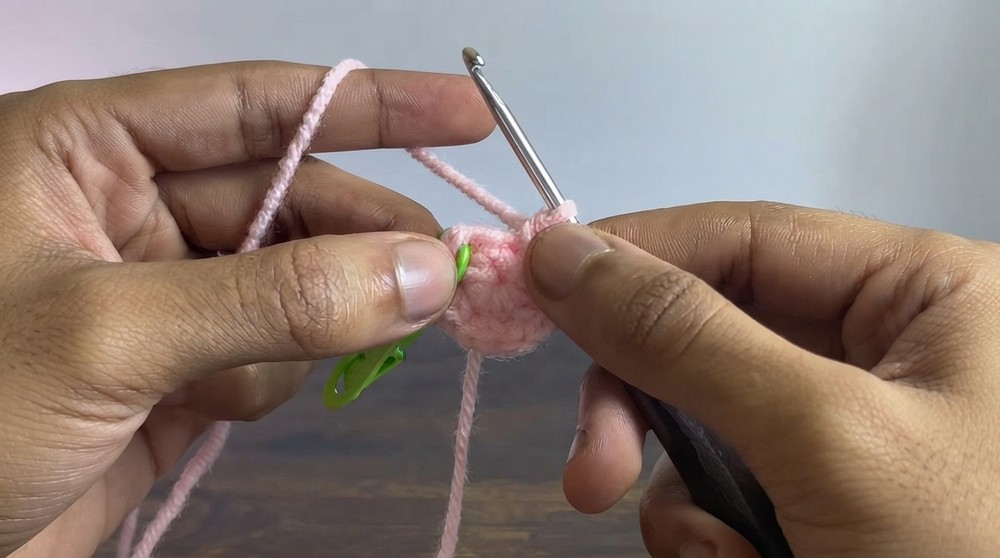
- Use stitch marker.
R3:
- Sc in next st, inc in next st; repeat around. (18 sts)
- Mark first stitch.
R4:
- Sc in next 2 sts, inc in next st; repeat around. (24 sts)
- Mark first stitch.
R5:
- Sc in next 6 sts, bobble st in next st (see “Special Stitches”); sc in next 10 sts, bobble st in next st, sc in next 6 sts. (24 sts)
- Pop bobble stitches outward (these form the arms).
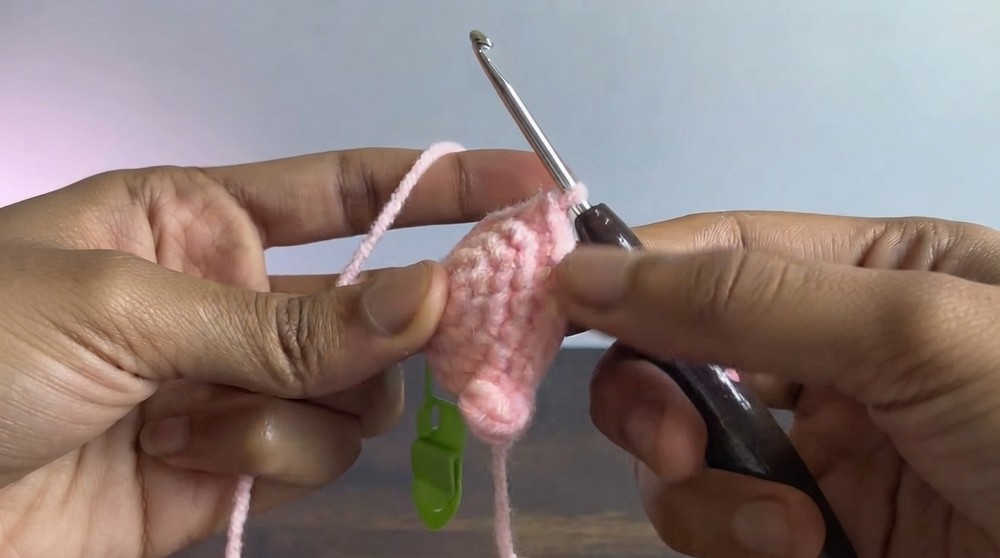
- Place stitch marker in first single crochet.
- Pop bobble stitches outward (these form the arms).
R6–7 (Rounds 6 and 7):
- Sc in each st around. (24 sts per round)
- Move marker at start of every round.
R8:
- Sc in next 8 sts (on the 8th stitch, stop with 2 loops on hook), switch to red yarn, finish sc with red [for color change].
- Bobble st (with red) in next st. On final bobble yarn over, use pink to close.
- Sc in next 6 sts (pop bobble out), on the 6th single crochet, color change to red in final pull through.
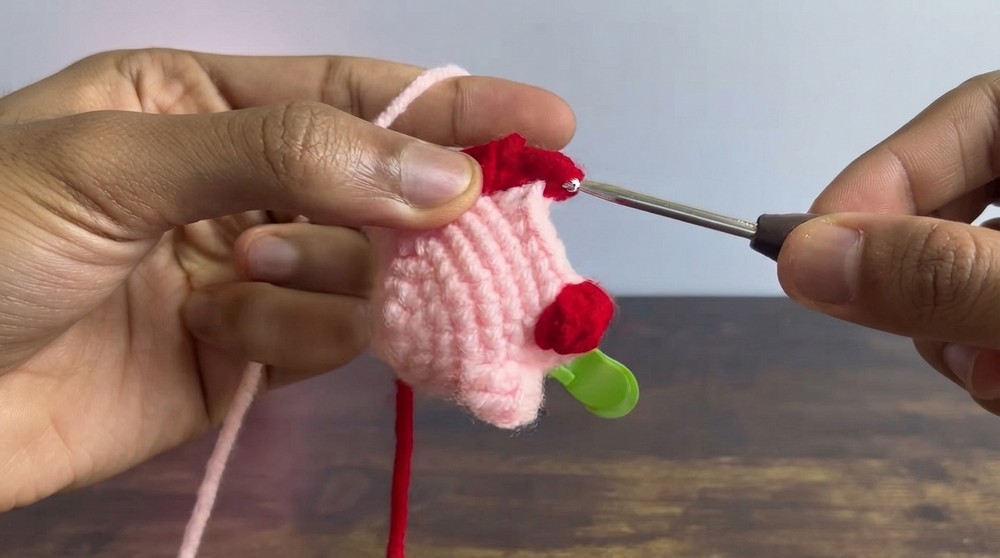
- Bobble st (red) in next st, close with pink.
- Sc in final 8 sts to end of round (pop bobble, complete all in pink).
- At the end, cut or tuck in red yarn; you will not need it further.
R9:
- Sc in next 2 sts, dec in next 2 sts (see “Special Stitches”); repeat around. (18 sts)
R10:
- Sc in next st, dec in next 2 sts; repeat around. (12 sts)
- Begin stuffing body firmly at end of this round, shaping nicely.
R11:
- Dec in every pair of sts around. (6 sts)
- Cut yarn, leave tail. Using yarn needle, go through front loop of each st, pull tight to close. Weave in and trim tail.
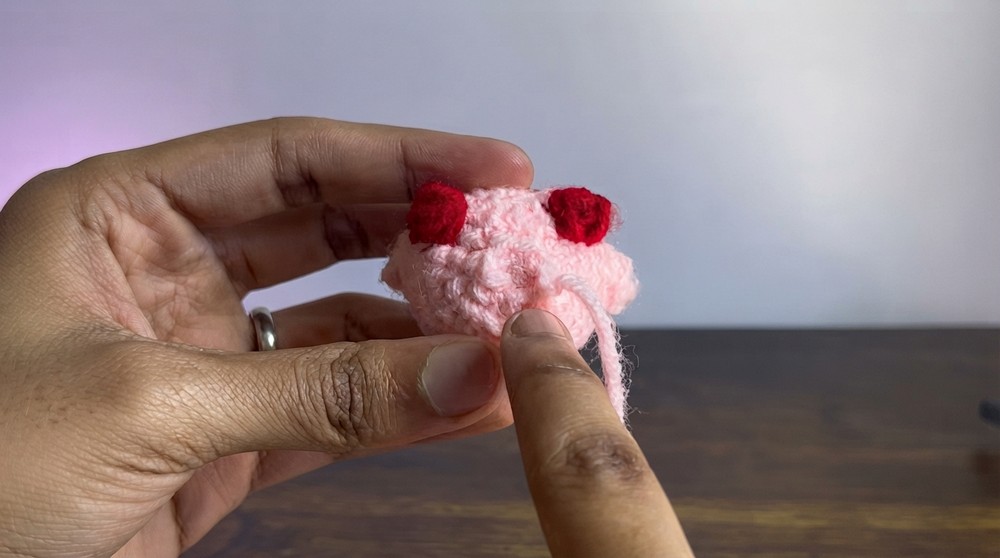
- Cut yarn, leave tail. Using yarn needle, go through front loop of each st, pull tight to close. Weave in and trim tail.
Stuffing and Closing
- Use polyester fiberfill or yarn scraps. Insert stuffing to fill Kirby as full as you desire before fully closing the body.
Embroidered Details
Eyes:
- Using black yarn and yarn needle, count down five rounds from the top center. Between rounds 5 and 6, embroider eyes:
- Place needle from bottom of Kirby to desired eye location below round 5.
- Bring out above round 5 slightly.
- Embroider each eye as a small oval two stitches apart.
- Knot tails securely inside.
Assembly & Finished Size
- With pink yarn, place blush marking directly below each eye.
- Thread yarn from base through a point one stitch away below left eye, to other side, then return to entrance.
- Knot tails and secure inside Kirby.
Keyring (Optional)
- With Kirby’s main color, use a yarn needle to attach keyring at round one, centering between arms but at the very top.
- Loop several times through the ring and Kirby’s top for strength, tie off securely, and tuck knots inside.
Conclusion
This pattern delivers a compact, adorable Kirby, ideal for hanging from bags, keys, or gifting to friends. The combination of detailed instructions for foundational stitches, the inclusion of simple color changes, and the playful bobble stitch arms and feet provide both structure and whimsical character. Personalization through yarn choices or even tiny accessories—like a tiny hat or bow—can easily be added for unique variations. This pattern reinforces beginner crochet concepts, focusing on careful tension, accurate round tracking, and creative finishing details, making it both a gentle learning journey and a satisfying result. Kirby’s classic face and chubby shape will serve as a joyful addition to handmade collectibles, bringing color and nostalgia wherever it’s carried.