
Brighten your holiday home with this Crochet Christmas Wreath Pattern featuring lovely details for a warm and festive seasonal display.
Zhielle’s Creation offers a wonderful YouTube tutorial that inspired this written pattern—full credit to her for sharing this festive design. The Crochet Christmas Wreath adds a warm, seasonal touch to your home during the holidays.
Quick Crochet Christmas Wreath Free Pattern With Simple Stitches
This wreath measures about 8 to 10 inches in diameter, making it a suitable size to hang on doors, walls, or place on tables as decoration. It features traditional green yarn shaped into a circle, accented with bright red “berries” that give it a cheerful and festive look. The combination of colors creates a cozy and inviting holiday atmosphere.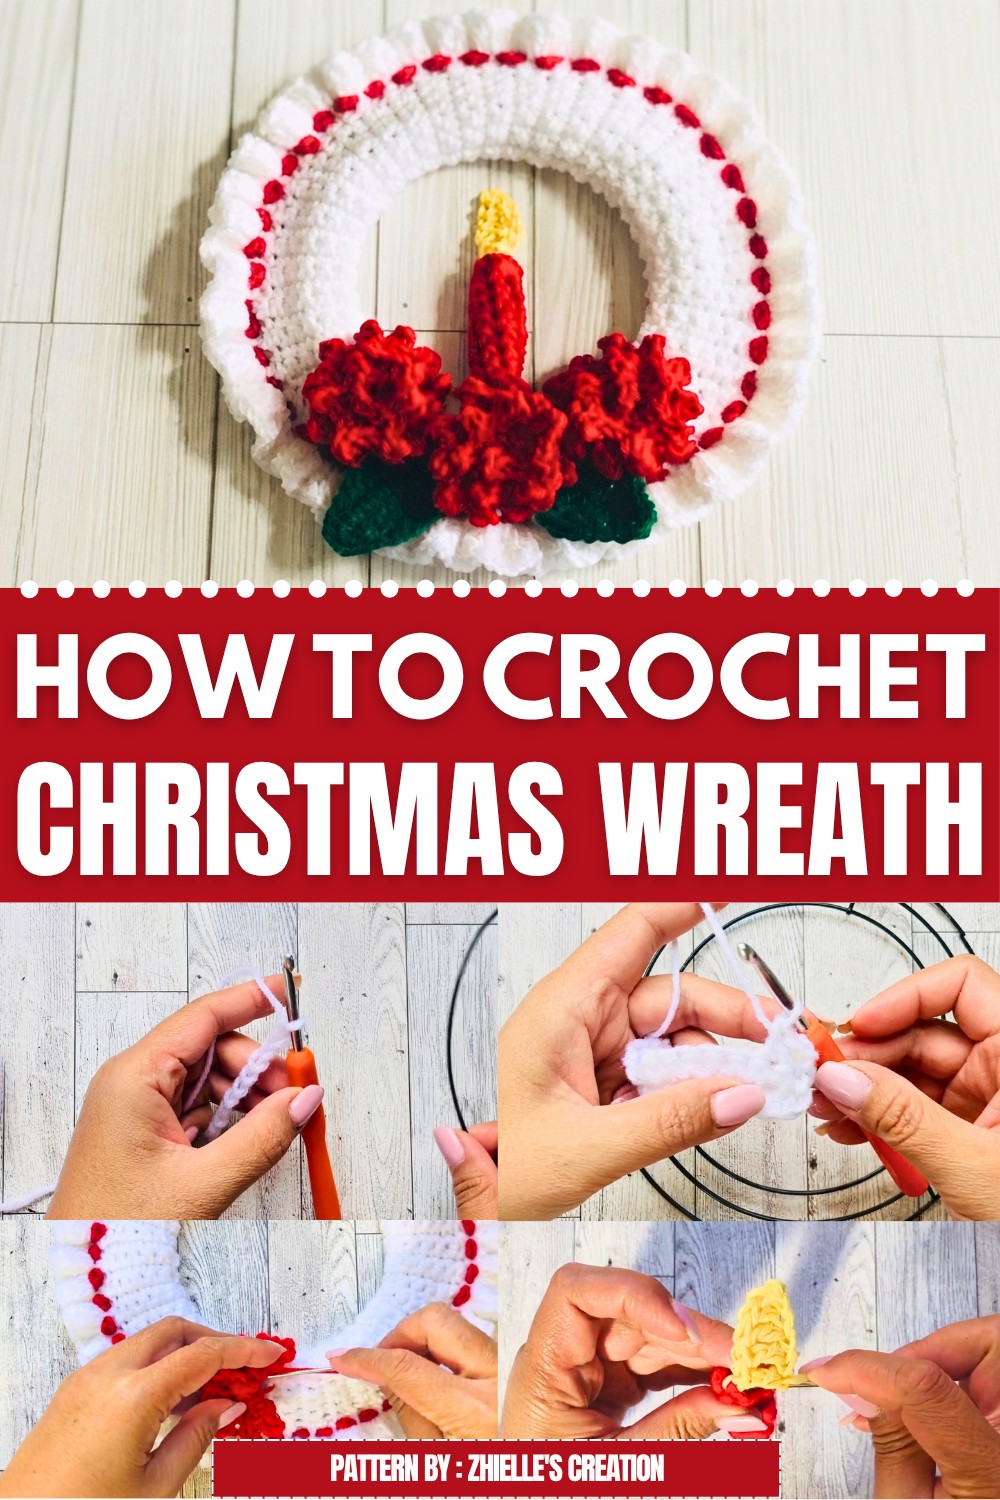
The materials needed are simple—green and red yarn along with a crochet hook—and it is beginner-friendly, which means the project is accessible for those with basic crochet skills. The wreath’s straightforward structure allows it to be finished fairly quickly and adds charm wherever it is displayed.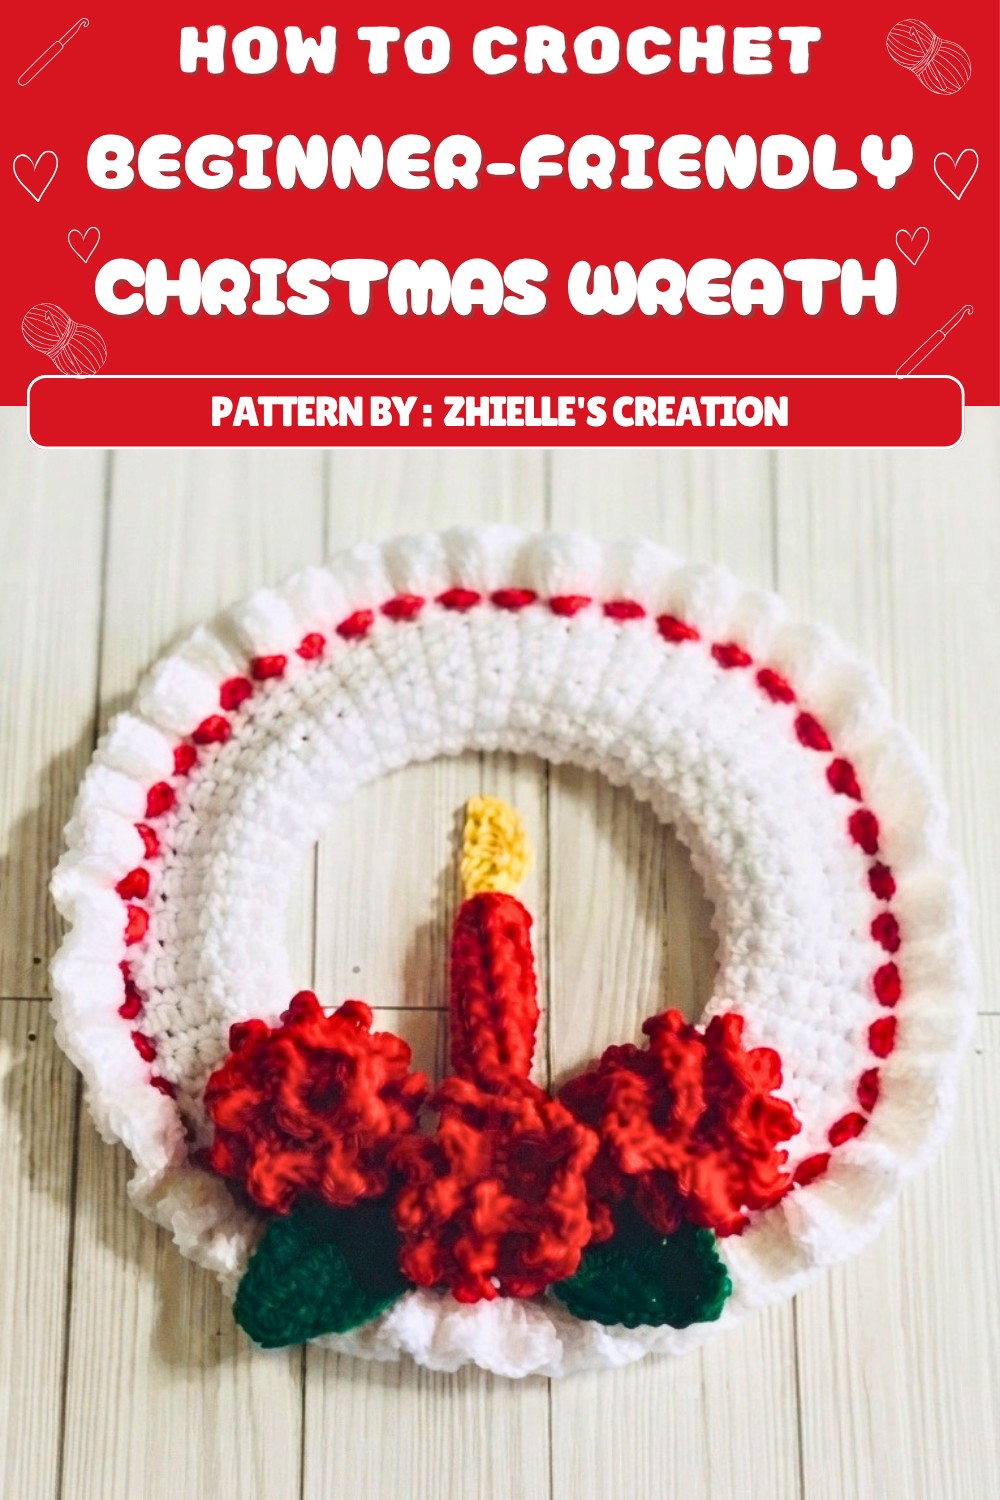 For step-by-step instructions, watching Zhielle’s Creation on YouTube is highly recommended. Supporting her channel helps encourage more helpful and enjoyable tutorials. This Crochet Christmas Wreath offers a charming way to add holiday spirit through your own handiwork, using an easy-to-follow guide.
Christmas Candle Crochet Wreath Pattern
This crochet pattern creates a festive Christmas wreath featuring layered ruffles, vibrant flowers, leaves, and a central decorative candle. The playful textures and colors combine to form a bright and cheerful holiday accent perfect for doors, tables, or holiday vignettes. Each element—base, ruffles, flowers, leaves, candle, and flame—builds upon fundamental crochet techniques, allowing for an engaging make that’s both decorative and highly customizable.
Pattern Basic Points
Component Structure
- The wreath is comprised of a simple covered ring base, ruffled border, crocheted chain accents, three-dimensional flowers and leaves, and a small candle with a flame.
Stitch Variety
- Utilizes basic stitches in unique combinations for dimensional effects: back loop single crochet for the base, double crochets for ruffles, and a combination of stitches for leaves and the candle’s flame.
Assembly Steps
- Each component is sewn or crocheted onto the base in turn, resulting in a finished, multi-layered piece.
Customization
- Color choice is flexible, allowing for coordination with various holiday themes or décor.
Special Notes
- Ensure the ring base is fully covered by the crocheted piece for a neat look.
- Keep ends tidy, sewing them in securely for lasting display and durability.
- Using a stitch marker for the candle will help maintain row accuracy.
- For extra stability, flowers and leaves can be lightly stuffed or reinforced as desired.
- The pattern is adaptable to a range of base sizes—adjust length of the foundation chain accordingly.
Skill Level
Beginner to Intermediate
- Suitable for beginners familiar with simple stitches and seaming, but includes some elements requiring careful assembly and working in rounds/rows, making it engaging for intermediate crocheters.
Materials
- 1 sturdy ring base, 8 inches in diameter
- Medium (worsted, size 4) yarn in white (for base), red (for chain accent and flowers), green (for leaves), yellow/orange (for flame), and cream/white (for candle)
- 5 mm crochet hook, or size recommended for your yarn
- Yarn needle for sewing (optional but recommended)
- Scissors
- Stitch marker
Measurements / Sizing
- Finished wreath: Approximately 8–9 inches across, not including ruffle extension
- Candle piece: About 1.5–2 inches tall
- Flowers: 1–1.5 inches across
- Leaves: 1.5–2 inches long
Gauge (and Stitch Pattern if applicable)
- Gauge is not critical; components should be proportional to the base.
- Main cover uses single crochet (back loop only) for stretch and texture.
- Ruffles formed with double crochets for a fuller effect.
Stitch Abbreviations
| Abbreviation | Description |
|---|---|
| ch | chain |
| sc | single crochet |
| hdc | half double crochet |
| dc | double crochet |
| tr | treble crochet |
| sl st | slip stitch |
| st(s) | stitch(es) |
Special Stitches
- Back Loop Only (BLO): Insert hook under the back loop, leaving the front loop unworked for added texture.
- Magic Ring: Adjustable ring for starting crocheted rounds without a hole.
- Seamless Join: Yarn needle and slip stitch method for neat and seamless round endings.
Crochet Guide
1. Base Cover
- Make a slipknot.
- Ch 11.
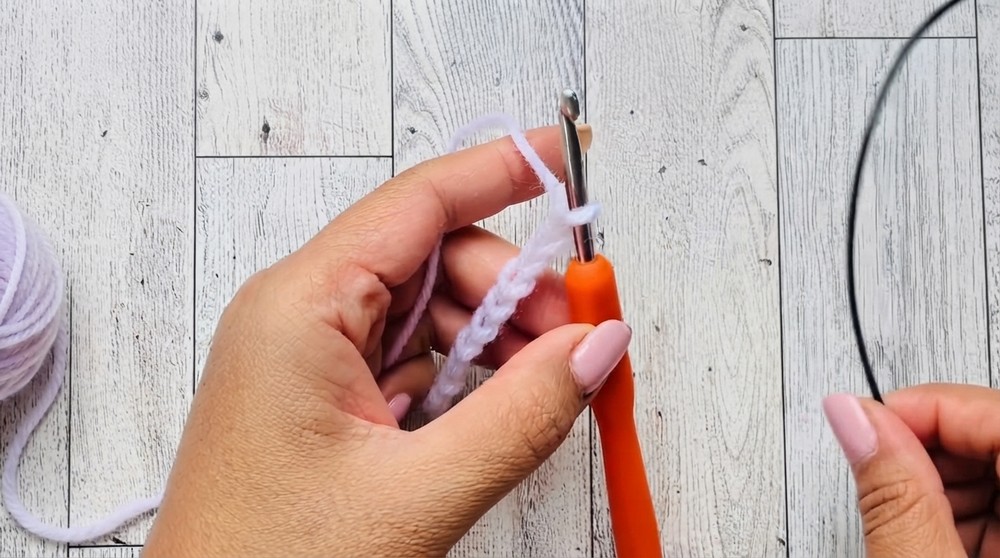
- Place the white yarn behind and around the 8-inch ring.
Row 1:
- Sc in each ch, working in the back loops only (10 sc).
- Continue sc (BLO) in rows.
- Ch 1, turn. Sc in each st.
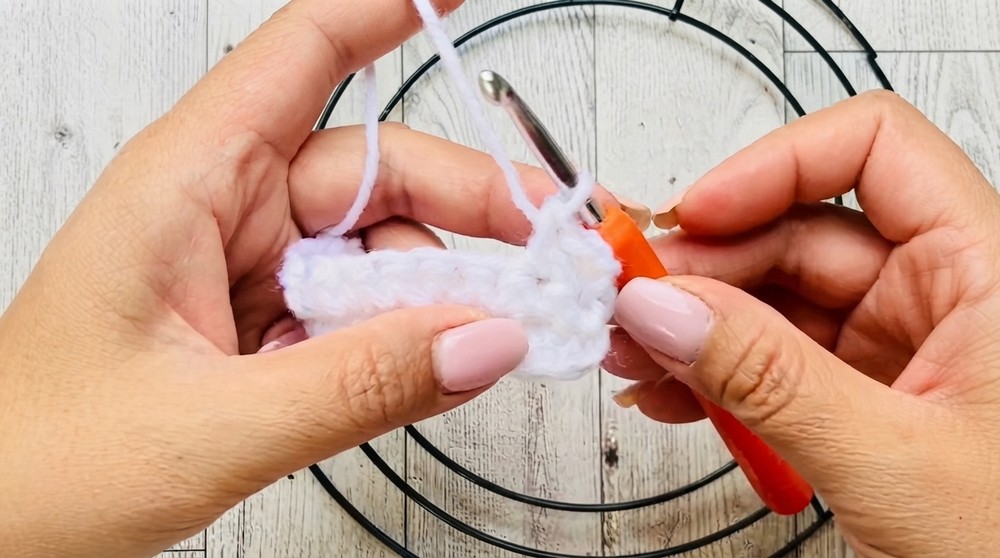
- Repeat until the strip covers around the entire ring (approx. the ring’s circumference).
- Join ends:
- Sew or sl st both ends together around the ring to encase it completely.
- Insert the ring base into the cover before fully closing and sew securely.
- Weave in ends.
2. Ruffles
- Attach contrasting yarn (e.g., green or gold) in any stitch on the covered ring.
- Make a slipknot and join to ring edge.
- Ch 3, then work 2 dc into the same stitch.
- In each stitch around:
- 3 dc in each st (for every stitch on the edge, work 3 dc).
- Continue this pattern all around for a full, wavy ruffle border.
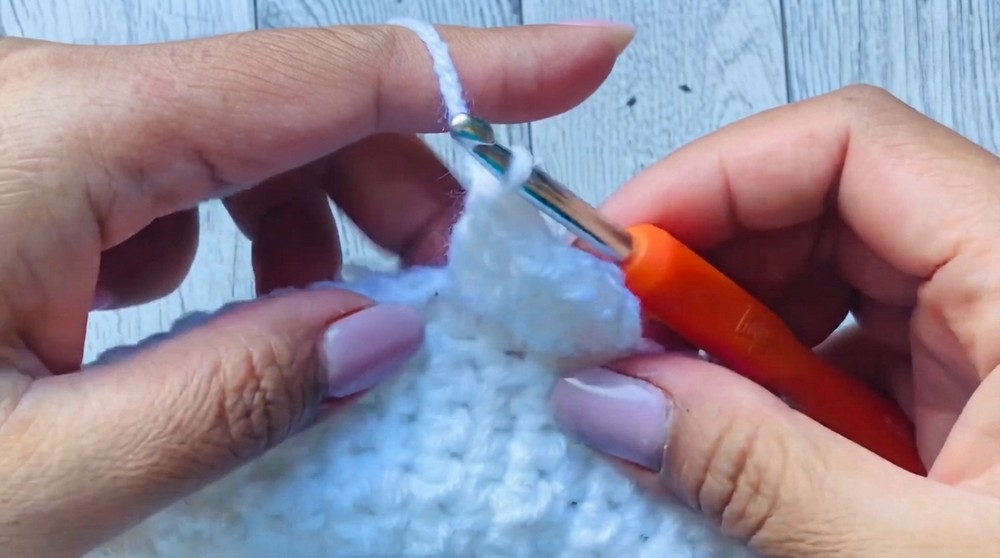
- On the final stitch, join with a seamless slip join for a neat finish:
- Insert yarn needle in top of ch-3, draw through, then insert in back loop of last dc—pull snug.
- Secure and weave in ends.
3. Red Chain Decoration
- With red yarn, make a slipknot and ch 120 (for an 8-inch ring; add more for bigger rings).
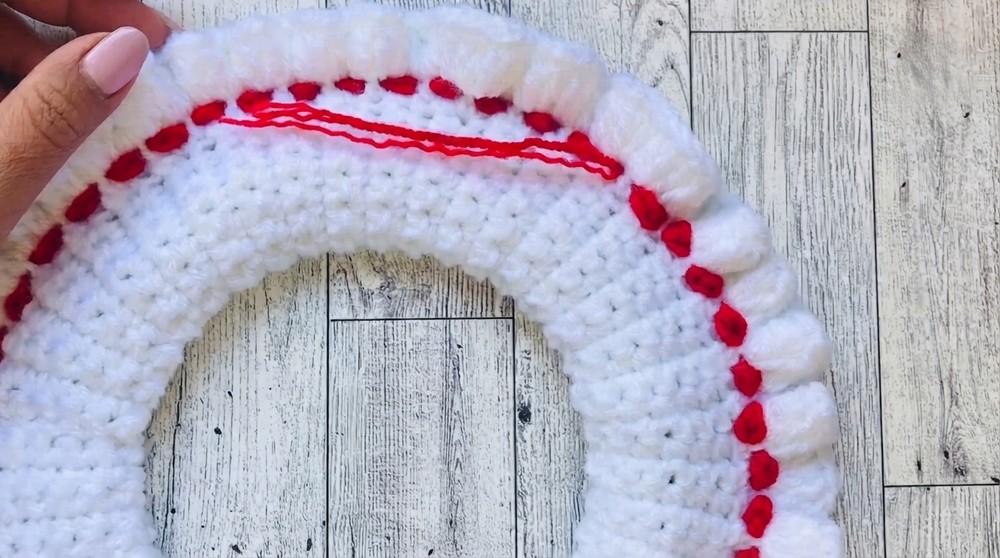
- Fasten off.
- Using a yarn needle or your hook, use a simple whip stitch/weaving motion to attach the red chain around the base, going in and out at regular intervals for a candy-cane or garland effect.
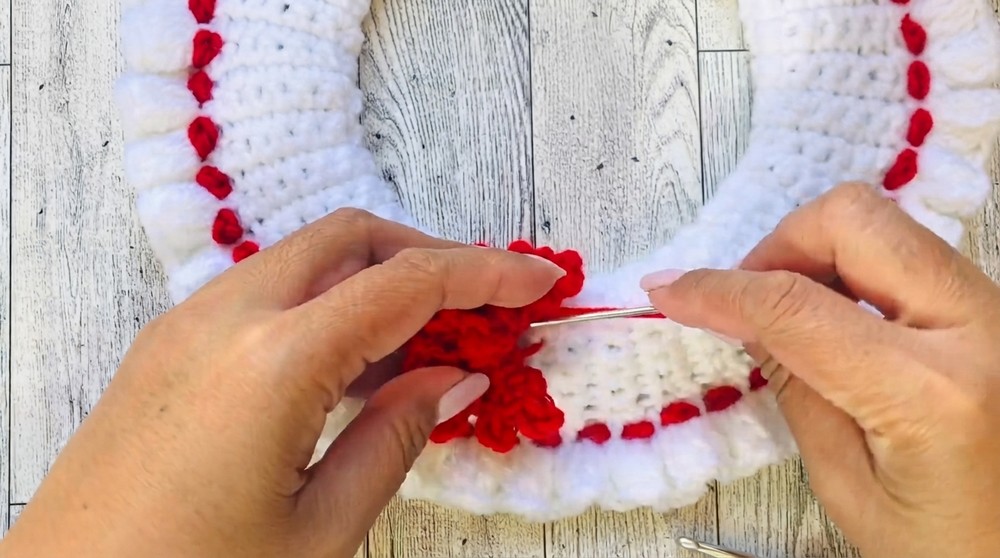
4. Flowers (Make 3)
- With red (or other accent color), make a slipknot.
- Ch 25.
- In second ch from hook:
- Sc, ch 2, sl st into 1st ch of ch-2, sc in same ch.
- Repeat in each ch across:
- (Sc, ch 2, sl st in 1st ch, sc in same ch).
- At end, fasten off, leaving a tail.
- Roll strip into a flower and sew base securely.
- Make 3 flowers.
5. Leaves (Make 2)
- With green yarn, make a slipknot.
- Ch 10.
- In the first ch: sc.
- Next ch: hdc.
- Next ch: dc.
- Next 3 ch: tr in each.
- Next ch: dc.
- Next ch: hdc.
- Last ch: 4 sc (turns the corner to work along the other side).
- On the opposite side:
- Hdc in next ch, dc in next, tr in next 3, dc in next, hdc in next, sc in last.
- Sl st to join, fasten off, leaving tail for sewing.
6. Candle
- Make a slipknot and ch 2.
- In 1st ch: 5 sc (use a magic ring if preferred).
- Using a stitch marker, work in continuous rounds:
- Sc in each st for 10 rounds (keep tube shape for candle).
- Fasten off, leaving a tail.
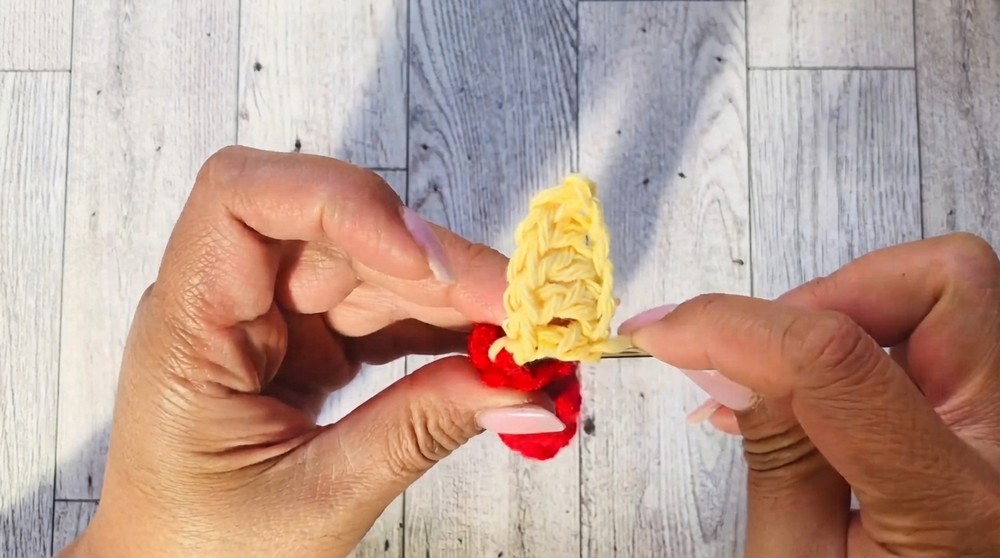
7. Flame
- With yellow/orange yarn, make a slipknot.
- Ch 6.
- In first ch: sc.
- Next ch: hdc.
- Next 3 ch: dc in each.
- Fasten off, leaving tail.
- Sew to top of candle.
Assembly & Finished Size
- Arrange and sew three flowers to one edge of the ring base.
- Attach leaves just beside or under the flowers, fanning out for a natural look.
- Place the completed candle at the center of the flowers and secure.
- Ensure all pieces are firmly attached.
- Hide or neatly weave in all yarn ends.
- Finished wreath is approximately 8–9 inches in diameter and makes a bright holiday statement.
Conclusion
This Christmas candle crochet wreath blends classic holiday icons into a cohesive and inviting decoration. Each step builds on essential crochet skills, with plenty of room for customization and creativity. The result is a cheerful, tactile centerpiece that showcases the beauty of handmade tradition while remaining accessible to makers at all levels. Such a project becomes a cherished seasonal adornment and a testament to the enduring charm of crochet artistry.