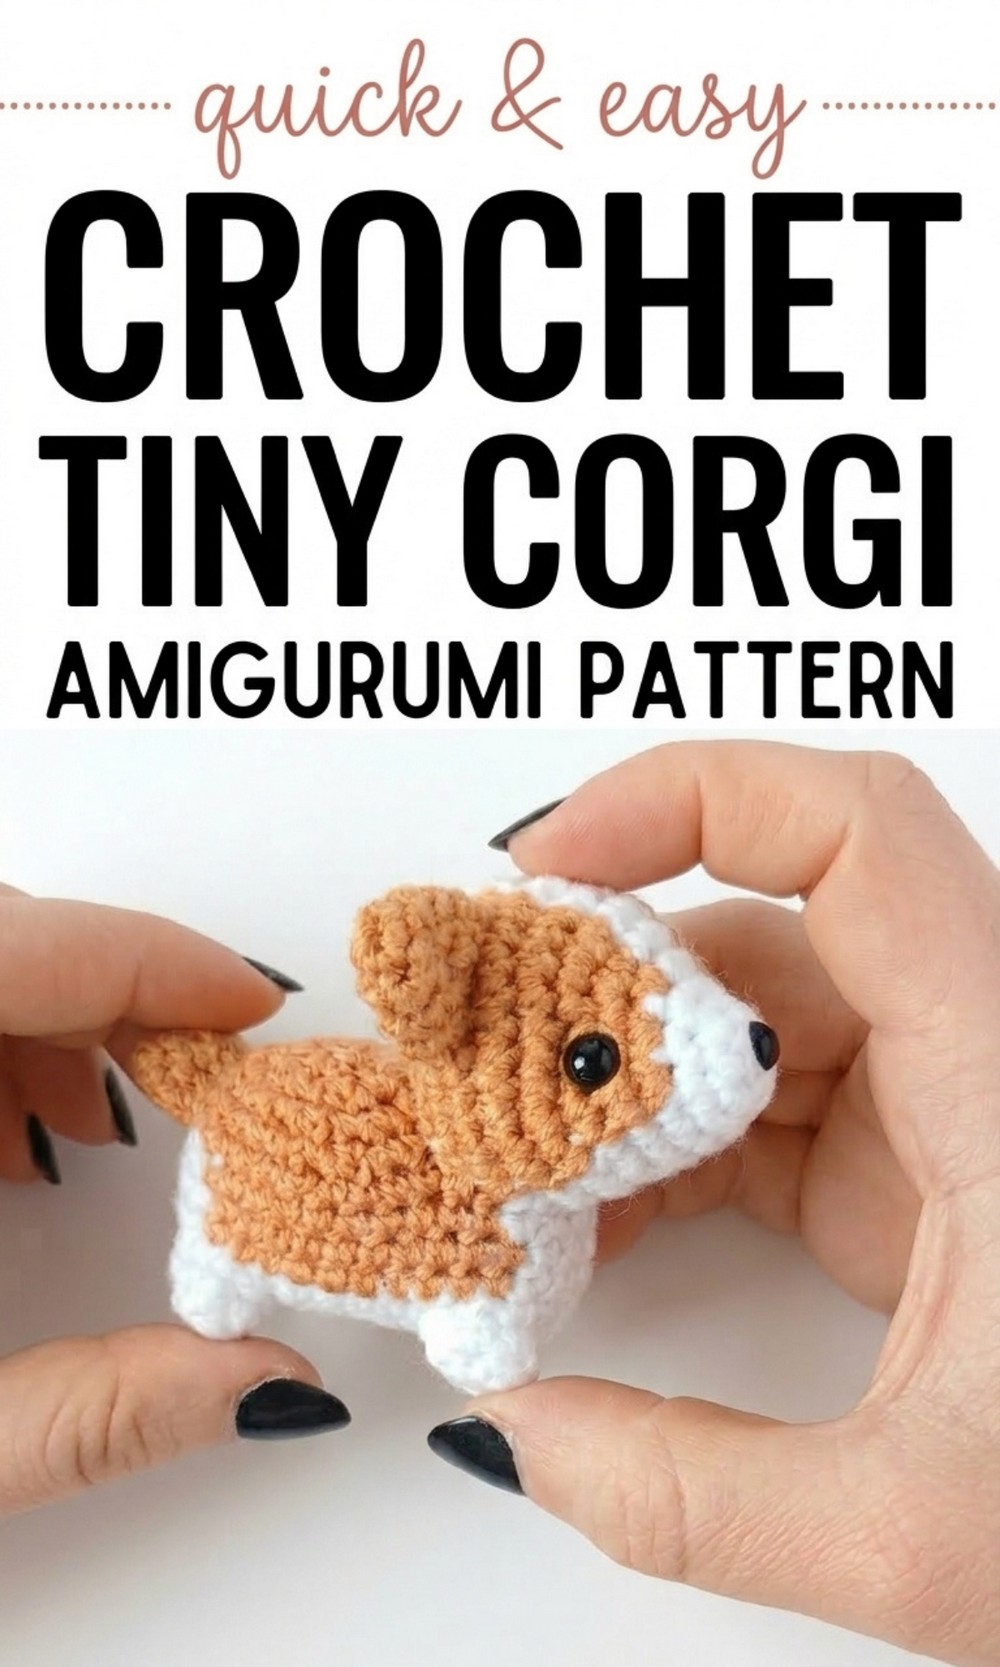
Turn yarn into an adorable tiny corgi with this free crochet tiny corgi amigurumi pattern that is filled with fun as you create a soft, little dog that will bring endless joy and smiles.
Use this free crochet tiny corgi amigurumi pattern for decor
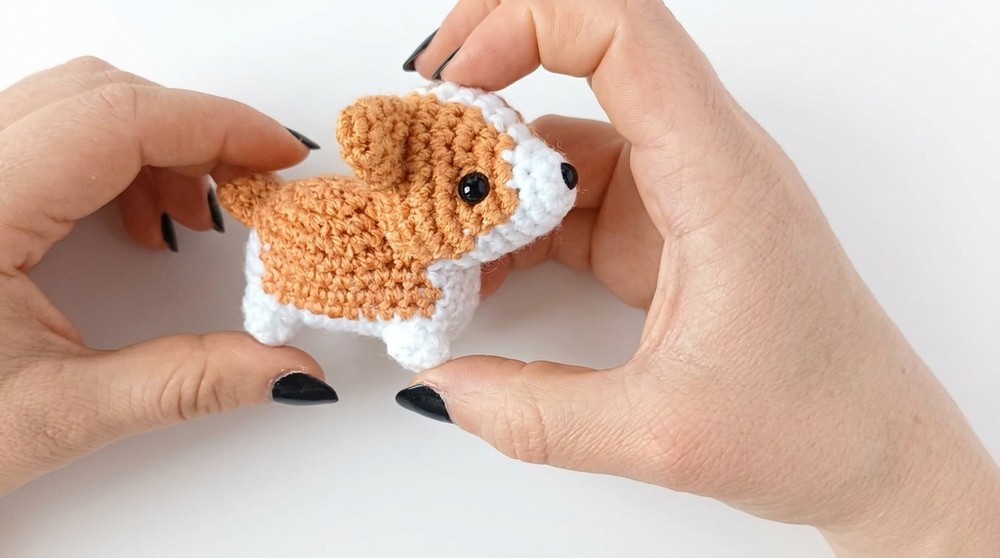
Using simple materials like yarn, a 3 mm crochet hook, safety eyes, and stuffing, you can make a tiny corgi that is both cute and unique. The Free Crochet Tiny Corgi Amigurumi Pattern is designed with a charming mix of orange and white colors, giving it a friendly and realistic appearance.
It features tiny ears, a wagging tail, and playful details that make it perfect for decoration, gifting, or even as a cheerful desk companion. The instructions guide you through techniques like magic ring and color changes, making it easy to follow.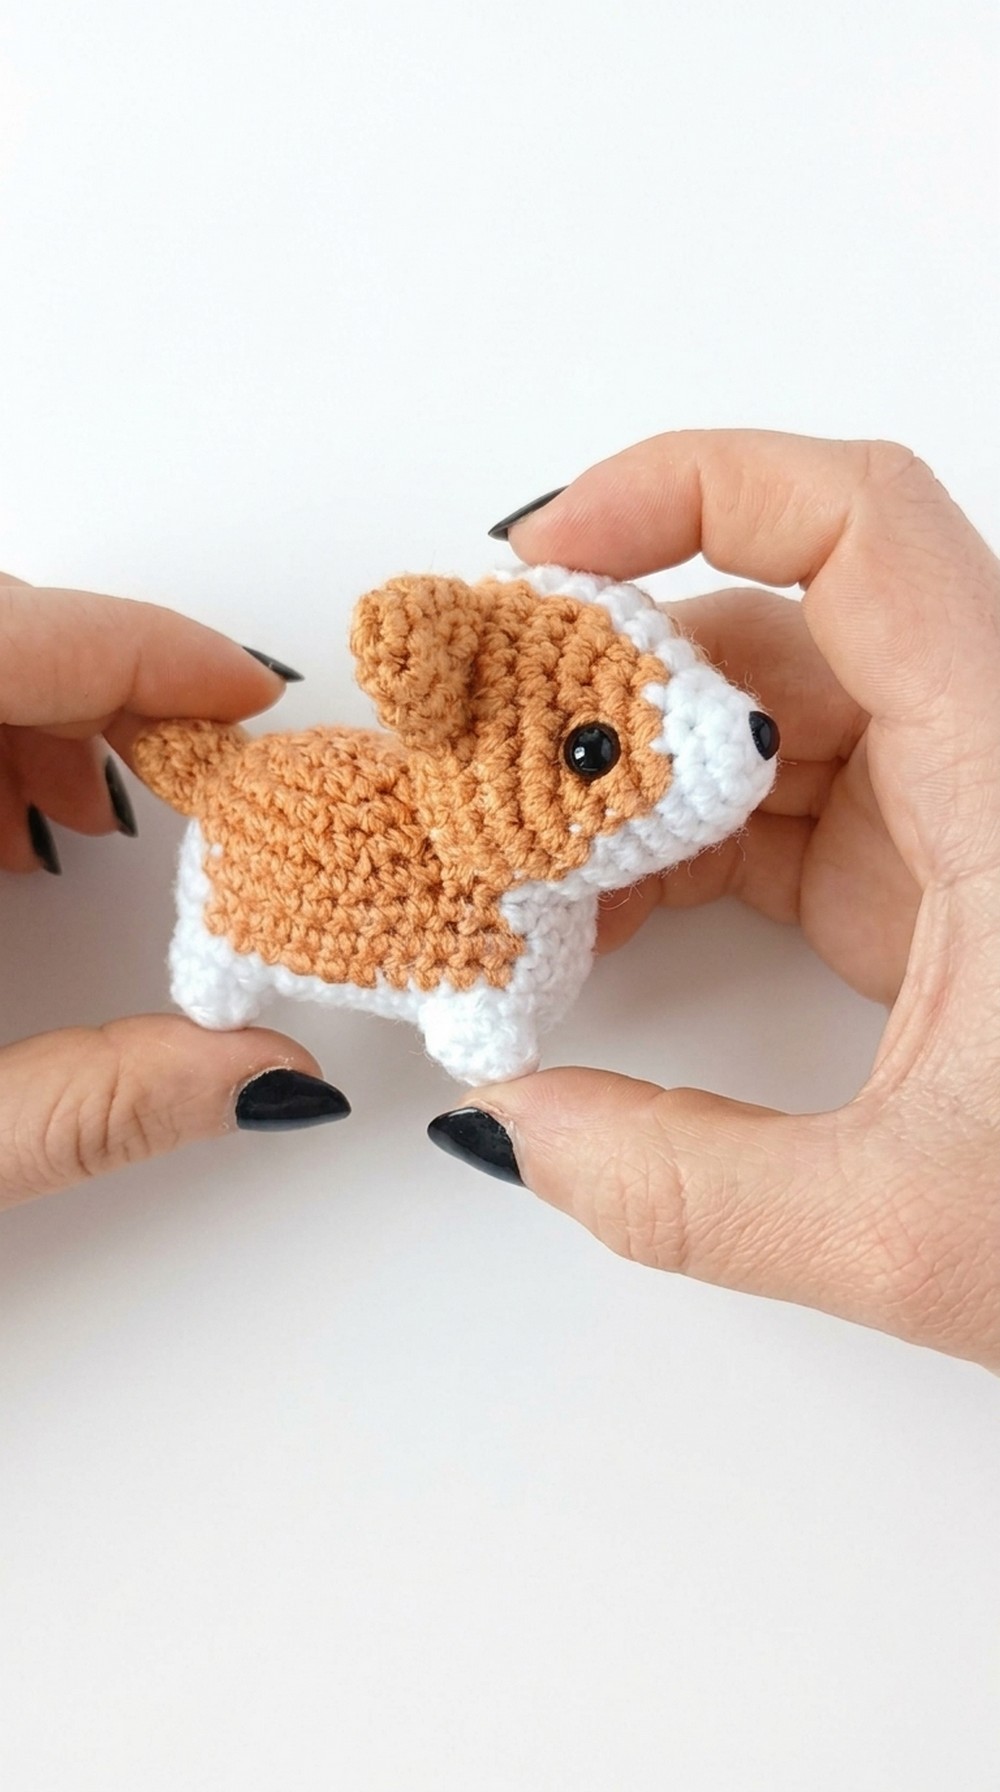
Children and adults will love the tiny corgi’s joyful look and cuddly shape. With its compact size and delightful charm, this pattern offers endless fun and creativity.
Crochet Tiny Corgi Amigurumi Pattern
Materials Needed
- Yarn: Two colors – orange (main) and white (secondary).
- Crochet Hook: 3 mm hook.
- Safety Eyes: Two 8 mm safety eyes for the eyes and one 6 mm safety eye for the nose.
- Scissors: For cutting yarn during changes and finishing.
- Tapestry Needle: Useful for sewing parts together.
- Pins: To hold body pieces in place during assembly.
- Toy Stuffing: To fill the body and head for dimensional shape.
Basic Techniques Used
- Magic Ring
- Single Crochet (SC)
- Increasing and Decreasing
- Chain Stitch
- Working in Back Loops Only
- Color Changes
Pattern Instructions
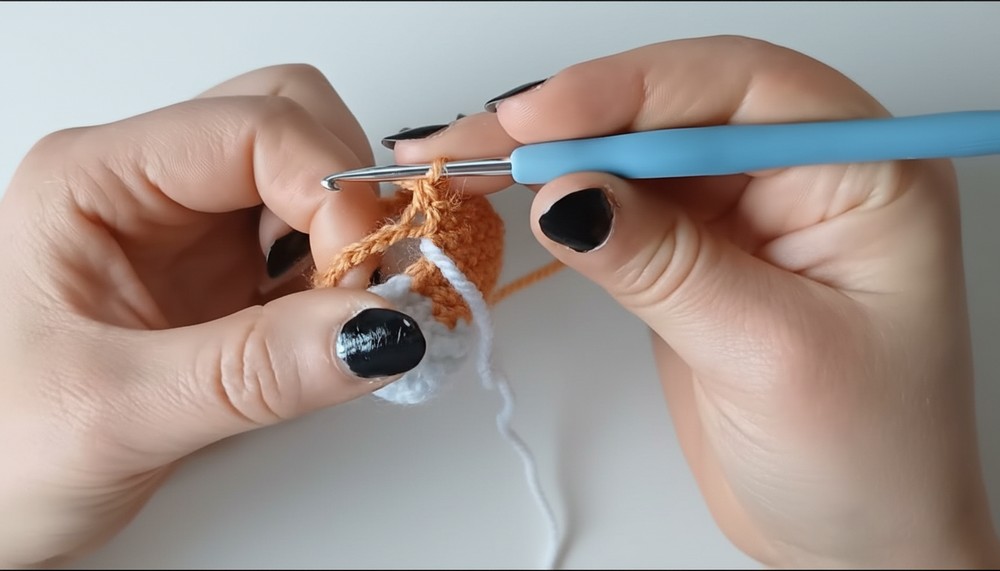
1. Head
- Start with the white yarn:
- Round 1: Create a magic ring and work 6 SC into it. Close the ring tightly.
- Round 2: Work 1 SC, 1 increase (repeat 3 times). You’ll have 9 SC.
- Round 3: Work 2 SC, 1 increase (repeat 3 times). You’ll have 12 SC.

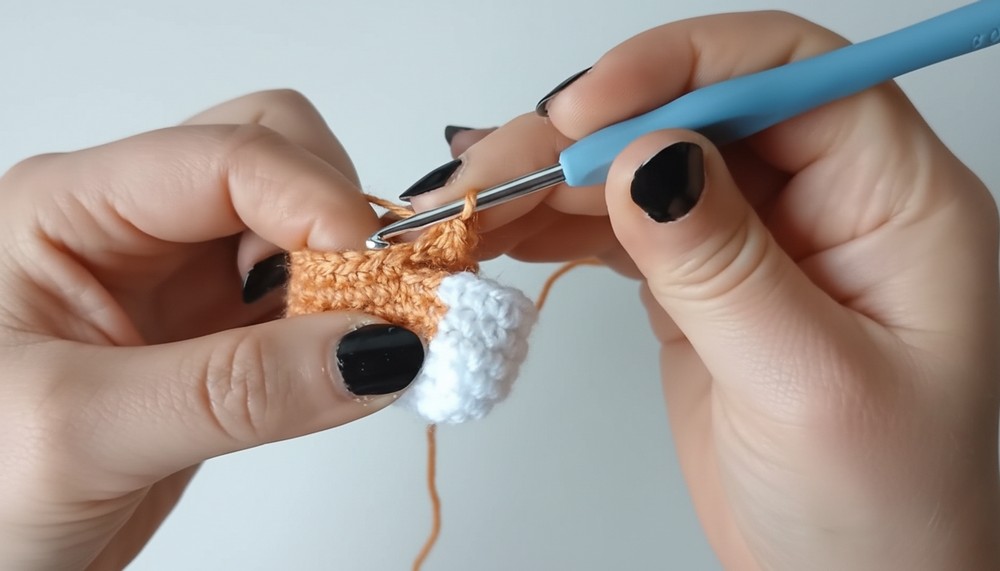
- Color Change:
- Round 4: Switch to orange. Begin with 1 increase in the first SC, then continue using the orange yarn while carrying both colors.
- Work all instructions carefully to maintain stripe clarity (refer to the transcription above for exact sequence).
- Continue Rounds: Work detailed increases and color change patterns as explained (Rounds 4–8).
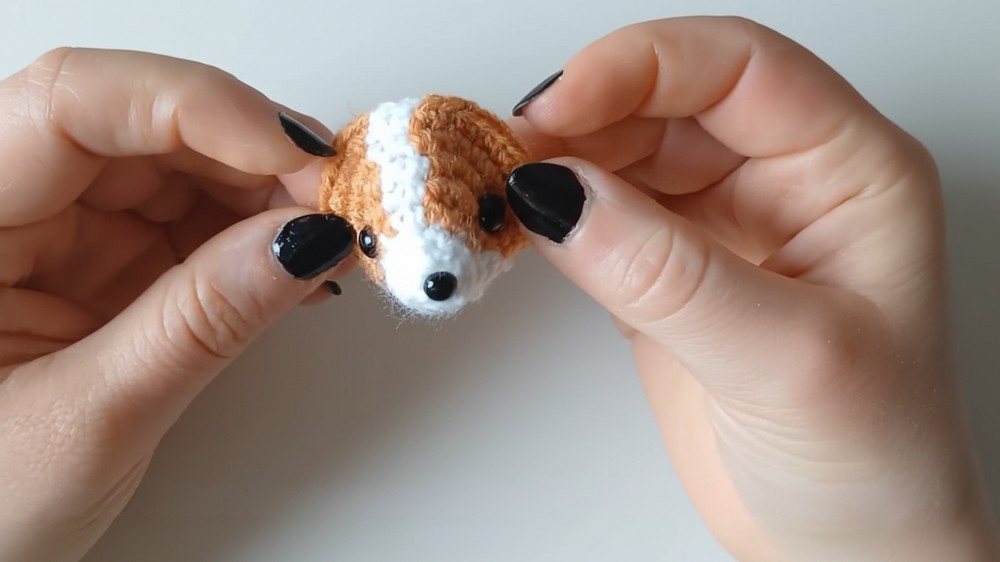
- At certain points, place safety eyes between Rounds 5 and 6, spaced three to four stitches from the stripe transitions. Place the nose in the magic ring or slightly between Rounds 1 and 2.
- Final Shaping:
- After finishing Round 13, shape the head by pulling stitches delicately around the eyes using a tapestry needle.
- After finishing Round 13, shape the head by pulling stitches delicately around the eyes using a tapestry needle.
2. Ears
- Using orange yarn:
- Round 1: Begin with a magic ring. Work 6 SC into the ring.
- Round 2: Work 1 SC, 1 increase (repeat 3 times). You’ll end with 9 SC.
- Rounds 3–4: Work 1 SC in each stitch.
- Slip stitch and leave a tail for sewing.
- Make two ears.
- Sewing:
- Position ears around Round 11 of the head. Place them two stitches away from the color change stripe using pins before sewing.
3. Body
- Using white yarn:
- Create 12 chain stitches for the foundation.
- Work 1 SC in each of the first 10 chains, and 3 SC in the last chain, then continue on the other side for 9 SC and 2 SC in the last chain.
- Shape Details:
- Use color changes to form stripes (orange and white) as explained in Rounds 4 onward. The changes involve alternating single crochets and carrying over yarn tails.
- When transitioning to the orange tail section (Round 7), create 6 chain stitches for the bridge to attach leg sections later.
- Stuffing:
- Stuff the body lightly, ensuring the bottom remains slightly flatter for better shaping.
- Stuff the body lightly, ensuring the bottom remains slightly flatter for better shaping.
4. Legs
- Using orange yarn:
- Round 1: Magic ring with 6 SC.
- Round 2: Work 1 SC, 1 increase (repeat 3 times) in back loops only. You’ll end with 9 SC.
- Slip stitch and leave a small tail for sewing.
- Make four legs.
- Placement:
- Position legs between Rounds 2 and 3 of the body, near the stripe transition. Space the front and back legs evenly with around five stitches between them.
5. Tail
- Using orange yarn:
- Round 1: Magic ring with 6 SC.
- Round 2: Work 1 SC, 1 increase (repeat 3 times) to create 9 SC.
- Round 3: Work 1 SC in each stitch.
- Slip stitch and leave a tail for sewing.
- Placement:
- Sew the tail meticulously around Round 7 of the body. Position it to balance white stitches around it for symmetry.
Finishing Steps
- Assembly:
- Pin all parts, including the head, ears, legs, and tail, in place to ensure proportions look balanced. Carefully sew each element tightly to avoid movement.
- Use appropriate colored tails while sewing (orange for orange sections and white for white sections).
- Shaping and Stuffing:
- Adjust stuffing as necessary to maintain a flattened bottom and plump upper structure.
- Lightly pull stitches near the eyes and nose for added personality.
Final Words
Your lovely crochet corgi is now complete.. This playful companion is ideal as a gift, keepsake, or decorative piece. The stripes and texture make it undeniably charming, and its compact size adds to the lovable appeal.
Tips to Maintain the Pattern
- Use smooth, non-fraying yarn for clean stitches.
- Double-check safety eye placement before locking them.
- Keep a consistent tension for neat color changes and overall symmetry.
- When sewing, ensure proper alignment to avoid disproportionate features.