Learn how to make a cute and colorful turtle with this free crochet turtle pattern, perfect for beginners who love crocheting fun and adorable handmade creations.
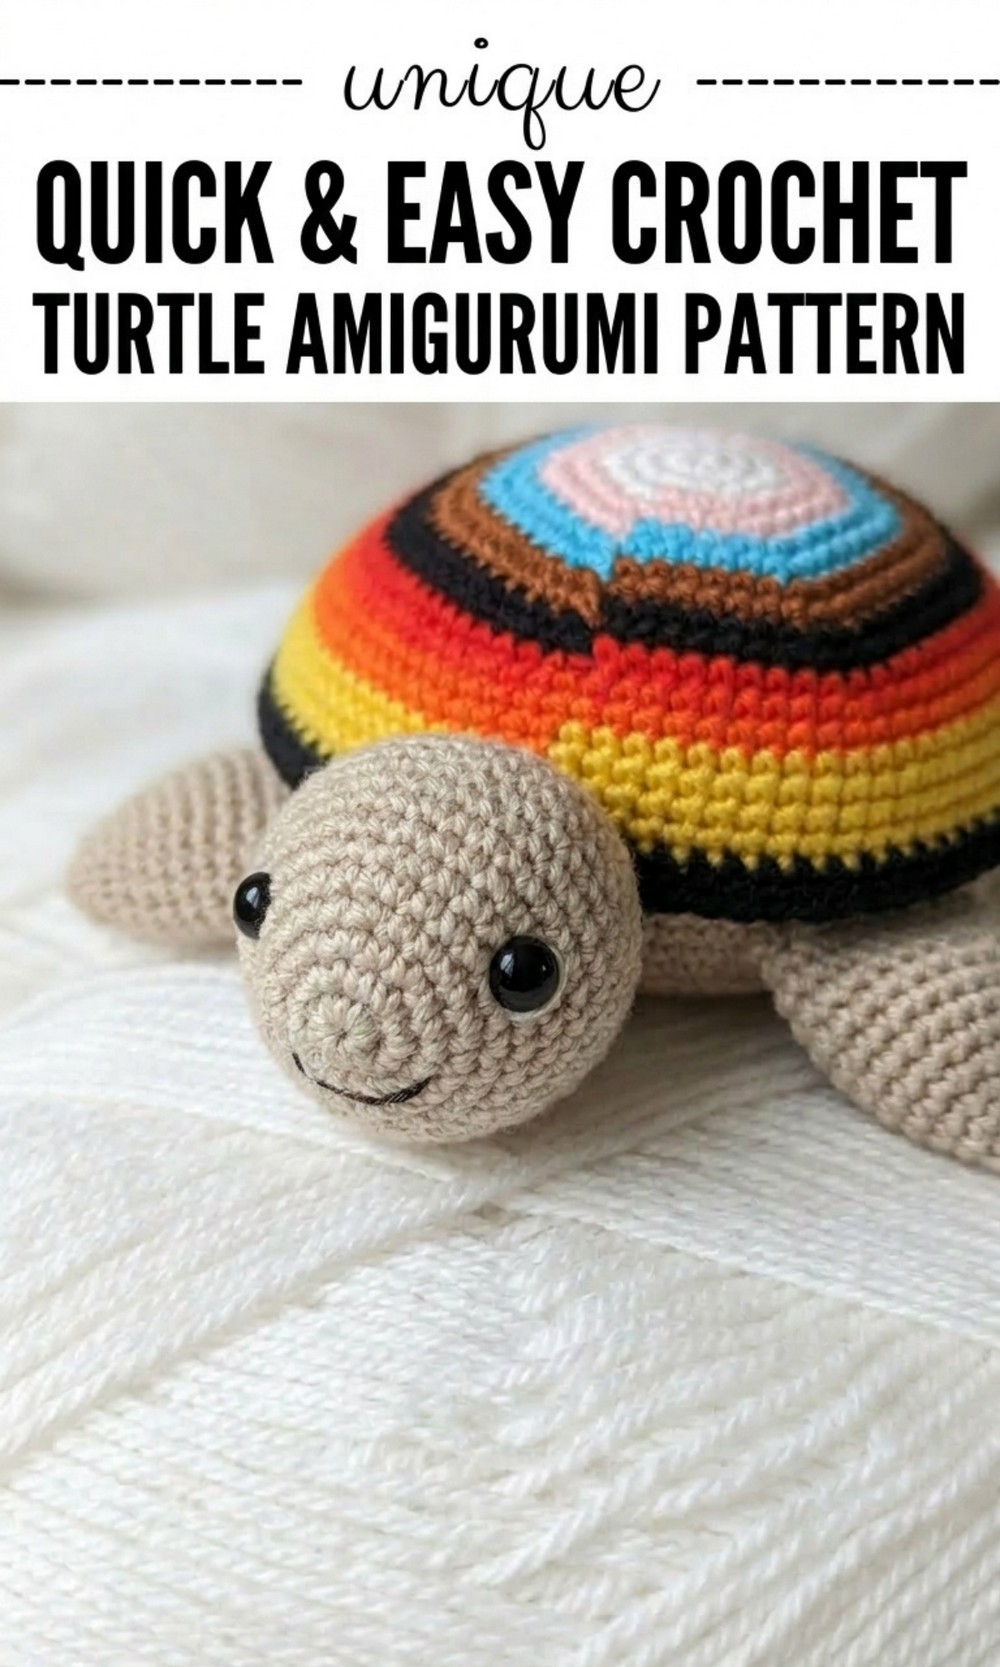
Amazingly Fun Free Crochet Turtle Pattern That’s Perfect for Rainbow Colors
Crocheting your own adorable turtle is easier than you think with this Free Crochet Turtle Pattern. This fun and colorful project is simple enough for beginners yet offers exciting opportunities to practice techniques like single crochet and color changes.
The turtle’s soft, rainbow shell adds a bright and cheerful touch, making it perfect as a decoration or a thoughtful handmade gift. With its charming features, such as big, expressive eyes and cute little legs, this turtle is sure to brighten anyone’s day.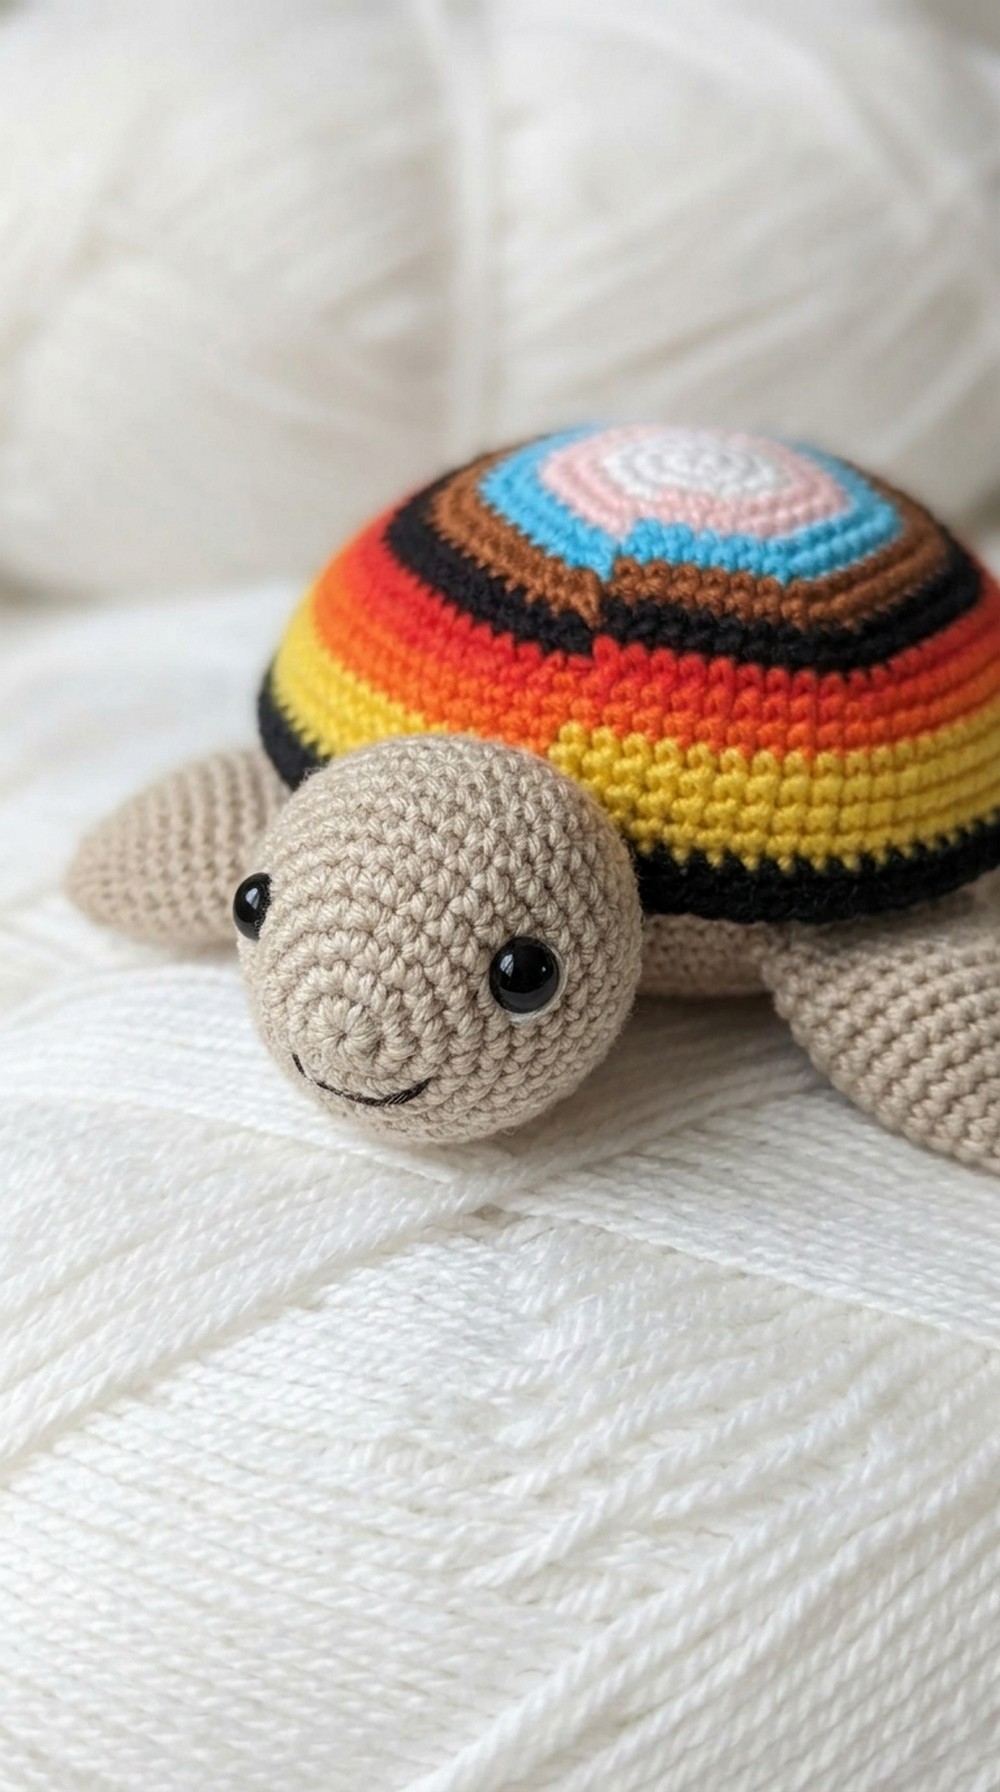
You can customize the design with your favorite colors to make it even more special. Step by step instructions allow you to bring this lovable creation to life, making it a fun and relaxing project for kids, teens, and adults alike.
Colorful Crochet Turtle Pattern
Materials Needed
- Yarn in the following colors (or as per your preference):
- White
- Pink
- Light Blue
- Brown (light and dark shades)
- Black
- Red
- Orange
- Yellow
- Green
- Dark Blue
- Purple
- Crochet Hook: 3 mm (adjust to match yarn size)
- 14 mm safety eyes
- Tapestry needle or sewing needle
- Stitch markers or pins
- Toy stuffing (polyfill)
- Scissors
Stitches and Techniques
- Single Crochet (sc)
- Single Crochet Increase (inc): Two single crochets in one stitch.
- Single Crochet Decrease (dec): Combine two single crochets into one.
- Work in Back Loops Only (BLO): Insert the hook into the back loop of the stitch instead of both loops.
- Color Changes: Switch colors as needed. For this pattern, colors change every two rounds unless otherwise mentioned.
Pattern Instructions
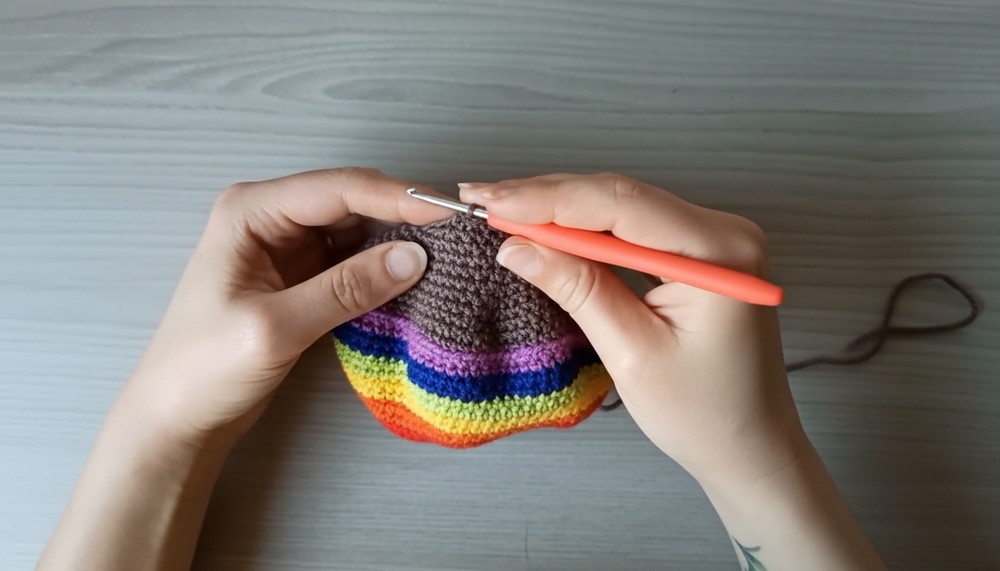
1. Shell
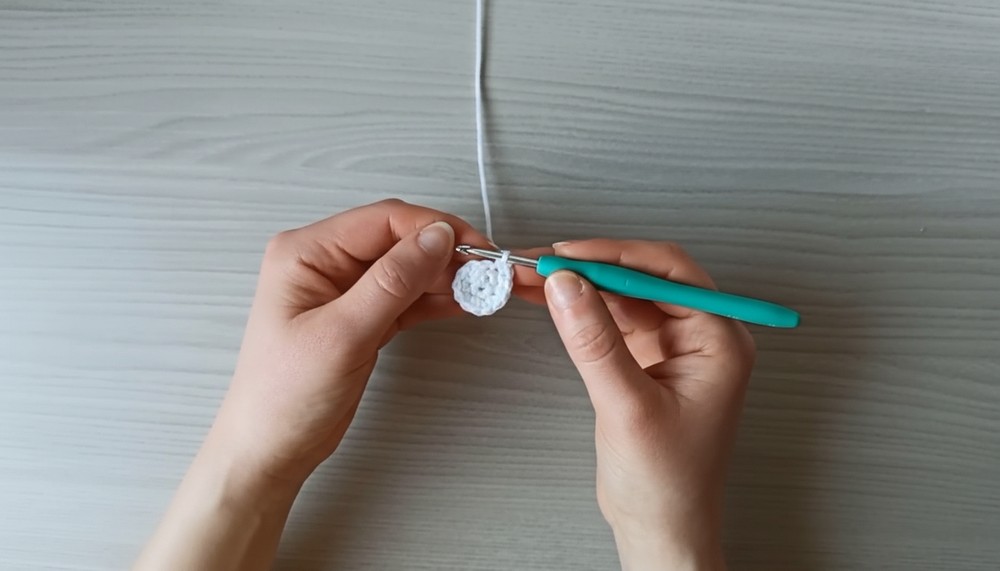
The shell is crocheted in rounds, starting with a magic ring.
- Round 1: Start with a magic ring. Work 6 sc into the ring. [6 sts]
- Round 2: Inc in each stitch around. [12 sts]
- Round 3: 1 sc, inc; repeat 6 times. [18 sts]
- Round 4: 2 sc, inc; repeat 6 times. [24 sts]
- Round 5: 3 sc, inc; repeat 6 times. [30 sts]
- Round 6: 4 sc, inc; repeat 6 times. [36 sts]
- Round 7: 5 sc, inc; repeat 6 times. [42 sts]
- Round 8: 6 sc, inc; repeat 6 times. [48 sts]
- Round 9: 7 sc, inc; repeat 6 times. [54 sts]
- Round 10: 8 sc, inc; repeat 6 times. [60 sts]
- Round 11: 9 sc, inc; repeat 6 times. [66 sts]
- Round 12: 10 sc, inc; repeat 6 times. [72 sts]
- Rounds 13 to 23: Continue crocheting without increases (1 sc in each stitch). Change colors every 2 rounds (e.g., Red → Orange → Yellow → Green → Dark Blue → Purple).
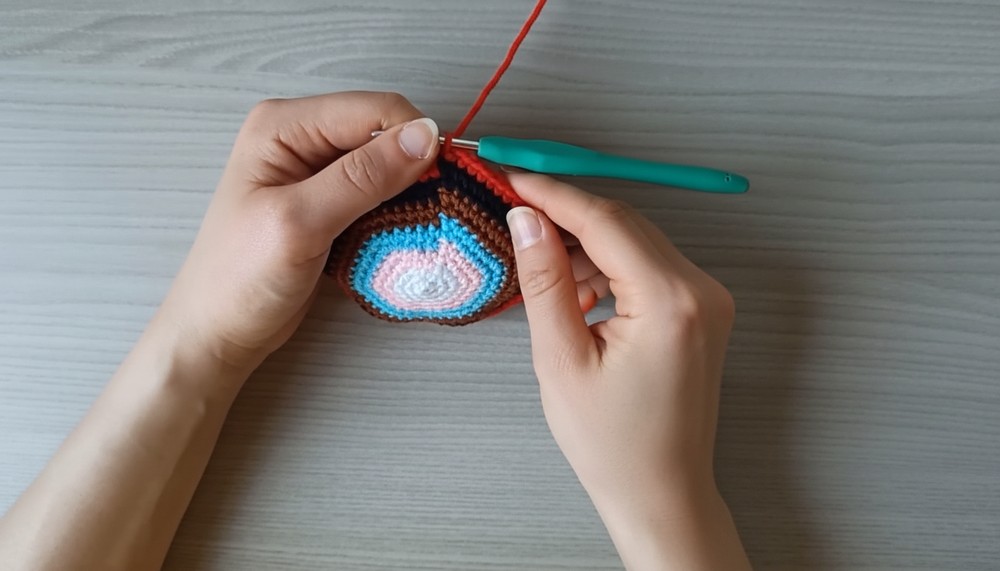
Note: Add stuffing gradually as rounds progress. Maintain a dome shaped top with a flat base.
2. Underside of Shell
- Round 24 (BLO): Switch to the darker brown yarn. 13 sc, dec; repeat 6 times. [84 sts]
- Round 25: 12 sc, dec; repeat 6 times. [78 sts]
- Round 26: 11 sc, dec; repeat 6 times. [72 sts]
- Round 27: 10 sc, dec; repeat 6 times. [66 sts]
- Round 28: 9 sc, dec; repeat 6 times. [60 sts]
- Round 29: 8 sc, dec; repeat 6 times. [54 sts]
- Round 30: 7 sc, dec; repeat 6 times. [48 sts]
- Round 31: 6 sc, dec; repeat 6 times. [42 sts]
- Round 32: 5 sc, dec; repeat 6 times. [36 sts]
- Round 33: 4 sc, dec; repeat 6 times. [30 sts]
- Round 34: 3 sc, dec; repeat 6 times. [24 sts]
- Round 35: 2 sc, dec; repeat 6 times. [18 sts]
- Round 36: 1 sc, dec; repeat 6 times. [12 sts]
- Round 37: Dec in every stitch. [6 sts]
- Fasten off, leaving a tail. Weave in ends neatly.
3. Head
- Round 1: Start with a magic ring. Work 6 sc into the ring. [6 sts]
- Round 2: Inc in each stitch around. [12 sts]
- Round 3: 1 sc, inc; repeat 6 times. [18 sts]
- Round 4: 2 sc, inc; repeat 6 times. [24 sts]
- Round 5: 1 sc in each stitch. [24 sts]
- Round 6: 3 sc, inc; repeat 6 times. [30 sts]
- Round 7: 1 sc in each stitch. [30 sts]
- Round 8: 4 sc, inc; repeat 6 times. [36 sts]
- Round 9: 1 sc in each stitch. [36 sts]
- Round 10: 5 sc, inc; repeat 6 times. [42 sts]
- Rounds 11 to 13: 1 sc in each stitch. [42 sts]
- Round 14: 5 sc, dec; repeat 6 times. [36 sts]
- Round 15: 4 sc, dec; repeat 6 times. [30 sts]
- Round 16: 1 sc in each stitch. [30 sts]
- Round 17: 3 sc, dec; repeat 6 times. [24 sts]
- Round 18: 1 sc in each stitch. [24 sts]
- Fasten off, leaving a long tail for sewing. Add eyes during Round 13 with approximately 15 stitches between them. Stuff the head lightly before sewing it onto the shell.
4. Legs (Make 4)
- Round 1: Start with a magic ring. Work 6 sc into the ring. [6 sts]
- Round 2: 1 sc, inc; repeat 3 times. [9 sts]
- Round 3: 2 sc, inc; repeat 3 times. [12 sts]
- Round 4: 3 sc, inc; repeat 3 times. [15 sts]
- Round 5: 4 sc, inc; repeat 3 times. [18 sts]
- Round 6: 5 sc, inc; repeat 3 times. [21 sts]
- Round 7: 6 sc, inc; repeat 3 times. [24 sts]
- Round 8: 7 sc, inc; repeat 3 times. [27 sts]
- Rounds 9 to 10: 1 sc in each stitch. [27 sts]
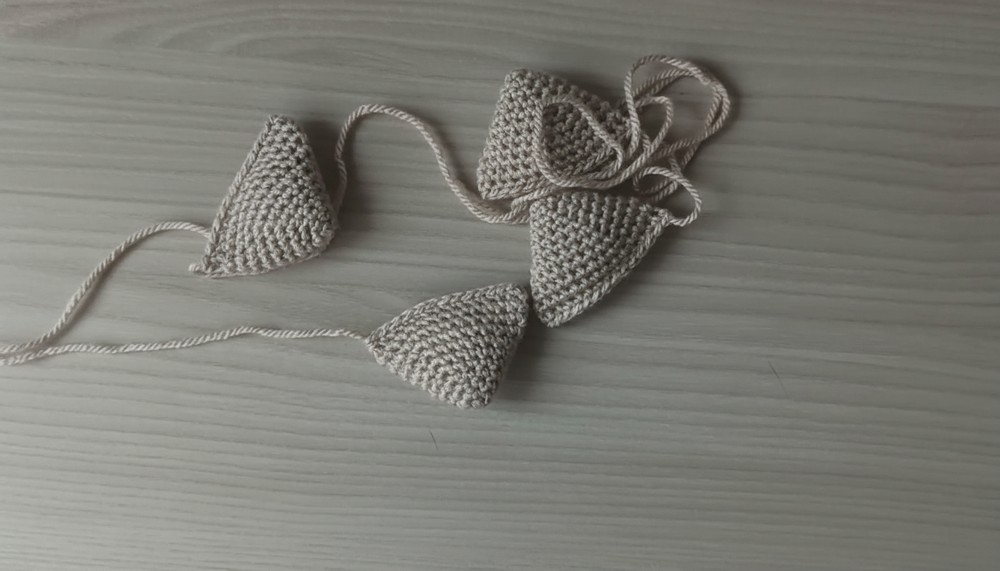
- Fasten off, leaving a tail for sewing. Flatten the legs and sew them with a slight arc between rounds 23 and 24 of the shell, following placement notes provided.
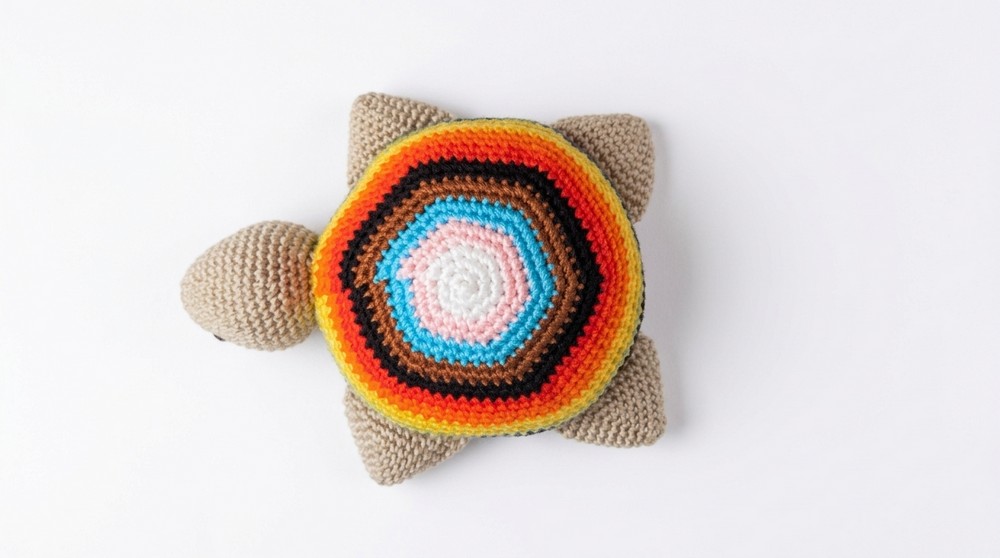
Final Assembly
- Head Placement: Center the head on the color transition section of the shell. Sew it securely.
- Leg Placement: Align the legs symmetrically, with even spacing. Securely sew each leg.
- Shape Face: Use the tail from the head to gently adjust the placement of the safety eyes by sewing under them and pulling slightly to create dimples.
Final Words
Your colorful pride turtle is complete, Not only is it charming and full of character, but it also makes a wonderful gift or decorative piece.
Tips to Maintain the Pattern
- Color Variation: Feel free to experiment with your own choice of colors and patterns to personalize your turtle.
- Even Tension: Maintain consistent tension to ensure the toy retains its shape and proportions.
- Stuffing: Avoid overstuffing to keep the turtle looking neat. Add stuffing gradually as you close rounds.
- Cleaning: Spot clean with a damp cloth to maintain the yarn’s quality.