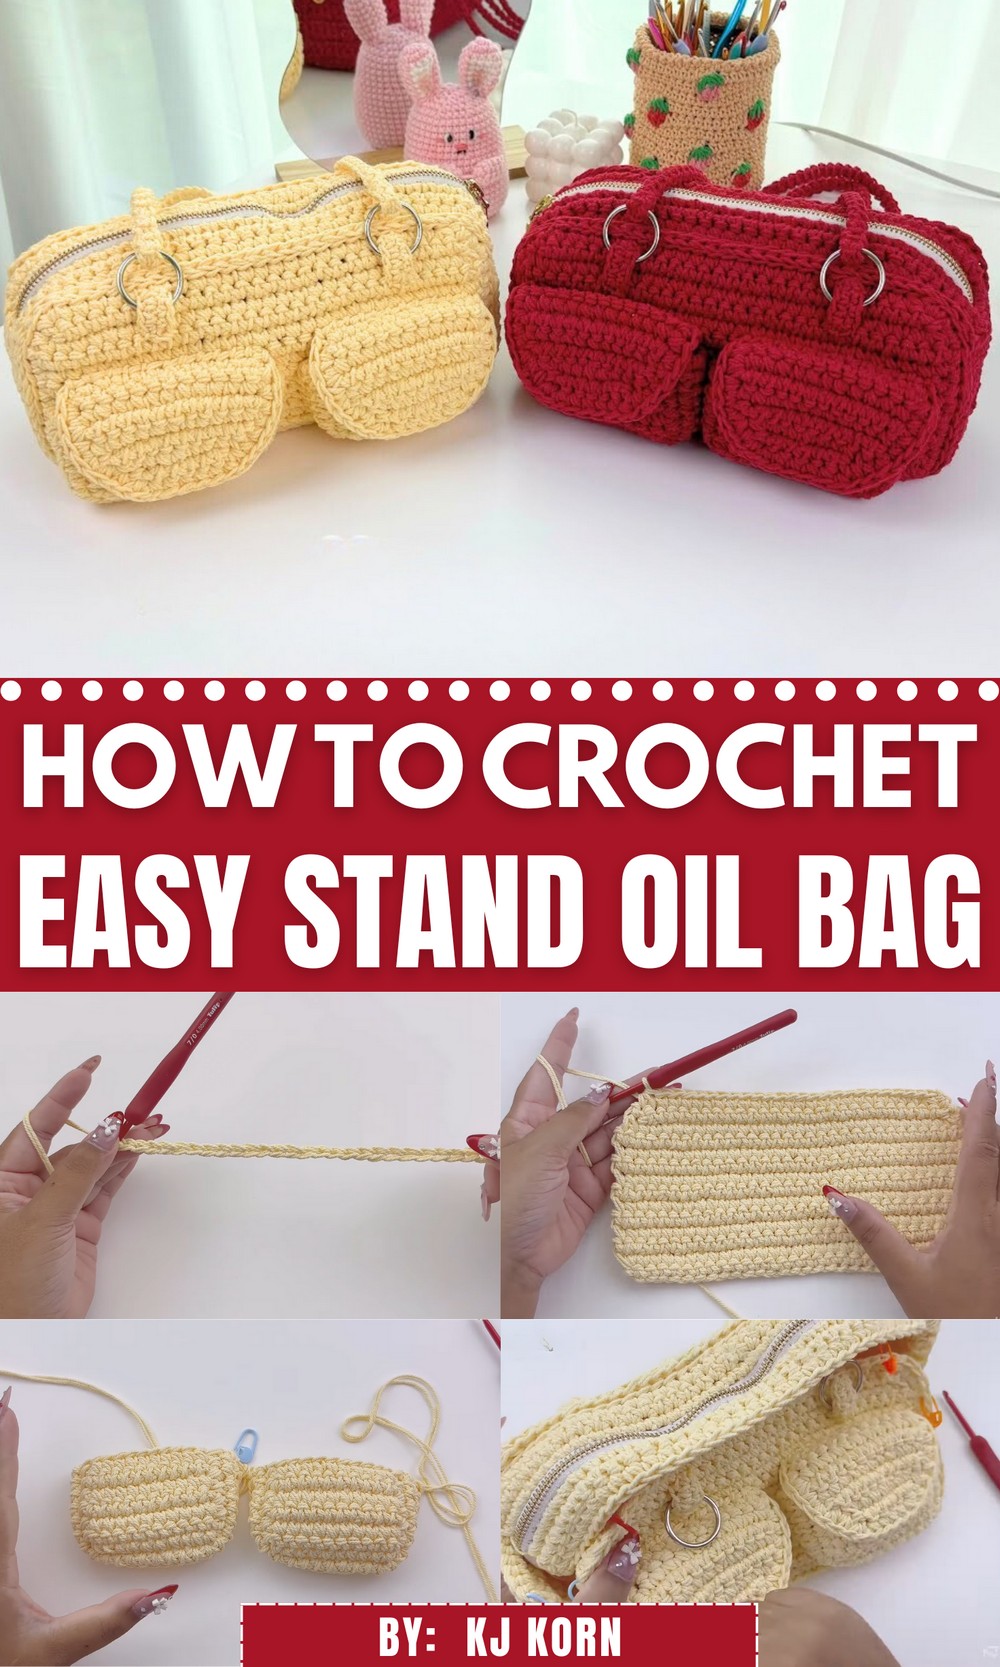
Store bottles upright and neatly with this Free Crochet Stand Oil Bag Pattern that’s perfect for essential oils, toiletries, and portable daily use.
In rural homes where practicality meets daily routine, small storage bags once held everything from herbal balms to homemade oils—keeping essentials close and upright. Inspired by that same utility, the free crochet stand oil bag pattern introduces a thoughtful storage solution with both charm and structure. This upright pouch keeps bottles steady and secure, making it ideal for storing essential oils, roll-ons, cosmetics, or even travel-sized toiletries.
Free Crochet Stand Oil Bag Pattern for Everyday Organization
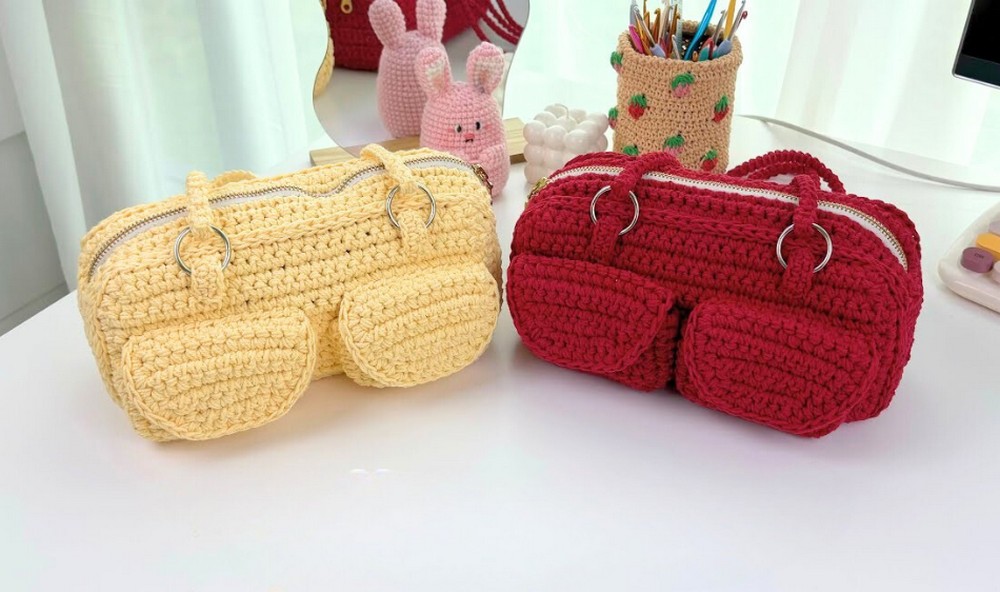
The construction starts from a firm, circular base that provides stability. As the sides grow, they form a snug cylindrical shape using tight, uniform stitches that hold their form even when the bag is empty. A drawstring closure at the top adds both function and style, allowing the bag to cinch tightly for carrying or remain open for easy access. The bag stands upright on its own, making it perfect for placing on countertops, shelves, or inside larger totes.
This project is both beginner-friendly and efficient, making it a quick solution for organizing small items. Its compact size and versatility make it an excellent option for gifting or personal use. Whether you’re keeping oils in place or creating a neat travel caddy, this standing bag combines clean construction with a purpose-built finish for everyday convenience.
Materials Required
- Yarn: 2 strands of yarn for the bag body, and 1 strand for finer details.
- Hooks: A 4.0 mm hook for most of the work and a smaller 3.0 mm hook for detailed components.
- Zipper: To properly close the bag and add a neat finish.
- Stitch Markers: Essential to keep track of first and last stitches throughout the project.
- Needle and Thread: For attaching the zipper.
- Scissors: To cut yarn as needed.
Optional:
- Measuring Tools: To customize the bag’s height, width, and components as desired.
Step-by-Step Instructions
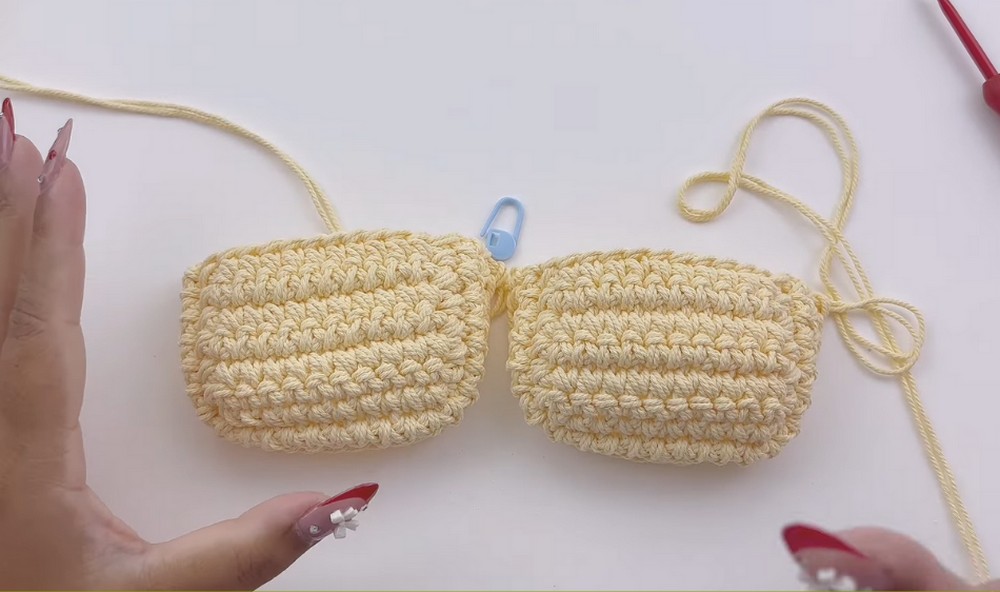
Part 1: Creating the Bag Base
- Start with the Foundation:
- Use a 4.0 mm hook with 2 strands of yarn.
- Make a slip knot, and chain the width of the bag you want. The example used 29 chains.
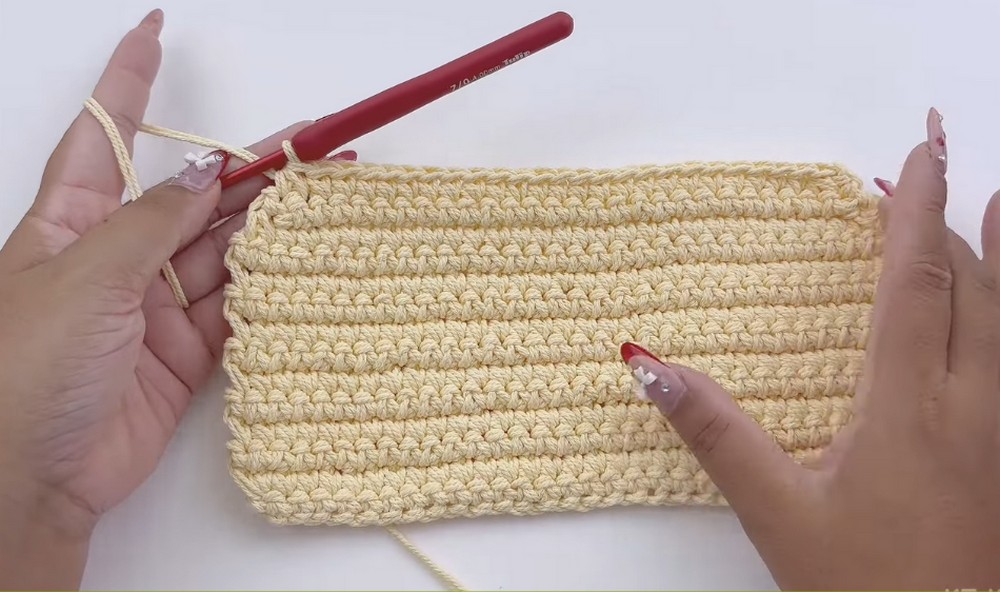
- Row 1:
- Chain 1, then single crochet into every chain.
- Beginners are advised to use a stitch marker on the first stitch for ease of tracking.
- Row 2:
- If you prefer a straight bottom, repeat Row 1.
- For a curved bottom, chain 1, turn your work, and 2 single crochet into the first stitch, 1 single crochet in each subsequent stitch, and 2 single crochet into the last stitch.
- Rows 3–11:
- Continue the process began in Row 2 for a curved bottom (or straight if preferred). By the end of Row 11, your bag’s height should be around 9 cm and width 23 cm.
- Continue the process began in Row 2 for a curved bottom (or straight if preferred). By the end of Row 11, your bag’s height should be around 9 cm and width 23 cm.
Part 2: Shaping the Bag and Adding Curves
- Start Curving Rows:
- Row 12: Chain 1, turn your work, decrease 1 stitch at the start, single crochet across, then decrease 1 stitch at the end.
- Repeat the process in Rows 13 and 14 to enhance the curve.
- Increase the Bag’s Height:
- If you want your bag taller, add more rows following the initial single crochet pattern (Rows 4 to 11). Then add decrease rows (Rows 12 to 14).
- If you want your bag taller, add more rows following the initial single crochet pattern (Rows 4 to 11). Then add decrease rows (Rows 12 to 14).
Part 3: Creating and Attaching the Middle Piece
- Customize the Width:
- Count the total stitches across the top (e.g. 49 in the video). Subtract 1 to determine the number of rows in the middle panel (48 rows in this case).
- Start Panel Rows:
- Chain the desired width of the middle panel (8 stitches in the video).
- Work in rows, repeating single crochets (as in Rows 1 and 2 earlier) for the total count needed (48 rows in the tutorial).
- Attach the Panel:
- Single crochet around the edges of the panel and attach it seamlessly to the base.
Part 4: Strap and Other Components
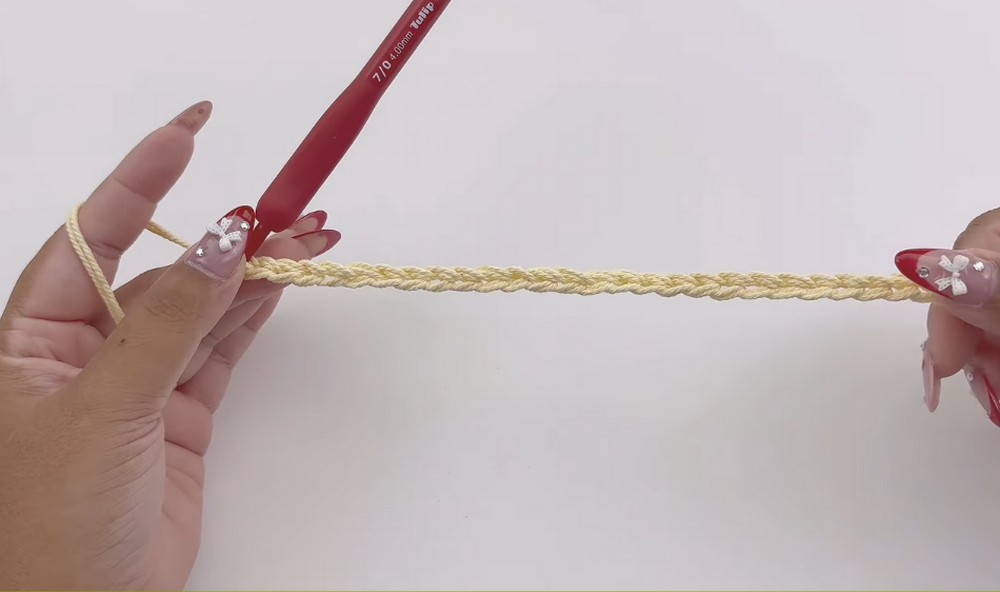
- Strap:
- The strap is crocheted separately. In the video, the dimensions were 82 cm in length using 1 yarn strand and a 3.0 mm hook.
- The exact process for the strap is linked in the video description.
- Side Pieces:
- Crochet small side components (chain 12 stitches, 4 rows of single crochet).
- Include rows of decrease stitches to create curves, then crochet around the edges.
- Decorative Elements:
- Crochet additional smaller decorative pieces following the slip knot method, working in rounds or rows depending on the part.
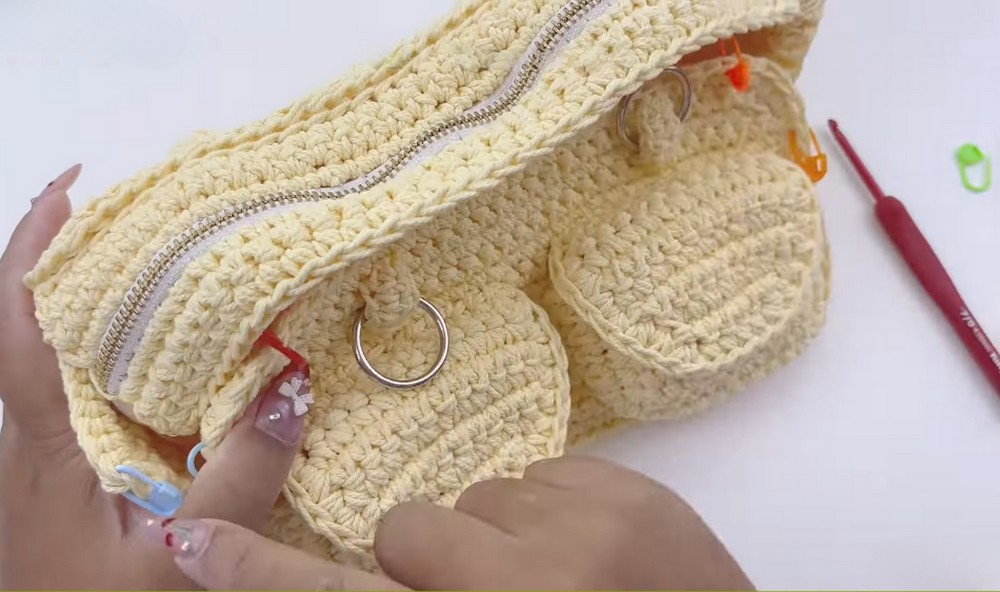
Part 5: Attaching Zipper
- Measure the top of the bag, ensuring it matches the length of the zipper.
- Mark zipper attachment points using a pencil based on stitch count.
- Use a sewing needle or crochet hook to secure the zipper, ensuring the stitches align perfectly for clean closure.
Special Features
- Customizable Size: The foundation chain and rows can be adjusted to change the width and height of the bag.
- Zipper Inclusion: Adds a practical and professional touch to the design.
- Curved Edges: Creates a polished and modern look.
- Durable Strap & Edges: Single crochet around all edges ensures the bag maintains its structure.
Level of Difficulty
- Beginner-friendly for the basic rows and foundation stitches.
- Suitable for intermediates due to the inclusion of curved shaping, precise counting, and zipper attachment.
Tutor’s Suggestions
- On Material:
- Use two strands of yarn for a thicker, sturdier texture.
- A smaller hook (3.0 mm) is recommended for details and attachments.
- On Adjustments:
- Always tailor the size of the bag and its components based on your requirements.
- For a neater finish, ensure the count of stitches is consistent across all parts to avoid uneven edges.
- For Beginners:
- Use stitch markers at the beginning and end of rows to make counting stitches easier.
- Follow the zipper attachment process carefully to ensure a clean, professional look.
Recommended Uses
- Perfect as a stylish handbag, clutch, or a utility pouch.
- Makes for thoughtful handmade gifts for family or friends.
- Ideal for carrying smaller items like keys, wallets, or cosmetics.
Tip
When attaching the zipper, use a contrasting thread color to match the bag design, or a matching thread for subtlety. Always align the zipper evenly before sewing it into place to avoid puckering.
Conclusion
This crochet handbag pattern offers a beautiful design with simple yet elegant curves, a secure zipper, and a durable strap. With clear instructions and customizable features, it’s the perfect project for novice and intermediate crocheters aiming to create a handmade, practical accessory.