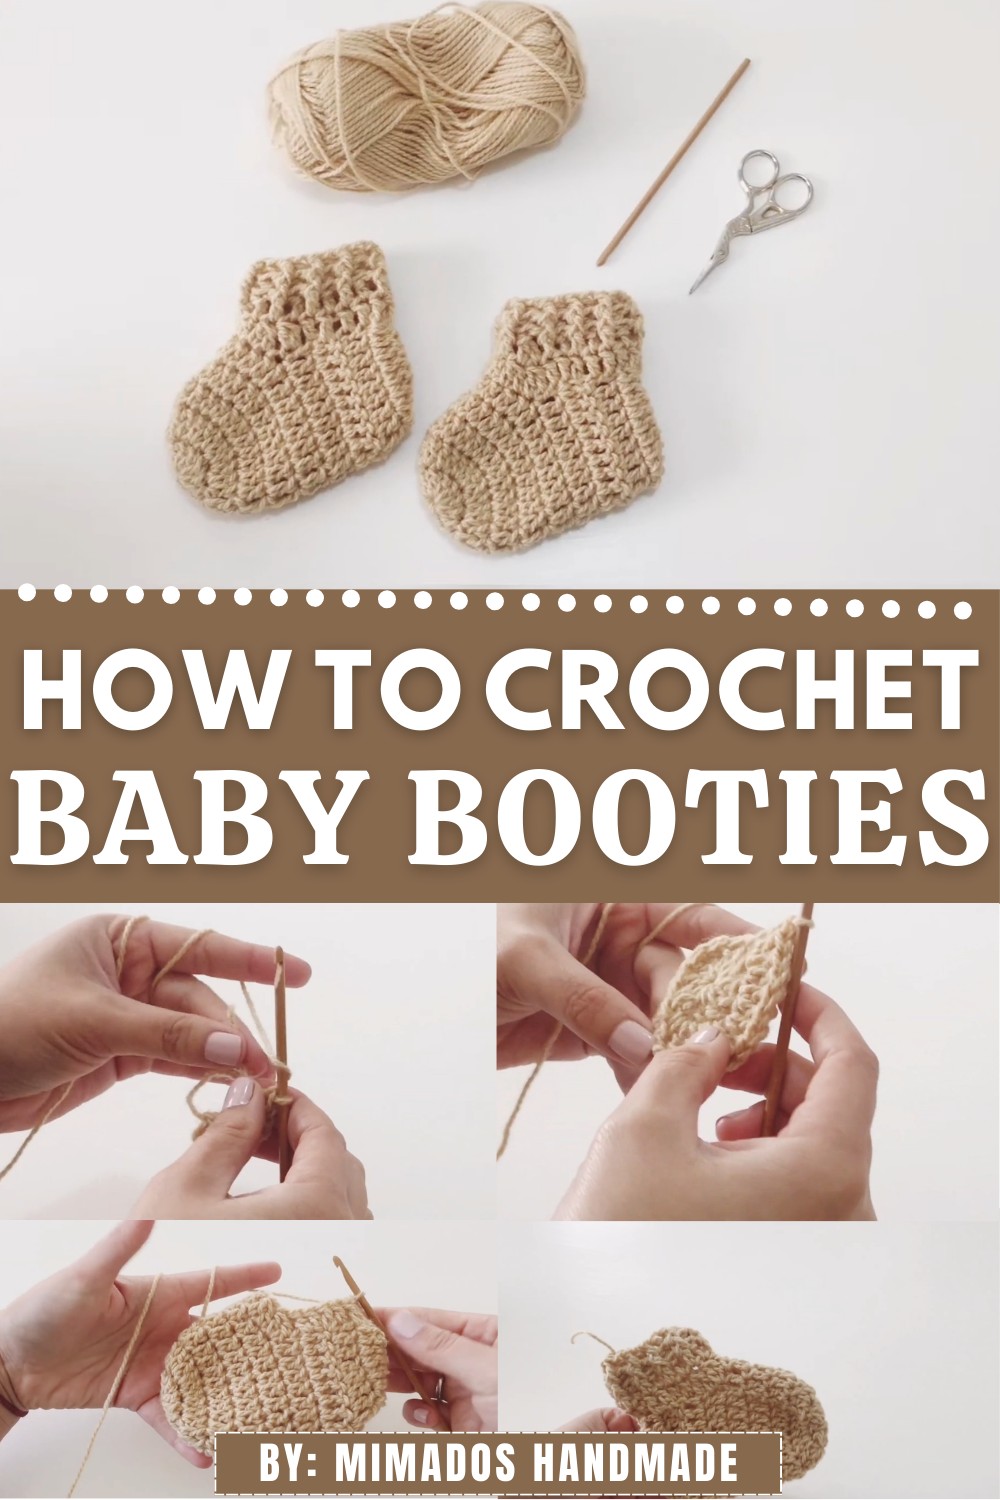
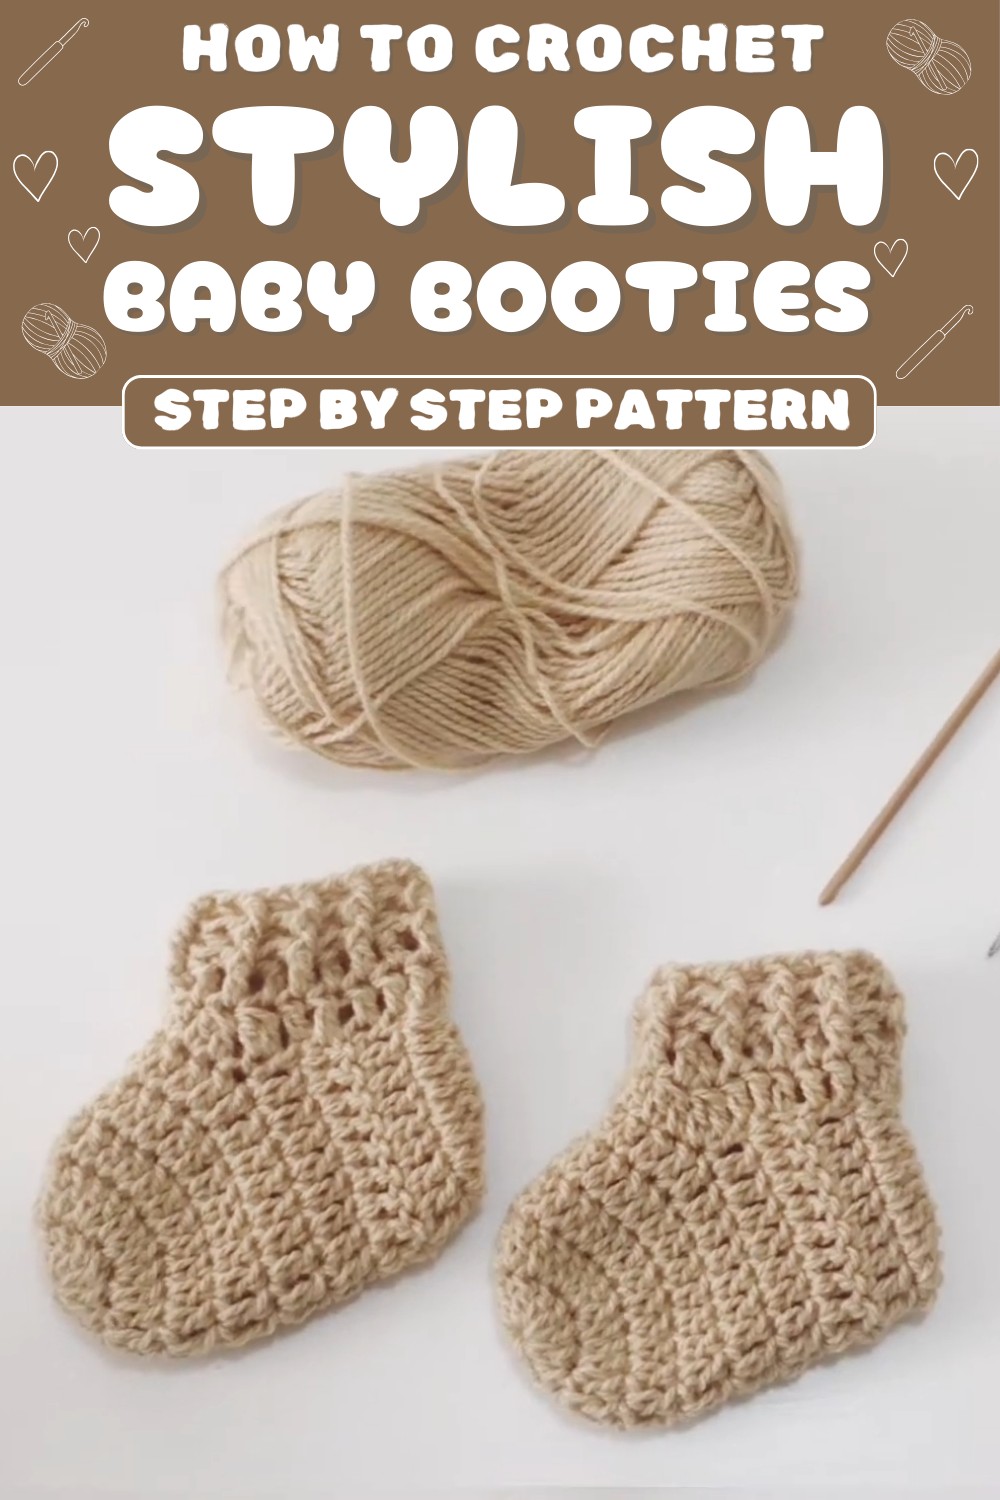
Find the perfect crochet baby booties pattern to keep tiny feet warm and stylish, with easy-to-follow instructions for heartfelt gifts or everyday comfort.
Baby booties are more than just a thoughtful gesture, they’re a way to keep tiny feet warm and cozy. With a free crochet baby booties pattern, you can create snug, soft footwear that’s both practical and adorable. Perfect for newborns and infants, these booties can be personalized to match outfits or add charm to special occasions like baby showers or photoshoots.
Simple Ways to Crochet Baby Booties at Home
Whether used for keeping toes warm in winter or as a handmade gift, they’re lightweight and easy to carry. Crocheting baby booties is also a great opportunity to develop skills like shaping and seamless joining, while turning leftover yarn into something precious. These little treasures combine comfort with creativity, making them a worthwhile addition to any baby’s wardrobe.
Crochet Baby Booties Pattern
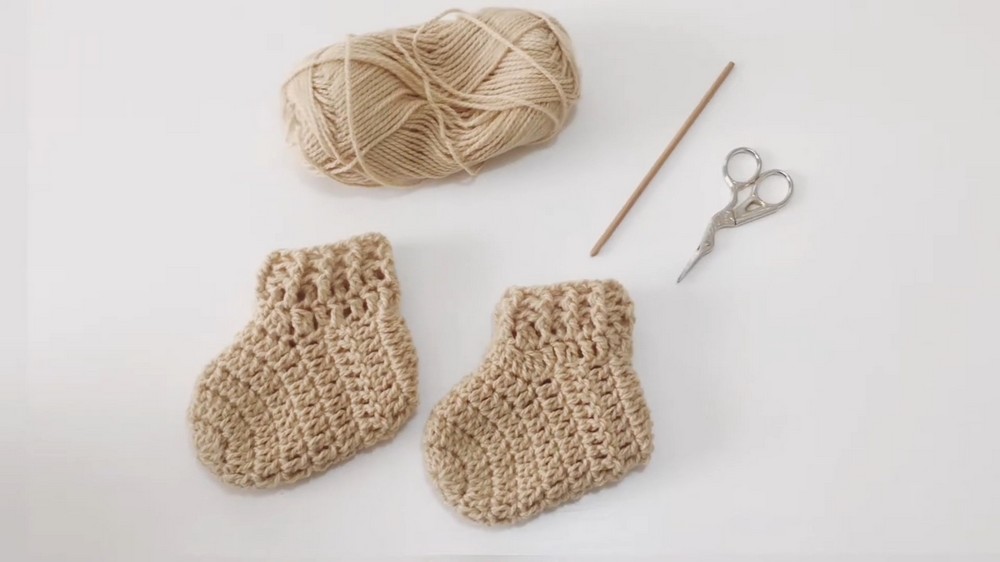
Materials Needed
- Yarn: Worsted-weight yarn (size on label: 3.5 mm recommended)
Example: Beige wool or any soft, baby-friendly yarn - Hook: 4 mm crochet hook (bamboo or preferred material)
- Scissors
- Yarn needle
- Stitch markers (optional for counting stitches)
Skill Level
Intermediate to Advanced
Key Abbreviations
- Ch: Chain
- St(s): Stitch(es)
- Sc: Single Crochet
- Dc: Double Crochet
- Sl St: Slip Stitch
- Inc: Increase (work 2 dc in one stitch)
- Dec: Decrease (work two stitches together using dc method)
- Magic Ring: Adjustable ring used to start circular crochet
Special Notes
- This pattern creates baby booties with elastic cuffs for added comfort.
- The bootie size may vary depending on yarn thickness, tension, and hook size. Adjust accordingly.
- Always count your stitches at the end of each round to avoid errors.
Step-by-Step Instructions
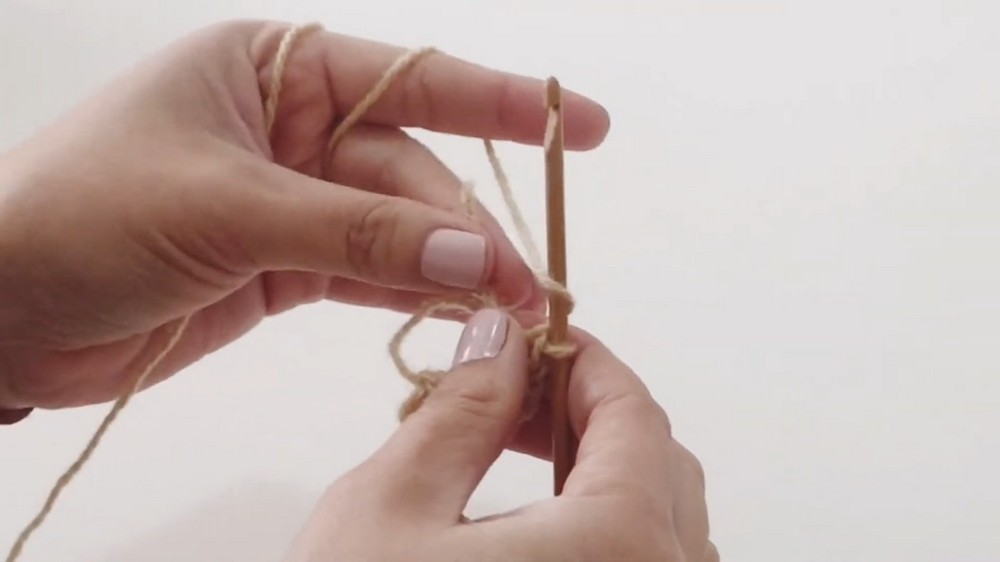
1. Toe Circle Base
- Magic Ring: Create a magic ring by looping yarn into an “e” shape. Pull and secure.
- Chain 3 (counts as the first dc).
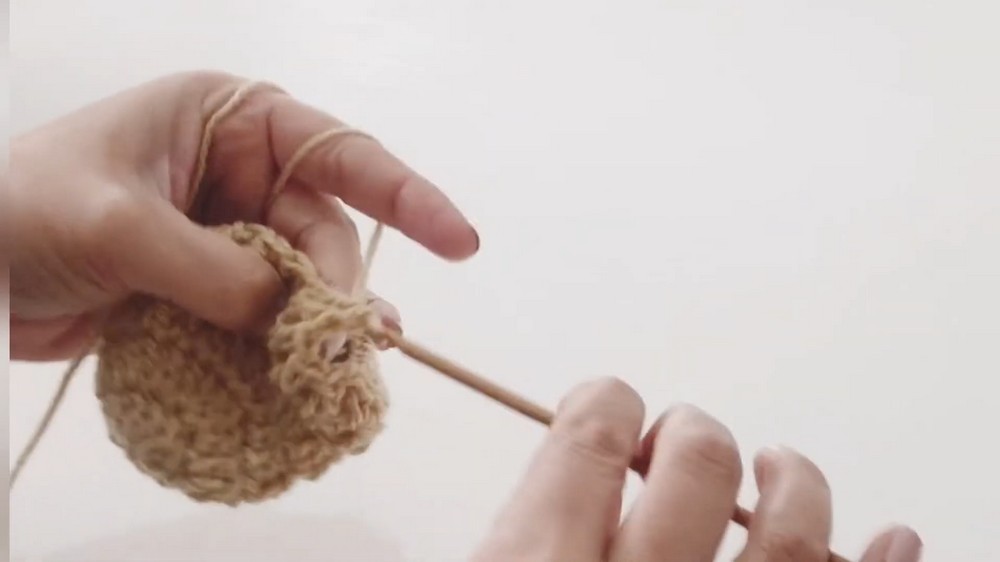
- Work 11 dc into the magic ring. You should have 12 sts total (including the ch-3).
- Pull the tail of yarn to tighten the circle and close the magic ring.
- Work a sl st into the top of the third chain from the beginning to close the round.
2. First Increase Round
- Chain 3.
- Work 2 dc into the same stitch (increase).

- Repeat 2 dc in each stitch around. You should finish with 24 dc total.
- End the round with a sl st in the top of the starting ch-3.
3. Create Round Shape
- Chain 3.
- Work 1 dc into each stitch around. You should still have 24 dc total.
- Close the round with a sl st into the first chain.
Repeat this process for Round 4 and Round 5.
4. Heel Section
- Chain 2, turn work, and make 18 dc (starting from the 1st stitch).
- Chain 2, turn work, and repeat 18 dc for Rounds 7, 8, and 9.
Note: This forms the heel fabric.
5. Seam the Heel
- Fold the heel section in half. Using a sl st, sew the heel together by inserting the hook through the inside loops of stitches on either side.
- This creates a neat, flat seam that will prevent discomfort for the baby.

6. Shape the Foot Area
- Chain 3 and begin working around the entire foot section.
- Work 2 dc in each horizontal dc on the sides and 1 dc across the heel stitches.
- Decrease across the curve:
- Yarn over, insert hook into the next stitch. Pull through, yarn over, and pull through two loops (leave half unfinished). Repeat in the next stitch. Yarn over and pull through all three loops on the hook.
- Repeat this decrease for two stitches on each side of the curve.
- Continue working evenly in dc for the remaining round and join with a sl st.
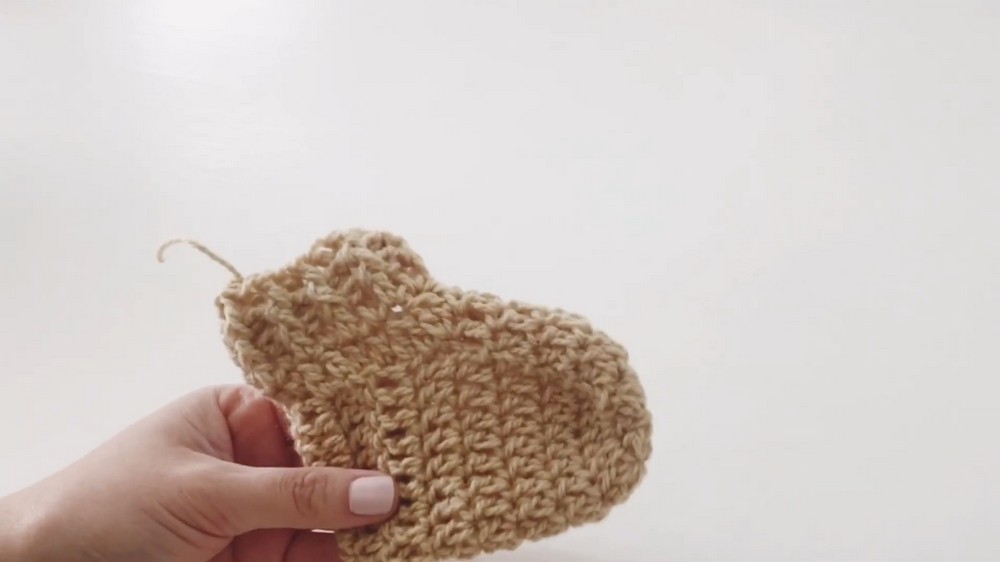
7. Add Elastic Cuff
- Chain 3 and begin working with Post Stitches (Elastic Stitch):
- Front Post Double Crochet (Fpdc): Yarn over, insert the hook around the post of the stitch from the front, and complete as a regular dc.
- Back Post Double Crochet (Bpdc): Yarn over, insert the hook around the post of the stitch from the back, and complete as a regular dc.
- Alternate Fpdc and Bpdc stitches around.
- Continue for 2 rounds to create a soft and stretchy cuff.
- End with a sl st, fasten off, and trim any excess yarn.
Finishing Touches
- Weave in any loose ends using the yarn needle to secure and neaten the edges.
- Stretch or shape the bootie lightly for consistency.
Conclusion
You’ve just crocheted a beautiful baby bootie, perfect for keeping tiny toes warm! Its stretchy cuff and seamless heel ensure both comfort and practicality, making it ideal for everyday wear or as a thoughtful handmade gift.
Pattern Correction
Ensure a consistent tension while working through the pattern—tight stitches may reduce flexibility, and loose stitches might compromise foot shape. Adjust hook size if needed.
Pro Tip
To make these booties extra special, add a decorative detail like a small crochet flower or button embellishment to the front. Be sure embellishments are securely fastened to avoid choking hazards for babies.