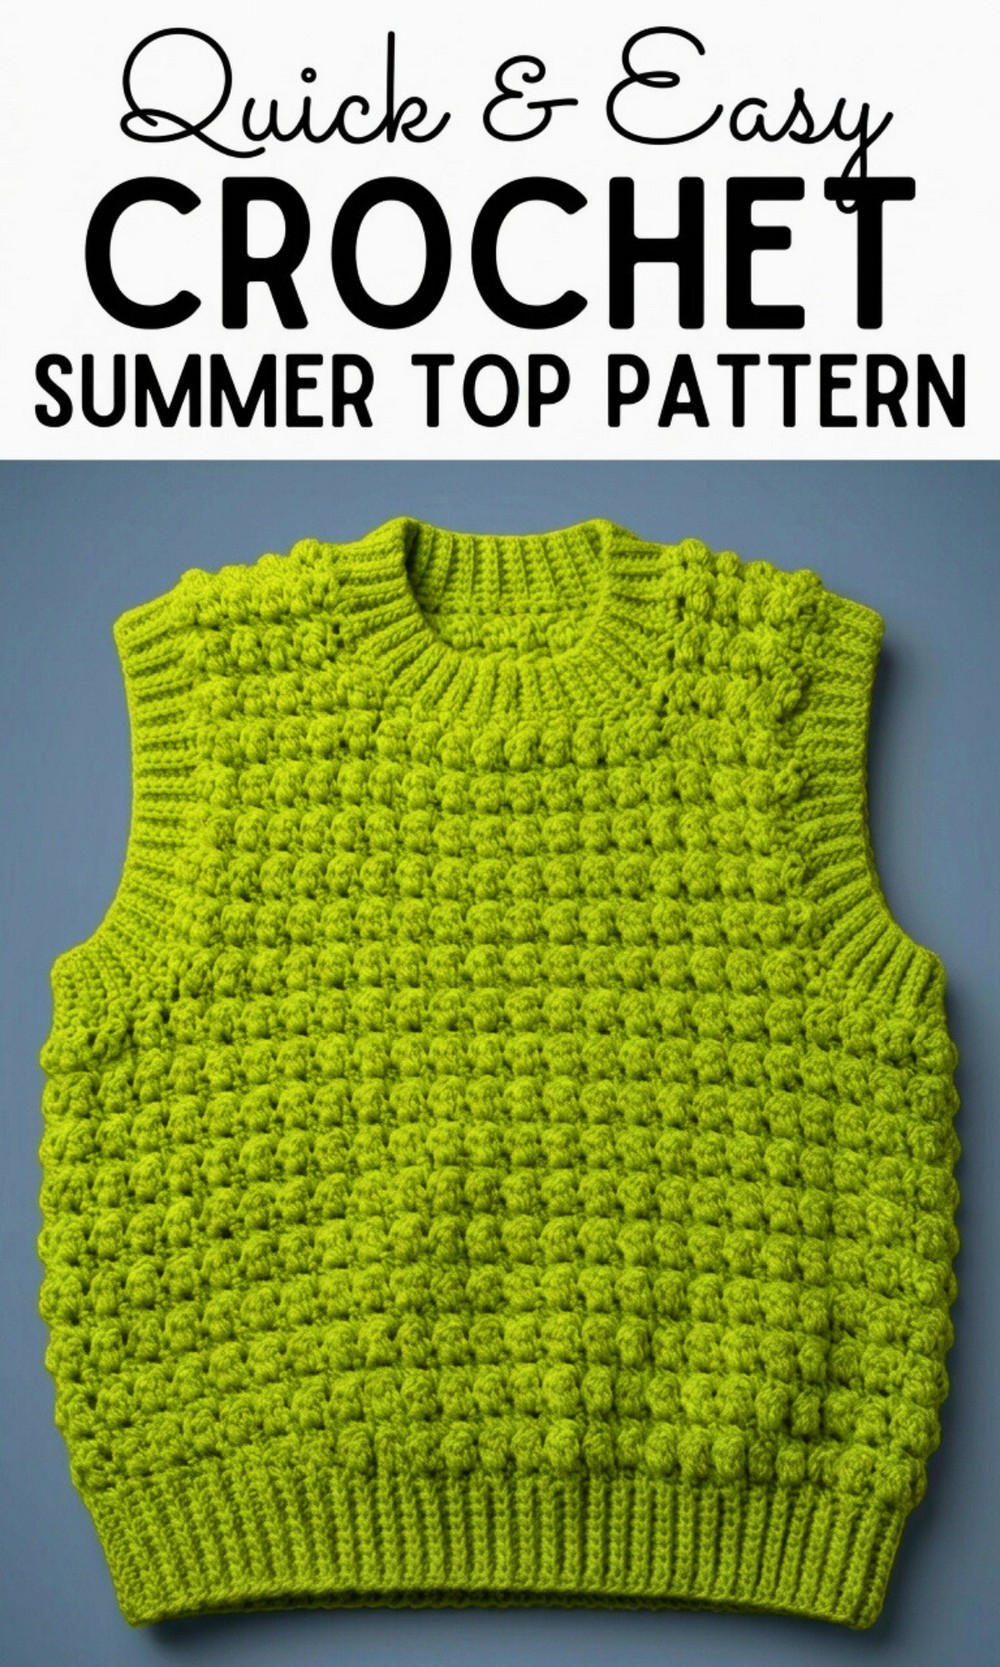
Sport a breezy and chic look with the Crochet Summer Top Pattern, ideal for sunny days, casual hangouts, and feeling effortlessly comfortable in style.
Warm afternoons often call for clothing that feels light, breathable, and easy to wear, yet still stylish enough to turn heads. The Crochet Summer Top pattern provides just that, featuring delicate openwork stitches that create a cool, airy garment ideal for sunny days. You can wear it for casual outings, seaside walks, or backyard gatherings, pairing it effortlessly with shorts, skirts, or layered over a favorite tank.
Quick & Fun Free Crochet Summer Top Pattern for Easy Fashion
This pattern is perfect for experimenting with cotton, linen, or bamboo yarn, giving a soft and comfortable finish. Beyond being a charming wardrobe addition, crocheting this summer top strengthens essential crochet skills like lace motifs, stitch consistency, and shaping. Lightweight, customizable, and wearable, this crochet top blends practicality with handmade charm, offering both the joy of making and a versatile piece that suits any summer activity or relaxed, everyday style.

Lightweight Crochet Summer Top Pattern
Skill Level
Intermediate – Familiarity with alternating stitch patterns, slip stitch ribbing, and panel assembly is recommended.
Finished Size
Customize the top based on bust measurements and desired length. The example size is medium with a 36-inch bust and 17-inch length.
Materials
- Yarn:
- Medium-weight (Category 4) acrylic yarn or cotton yarn.
- Example color: White.
- Medium-weight (Category 4) acrylic yarn or cotton yarn.
- Hook Size: 4.5 mm crochet hook.
- Accessories:
- Measuring Tape: For checking bust width and length.
- Scissors: For cutting yarn.
- Darning Needle: To weave in ends and sew.
- Stitch Markers: Optional, for marking armholes and neckline measurements.
Key Abbreviations (US Terminology)
- ch: Chain
- sc: Single Crochet
- dc: Double Crochet
- sl st: Slip Stitch
- yo: Yarn Over
- BLO: Back Loop Only
Special Notes
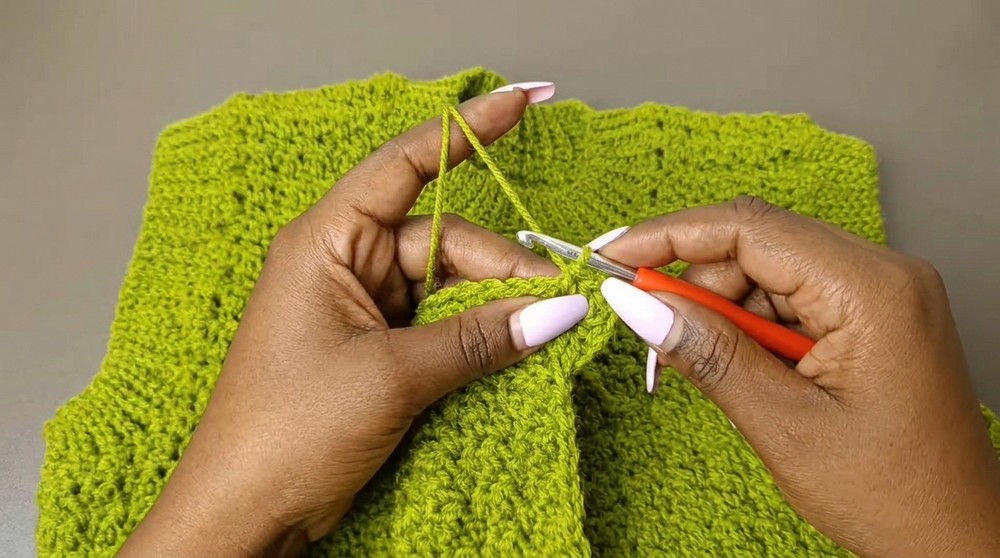
- Lemon Peel Stitch: Alternates between single crochet (sc) and double crochet (dc) stitches.
- Ribbing: Completed with slip stitches worked into the back loop only for elasticity and clean edges.
- Sizing Notes:
- For the bust panel, calculate half the bust measurement and ensure chains are an odd number.
- Adjust armhole heights between 7 to 9 inches depending on size.
Step-by-Step Instructions
Part 1: Bust Panels
Step 1: Foundation Chain
- Create a slip knot.
- Work foundation chains equal to half your bust measurement in length, slightly stretched.
- Example: For a 36-inch bust, chain 51 chains. Chains must be an odd number.
- Verify chain length: Measure without stretching for a loose fit or slightly stretched for a snug fit.
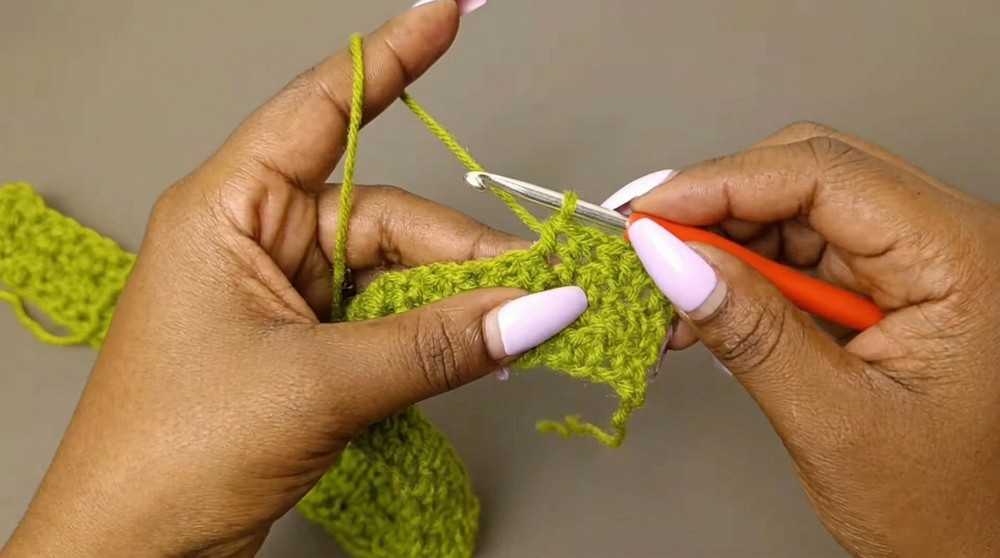
Step 2: Row 1
- Starting Stitch: Work into the second chain from the hook.
- 1 sc into the first chain.
- 1 dc into the next chain.
- Alternate stitches: 1 sc, 1 dc across the row.
- At the end of the row, ensure the last stitch is a dc.
- Row Count: For 51 chains, Row 1 will contain 50 stitches.
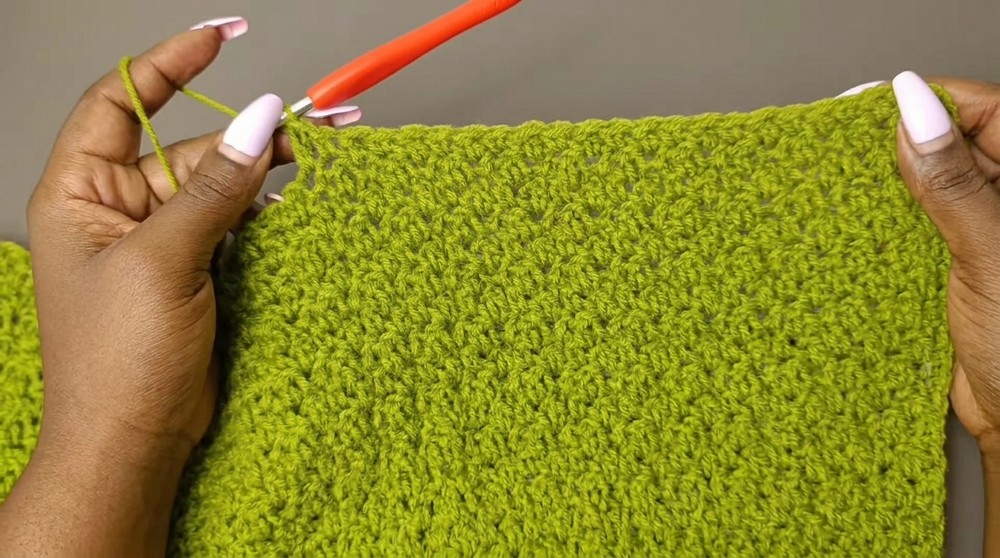
Step 3: Rows 2–20
- Row 2:
- Ch 1, turn your work.
- Work 1 sc into the top of the previous row’s dc.
- Then work 1 dc into the previous row’s sc.
- Continue alternating: sc, dc.
- Repeat this one-row pattern consistently:
- Alternating dc and sc, ensuring sc is placed on dc from the previous row and vice versa.
- Continue for 20 rows or until the panel measures 6–7 inches from the foundation edge.
Step 4: Adjustments for Armholes
- Mark six outer stitches on each side with stitch markers.
- Join yarn to the 7th stitch after the marker.
- Work decreases by skipping the first 6 stitches on both sides, then continue the lemon peel stitch pattern for arm shaping.
- Continue working rows with decreases to match the armhole’s desired length (approx. 8 inches).
Part 2: Back Panel
- Create the back panel identical to the front panel until Row 22.
- Work rows without decreases for the back panel’s structure, creating a standard rectangle shape.
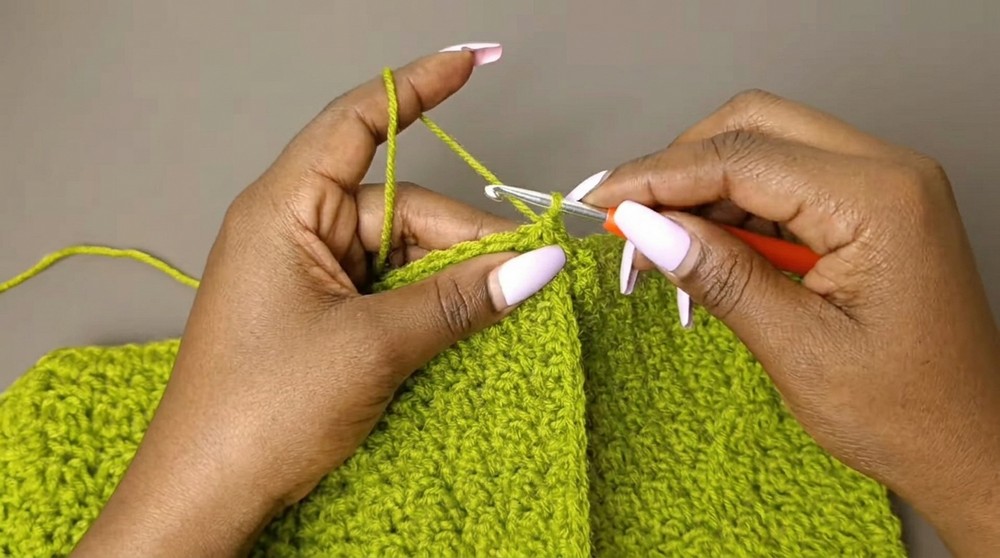
Part 3: Assembly
Step 5: Joining Panels
- Place the back panel wrong-side down and the front panel on top, wrong-side up (right sides facing each other).
- Sew the shoulder seams using a darning needle.
- Use whip stitches to ensure a seamless join.
Step 6: Side Seams
- With stitch markers, measure 7–9 inches from the shoulder seam for the armhole opening. Mark both sides.
- Seam the remaining edges below the armhole with a darning needle, maintaining alignment row by row.
Part 4: Neckline, Armholes, and Bottom Ribbing
Step 7: Neckline Ribbing
- Attach Yarn to any corner of the neckline.
- Work 1 sc into each stitch or row gap around the neckline.
- Slip Stitch Ribbing:
- Ch 7.
- Work 6 slip stitches into the chain, starting from second chain from hook.
- Attach ribbing to the neckline edge with tight sl st, then turn and continue ribbing rows.
- Repeat this process to encircle the neckline.
Step 8: Armhole Ribbing
- Attach yarn to the seam of the armhole.
- Work 1 sc into each stitch or row gap around the armhole.
- Create ribbing rows exactly as in neckline ribbing instructions, with 6 slip stitches per row.
Step 9: Bottom Hem Ribbing
- Work 1 sc into each stitch or row gap along the bottom edge of the top.
- Create ribbing rows with 10 slip stitches per row for a wider ribbing.
- This provides a stronger definition at the bottom hem.
- This provides a stronger definition at the bottom hem.
Conclusion
Congratulations on completing your Lemon Peel Stitch Top! This versatile design is perfect for casual wear or layering. The alternating textured stitches and stylish ribbing add elegance to the piece.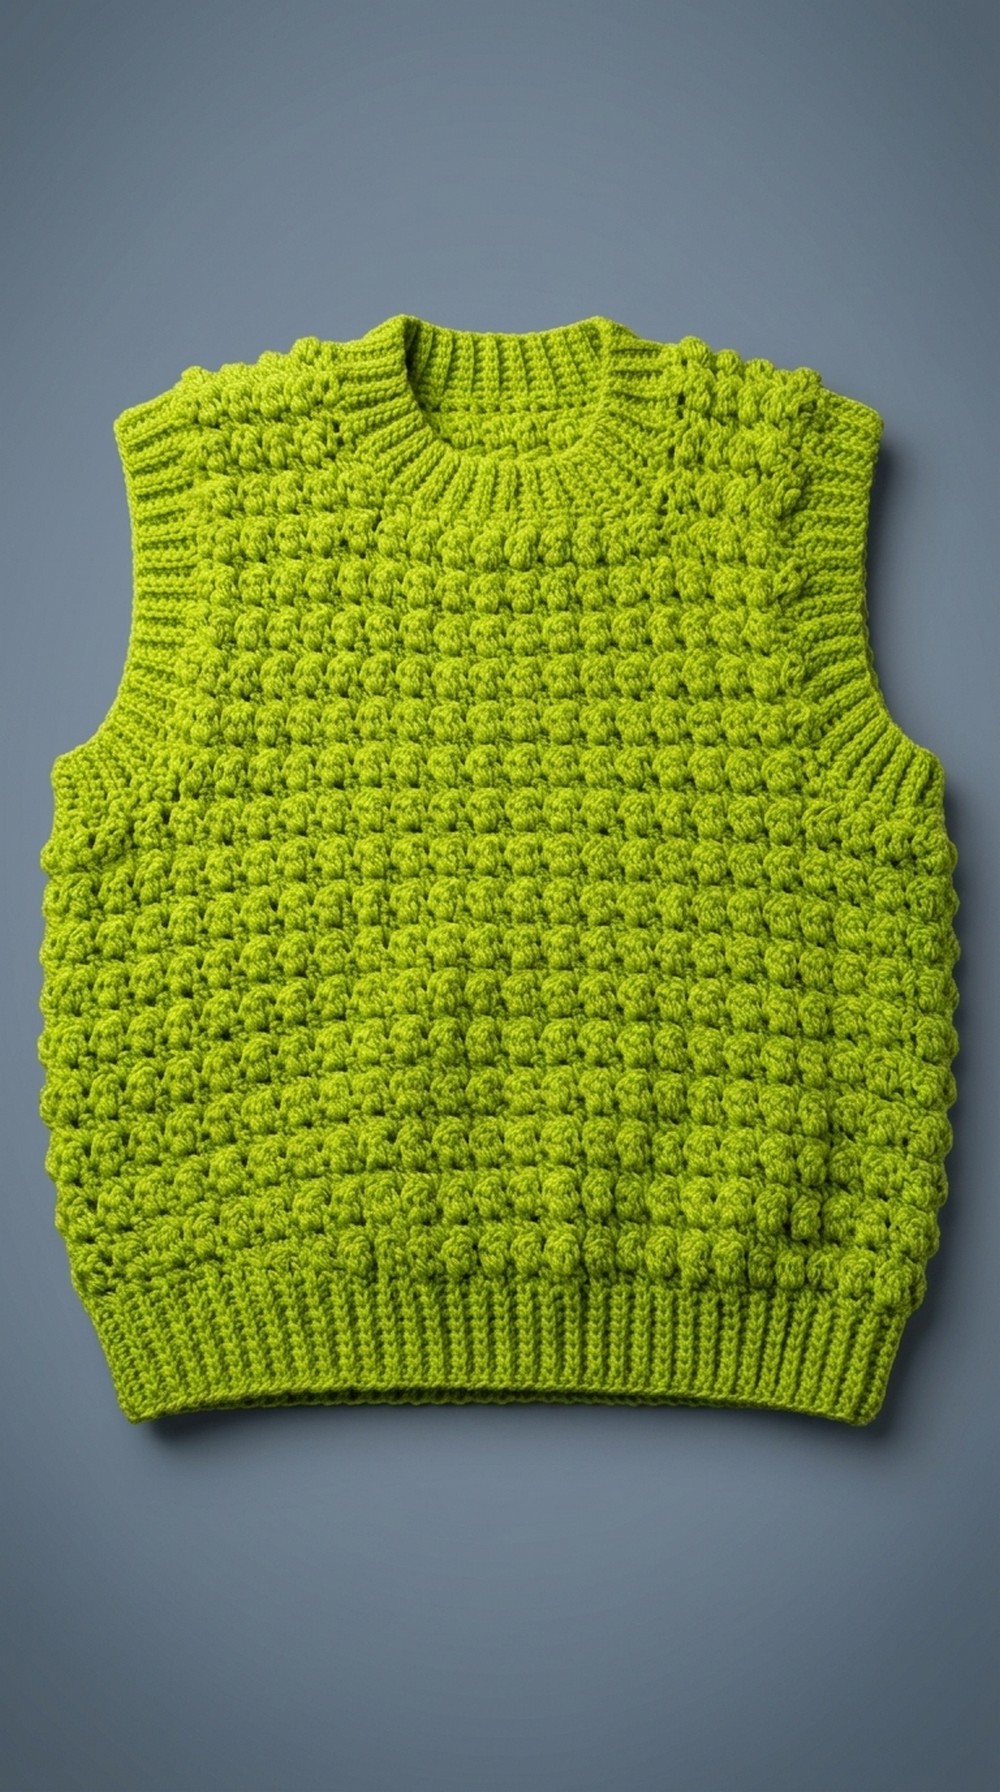
Pattern Corrections
- Ensure foundation chains maintain an odd count for consistent lemon peel stitch pattern.
- Verify ribbing width aligns evenly with panel edges.
Tips for Success
- Measure Regularly: Always measure your panels and ribbing rows to ensure an accurate fit.
- Block Your Work: To enhance stitch texture and overall shape, block panels before assembly.
- Adjust Armhole Length: Customize armhole height (e.g., 7 inches for small sizes, 9 for large sizes).