Shine in a fun and stylish bohemian blouse with this easy crochet guide, perfect for adding charm and a unique vibe to your everyday look.
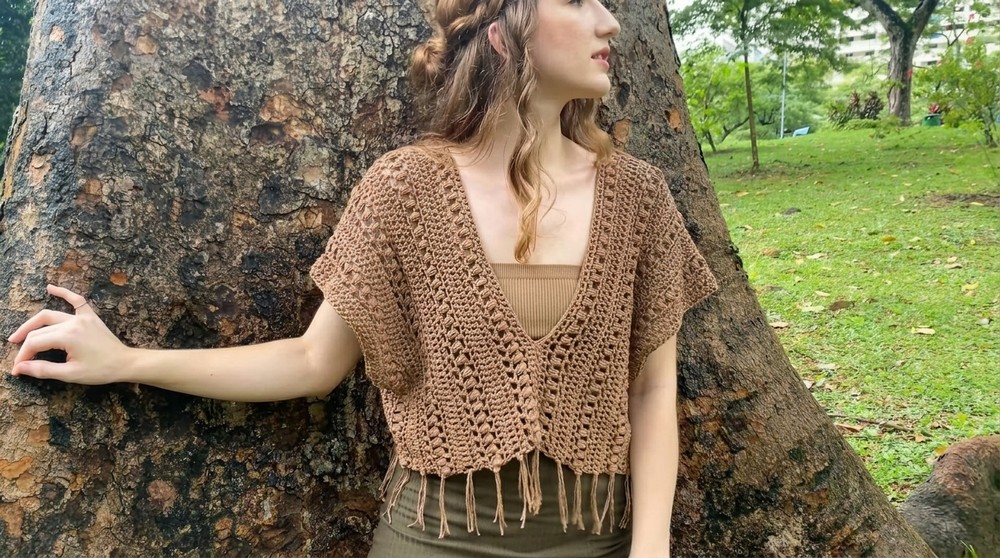
A light and breezy blouse that looks beautiful and feels comfortable for any occasion. This lovely top adds a fun and unique style to your wardrobe. With its bohemian look, it has a flowy and relaxed fit with delicate crochet details that make it stand out. The appearance is playful yet elegant, making it perfect for casual outings, vacations, or dressing up a simple outfit.
Beautiful Crochet Bohemian Blouse Top Pattern 
The soft feel and creative patterns are easy to love, while its lightweight style makes it great for warmer days. The blouse features charming accents, colorful threads, and an artistic feel that brings personality into your clothing. It’s unique, stylish, and perfect for those who want something different yet wearable. This top offers comfort, beauty, and effortless charm that you will enjoy for any occasion.
Crochet Bohemian Blouse Top Pattern
Skill Level
Intermediate
This pattern features beginner-friendly stitches such as half double crochet, puff stitches, and slip stitch joins, but requires familiarity with crochet techniques and garment construction.
Materials List
Yarn
- DK-weight yarn: Suggested brand: Yarn Holic DK-weight yarn, 100% acrylic or a cotton blend.
- Example: Light neutral tones like beige for a bohemian look, or your preferred color scheme.
Hook Size
- 5.5mm crochet hook: Used for a slightly chunkier, relaxed effect than recommended.
- Optional: Consider going up a hook size for looser foundation chains.
Additional Tools
- Measuring Tape: For accurate panel sizing.
- Scrap yarn or stitch markers: For marking front/back and armhole sizes.
- Scissors: To trim loose ends and tassels.
- Yarn Needle: For weaving ends and reinforcing seams.
- Book or Object: Used to measure and cut tassels.
Key Abbreviations (US Terms)
| Abbreviation | Definition |
|---|---|
| ch | Chain |
| hdc | Half Double Crochet |
| dc | Double Crochet |
| sl st | Slip Stitch |
| puff | Puff Stitch |
| ch sp | Chain Space |
Special Notes
Customizable
- This pattern is tailored to your body measurements, making it easy to create the perfect fit.
- Adjust panel width for a more relaxed or fitted look, or modify tassel placement for added flair.
Blocking
Consider blocking panels to ensure consistent shape and structure, especially when using cotton or blended yarn.
Step-by-Step Pattern Instructions
Step 1: Taking Measurements
- Length Measurement:
- Use a measuring tape to measure how long you want the blouse from front shoulder to back hem.
- Example: 28 inches for a longer blouse.
- Width Measurement:
- Measure across your shoulders, ensuring enough coverage for mobility.
- Example: Adjust panel width for a relaxed fit by extending the chain.
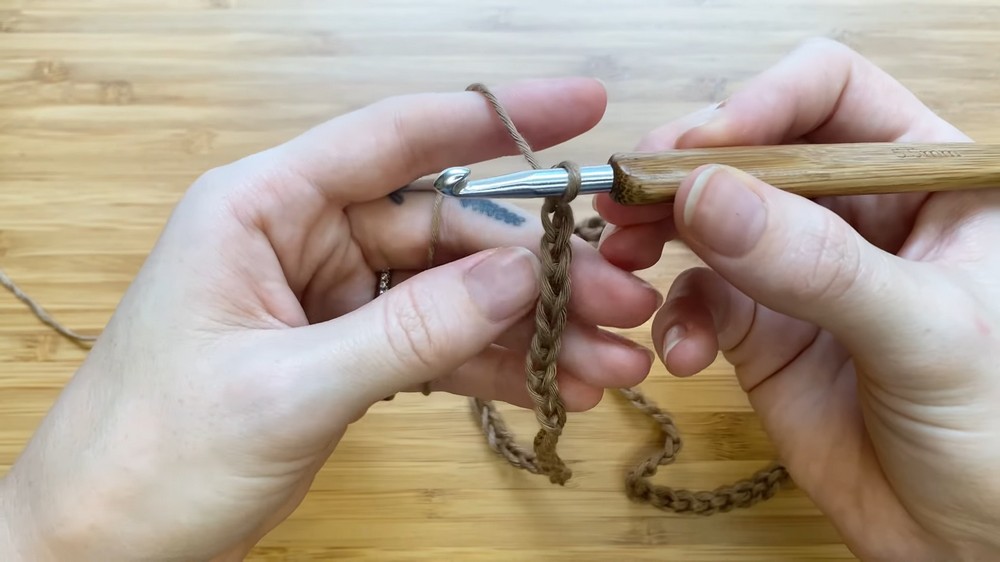
Step 2: Foundation Chain
- Slip Knot:
- Wrap yarn around index and middle fingers twice to form loops. Pull the second loop through the first, insert hook, and tighten.
- Chain Length:
- Create a foundation chain equal to your desired length measurement.
- Example: Chain 100 stitches for approximately 28 inches.
- Additional Chains:
- Add 3 extra stitches to your total number, ensuring the foundation chain ends in an odd number.

- Add 3 extra stitches to your total number, ensuring the foundation chain ends in an odd number.
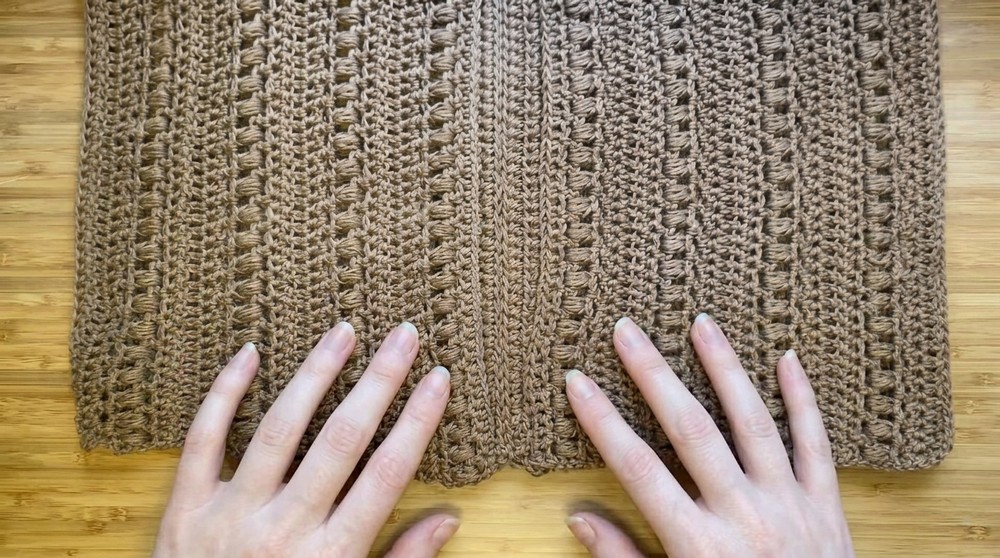
Step 3: Panel Construction
Row 1: Base Half Double Crochet Row
- Work into the back of the chain (knob):
- Yarn over, insert hook into the 3rd chain from hook.
- Yarn over, pull through the loop, and yarn over again, pulling through all three loops (hdc).
- Repeat:
- Work 1 hdc into every chain across the row.
- Mark the Front Side:
- Use scrap yarn or a stitch marker to mark the front of the panel to help with alignment later.
Row 2: Begin Chain Spaces
- Turn Work, Chain 3:
- Chain 3, counts as hdc + ch 1.
- Pattern Repeat:
- Yarn over, skip the next stitch, and insert 1 hdc into the following stitch.
- Chain 1, skip the next stitch, and repeat across the row.
- End Row:
- Place final hdc into the starting chain 3 from the previous row.

- Place final hdc into the starting chain 3 from the previous row.
Row 3: Puff Stitch Row
- Turn Work, Chain 2:
- Counts as a starting hdc.
- Puff Stitches:
- Yarn over, insert hook into the ch 1 sp, pull up a loop. Repeat 4 times to have 9 loops on the hook.
- Yarn over and pull through all 9 loops.
- Chain 1 to close the puff stitch, and chain 1 to separate.
- Repeat Across:
- Continue placing puff stitches into each chain 1 space across.
- End Row:
- Place 1 hdc into the final stitch from the previous row.
Row 4: Filling Between Puff Stitches
- Turn Work, Chain 3:
- Counts as hdc and chain 1.
- Pattern Repeat:
- Work hdc into chain 1 spaces between puff stitches, chaining 1 between each.
- End Row:
- Finish with 1 hdc into turning chain.
Row 5: Solid HDC Row
- Turn Work, Chain 2:
- Counts as hdc stitch.
- Work Across:
- Insert hdc into every stitch across, including chain 1 spaces and stitches.
Row 6: Solid DC Row
- Turn Work, Chain 3:
- Counts as dc stitch.
- Work Across:
- Insert dc into every stitch across.
Step 4: Panel Width and Pattern Repeats
- Pattern Repeat:
- Follow rows 2–6, repeating until the panel reaches desired width.
- Example: 8 inches wide (4 pattern repeats).
- Make 2 Panels:
- Both rectangular panels should be identical in size.
- Both rectangular panels should be identical in size.
Step 5: Position Panels
- Mark Neckline:
- Place panels side by side, with markers indicating the starting row (hdc row).
- Position markers based on desired V-neck depth.
Step 6: Joining Panels
- Front Join:
- With right sides facing, use slip stitch on back loops to seam the marked rows together.
- Back Seam:
- Repeat the process for the back. Add a few extra stitches for higher back coverage.
- Side Seams:
- Slip stitch both sides together, leaving armhole space as per preference.
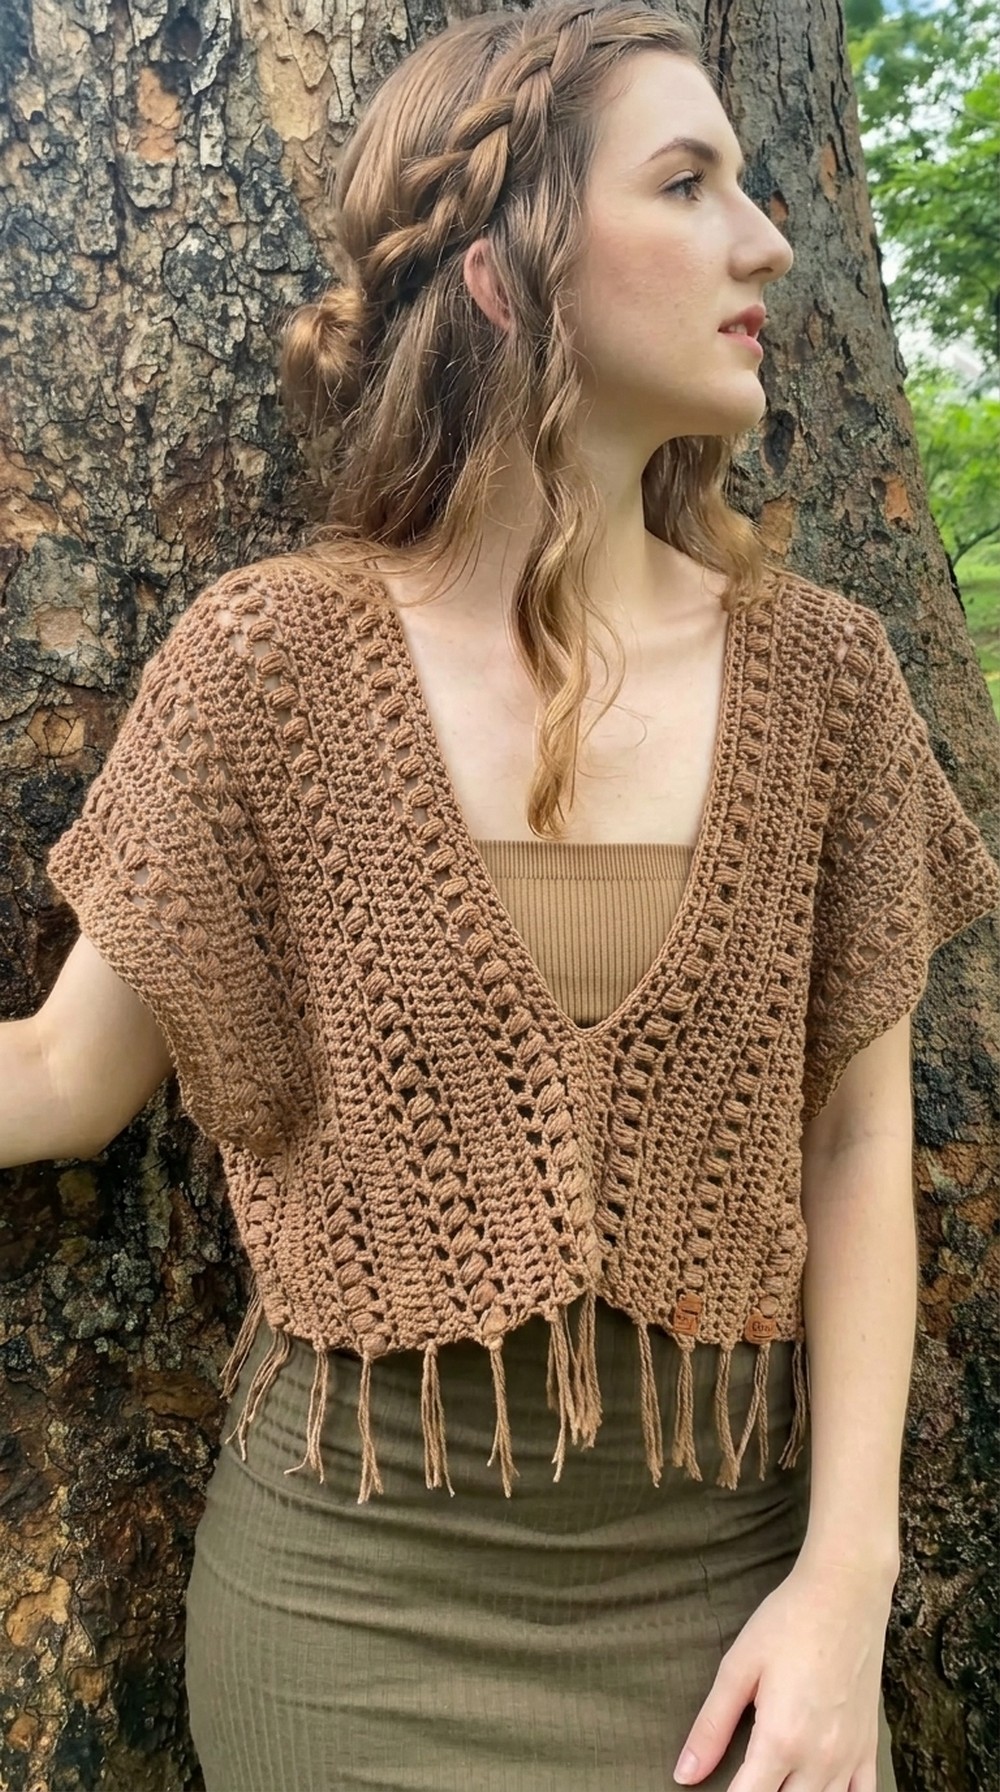
Step 7: Tassels
Measure Tassels:
- Wrap yarn around a book or object to desired tassel length.
- Cut evenly along the edge of the book.
Attach Tassels:
- Fold tassel strands in half.
- Insert hook into puff stitch or row ends, pull strands through, knot securely.
Finishing Touches
- Weaving Ends: Use a yarn needle to weave all loose ends.
- Blocking: Optional, for consistent shape and fit.
Conclusion
Your Crochet Bohemian Desert Blouse is now complete! This project offers a creative and relaxing experience, combining mindful crafting with practical techniques. Style your blouse however you desire for every occasion.
Pattern Corrections & Tips
- Corrections: Ensure even placement of puff stitches for uniform texture.
- Tips: Choose yarn and tassel colors that complement the season or mood.