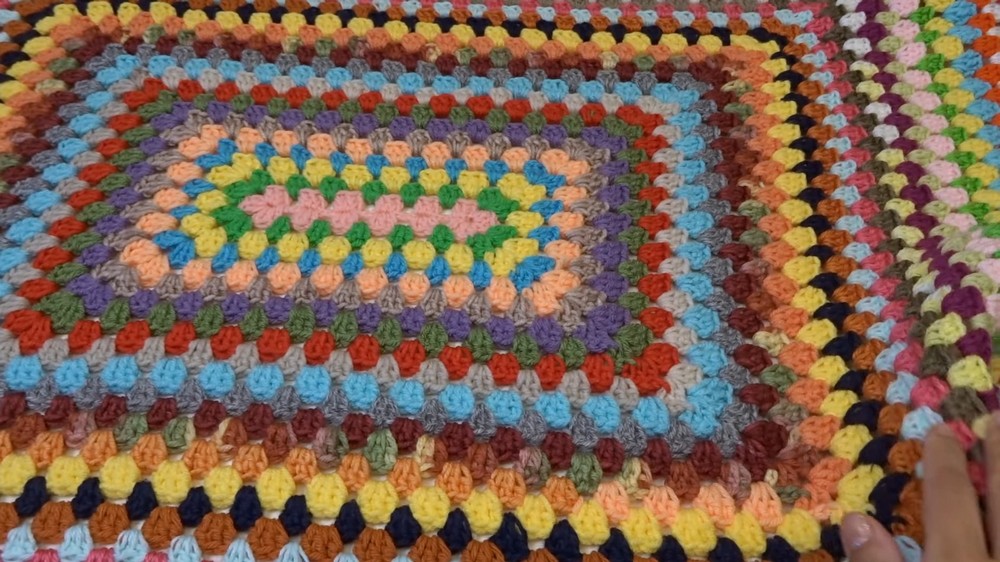
Decorate your living area by crocheting an easy and colorful throw blanket using scrap yarn or a single color with a step-by-step tutorial for all skill levels. Measuring 48 inches by 42 inches, the size can be adjusted. Kait demonstrates the process using a 5 mm crochet hook and explains the corner and double crochet pattern thoroughly.
The throw grows round by round, with her project spanning 44 rounds. It’s a beginner-friendly guide packed with instructions for creating a cozy handmade piece.
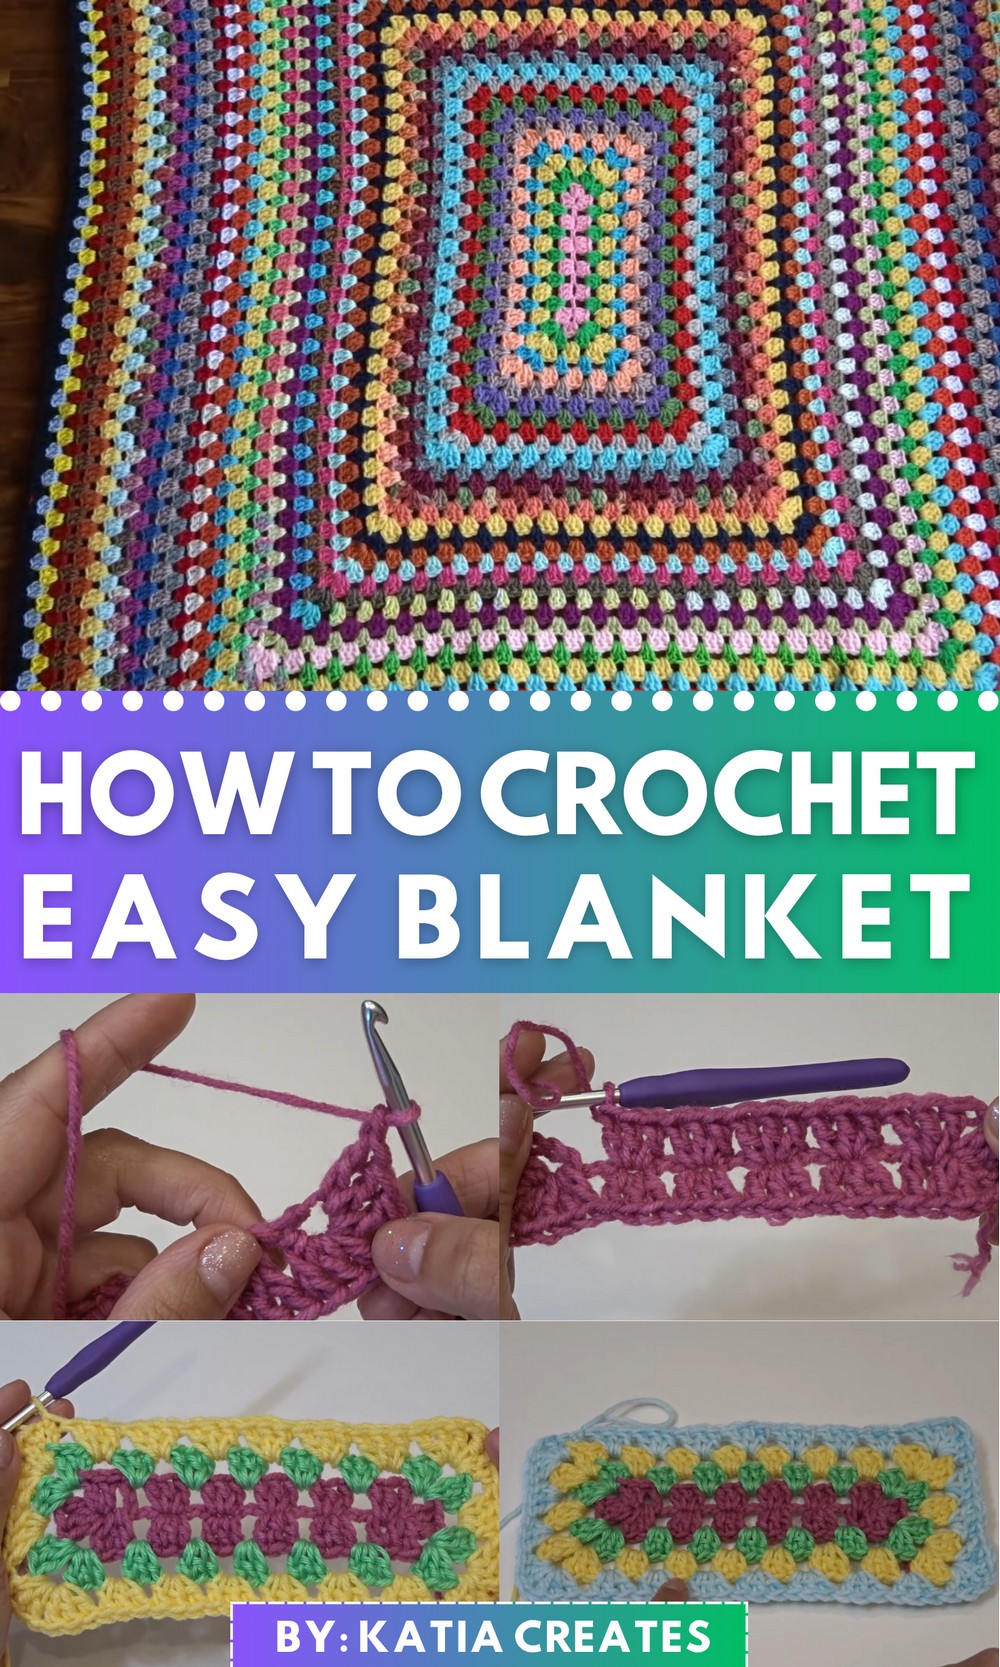
Crochet A Throw Blanket Tutorial
The video tutorial features crocheting an easy throw using a 5mm crochet hook. With only the knowledge of double crochets, viewers can crochet the throw, customize its size, and use scrap yarn or a single color as per their preference. Below, I provide a detailed summary of the steps and insights presented in the video.
Introduction
- The video introduces a simple, beginner-friendly crochet project for a cozy throw.
- The finished throw measures 48 inches in length and 42 inches in width; however, viewers can modify the size.
- Scrap yarn or a single color works well for this project, offering flexibility in design.
Supplies Needed
- A 5mm crochet hook.
- Scrap yarn or preferred colors for changing throughout rounds.
Starting the Throw
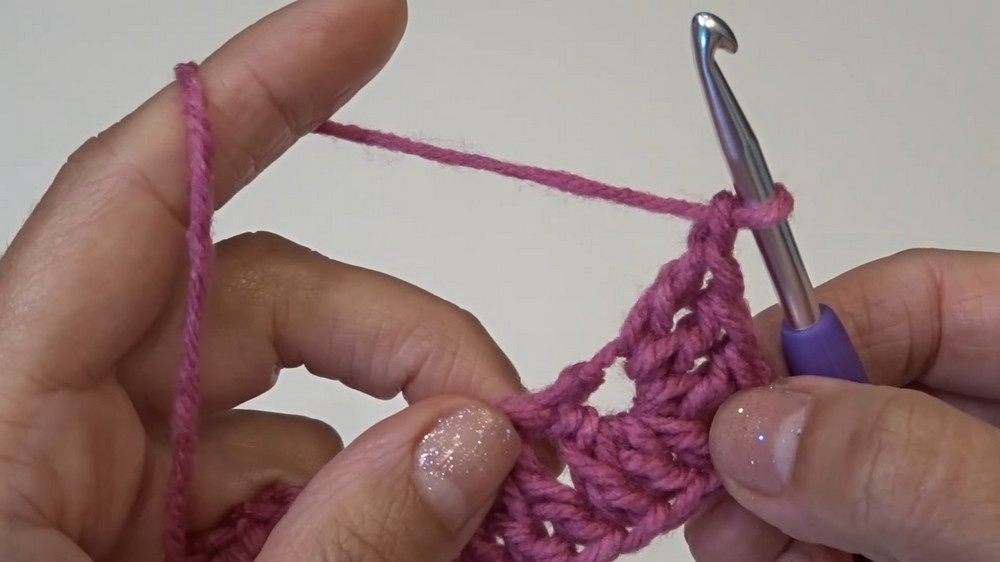
- Setup and Foundation Chain
- Begin with a slip knot and make a chain. The pattern works in multiples of three plus four, allowing adjustment for size.
- For demonstration purposes, a chain of 19 is used.
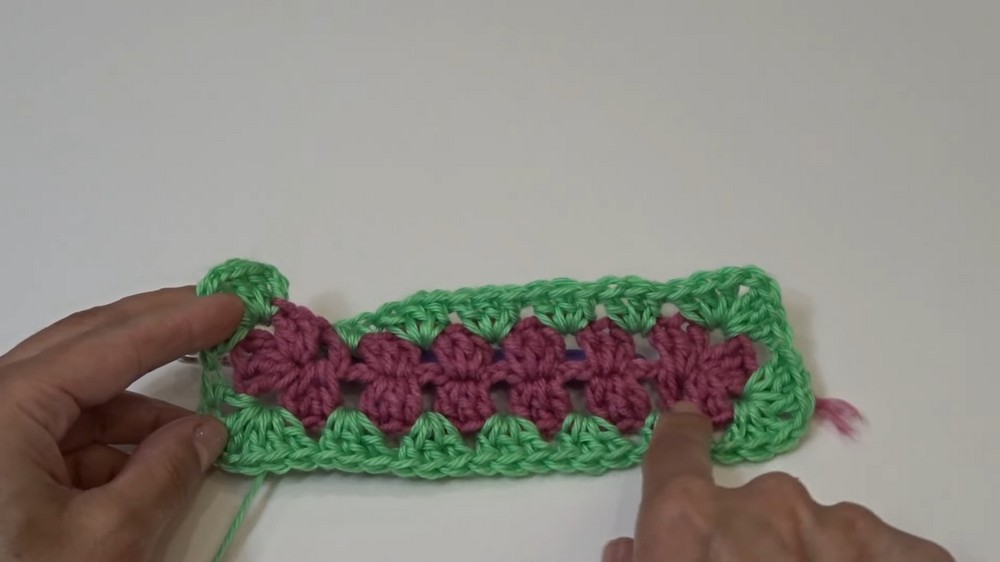
- Working the First Row (Corners and Base Pattern)
- Start with double crochets and create a corner by working sets of three double crochets (instructions emphasize the specific spaces to work into).
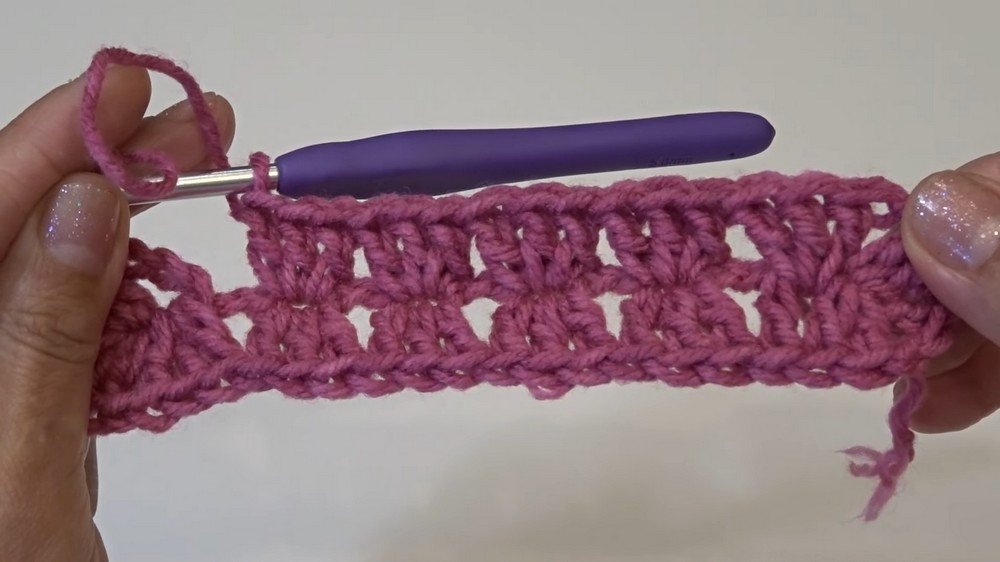
- The pattern alternates between skipping chains and working double crochets in specific chains.
- A repeating pattern of three double crochets forms the structure for the first row, mirroring corners on opposite sides.
Building the Throw – Rounds and Growth
- Finishing the First Round
- The round is completed by creating corners and connecting the first round with a slip stitch.
- Careful attention is given to slip stitching into the correct chain to maintain symmetry.
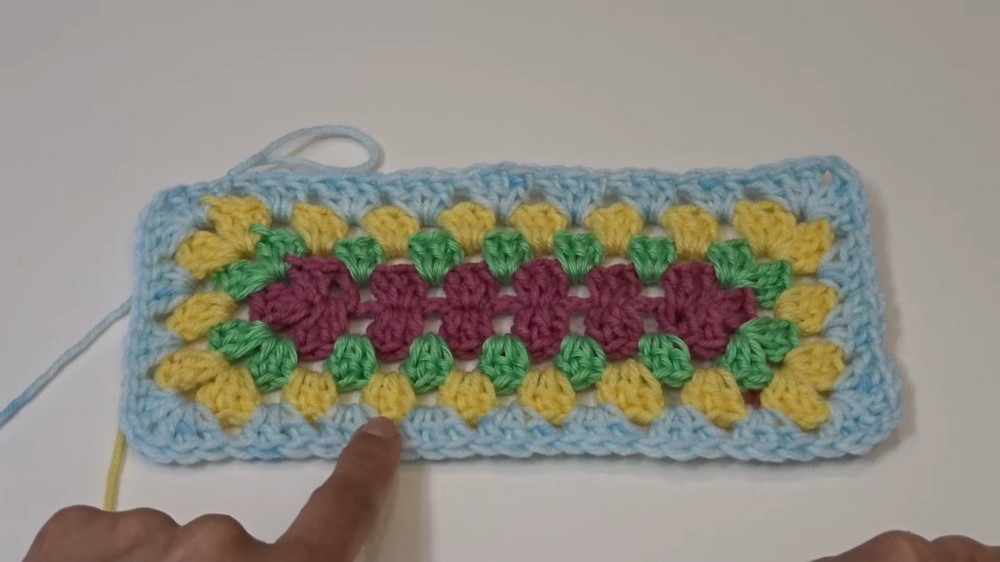
- Changing Yarn Color
- Instructions are provided on introducing a new yarn color without cutting the previous yarn.
- The process involves slip stitching into the chain one space, dropping the current yarn, and continuing with a new color.
- Subsequent Rounds
- Each round grows by adding three double crochets into spaces between double crochet clusters from the previous row.
- Corners are worked in chain one spaces, following the established pattern of three double crochets, a chain one, and three more double crochets in the same space.
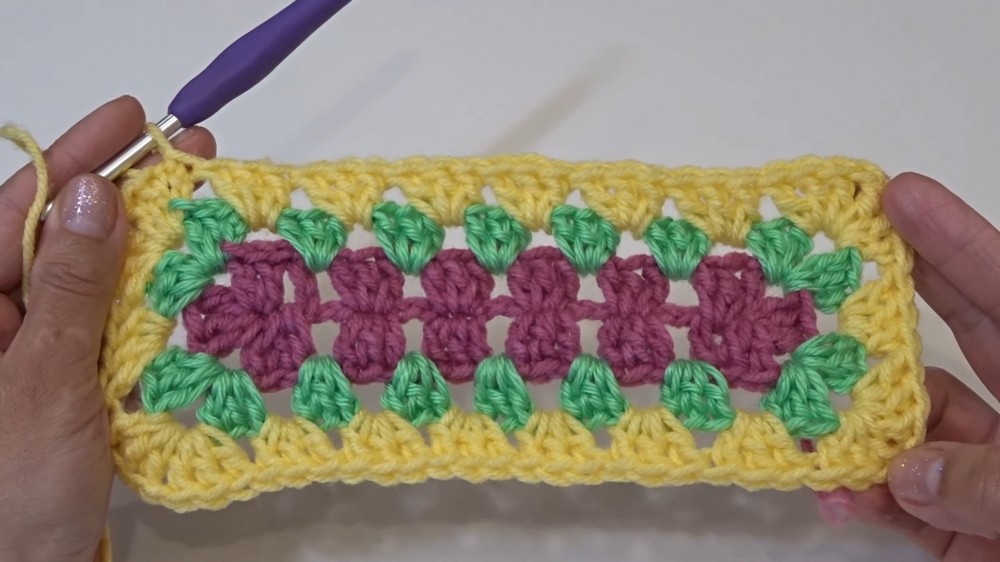
Pattern Repetition for Growth
- As the throw expands, each round increases by adding new sets of three double crochets between clusters.
- Kait explains that this repetitive pattern ensures a gradual increase in size, maintaining a consistent look.
- Yarn colors can be alternated per the crafter’s preference, and the process is the same for all rounds.
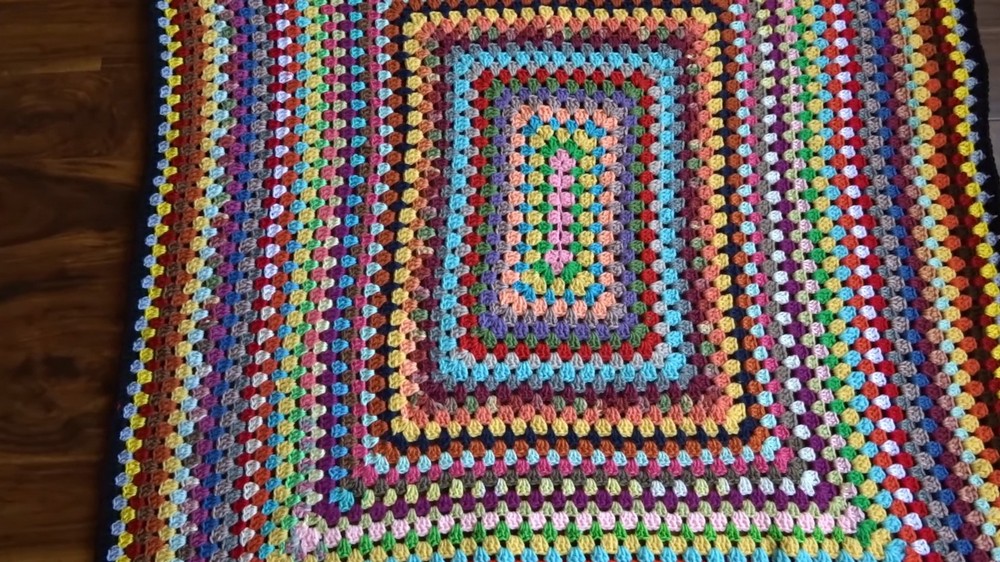
Final Result and Tips
- Kait completes a total of 44 rounds for her throw, demonstrating the expansive design.
- The final size of her throw is reiterated (48 inches by 42 inches).
- Crafters can adjust the number of rounds to make the throw smaller or larger.
- She concludes by showing how to finish the project by slip stitching and weaving in the yarn tails.
Closing Remarks
- Kait ends the tutorial by thanking the viewers and encouraging them to like and subscribe for more videos. The simplicity and customization of the design make it ideal for beginners and pattern experimentation alike.