Get a cozy and adorable crochet striped baby romper that’s designed with soft materials for your baby’s comfort and perfect everyday wear.
Nothing says adorable quite like a handmade baby romper with playful stripes! Perfect for little explorers, the Crochet Striped Baby Romper Pattern is an exciting way to mix colors, textures, and creativity in one delightful piece. This project is especially great for those who love experimenting with vibrant yarn combinations or adding personal touches like cute buttons or decorative edging.
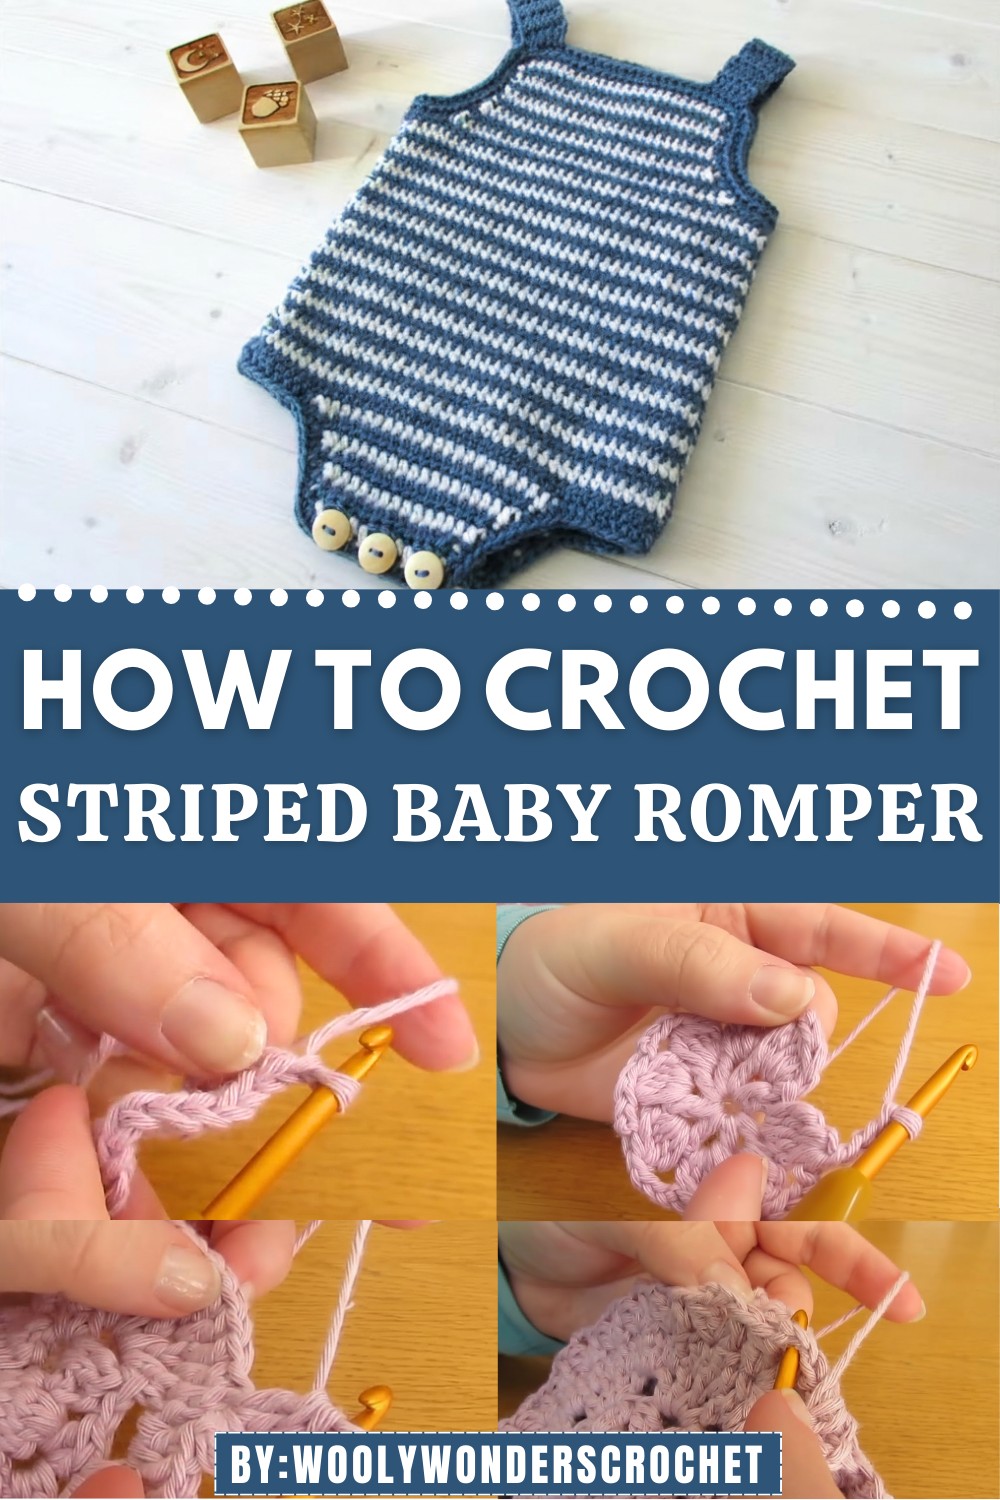
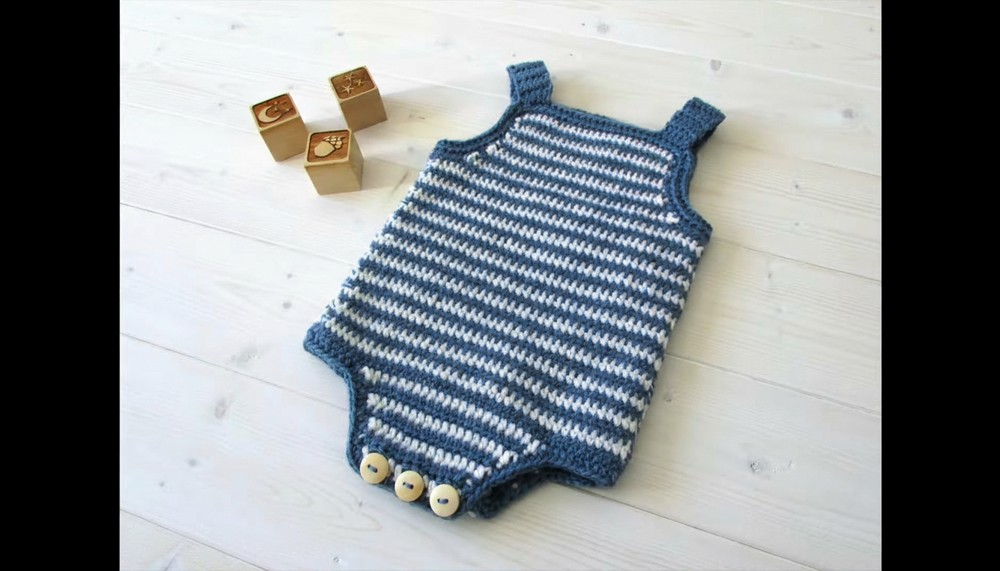
Cute Crochet Striped Baby Romper for Baby Comfort
Lightweight and breathable, it’s ideal for keeping babies comfy in warmer weather while adding a pop of charm to their wardrobe. Whether you create matching sets or use your favorite yarn stash, this romper is not just a cute outfit, it’s a satisfying crochet project that makes every stitch count. It’s a gift filled with personality and love.
Materials
- Yarn: Worsted-weight yarn in two contrasting colors (e.g., white and blue). Approximately 150–200g total.
- Color A: Main yarn for the romper’s stripes (e.g., white).
- Color B: Contrasting yarn for the stripes and border (e.g., blue).
- Hook Size:
- 4.0mm crochet hook for the main romper.
- 3.5mm crochet hook for the borders.
- Tapestry Needle: For sewing seams and weaving in ends.
- Stitch Markers: Optional, to help mark key points (e.g., corners).
- Scissors.
- Buttons: 3 small buttons for the bottom closure (suggested size: 1/2 inch diameter).
Skill Level
- Intermediate to Advanced.
- Requires experience with color changes, seaming, and working with shaping techniques (decreases).
Key Abbreviations
- ch: Chain.
- sl st: Slip Stitch.
- hdc: Half Double Crochet.
- dc: Double Crochet.
- yo: Yarn Over.
- st/sts: Stitch/Stitches.
- 2 hdc together (hdc2tog): Two Half Double Crochets Together (Decrease).
Special Notes
- Sizing: This pattern is written to fit newborn to 3 months. The size can easily be adjusted by adding or reducing foundation chain length and rows. Refer to size guidelines provided in the video description for other sizes.
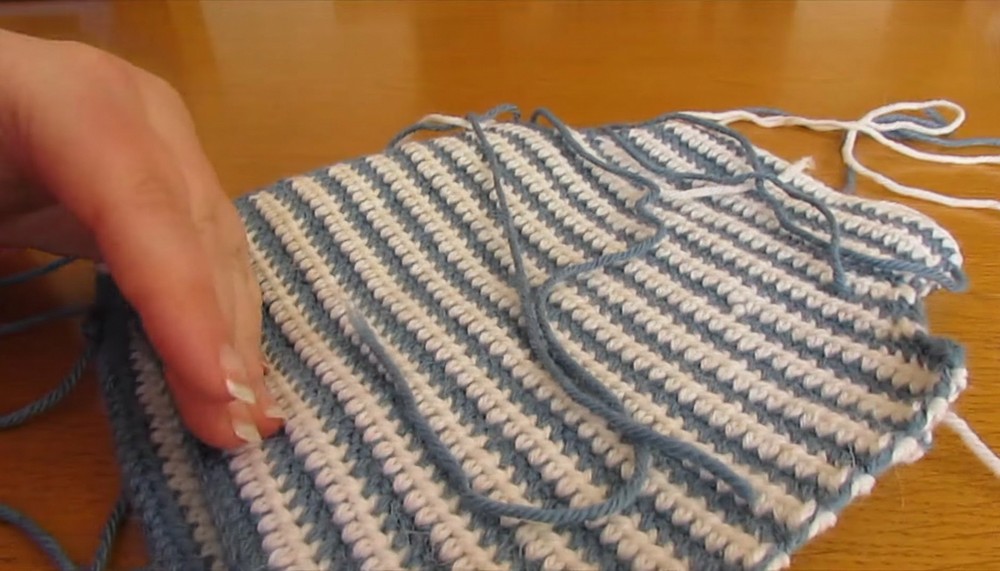
- Color Changes: The stripes are created by alternating two colors (Color A and Color B). Use the technique of working over the dropped yarn to avoid cutting and reattaching yarn at the end of each round, keeping edges neat.
- Tension: Maintain an even tension throughout the project to ensure sharp edges and consistent stripe sizes.
- Customization: Feel free to customize the stripe widths or use more than two colors.
Pattern Instructions
Main Romper: Front and Back Sections
Step 1: Foundation Chain
- Create a slipknot, place it on your hook, and make a foundation chain of 41 ch.
- The foundation chain length determines the width of the romper; adjust the chain length for larger or smaller sizes.
Step 2: Row 1 (Half Double Crochet – Color A)
- Starting from the second chain from the hook, work 1 hdc in each chain across.
- (For hdc): Yo, insert hook into the st, yo, pull up a loop (3 loops on hook), yo, pull through all 3 loops.
- Total stitches: 40 hdc.
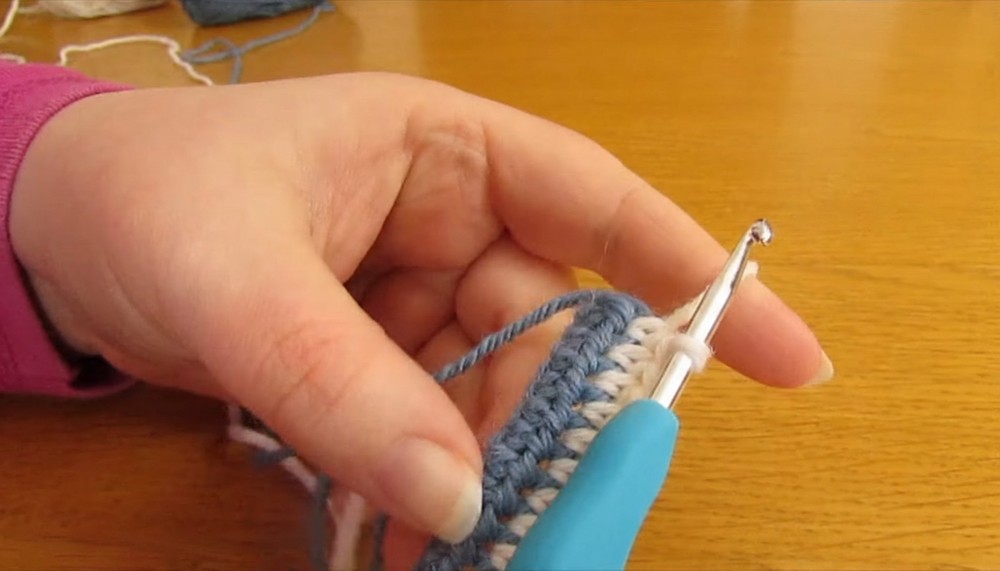
- On the last hdc of this row, begin the color change:
- Yo and pull through the stitch with Color A as usual, but just before completing the last step, pick up Color B and pull it through all loops to finish the stitch.
- Do not fasten off Color A; leave it attached.
Step 3: Row 2 and Alternating Stripes (Color B)
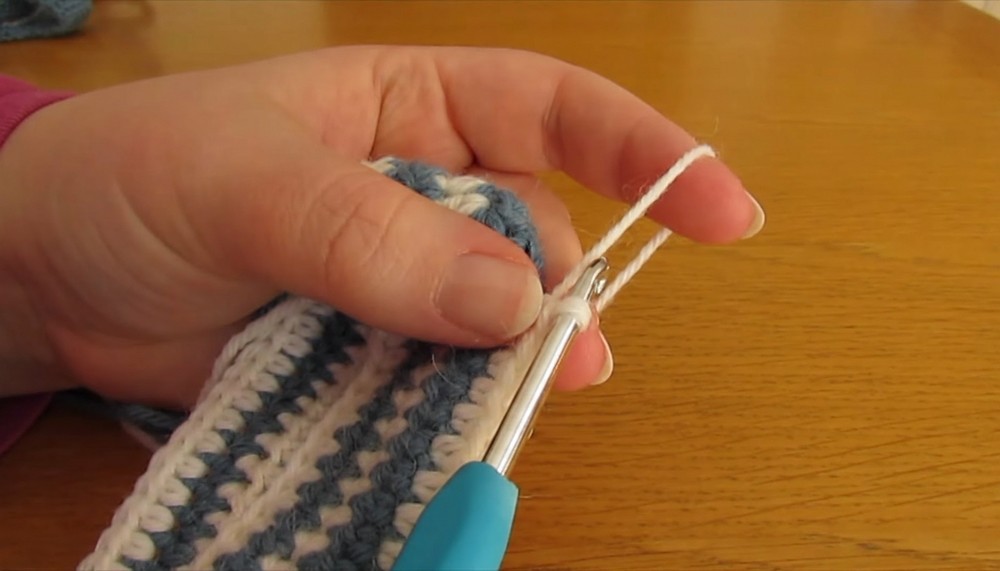
- Ch 1, turn.
- Work 1 hdc in each st across for a total of 40 hdc, ensuring to work over the unused yarn (Color A).
- Work a few sts, gently pull the unused yarn tight to avoid bunching.
- On the last hdc of the row, change back to Color A in the same way as Row 1.
- Repeat Row 2 for 21 more rows, alternating colors every row (40 hdc in each row).
- End with 23 rows total (approximately 6 inches long).
- If desired, add more rows for a longer romper body.
Step 4: Shape the Bottom (Decreasing Rows)
- Row 24:
- Flip your work so the foundation chain is on top. Count 5 sts from the edge, attach the yarn to the 5th st, and secure with a sl st.
- Ch 1, hdc2tog over the first 2 sts, then 1 hdc in each of the next 28 sts, and hdc2tog over the last 2 sts.
- Total: 30 sts.
- Row 25:
- Ch 1, turn, work hdc2tog over the first 2 sts, 1 hdc in the next 26 sts, then hdc2tog over the last 2 sts.
- Total: 28 sts.
- Change colors at the end of the row.
- Rows 26–32:
- Alternate colors every row (as before).
- Continue decreasing, following the same pattern:
- hdc2tog at the start and end of the row, working 2 fewer sts per row.
- Row 32: You will end with 12 sts.
Note: On the back piece of the romper (only), create buttonholes in Row 32 by replacing 2 hdc with ch 2 for each buttonhole. Example placement for 12 sts:
- hdc, ch 2, hdc, hdc, ch 2, hdc, hdc, ch 2, hdc.
Step 5: Make the Second Piece
Repeat Steps 1–4 to create the back piece, ensuring buttonholes are placed for the back of the romper. You will now have 2 identical panels.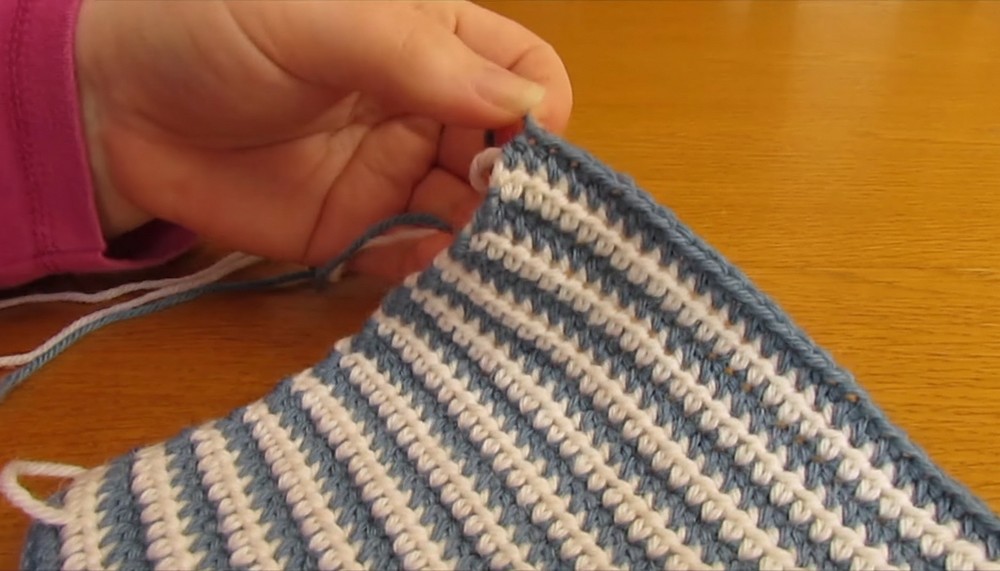
Joining the Romper Panels
- Seam the Sides:
- With the wrong side facing you, attach the panels together along both sides using the whip stitch. Use stitch markers for alignment.
- Turn Right-Side Out:
- Turn the romper right-side out after the seams are secured.
- Turn the romper right-side out after the seams are secured.
Border at the Top and Straps
Step 1: Top Border
- Switch to your 3.5 mm hook for the border.
- Attach yarn to any st at the top.
- Round 1: Work 1 hdc in each st, and work 3 hdc in each corner stitch.
- Mark the 2nd st of each corner cluster (for Round 2).
- Round 2: Work 1 hdc in each st, but 2 hdc in the marked corners.
Step 2: Straps
- Attach yarn to the front top corners using a sl st.
- Work 4 hdc across for the strap width.
- Ch 1, turn, and work 1 hdc in each st until the strap reaches your desired length (typically 13–15 rows).
- Use the whip stitch to attach straps to the back corners of the romper.
Border at the Bottom
- Attach yarn to the back bottom edge and work 1 hdc in each stitch, with 3 hdc in each corner to round the edges.
- Fasten off and weave in ends.
Finishing Touches
- Attach 3 buttons to the front bottom panel, aligning them with the buttonholes on the back.
- Weave in all loose ends with a tapestry needle.
- Steam or block the romper to give it a neat and polished finish.
Conclusion
Congratulations! Your adorable striped baby romper is now complete. This versatile romper is perfect for gifting, photo shoots, or baby wardrobes. Enjoy customizing the colors and making it your own!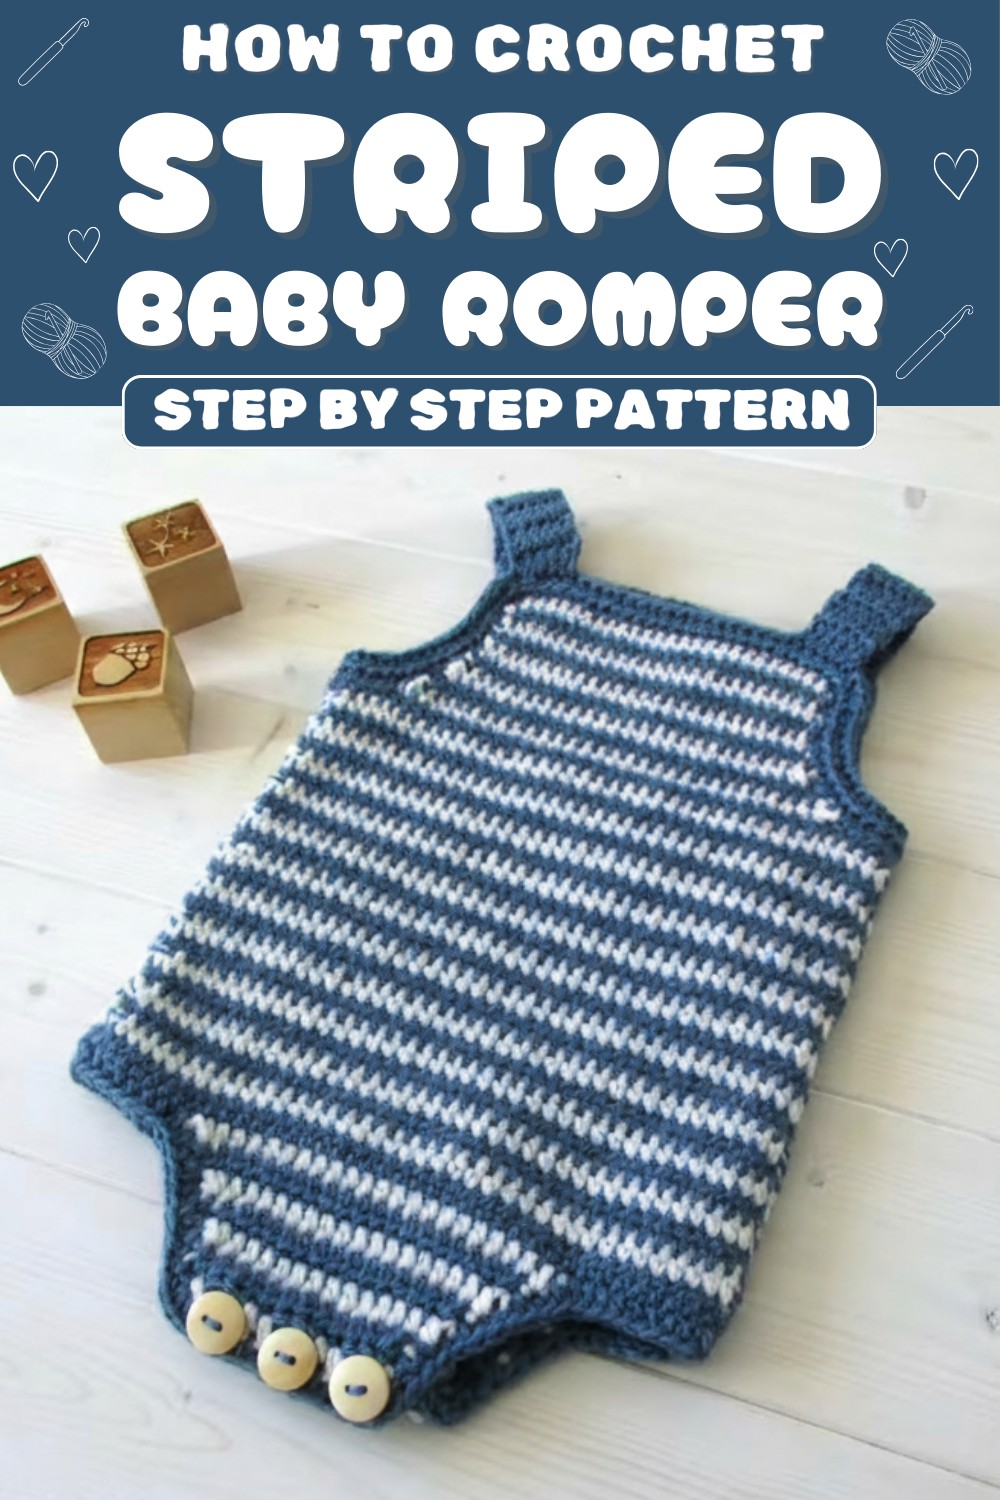
Pattern Correction and Tips
- Button Placement: Align buttons carefully with buttonholes to ensure a secure fit.
- Color Changes: Always pull dropped yarn tight for neat edges, but do not overtighten to avoid puckering.
- Tension: Maintain consistent tension, especially when working over unused yarn.