Bring a playful touch to your projects with this charming free crochet dog applique pattern, perfect for personalizing any item with ease and style.
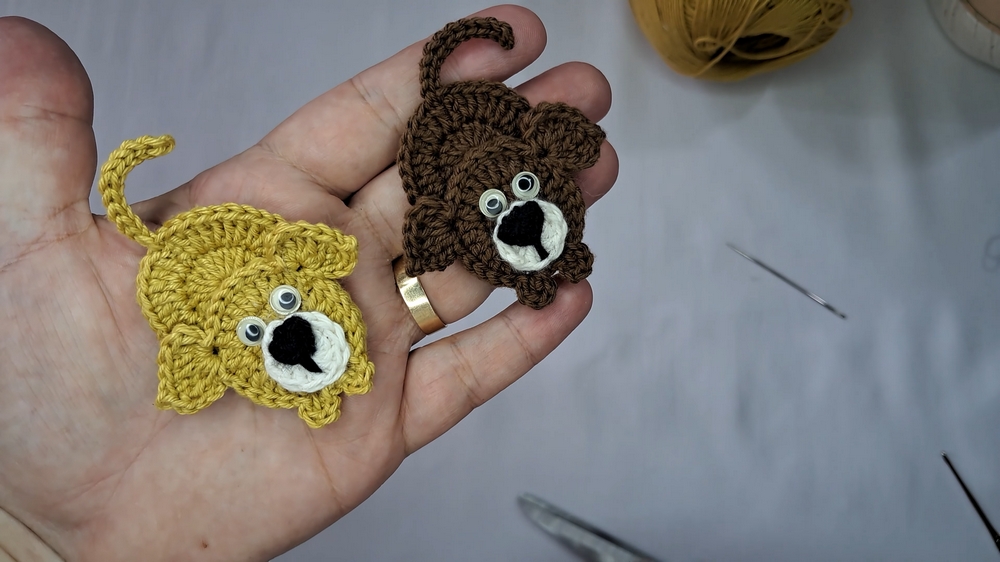
Adding a touch of personality to everyday items has never been easier or more delightful. This charming applique brings a cheerful canine motif that can brighten any surface, from clothing and bags to home textiles. Its playful form captures the lovable spirit of dogs, making it a favorite for animal lovers and those seeking to personalize their projects with warmth and character. The applique’s compact size and straightforward construction allow it to be applied quickly, serving as a perfect accent to refresh older items or add an original flair to new ones.
Free Crochet Dog Applique Pattern Ideal for Fun and Fast Customization
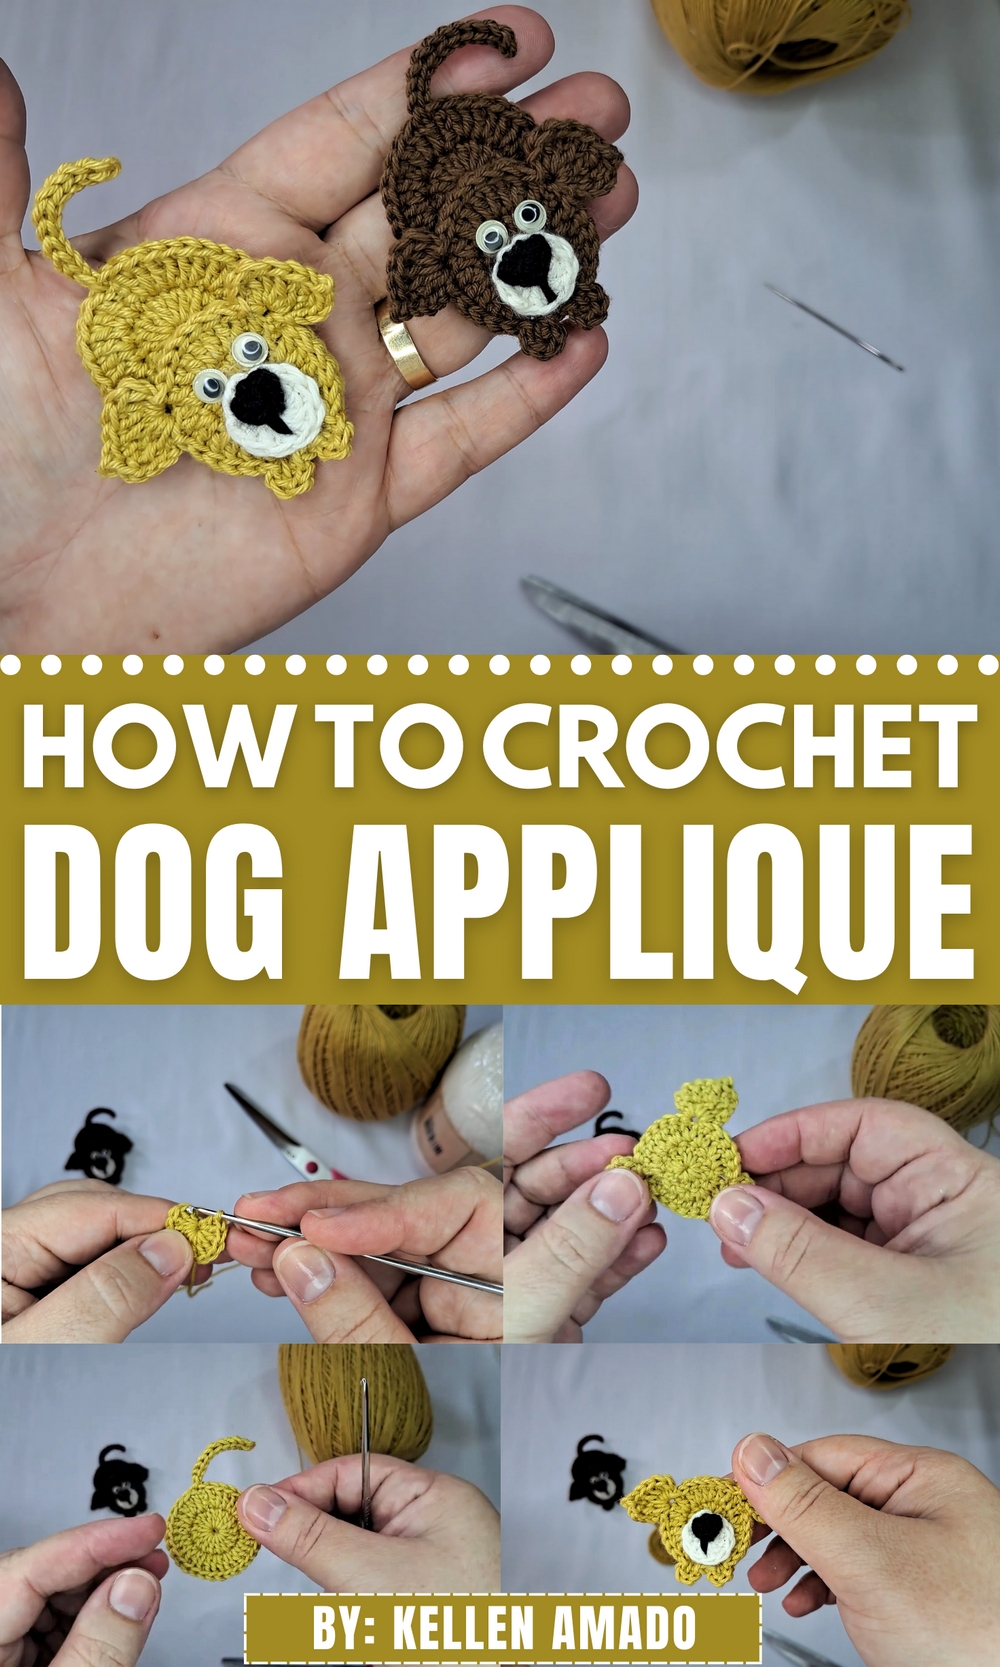
This versatile embellishment offers both decorative appeal and practical benefits. It can reinforce worn fabric areas, cover small imperfections, or simply enhance a handmade gift’s sentimentality. Working through the step-by-step instructions, you’ll find the process enjoyable and accessible, even for those with moderate experience.
Beginning with a simple foundation stitch, the pattern guides you through shaping and assembling the detailed parts, ending with a neat finish that holds its form well. Whether intended as a personal touch or a heartfelt gift, this applique is sure to inspire smiles and compliments, bringing joy wherever it’s placed.
Step-by-Step Details
Part 1: Creating the Head
- Start with a magic ring:
- Use Tex 295 thread and a 1.75 mm crochet hook.
- Create a magic ring, chain 2, and make 12 double crochets inside the ring.
- Close the ring by pulling the thread and joining with a slip stitch.
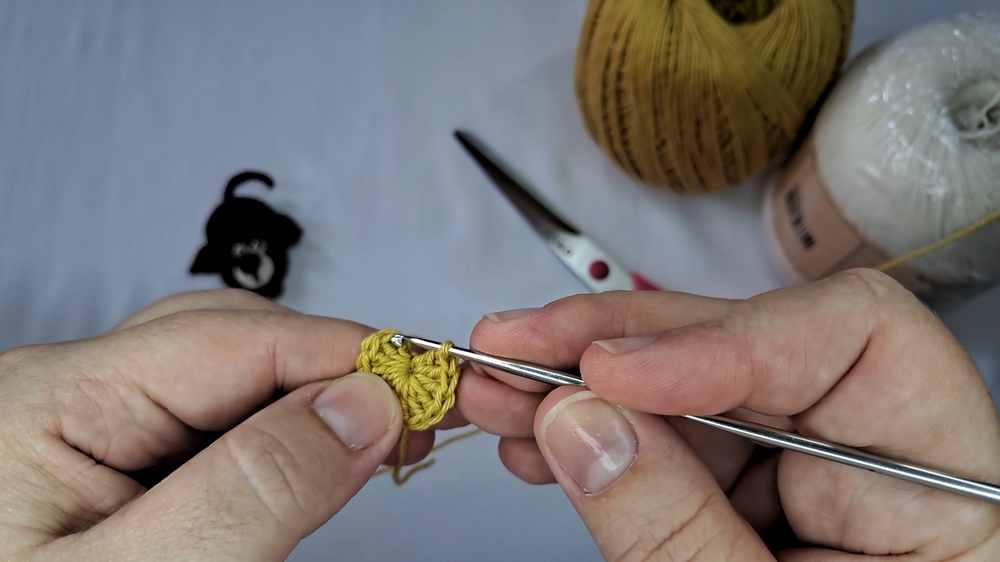
- Second Row:
- Chain 3 and make 2 double crochets in each base stitch.
- Continue this pattern until you have 24 double crochets, then close the row with a slip stitch.
- Third Row (Forming the Ears):
- Chain 4, make an elongated double crochet in the same stitch, and follow with a picot stitch.
- Add 4 elongated double crochets in the same base stitch to form the ear.
- Use slip stitches to move to the next set of stitches and repeat the process to create the second ear.

- Finishing the Head:
- Add border slip stitches, cut the thread, tie off, and weave in the ends using a needle.
Part 2: Creating the Body
- Start with another magic ring:
- Chain 2 and add 16 double crochets inside the ring.
- Close the row with a slip stitch.
- Second Row:
- Chain 3 and make 2 double crochets in each base stitch for a total of 32 double crochets.
- Close the row with a slip stitch.
- Finishing the Body:
- Chain 11, create a loop, and finish off the body.
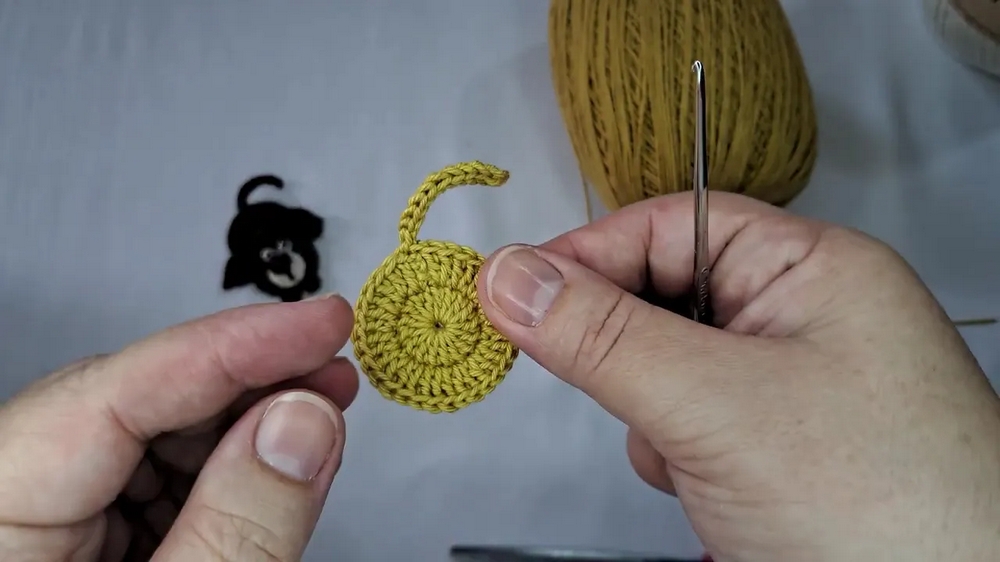
- Chain 11, create a loop, and finish off the body.
Part 3: Making the Snout
- Light Snout Base:
- Use light-colored thread.
- Create a magic ring, chain 2, and make 10 double crochets inside the ring.
- Close with a slip stitch and finish the thread at the back.
- Dark Nose Tip:
- Use black thread (two strands for thickness).
- Create a magic ring, chain 1, and make 4 double crochets. Add a slip stitch to close.
- Trim and finish the threads.
Part 4: Assembling the Dog
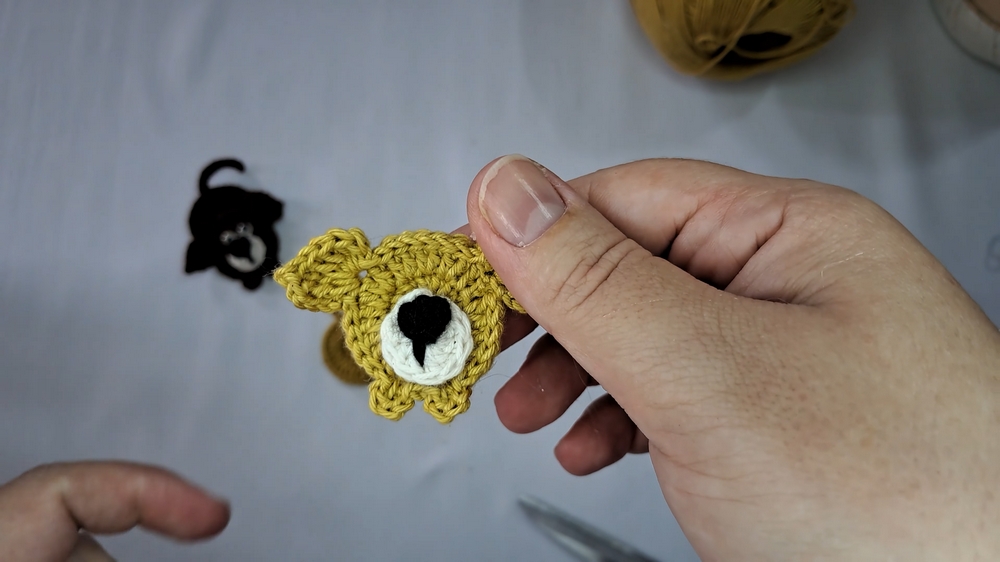
- Assemble the Snout:
- Glue the lighter snout to the head, then attach the black piece on top. Use hot glue or fabric glue for precision.
- Optionally, you can sew these pieces.
- Eyes:
- Use small craft eyes, glue them in place, or embroider the eyes with black thread.
- Join the Head and Body:
- Glue the head to the body, ensuring proper alignment.
- Attach other finishing elements like a tail if desired.
Special Features
- The design incorporates multiple crochet techniques, including magic rings, double crochets, elongated double crochets, and picot stitches.
- The tutor explains how to assemble and finish the piece neatly (e.g., weaving in threads, adding finishing details).
- The project allows for flexibility—you can glue or sew pieces based on preference.
Level of Difficulty
The level of difficulty for this tutorial is beginner to intermediate:
- Beginners: Clear instructions make it accessible for those learning basic crochet stitches.
- Intermediate users: Techniques, such as elongated double crochets and assembly, offer a slight challenge.
Tutor’s Suggestions
- Use thicker thread for smaller accents like the nose to ensure adequate visibility.
- Use hot glue, fabric glue, or silicone glue to simplify assembly, but sewing is also an option for a more durable finish.
- Be meticulous with thread finishing to ensure a clean, polished look.
- Experiment with colors to customize the dog appliqué for different projects.
Uses and Materials
Uses:
- Decorate bags, hats, or clothing.
- Add it to baby blankets, scarves, or cushions.
- Use it as a standalone gift or create mobile decorations by connecting several appliqués.
Materials:
- Yarn: Tex 295 thread or yarn of similar thickness (additional color for the snout and nose).
- Hook: 1.75 mm crochet hook.
- Needle: For weaving in threads and finishing off edges.
- Glue: Hot glue, fabric glue, or silicone glue for assembly.
- Embellishments: Optional eyes or embroidery thread.
Tip
Take your time when creating the ears and snout to maintain symmetry. Using stitch markers can help ensure even spacing, especially for beginners.
Conclusion
This crochet dog appliqué is an adorable and versatile project that allows crocheters to refine their skills while creating something unique. Whether you’re a new crocheter or an intermediate hobbyist, this tutorial breaks down the process into manageable steps. Customize the design with different colors and embellishments to make it your own.
