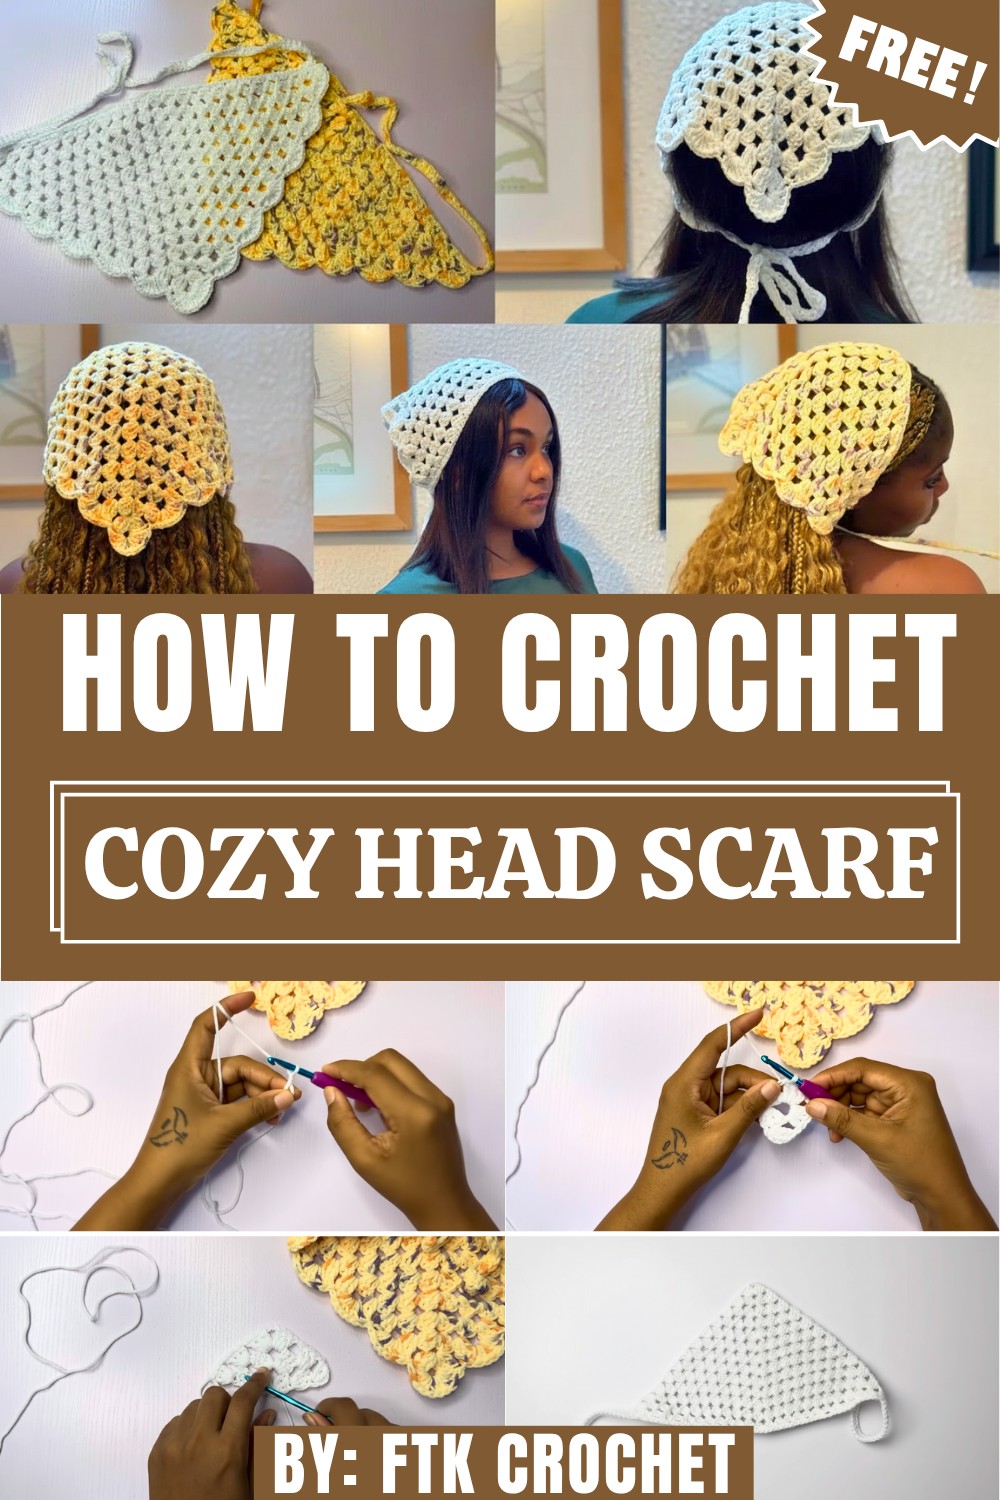
Frame your look beautifully with this Crochet Head Scarf that’s lightweight, and perfect for adding a soft handmade touch to any outfit.
A beautifully crocheted accessory can elevate even the simplest outfit, offering both style and practicality in one effortless piece. Whether used to keep hair neatly in place, add a pop of texture, or create a soft, feminine look, this timeless design brings charm to everyday wear. The Crochet Head Scarf Pattern captures that blend of beauty and function, making it a delightful project for makers of all skill levels.
Vibrant Crochet Head Scarf Pattern for Colorful Outfits
This pattern guides you through creating a lightweight, comfortable head scarf that drapes smoothly and ties with ease. Its airy stitchwork, adjustable shape, and endless color possibilities allow you to customize it for any season or personal style. From classic neutrals to vibrant tones and delicate yarn textures, each finished piece feels uniquely yours. The gentle construction keeps it comfortable for extended wear, while the clean edges and subtle details give it a polished, modern look.
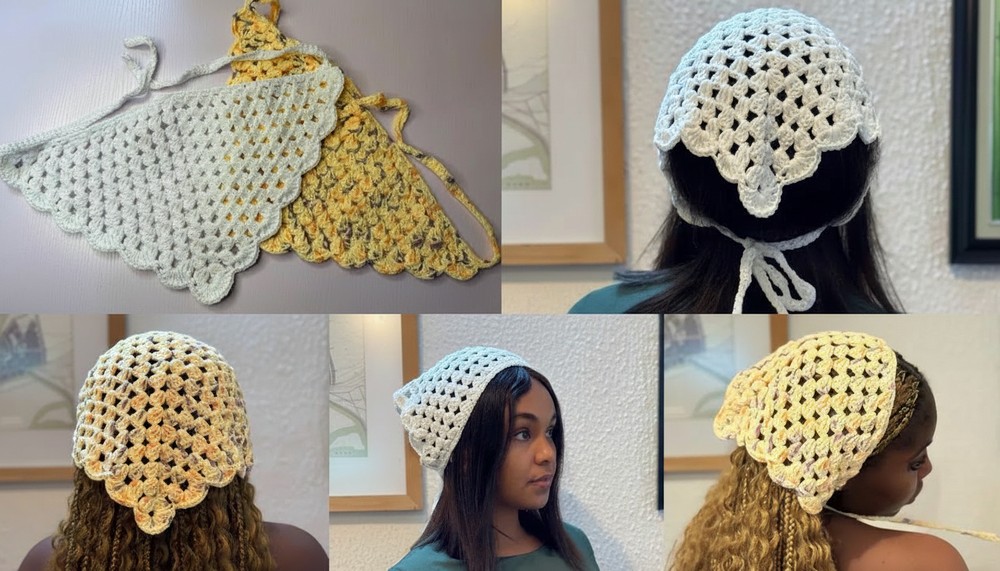
Beyond its visual appeal, this head scarf offers everyday benefits—protecting hair from wind, adding warmth when needed, or serving as a stylish accessory for casual or boho-inspired outfits. It’s easy to fold, pack, and wear in multiple ways, making it a versatile addition to any wardrobe. Creating this piece not only enhances your style but also brings the joy of crocheting something meaningful and handmade.
Step-by-Step Details
Step 1: Gather Materials
You’ll need:
- 5-ply cotton yarn
- 5mm crochet hook
- Scissors
- Tapestry needle
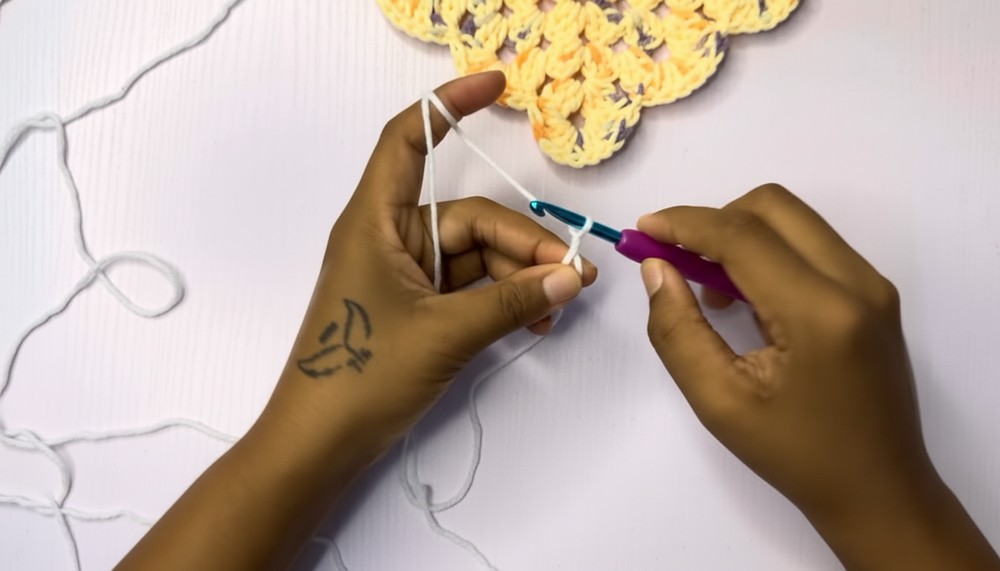
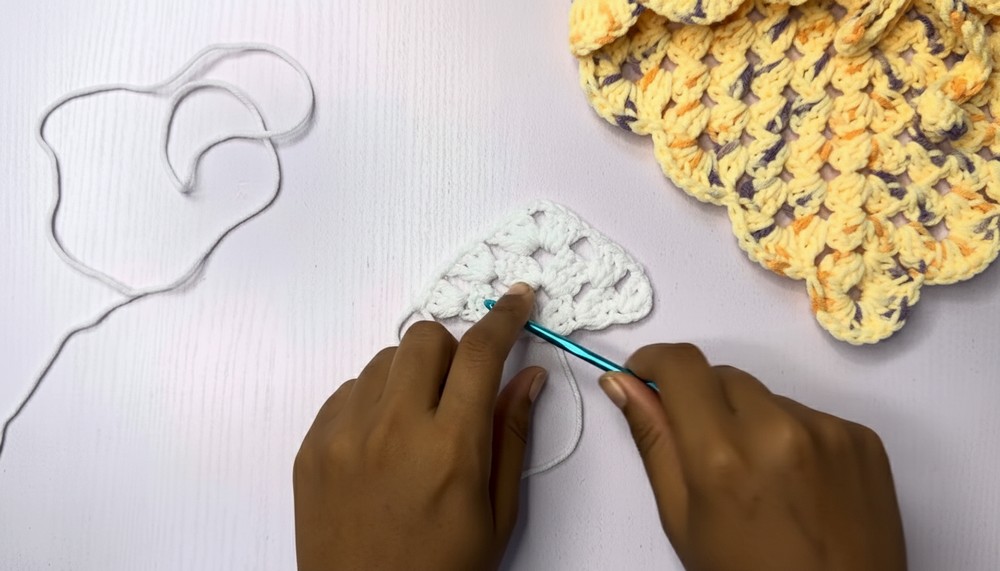
Step 2: Begin with the Magic Circle
- Make a magic circle and chain 3.
- Inside the magic circle, crochet 2 double crochets (the chain 3 acts as one double crochet).
- This forms the first cluster.
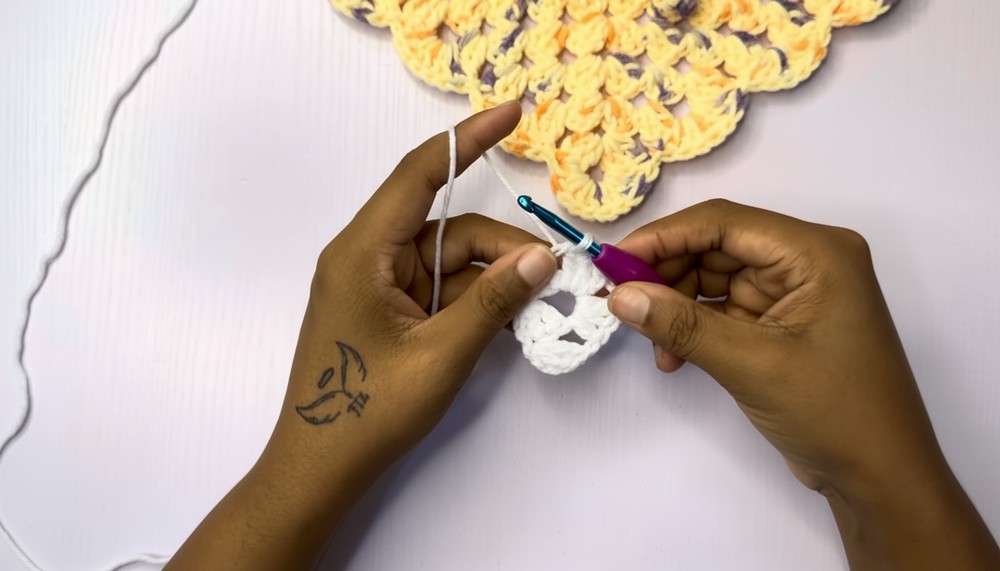
- Chain 3, then create another cluster in the magic circle (3 double crochets).
- Pull the tail to tighten, closing the magic circle. Row 1 is complete.
Step 3: Proceed to Row 2
- Chain 3 and turn your work.
- In the first stitch, create 2 more double crochets (this forms the first cluster).
- Chain 1, then in the chain-3 space (the corner), create:
- One cluster (3 double crochets), chain 3, then another cluster in the same space.
- Chain 1, then finish the row by creating a cluster on the 3rd stitch of the chain-3 from the previous row.
4: Build Rows 3–13
- For each row, repeat the same process:
- Begin with a chain 3, create 2 double crochets to form a cluster.
- Add chain 1 before each cluster, except at the corners.
- Always create clusters in the corners, separated by a chain 3.
- Continue this repetition until you complete 13 rows.
5: Create Chains for Tying
- When 13 rows are done, chain 50 stitches from one corner.
- Use single crochet to return across the chain to the scarf edge.
- Add single crochets along the edge of the scarf:
- Insert 2 single crochets into each space between clusters.
- Repeat the same process for the opposite corner (chain 50, single crochet down the chain, and single crochet along the edge).
6: Add the Shell Stitch Border
- Begin the shell stitch from the scarf’s edge:
- Start with a slip stitch to connect.
- In each space, crochet 7 double crochets, then a single crochet in the next space.
- When you reach the scarf’s pointed corner, insert 10 double crochets instead of 7.
- Continue the pattern of 7 double crochets and 1 single crochet all around the scarf edge.
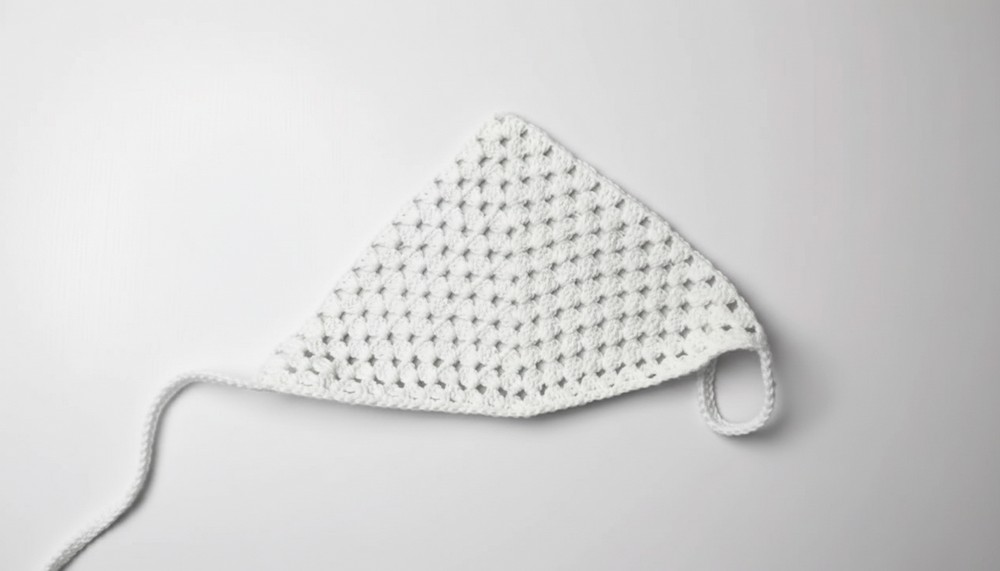
7: Complete the Bandana
- When you finish the shell stitch, slip stitch to the starting point, chain 1, and cut the yarn. Tighten to secure.
- Your bandana is now complete and ready to wear!
Special Features
- Beginner-Friendly Design: With simple instructions and repetitive techniques, even a novice crocheter can easily follow along.
- Customizability: You can adapt the yarn type, colors, and size to suit your preferences.
- Lightweight Project: This bandana uses minimal materials, making it a quick and affordable craft.
Level of Difficulty
This tutorial is easy and perfect for beginners. However, even experienced crocheters can enjoy making this project as a simple and relaxing activity.
Tutor’s Suggestions
- Pay Attention to the Corners: Always place clusters and chain 3 stitches correctly to maintain symmetry.
- Tension Matters: Maintain consistent tension throughout to ensure even stitches and a neat finish.
- Practice Single Crochets: If you’re new to this, practice single crochets before starting the border.
Uses and Materials
- Uses: This bandana is a stylish, versatile accessory that can be used for casual wear or as a thoughtful handmade gift.
- Materials: The project requires:
- 5-ply cotton yarn (or any preferred yarn)
- 5mm crochet hook
- Scissors
- Tapestry needle
Tip
To avoid unraveling, weave in the loose yarn ends with a tapestry needle after the bandana is complete. This step ensures a polished and durable finish.
Conclusion
This crochet bandana pattern is a straightforward project that blends style and practicality. With only a few materials and a clear, beginner-friendly approach, anyone can create a beautiful, functional accessory in under an hour. Try different colors and yarn types to make unique designs that suit your personal style.