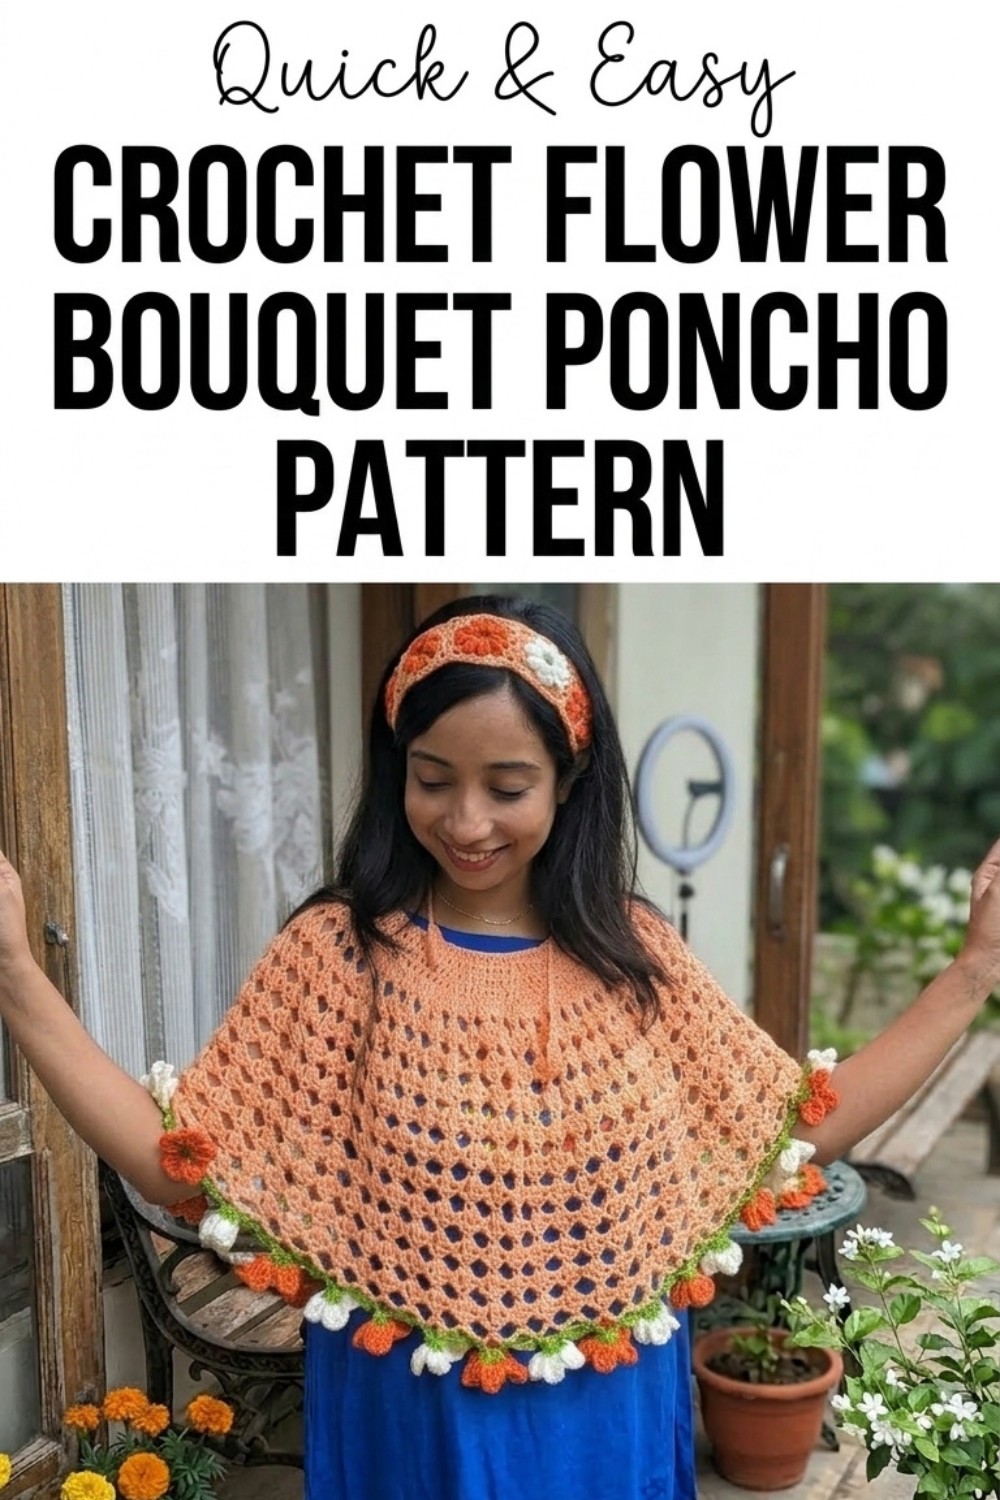
Enjoy a cozy, stylish look that turns heads with the Crochet Floral Bouquet Poncho Pattern, perfect for casual days, outdoor fun, and relaxed comfort.
Lightweight layers can make a big difference when the weather shifts between warm and cool throughout the day. A Crochet Floral Bouquet Poncho pattern offers a practical yet stylish solution, combining airy stitches with soft floral motifs for a comfortable fit. It works beautifully for casual outings, evening walks, or relaxed gatherings, and can be styled over a simple top, maxi dress, or even paired with denim for a laid-back look.
Easy Crochet Free Floral Bouquet Poncho Pattern for Casual Chic
This floral crochet poncho pattern is also a great choice for using leftover yarn and practicing motif joining techniques. The purpose goes beyond fashion, it’s about creating a handmade piece that feels personal, versatile, and easy to wear, making it a rewarding project for both beginners and experienced crocheters.

Simple Crochet Poncho Pattern
Skill Level
Beginner-friendly with some intermediate techniques (cluster stitch, flower petals, and decorative edge).
Finished Dimensions
The poncho is free size and fits XS to M (96 chains).
For L, XL, XXL, increase the foundation chain in multiples of 8 as required.
Adjust length based on personal preference (neckline circumference was approx. 30 inches in this tutorial).
Materials
- Yarn:
- 3-ply acrylic yarn:
- Primary poncho color (body)
- Green yarn (for leaves)
- Any contrasting color (for the flowers)
- Recommended versatile and soft yarn for drape and comfort.
- 3-ply acrylic yarn:
- Hooks:
- 4 mm Crochet Hook (neckline).
- 6 mm Crochet Hook (body and borders).
- Scissors: For cutting yarn.
- Tapestry Needle: For weaving in ends.
- Optional Stitch Markers: To track specific sections and repeats.
Key Abbreviations (US Terminology)
- ch: Chain
- sl st: Slip Stitch
- sc: Single Crochet
- dc: Double Crochet
- tr: Treble Crochet
- trtr: Double Treble Crochet
- yo: Yarn Over
- st(s): Stitch(es)
- cluster: Work a dc into a stitch, partially complete it, and repeat (creating one grouped stitch).
Special Techniques
- Cluster Stitch:
- Work two double crochets into the same stitch, but stop before closing each. Complete them together by pulling through all loops at once.
- Treble Petals:
- Used for the decorative flower edging. Work space-filling treble stitches for bold floral shapes.
- Picot Edging:
- Adds a refined finished look. Made with chain stitches and anchored with single crochets.
Step-by-Step Instructions
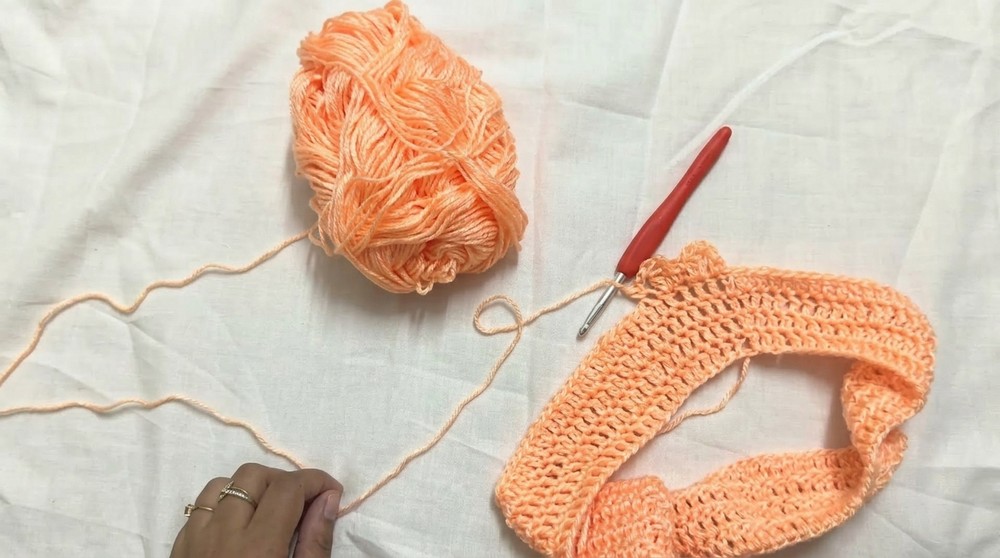
Part 1: Neckline
Step 1: Make the Foundation Ring
- Begin with a slip knot.
- Chain 96 (for XS to M), ensuring multiples of 8 for larger sizes.
- For L, XL, XXL, chain 104 or 112.
- Carefully straighten the chain.
- Join the ends with a sl st to form a ring (ensure there’s no twisting).
Step 2: Work Double Crochet Rows
- Chain 3 (counts as first dc).
- Work 1 dc into each chain around the ring.
- Slip stitch into the top of the starting ch-3.
- This completes Row 1.
Step 3: Begin Increases
- Row 2:
- Chain 3 and work 1 dc in the next 7 sts.
- In the 8th stitch, make 2 dc (increase).
- Repeat: 7 dc, 1 increase around the ring.
- Slip stitch into the top of the starting ch-3.
- Row 3:
- Chain 3, work 1 dc in the next 8 sts.
- In the 9th stitch, make 2 dc.
- Repeat: 8 dc, 1 increase around the ring.
- Slip stitch into starting ch-3.
- Row 4:
- Chain 3, work 1 dc in the next 9 sts.
- In the 10th stitch, make 2 dc.
- Repeat: 9 dc, 1 increase around.
- Slip stitch and fasten off neckline.
Part 2: Body of Poncho
Switch to 6 mm crochet hook for a looser fabric.
Round 1: Cluster Stitch Row
- Join yarn, chain 1, and work 1 sc into the same st.
- Chain 2, work a cluster stitch into the next st:
- Yarn over, insert hook, start a dc but stop before completing.
- Yarn over, insert hook again to work another dc but stop halfway.
- Pull through all loops to complete the cluster stitch.
- Chain 2, work 1 sc into next st.
- Repeat: Cluster stitch, chain 2, 1 sc around to create the textured body.
- Slip stitch into the top of the last cluster to complete the row.
Round 2: Chain 5 Rings
- Slip stitch 3 times to reach the top of the next cluster.
- Chain 5 and work 1 sc into the next cluster.
- Repeat: Chain 5, sc into next cluster around the piece.
- Join with sl st to complete the row.
Repeat the Body Pattern
- Continue alternating between a Cluster Row and a Chain 5 Row.
- Work until you have 11 total Cluster Rows (adjust length as preferred).

Part 3: Decorative Edging
Step 1: Green Yarn for Leaves
- Join green yarn into one chain-5 loop.
- Chain 3, work 1 dc, chain 1, and work another dc into the same loop.
- Repeat this to create 5 spaces per loop.
- Slip stitch into the next chain-5 loop and chain 7.
- In the 4th chain, work sl st, chain 3, sl st again to form the leaf.
Repeat round alternating between “flower holding space” (5 chain spaces) and “leaf”.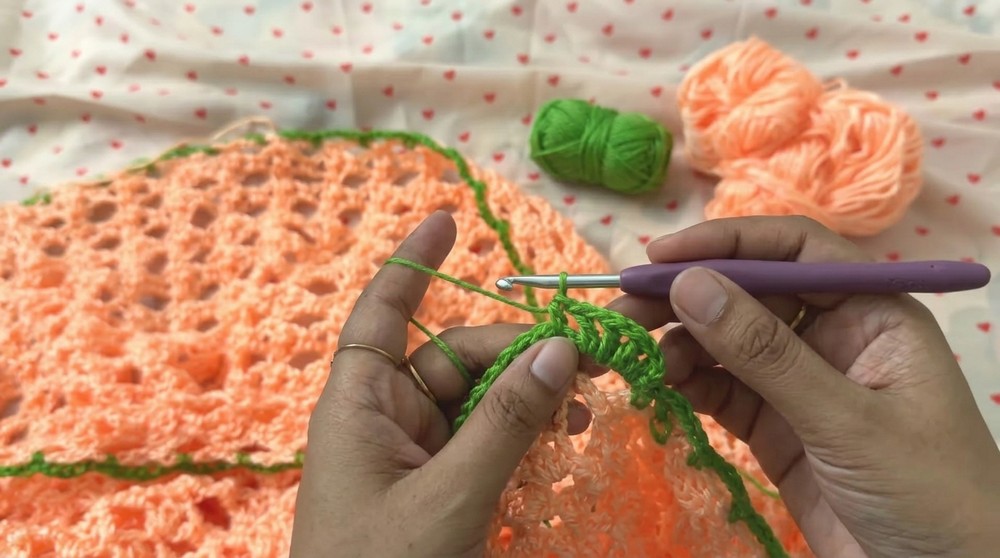
Step 2: Flowers for Edging
- Using flower yarn, attach yarn into one of the 5 spaces.
- Work:
- Single crochet.
- Chain 2, 3 treble crochets, chain 2, sc into the same space to form one petal.
- Repeat for each of the 5 spaces in the same loop to form 5 petals for the flower.
Finish each flower with a slip stitch into the first petal, fasten off, and weave ends.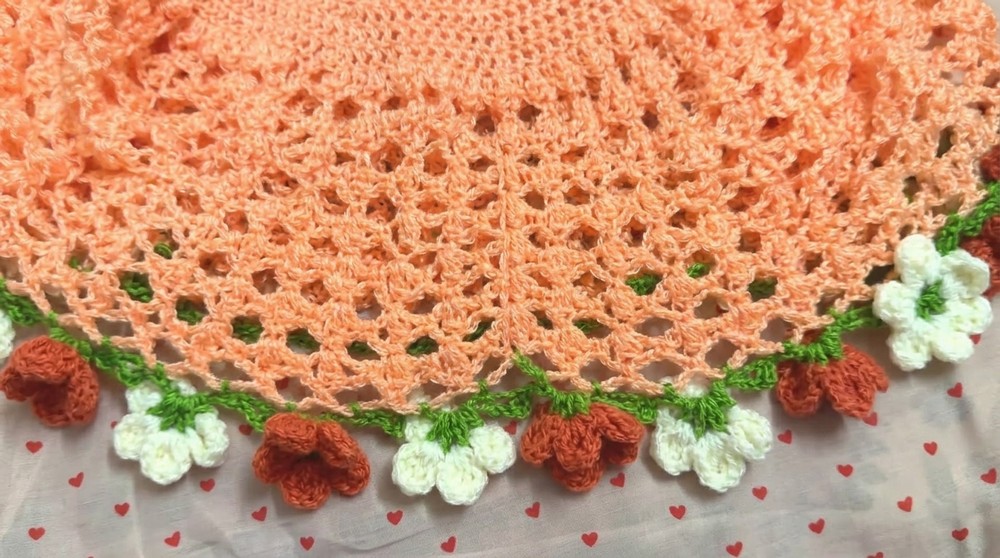
Finishing the Poncho
- Weave in all loose ends securely.
- Steam block the fabric lightly to ensure the neckline and decorative border are even.
- Inspect for any uneven tension or skipped stitches.
Final Words
Congratulations on completing the Bouquet Poncho! This beautiful textured poncho with decorative flowers and leaves makes a versatile addition to your wardrobe or the perfect gift.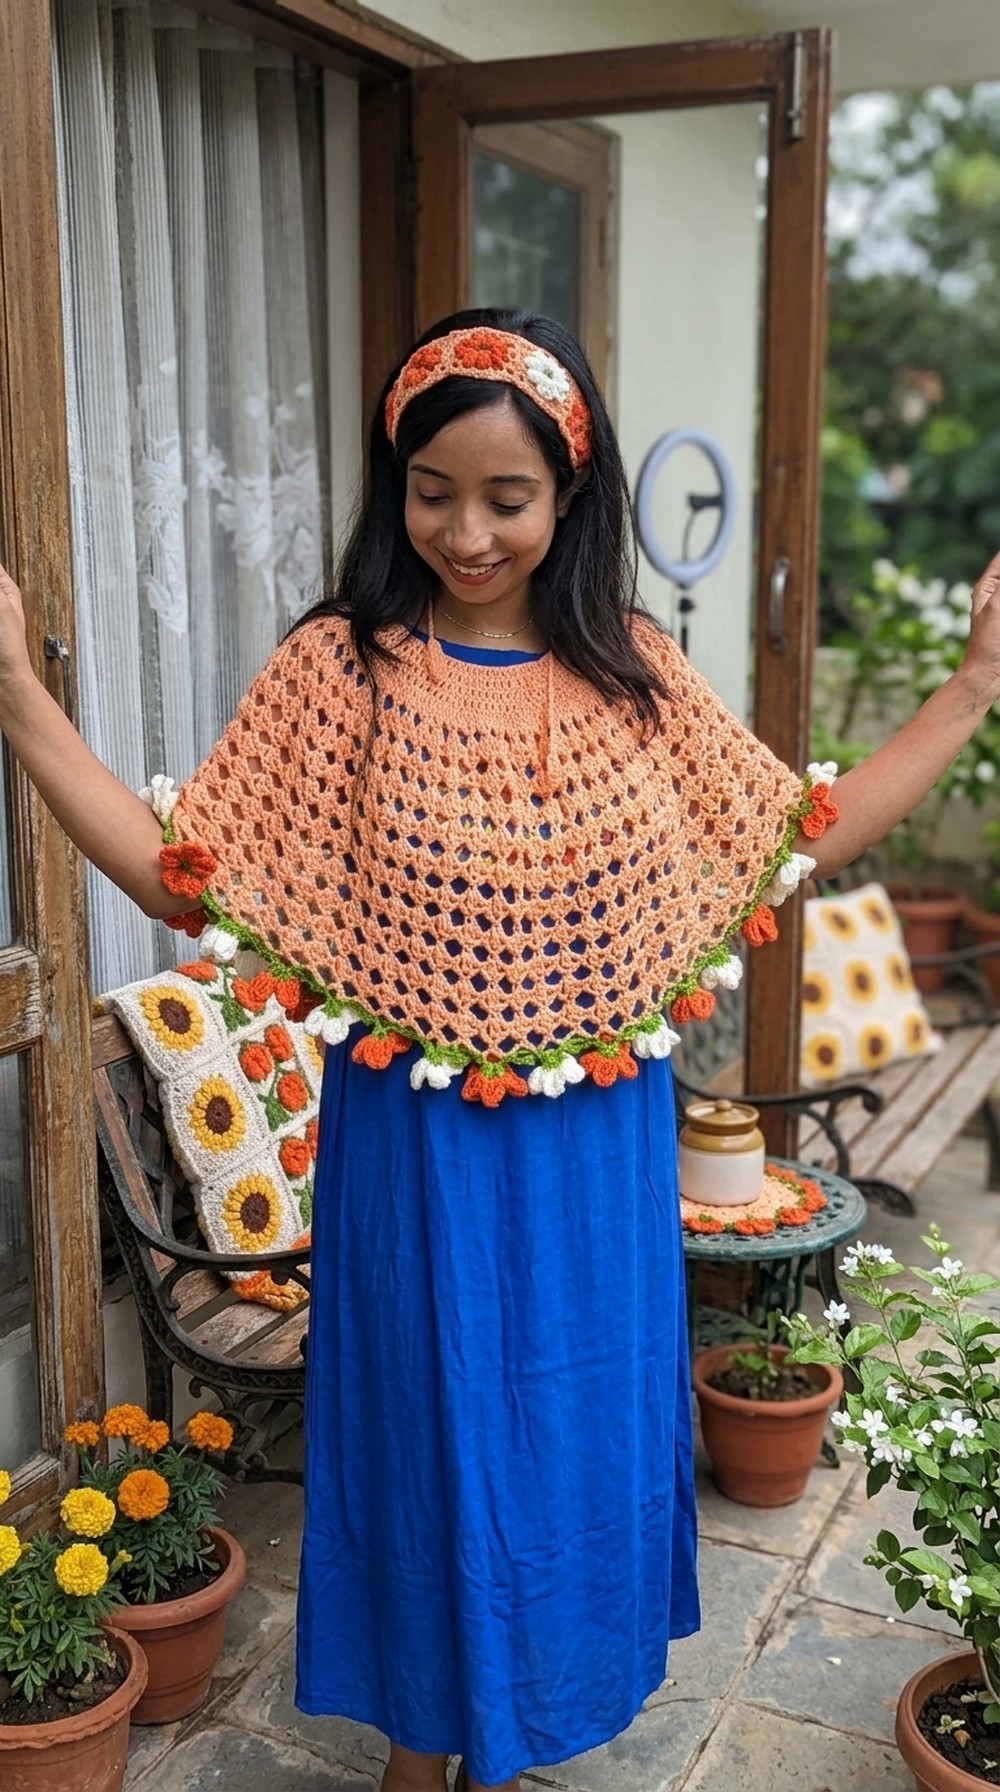
Suggestions
- Experiment with color gradients or variegated yarns for added charm.
- Add extra rows for a longer poncho.
Tips
- Control Tension: Switch hook sizes if fabric feels too stiff or loose.
- Avoid Twisting: Pay extra care while creating the neckline ring to prevent distortion.
- Customize Neckline: Adjust the foundation chain length for your fit.