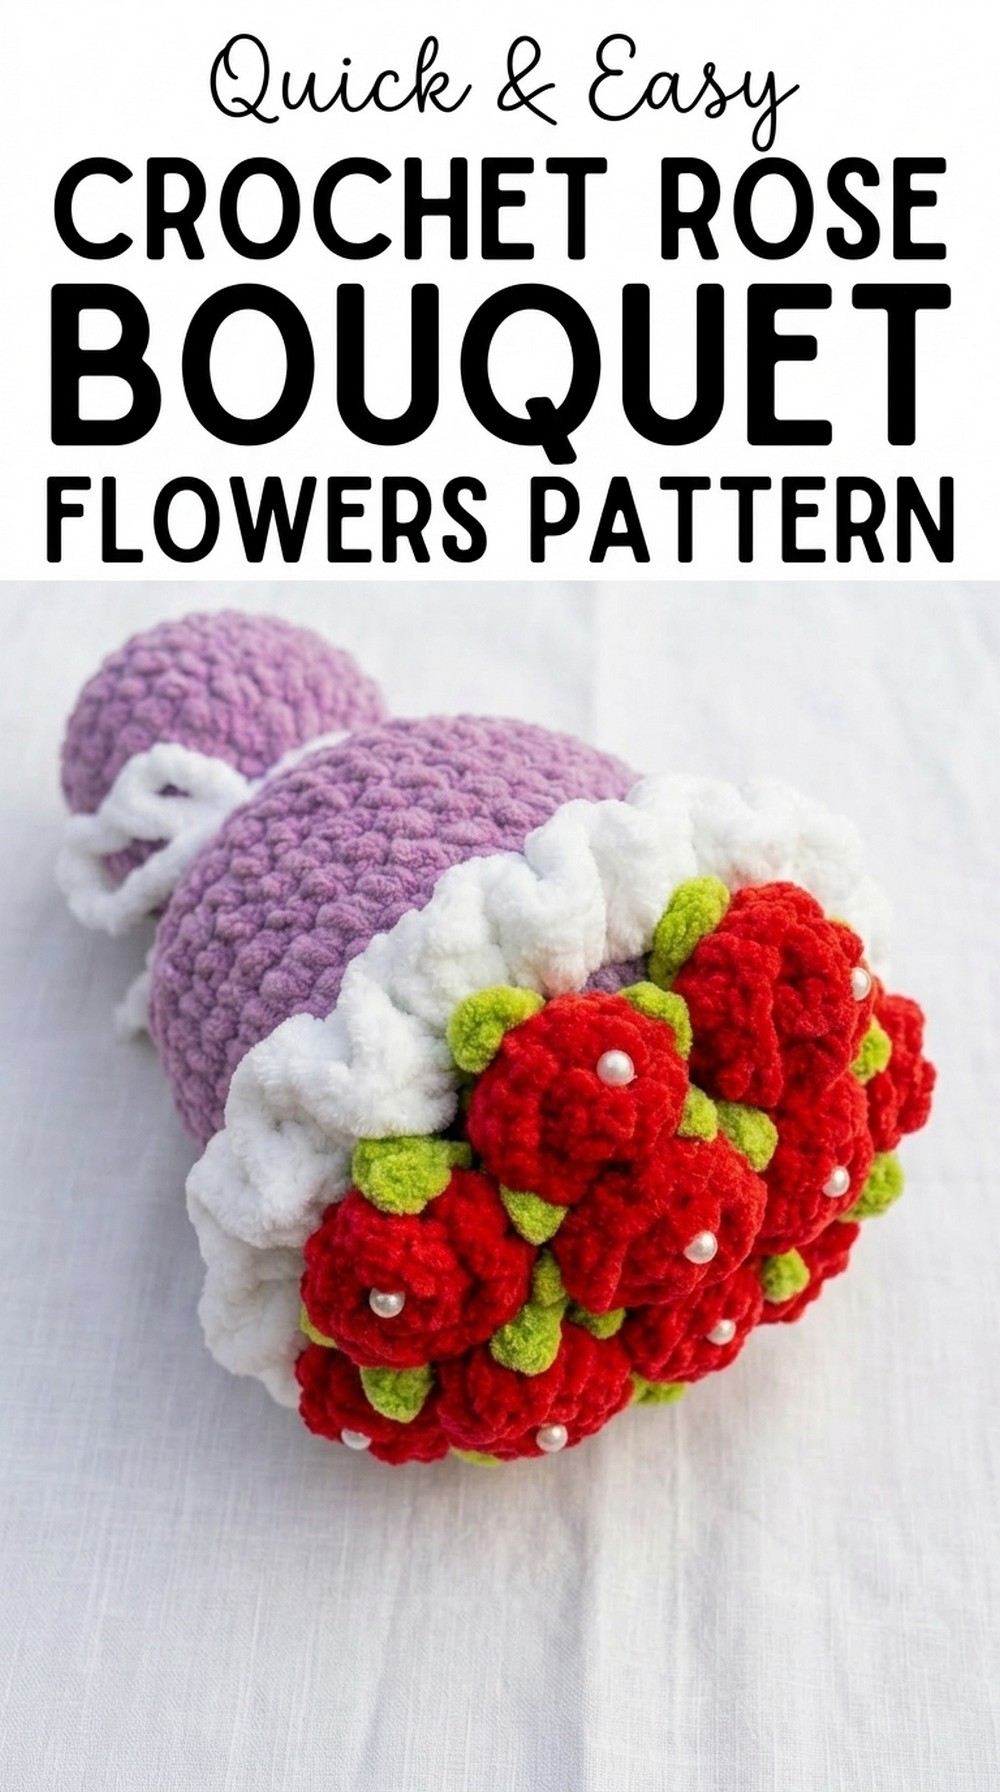
Shape the everlasting beauty of roses with this Free Crochet Rose Bouquet that’s for personal touches, thoughtful gifts, or unforgettable displays.
Creating a delicate handmade flower that stays beautiful forever, never wilting or losing its charm. With soft petals carefully crafted to look lifelike, this crochet piece resembles a fresh rose straight from the garden. It’s more than just decoration, it’s a heartfelt creation that adds elegance to any space or special occasion. Whether placed in a vase, attached to a gift, or simply admired for its craftsmanship, this rose is a unique keepsake.
Fun Free Crochet Rose Bouquet Pattern With Simple Steps
Unlike real flowers, it holds its beauty timelessly while bringing a cozy, handmade touch to your home. Made with yarn that feels soft and vibrant, its design is simple yet stunning enough to capture attention. Perfect for beginners and seasoned creators alike, this pattern lets you bring the natural beauty of roses into your projects effortlessly, making every stitch meaningful and every bloom a lasting joy.
Crochet Bouquet Flower Decoration Pattern
Finished Project Information
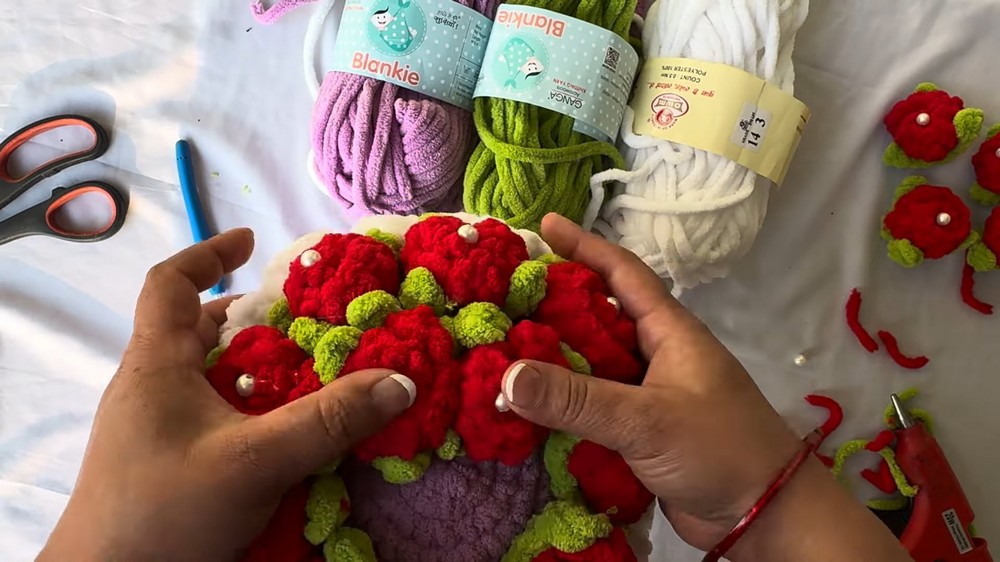
This pattern guides creating a beautiful crochet bouquet flower decoration, which includes a flower base, leaves, ribbon, and decorative elements. The design uses single and double crochet stitches to achieve clear textures and layers.
Skill Level
- Intermediate to Advanced
Materials
- Yarn:
- Blanket yarn (specific type: Ganga Blanket Wool or any medium-weight yarn that holds shape well).
- Colors: Green (for leaves), Red (for rose), and an optional decorative yarn or filler color.
- Hook: 4 mm crochet hook (adjust hook size if using a different yarn type).
- Fiber Fill: Optional for stuffing the bouquet base.
- Scissors: For cutting yarn ends.
- Tapestry Needle: Weaving ends and attaching decorative elements.
- Stitch Marker: Optional to mark specific stitches.
- Hot Glue Gun: Essential for securing the decorative pieces and leaves.
Key Abbreviations (US Terminology)
| Abbreviation | Description |
|---|---|
| ch | Chain |
| sc | Single Crochet |
| dc | Double Crochet |
| sl st | Slip Stitch |
| st | Stitch |
Special Notes
- The pattern is written in rounds.
- Use a stitch marker to mark specific sections, or use yarn scraps as an alternative.
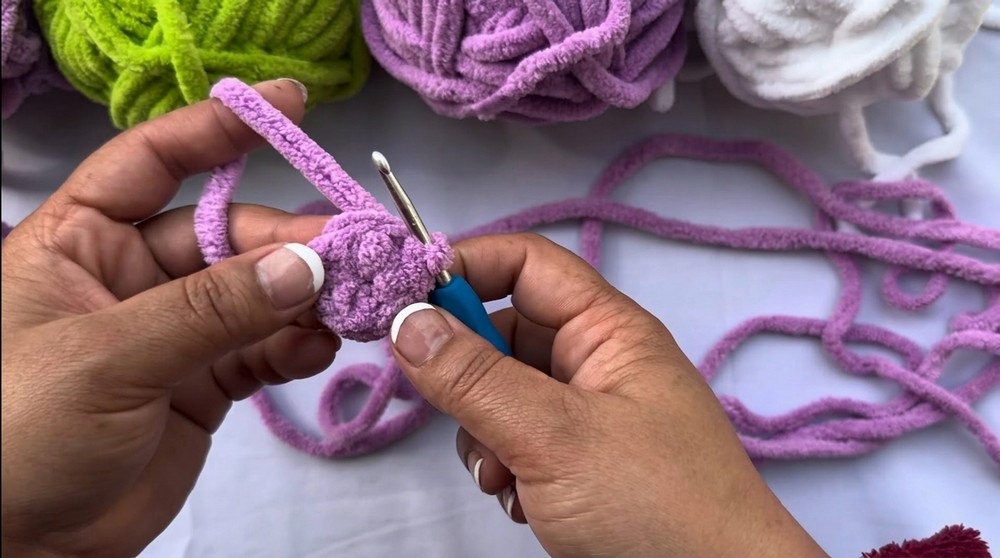
- Avoid tight tension when working with blanket yarn for a soft, even texture.
Pattern Instructions
Step 1: Start the Flower Base
- Magic Circle Setup:
- Create a magic circle by looping yarn and pulling through.
- Work 6 sc into the circle.
- Tighten and Secure:
- Pull the tail tightly to close the circle.
- Join with a sl st into the first sc.
Step 2: Expanding the Circle
- Round 1 – Increase Base:
- Chain 1.
- Work 2 sc into each stitch around (12 sc total).
- Join with a sl st to the first sc.
- Round 2 – Gradual Increase:
- Chain 1.
- Pattern: 1 sc into next stitch, 2 sc into next stitch. Repeat around.
- Total stitches: 18 sc.
- Join with a sl st.
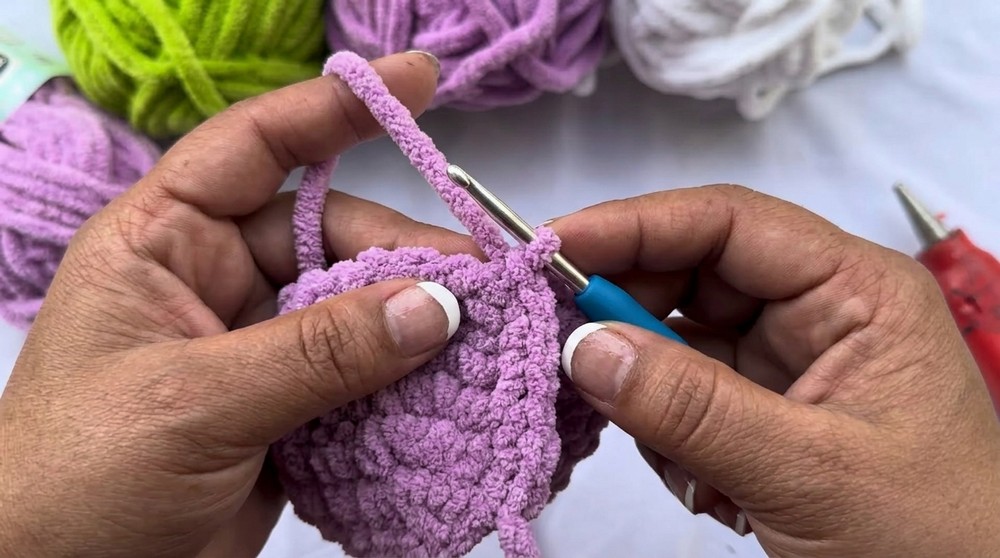
Step 3: Build the Foundation
- Round 3 – Structured Increases:
- Pattern: sc into 2 stitches, 2 sc into the next stitch.
- Repeat across the round.
- Join with a sl st.
- Rounds 4-6:
- Continue the pattern style, increasing every third stitch in each round.
- For example: Round 4: 3 sc, 2 sc increase; Round 5: 4 sc, 2 sc increase.
- Fiber Fill:
- If required, stuff the base with fiber fill before continuing.
Step 4: Form the Rose
- Foundation:
- Chain 9-10, depending on desired size. Skip 2 ch and work dc into the third chain.
- Continue working 2 dc into each chain to form petals.
- Petal Rounds:
- Work 3 dc clusters into single chains to create fuller petals.
- Use red yarn to achieve the rose design.
- Secure the Rose:
- Fasten off and neatly roll the petals into shape.
- Use hot glue to attach the base securely.
Step 5: Leaves
- Magic Circle for Leaf:
- Create a magic circle and work 6 sc into the ring.
- Pull tight and join with a sl st.
- Build the Leaf:
- Work 3 sc, ch 1, skip a st into successive rounds to form pointed leaf edges.
- Continue for two rows, then fasten off.
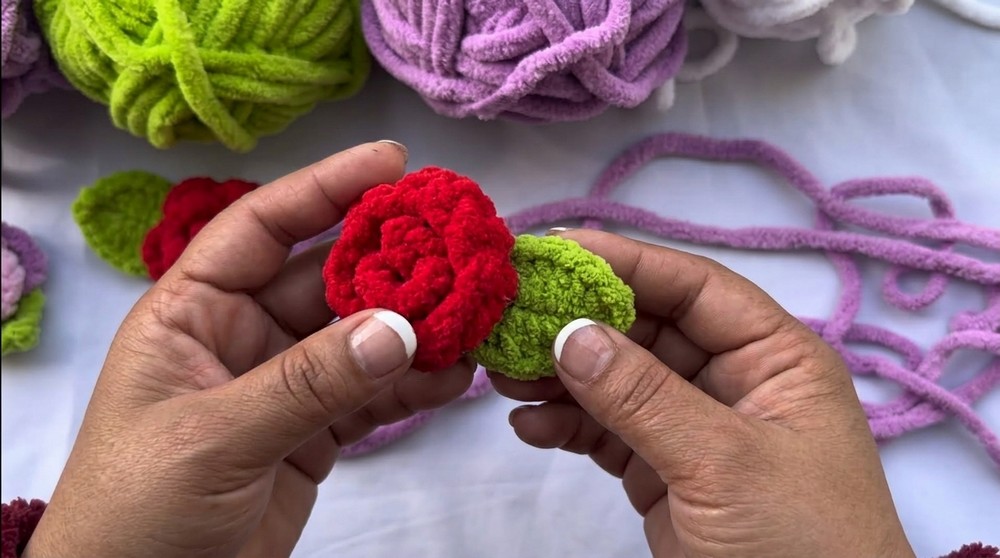
- Secure Leaves:
- Attach each leaf around the flower using hot glue.
Step 6: Ribbon
- Ribbon Prep:
- Chain approximately 50 chains to form a long decorative ribbon.
- Attach Ribbon:
- Wrap it below the flower base and tie into a bow shape.
- Wrap it below the flower base and tie into a bow shape.
Finishing
- Check for Loose Ends:
- Weave in all loose yarn ends with the tapestry needle for a clean finish.
- Hot Glue Application:
- Use the hot glue gun to fix the flower, leaves, and ribbon firmly.
Conclusion
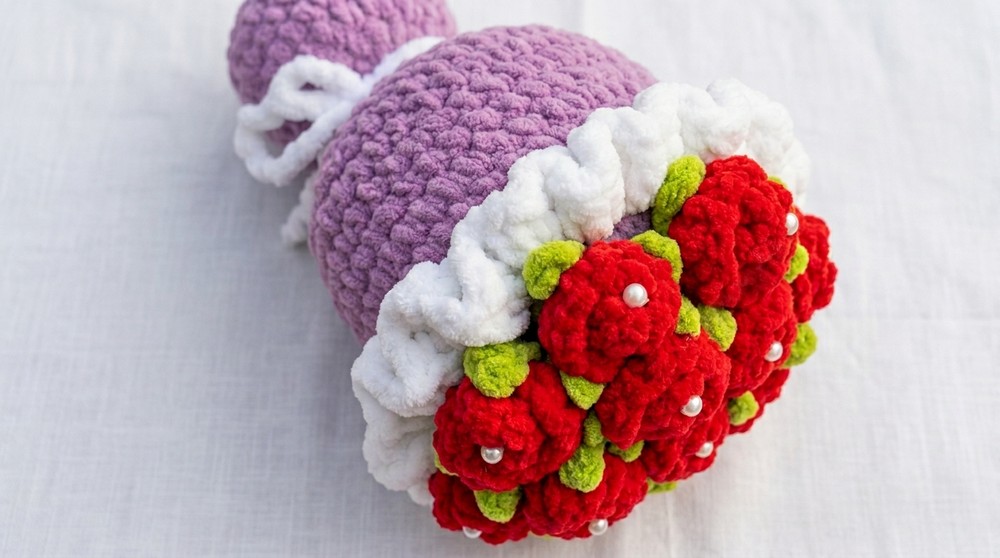
This Crochet Rose Bouquet decoration pattern is designed to bring a beautiful 3D effect with textured petals, structural leaves, and stunning visual appeal. The combination of techniques results in a versatile design suitable for home decor, gifting, or ornamentation.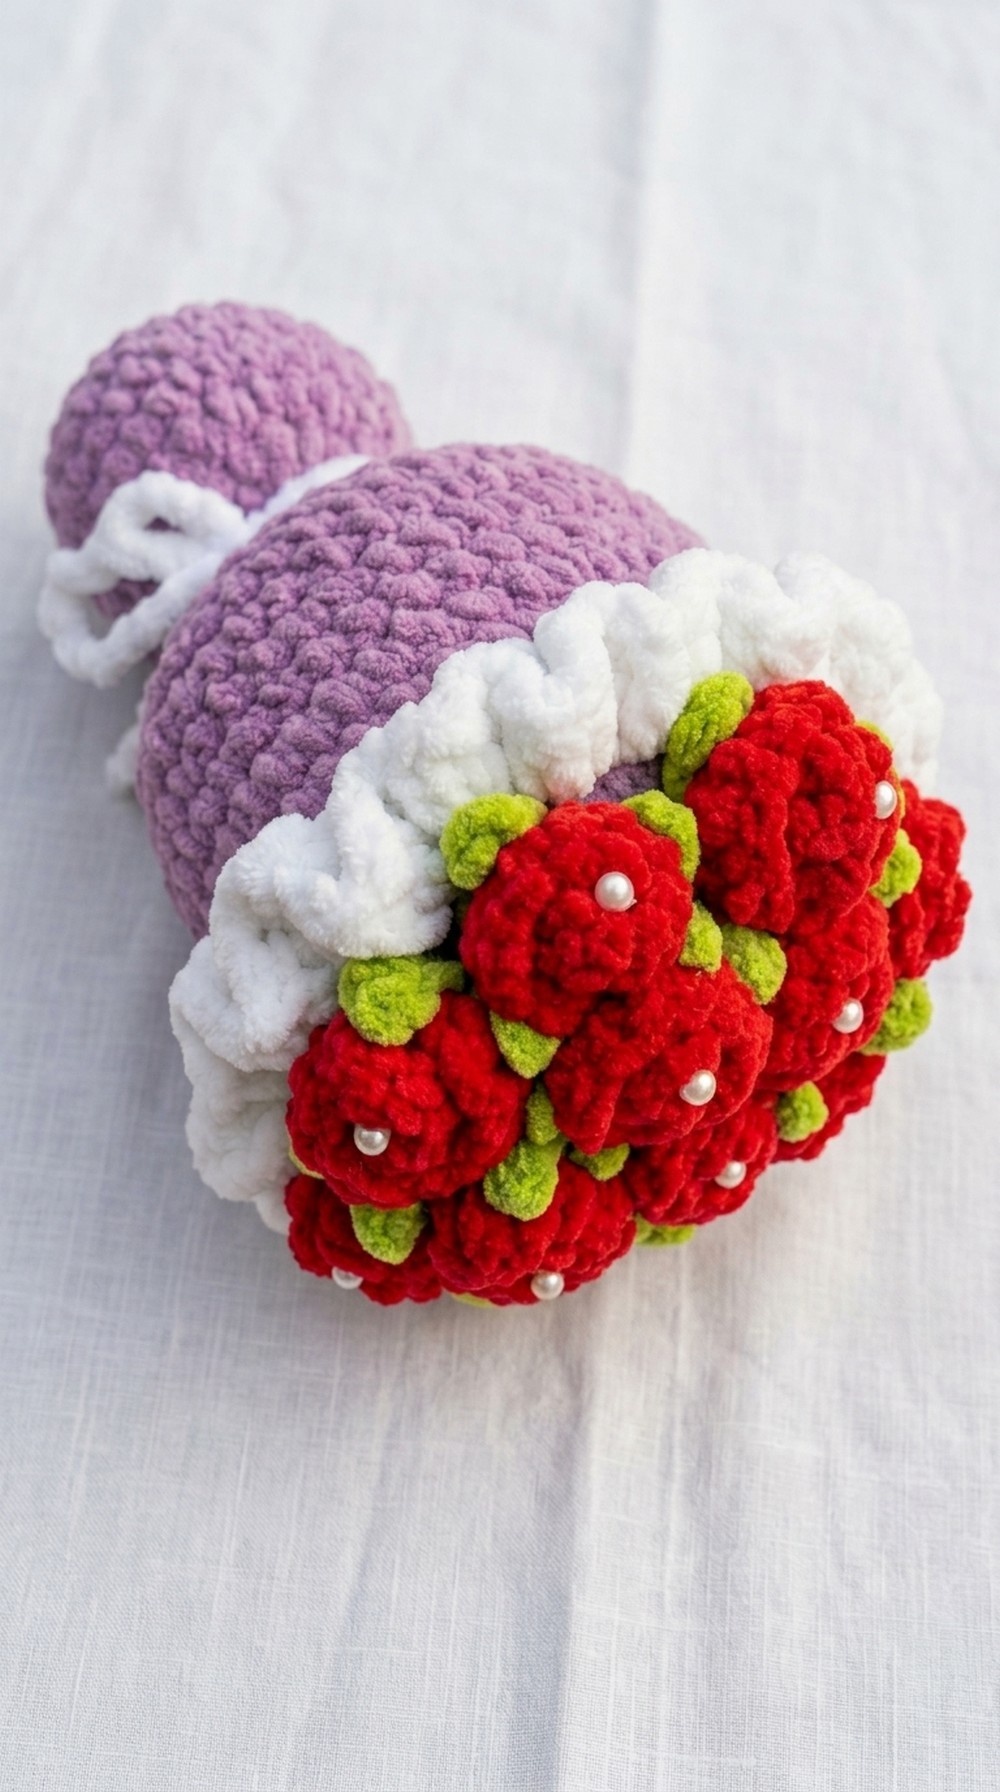
Pattern Correction
- If the increases result in uneven stitches, check stitch placement accuracy during expansion rounds. Use stitch markers when needed.
- Adjust the petal placement by rolling and securing with glue if symmetry appears compromised.
Tips
- Tension Troubles: Ensure even tension while working petals to avoid curling.
- Glue Application: Always use low-temperature hot glue for delicate yarn.
- Color Variations: Experiment with different colors for a customizable bouquet.
- Extra Decorations: Add beads or pearls to the flower center with fabric glue for enhanced decor.