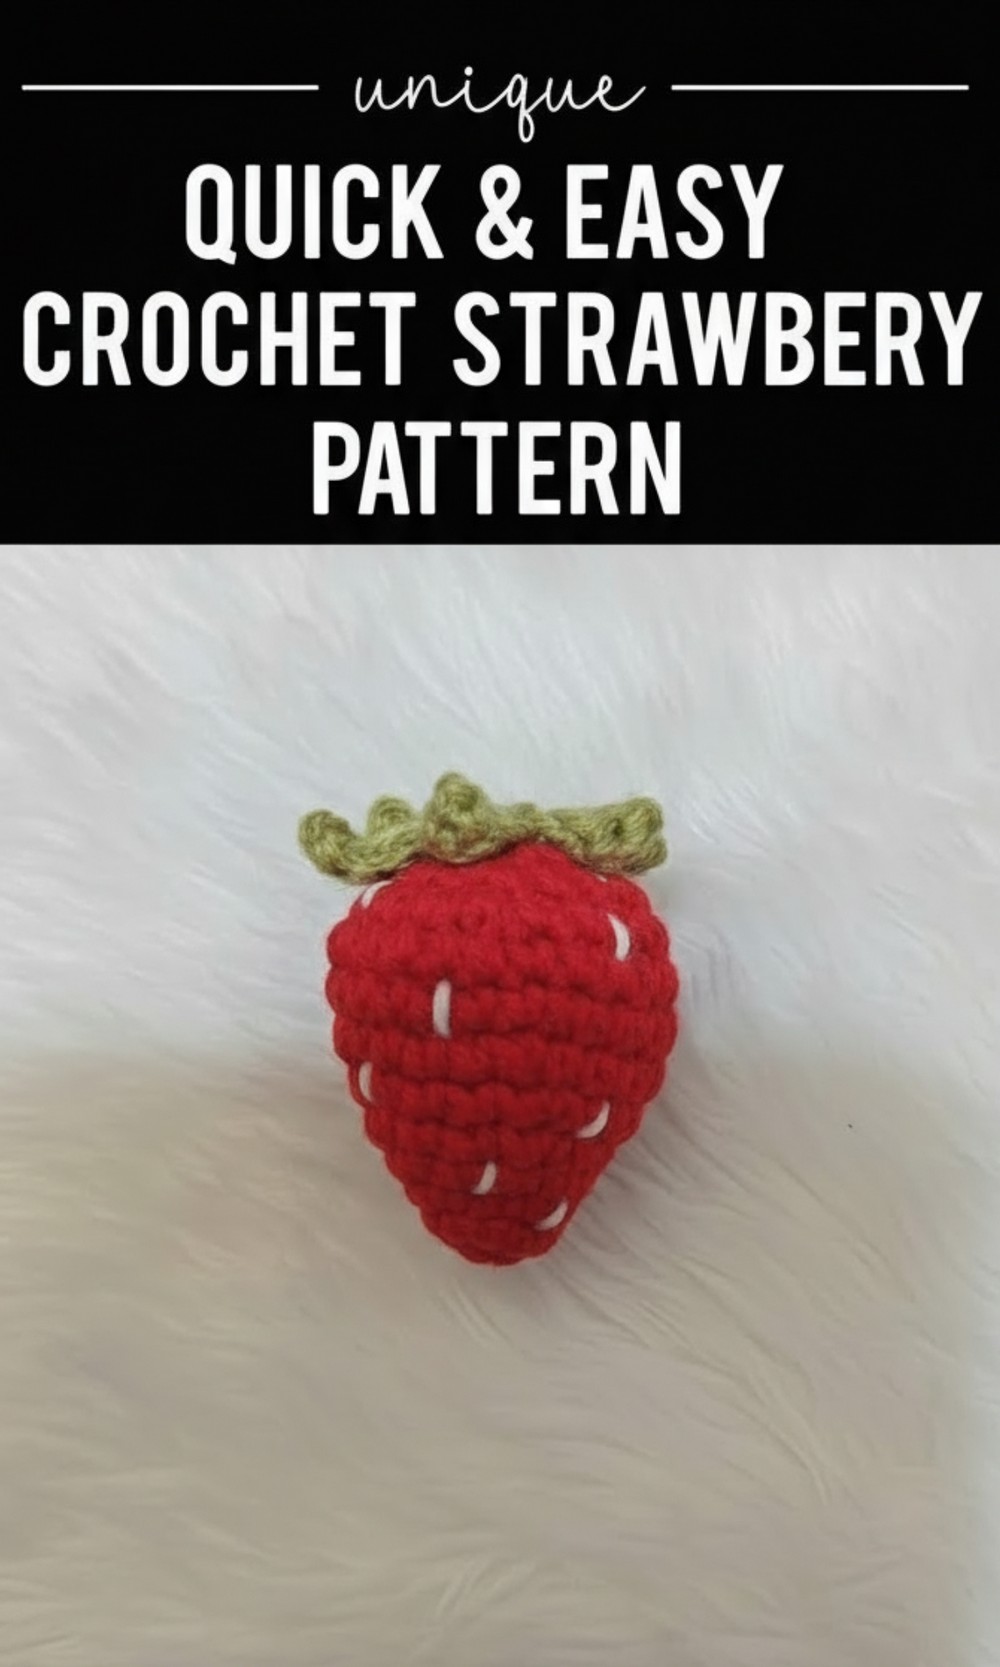
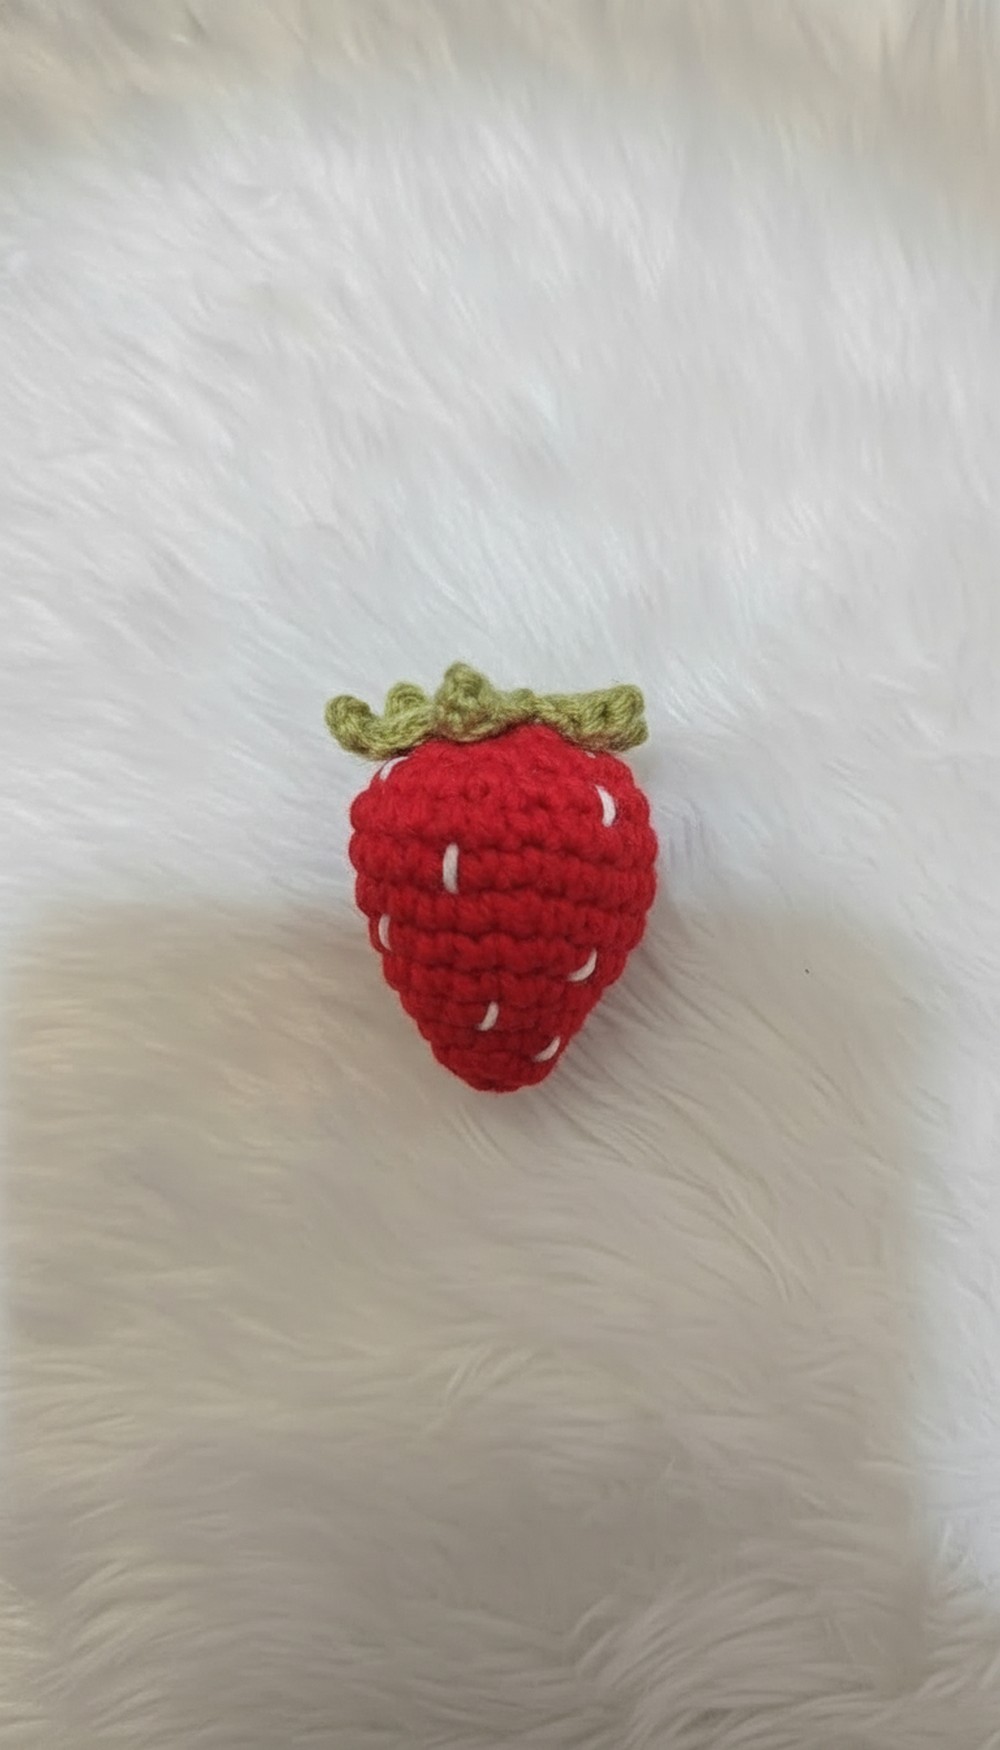
Carry a tiny handmade strawberry wherever you go with this free crochet strawberry pattern that turns yarn into a playful charm.
Sweet Free Crochet Strawberry Pattern for Cute Bag Charms & Decor
Add a splash of charm to your kitchen space with a project that’s as delightful to create as it is to display. This playful, handmade strawberry, with its bright red body, delicate white seeds, and soft green leaves, is sure to brighten up your home. Use this free crochet strawberry pattern to build a piece that’s perfect for decorating shelves, filling bowls, or even transforming into a cute keychain. 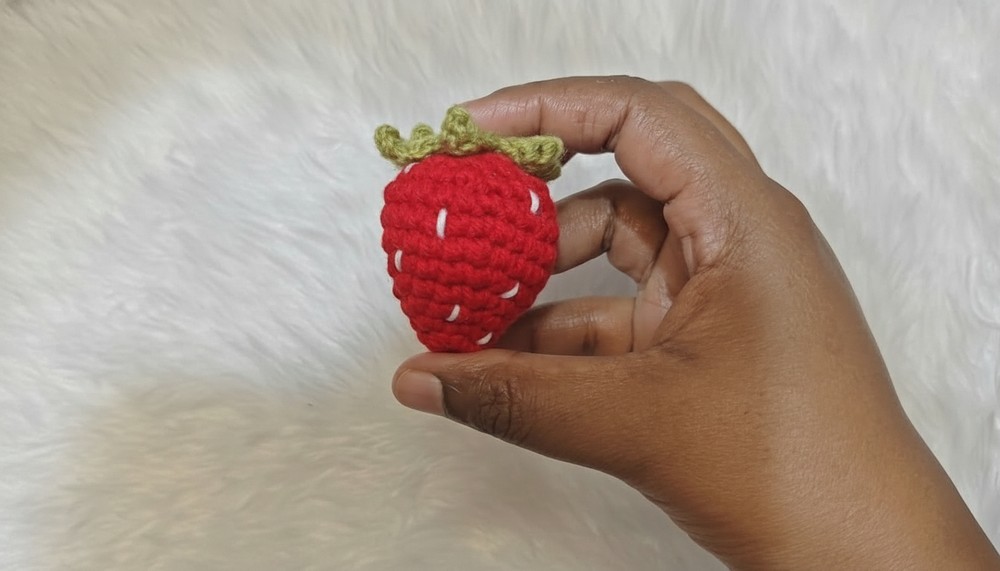
Make something small, simple, and undeniably sweet that adds personality and joy to your space.
Materials Needed
- Yarn Choices:
- Red yarn for the strawberry body.
- Green yarn for the leaf.
- Off white yarn for seed embellishments.
- Hook: 3.5 mm crochet hook.
- Needle: For weaving in the ends and adding details such as seeds.
- Stuffing material: Cotton filling or polyester stuffing.
- Scissors: To cut yarn.
- Stitch marker: To mark the beginning or end of each round (optional; you can use contrasting yarn in place of a marker).
- Glue: If attaching the leaf using glue instead of stitches.
Techniques Used
- Magic Ring (MR): A ring to start your work with neat, tight stitches.
- Single Crochet (SC): The primary stitch used in this pattern.
- Increase (INC): Add two SCs into one stitch to widen your work.
- Invisible Decrease (DEC): A decrease method using front loops of two stitches to create a clean look.
- Slip Stitch (SL ST): Used to join or finish off rounds.
- Chain (CH): Used in creating the leaf design.
Pattern Instructions
1. Body of the Strawberry
Round 1:
- Begin with a Magic Ring (MR).
- Work 6 SC into the MR.
- Pull the magic ring tight and join with a SL ST.
(Total stitches: 6)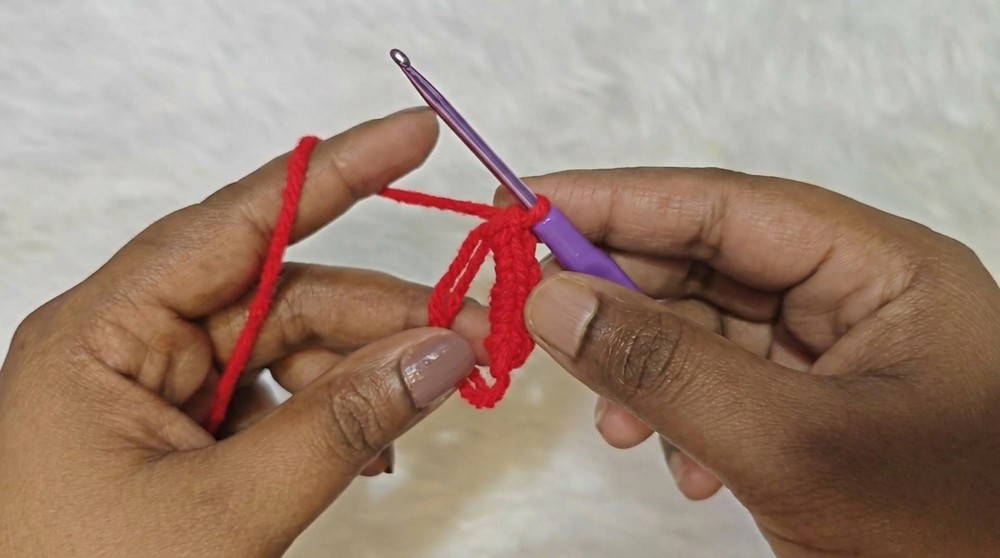
Round 2:
- Place 1 SC in the first stitch.
- In the next stitch, work 2 SC (INC).
- Repeat this pattern (1 SC, INC) around the round.
(Total stitches: 9)
Round 3:
- Work 1 SC each in the first two stitches.
- In the third stitch, work 2 SC (INC).
- Repeat this pattern (1 SC, 1 SC, INC) around the round.
(Total stitches: 12)
Round 4:
- Work 1 SC each in the first three stitches.
- In the fourth stitch, work 2 SC (INC).
- Repeat this pattern (1 SC, 1 SC, 1 SC, INC) around the round.
(Total stitches: 16)
Round 5:
- Work 1 SC each in the first four stitches.
- In the fifth stitch, work 2 SC (INC).
- Repeat this pattern (1 SC, 1 SC, 1 SC, 1 SC, INC) around the round.
(Total stitches: 20)
Round 6:
- Work 1 SC each in the first five stitches.
- In the sixth stitch, work 2 SC (INC).
- Repeat this pattern (1 SC, 1 SC, 1 SC, 1 SC, 1 SC, INC) around the round.
(Total stitches: 24)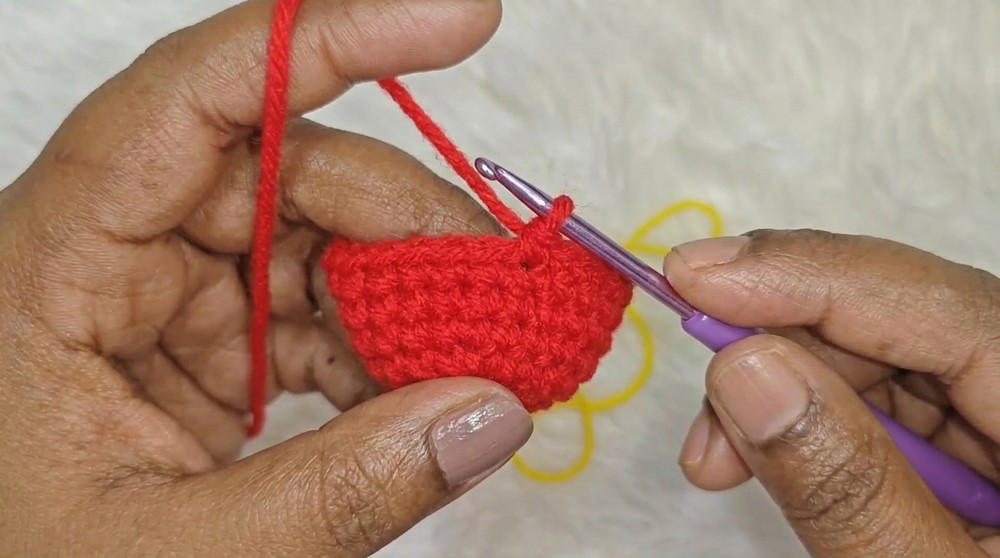
Rounds 7–8:
- Work 1 SC in each stitch around.
(Total stitches per round: 24)
2. Shaping the Top (Decreasing Rounds)
Round 9:
- Work 1 SC each in the first two stitches.
- Then work Invisible Decrease (DEC) over the next two stitches.
- Repeat this pattern (1 SC, 1 SC, DEC) around the round.
(Total stitches: 18)
Round 10:
- Work DEC in every stitch without adding SCs in between.
(Total stitches: 9)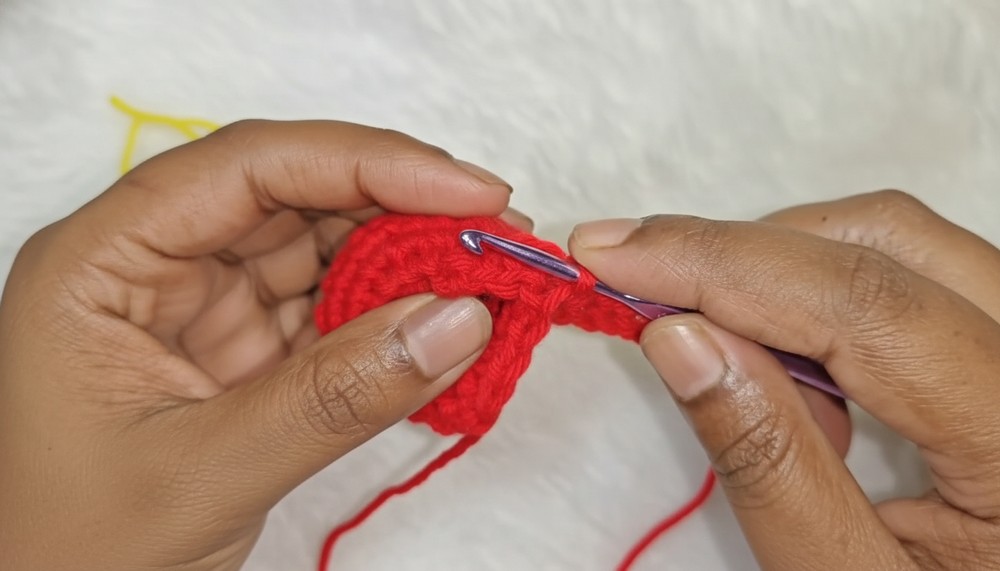
3. Stuff and Close
- Add cotton or polyester filling before the hole becomes too small to manage.
- Make sure the stuffing is firmly packed to hold the strawberry’s shape.
- For the final round, work DEC four times around until the hole is closed.
- Secure the end with a knot and weave the excess yarn inside the strawberry’s body using a needle. Trim any leftover yarn.
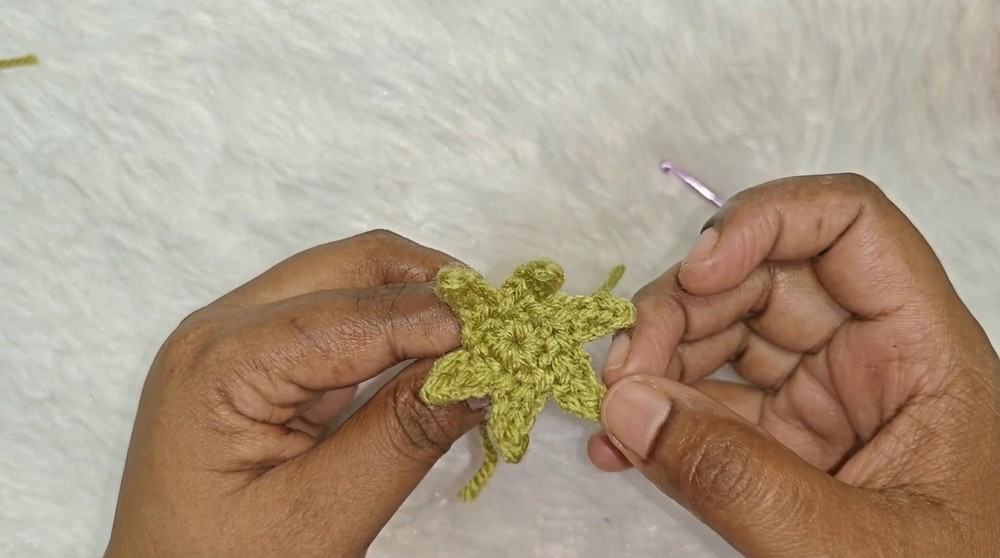
4. Making the Leaf
- Start with Green Yarn.
- Create a Magic Ring (MR) and work 6 SC into it.
- Pull the ring tight and close with a SL ST into the first SC.
- For each leaf segment:
- CH 4.
- Work a SL ST into the third chain from the hook.
- In the next chain, work 1 SC.
- Return to the base of the segment and attach it with a SL ST into the next SC.
- Repeat this pattern around the base for all six SCs to create six leaf points.
- Cut the yarn, leaving a tail.
5. Assembling the Strawberry
- Attach the green leaf to the top of the strawberry:
- You can sew it securely using a needle and the tail yarn.
- Alternatively, apply glue only to the center of the leaf and press it onto the strawberry.
- If using glue, allow the glue to dry for at least 5 minutes. Secure the leaf further using straight pins or clips during drying to ensure it adheres properly.
6. Adding Seeds
- Use Off-white Yarn to embroider seeds randomly over the red body of the strawberry:
- Thread the yarn through the needle, then enter and exit the yarn into the body at small distances to create evenly spaced seed shapes.
- Keep the tension consistent for a neat finish.
- Tie off and weave the yarn ends into the body once all seeds are complete.
Finishing and Final Tips
- Ensure all knots are tight and secure any loose ends by weaving them into the body.
- If using glue, avoid over applying as it may affect the texture of the yarn.
- Check your stitch counts after each round to ensure accuracy, especially for the decrease rounds.
- To maintain your strawberry, avoid overhandling or pulling on the stitches and keep it away from moisture.
Final Words
Congratulations on completing your crochet strawberry, This beginner friendly project is perfect for practicing essential stitches and techniques. Whether used as a keychain, decoration, or gift, this adorable strawberry is sure to brighten anyone’s day.