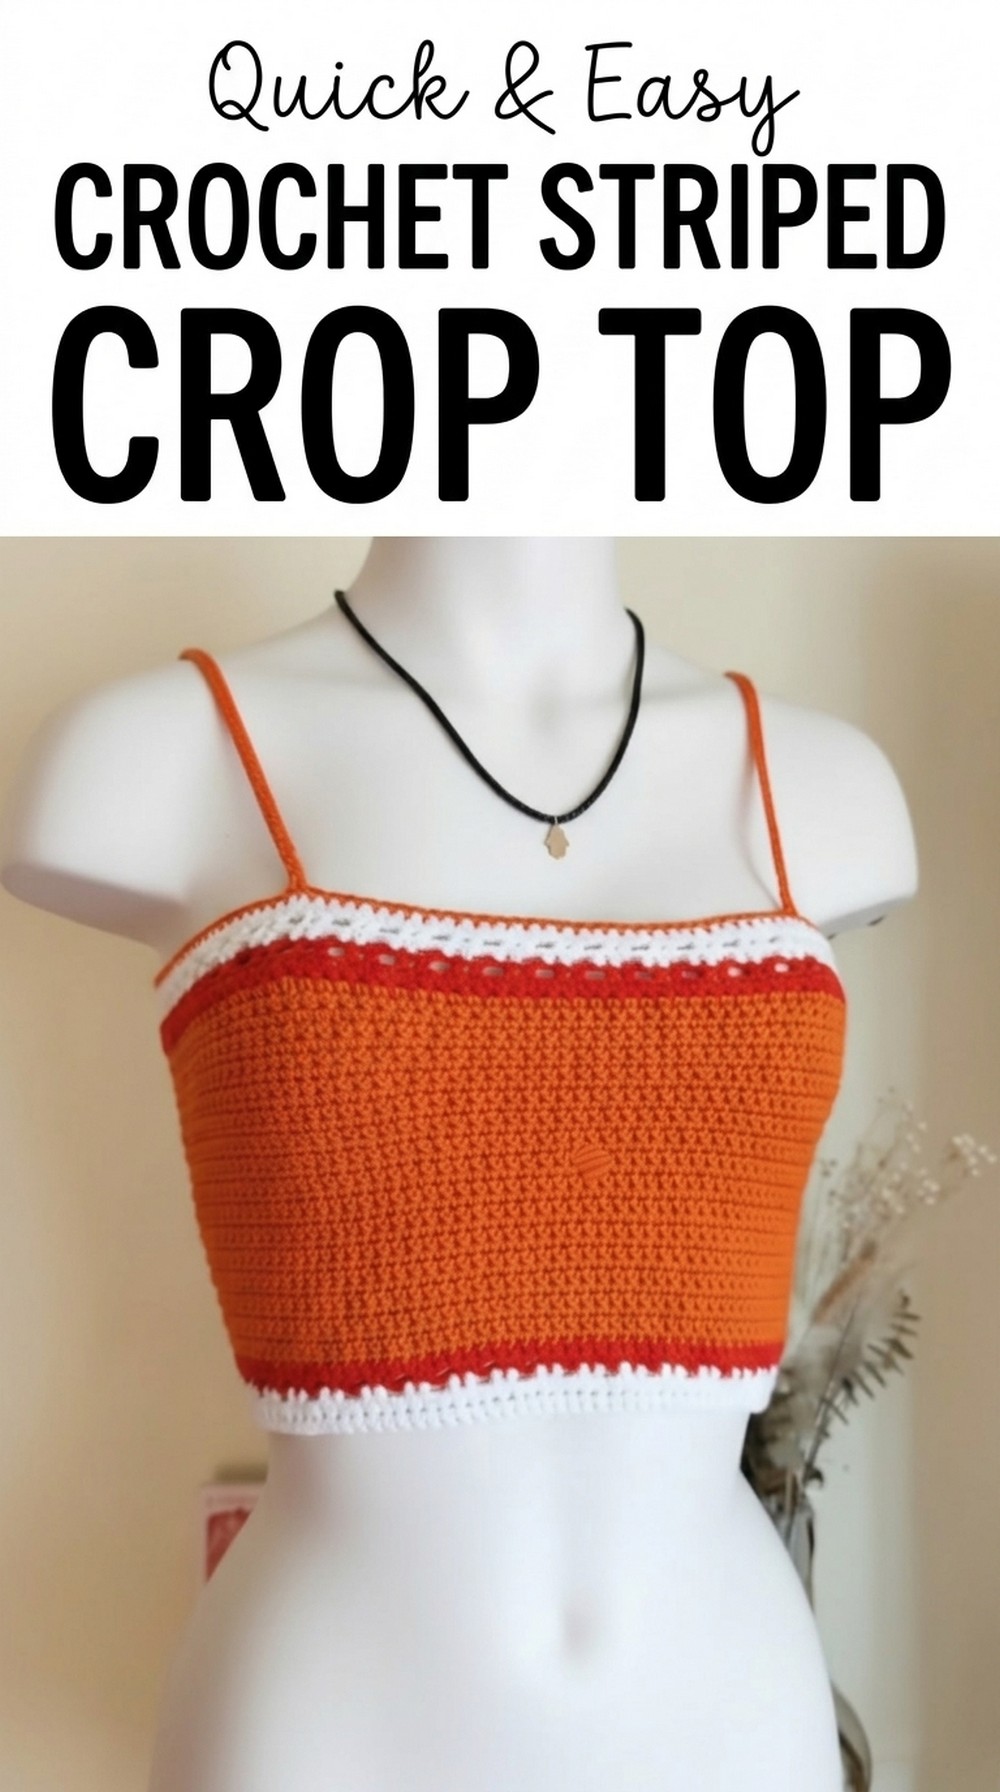
Learn to make a colorful and stylish crochet striped crop top with this free pattern that is easy to follow, perfect for beginners, and fun to create for summer.
Stepping out on a warm, sunny day, wearing a beautiful, handmade crochet crop top that turns heads wherever you go. The Free Crochet Striped Crop Top Pattern brings this vision to life, combining simplicity and style in one easy-to-follow design. This crop top is perfect for those who love colorful stripes and lightweight clothing that feels soft and comfortable.
Best Free Crochet Striped Crop Top Pattern for a Modern Look
The top suits most casual occasions, like trips to the park, beach outings, or even relaxing at home with friends. Its stretchy feel and bright stripes make it fun to wear while matching nicely with high-waisted jeans, skirts, or shorts. It’s an excellent project for beginners, as it uses basic crochet stitches and can easily be customized to fit your size and preferred colors. With this pattern, you can create a trendy piece that’s unique, stylish, and perfect for summer.
Crochet Striped Crop Top Pattern With Step-by-Step Tutorial
Finished Size
- Size shown: Large (L). Length: 67 cm total.
- Easy to customize for any size by adjusting measurements and chain lengths.
Materials Needed
- Yarn: Four colors of 50g yarn each. Recommended: 50% acrylic and 50% cotton for elasticity and comfort.
- Example Colors:
- Main color: Lilac (used for the larger section)
- Accent colors: Pink, white, and a stronger shade of pink.
- Example Colors:
- Hook: Crochet Hook Size 3.0mm.
- Extras:
- Stitch markers
- Measuring tape
- Thread cutter
- Yarn needle (for weaving in ends)
Gauge
- Gauge is not explicitly mentioned in the transcription, but to match the size, aim for:
- 17 stitches x 20 rows (in half double crochet) = 10 cm x 10 cm.
Adjust your hook size if your gauge is different.
Pattern Instructions
Step 1: Start with the Foundation Chaining
- Begin with a slip knot.
- Create a foundation chain measuring 75 cm for size L (or adjust for your chest measurement).
- Example: For size L, this equals 125 chains.
- Add 2 additional chains for height.
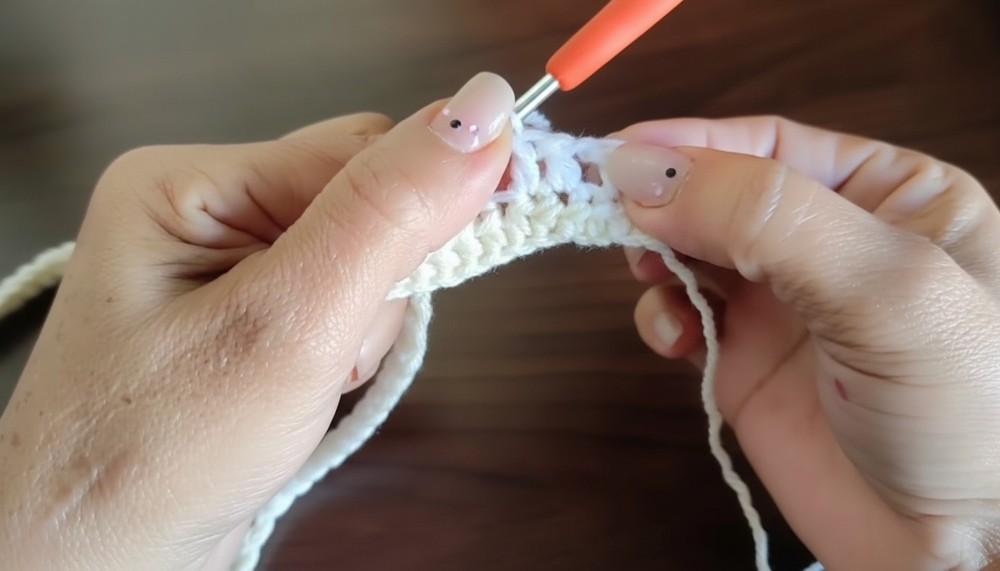
Step 2: Row 1 – Half Double Crochet
- Work your first half double crochet (HDC) into the 3rd chain from the hook.
- Continue working HDC stitches into each chain across.
- At the end, turn your work. Add 2 chains for height.
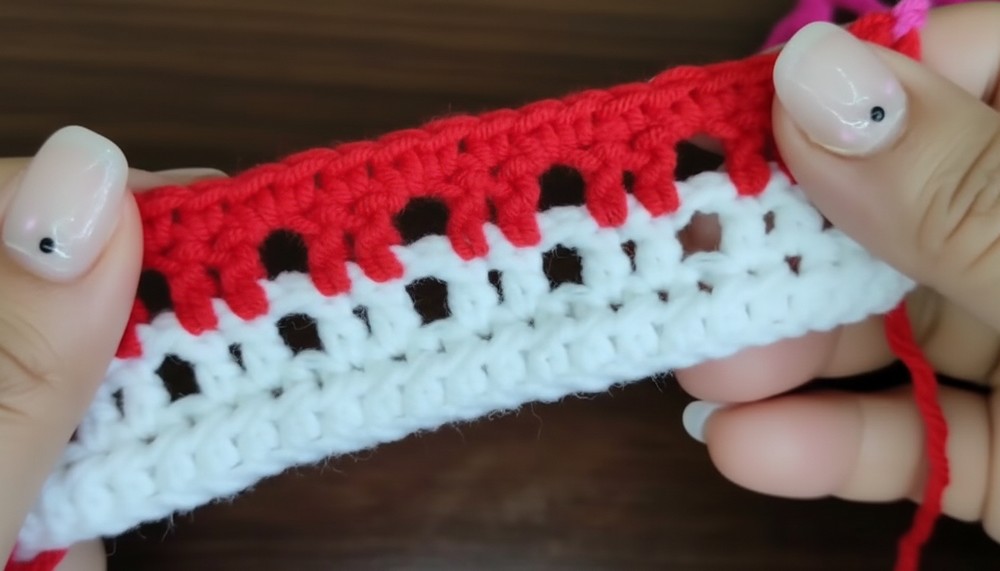
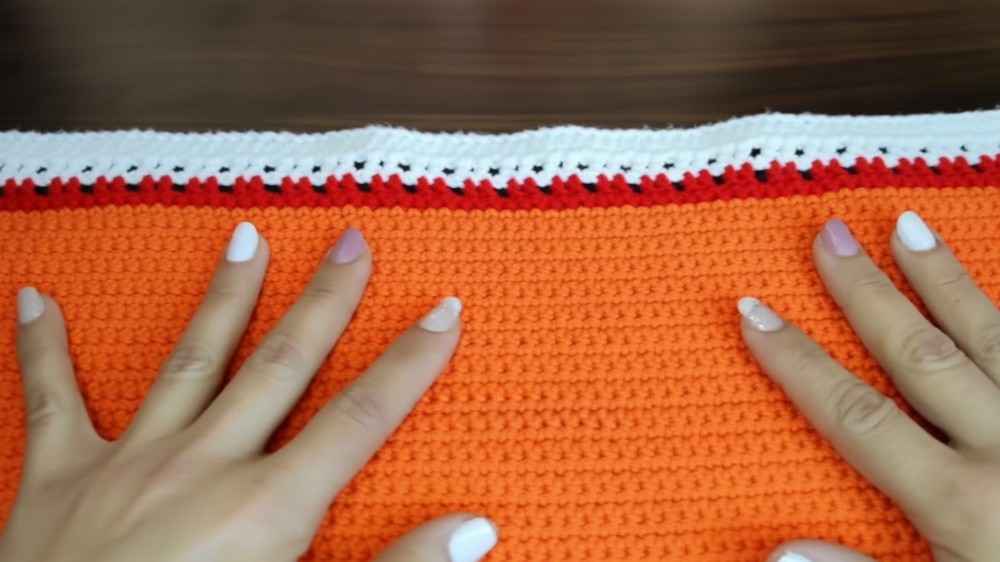
Step 3: Row 2 – Half Double Crochet with Spaces
- Begin the row with 2 chains (this counts as the first stitch).
- Work 2 HDC stitches into the next 2 stitches.
- Make 1 chain space, skip 1 stitch, and continue with 2 HDC stitches in the following stitches.
- Repeat the pattern (2 HDC stitches, 1 chain space) across the row.
- At the end, turn your work.
Adding Colors and Stripes
Step 4: Change Colors
- After completing your second row, cut the yarn and incorporate the pink color.
- Secure with a slip knot and make 1 chain for height.
- Work HDC stitches across the row in the new color, maintaining the same pattern as Row 2.
🔹 Color Pattern Idea: Alternate between pink, lilac, and white to create a vibrant stripe effect.
Step 5: Create Additional Rows
- Once the pink section is complete, switch to white yarn and repeat the Row 2 pattern.
- Continue changing colors and working rows (based on preference) until the piece measures 67 cm in length.
🔹 For size L, work the lilac section for 18 cm in HDC rows.
Step 6: Finishing the Top
- At the end of the piece, work one round of single crochet (SC) around the entire fabric edge for a clean, polished border.
- Use your preferred finishing color to create a neat frame (e.g., white).
- Cut and weave in any loose ends using a yarn needle.
Step 7. Creating the Back Lace Closure
- On the top and bottom edges of the back opening, crochet one row of SC stitches.
- Work a second row of SC while creating buttonholes:
- Work 4 SC stitches, create 1 chain gap (buttonhole), and repeat.
- For the lace cord:
- Chain approximately 180 cm (or longer for flexibility).
- Optionally, thicken the strap by slip stitching back along the chain.
- Thread the lace cord in a crisscross pattern through the buttonholes (like shoelaces).
Step 8. Adding Straps
- Place markers where the straps will connect both on the front and back.
- Attach yarn at any marked point and create a chain of 35 cm (or your preferred length).
- To thicken, slip stitch back along the chain.
- Secure the strap to the marked point on the opposite side.
- Repeat for the second strap.
Tips and Customization Ideas
- Colors: Mix and match your favorite colors for a custom look. Bright, summery shades work best.
- Size: Adjust foundation chain and row count for larger or smaller sizes.
- Yarn Type: Use cotton-blend yarn for elasticity and breathability, perfect for warm weather.
- Length: Create a longer top or tunic by adding extra rows to the main body.
Special Techniques
- Half Double Crochet (HDC): Yarn over, insert hook into the stitch, yarn over, pull through (3 loops on the hook), yarn over, pull through all 3 loops.
- Slip Stitch: Insert hook into the chain/stitch, yarn over, and pull through both loops.
- Changing Colors: Secure the new color with a slip knot, attach it to the work, and continue crocheting.
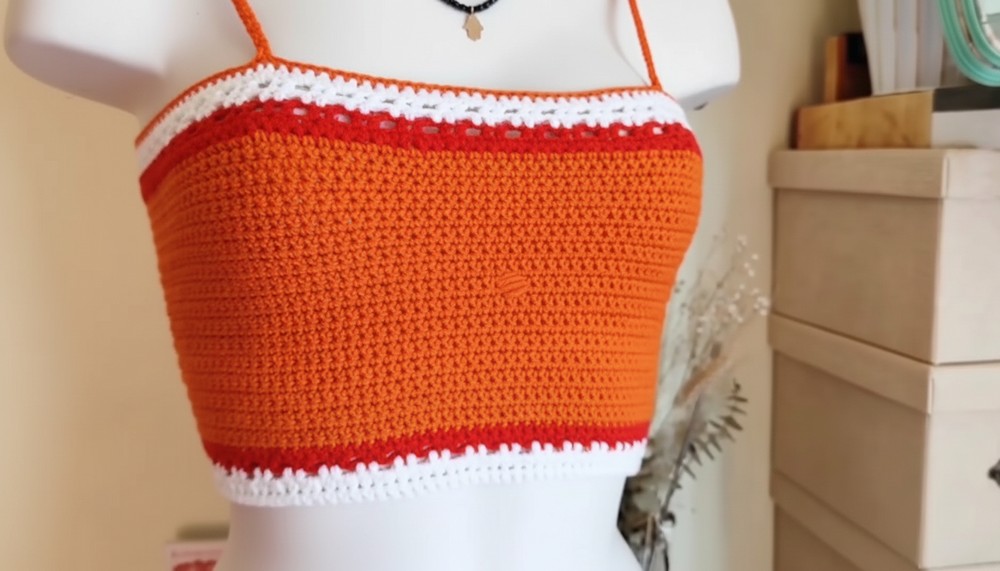
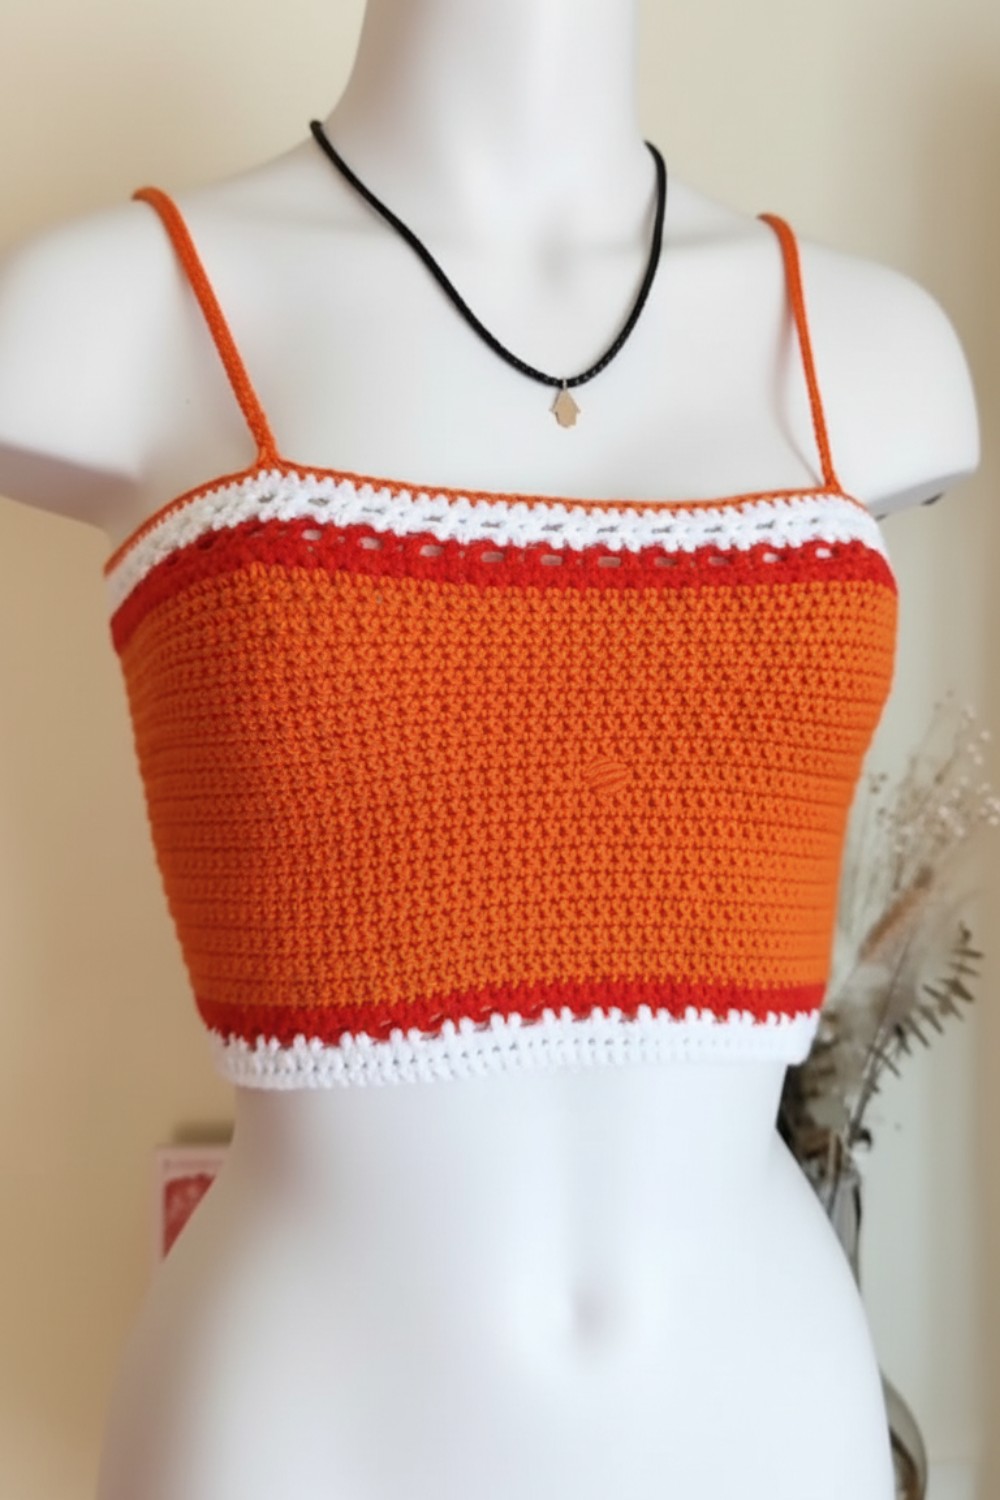
Conclusion and Final Look
Your striped crop top is now ready! With its vibrant stripes and comfortable, airy fabric, this top is perfect for summer outings, casual wear, or even as a beach cover-up. The fitted silhouette, created by the back lace closure, ensures a trendy and flattering fit. Customize the pattern with your favorite colors and yarn type to make it a one-of-a-kind piece.
Important Notes
- Check your gauge before starting to ensure an accurate size.
- Weave in all loose ends for a polished and professional finish.
- Always block your completed project for the best results.