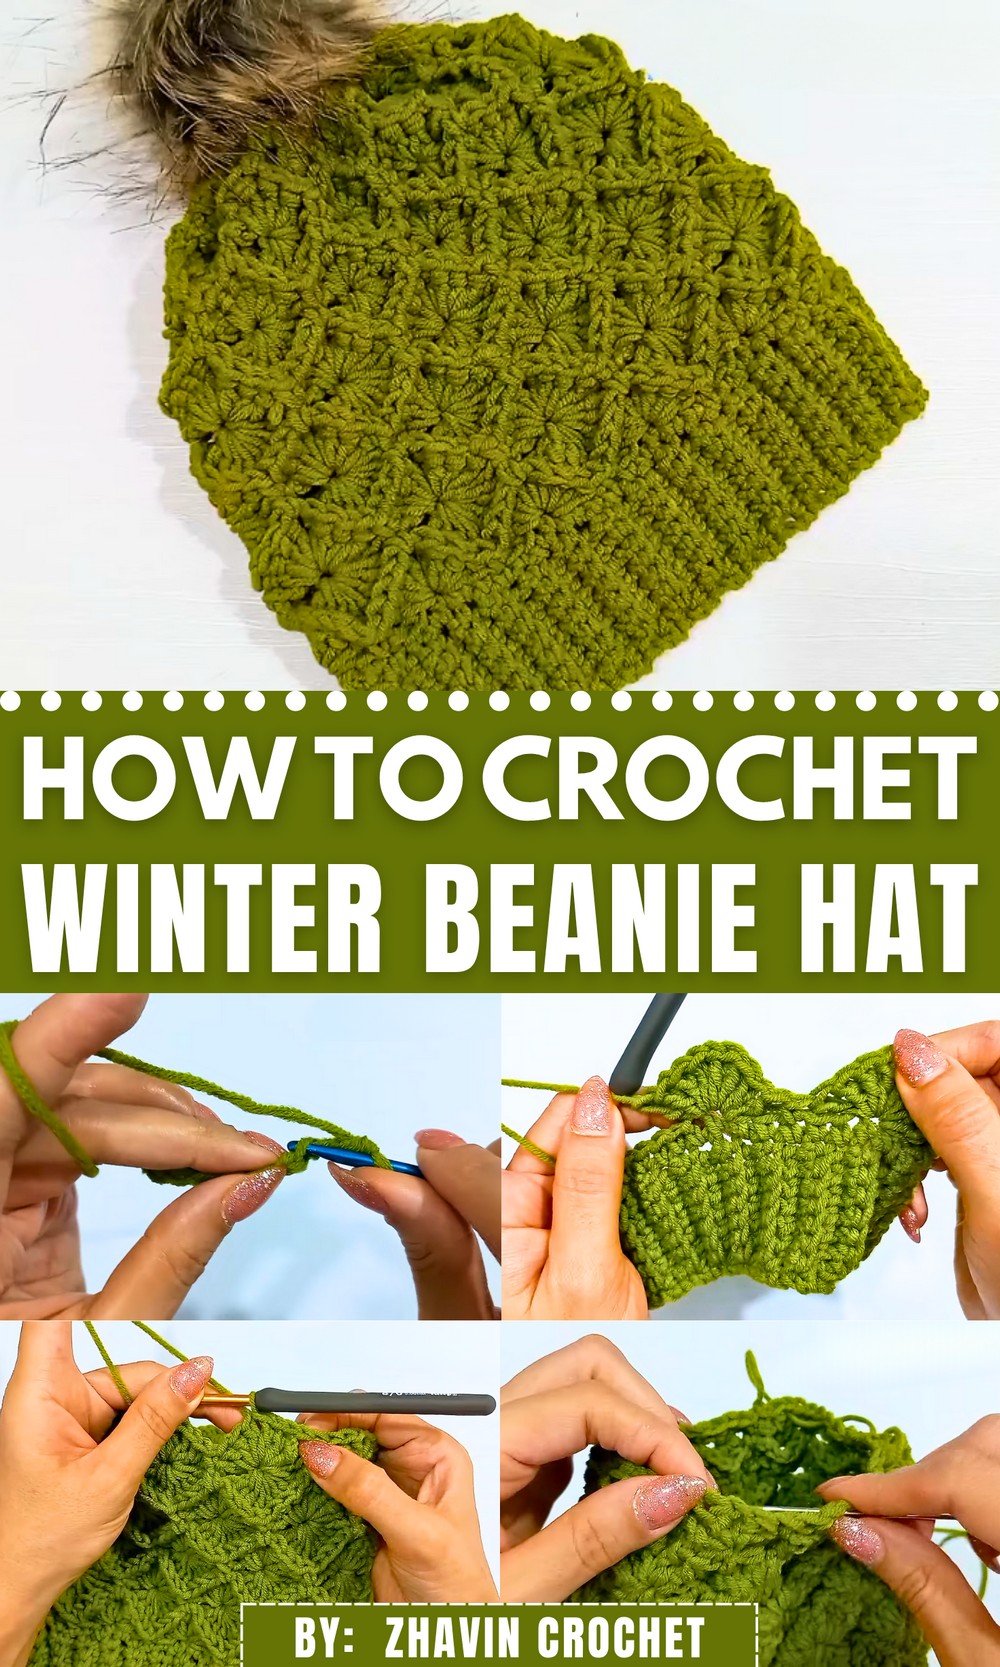
Wrap up your winter wardrobe with this Free Crochet Winter Beanie Hat Pattern that offers both warmth and timeless style in every easy-to-make stitch.
On brisk mornings when frost clings to windows and breath clouds the air, few things feel more comforting than wrapping up in something handmade. A simple beanie has long been more than just protection from the cold, it’s a symbol of care, warmth, and personality. With cozy texture and snug structure, this project offers the perfect balance of style and practicality. The Free Crochet Winter Beanie Hat Pattern allows you to make something useful and timeless for all ages.
How This Crochet Winter Beanie Hat Keeps You Stylish
Whether you’re heading out on a chilly commute, planning a walk through snowy streets, or packing gifts for loved ones, this hat fits the moment. Its close fit ensures insulation without bulk, while the subtle ribbing and shaping give it a classic silhouette suited to both men and women.
The repetitive stitches also make it meditative for those who appreciate relaxing, productive work with their hands. Ideal for gifting or for building a cold-weather wardrobe staple, this beanie is more than seasonal wear, it’s comfort in a tangible form. Keep one by the door, tuck one into a coat pocket, or match it with scarves and mittens for a finished winter look. It’s simple, stylish, and endlessly useful when the temperature drops.

Materials Used
- Yarn: Worsted weight yarn.
- Crochet Hooks:
- 4.5mm hook for creating the ribbed band.
- 5mm hook for the body of the hat.
- Optional: A Pom-Pom for decoration.
- Tapestry needle for weaving in yarn ends.
Special Features of This Beanie
- Bevering Stitch Texture: The body features a unique diamond-shaped texture.
- Customizable: Adjustable for different head sizes and yarn preferences.
- Beginner-Friendly: Uses simple stitches (e.g., single crochet, double crochet) but adds creative details for an intermediate-level look.
Step-by-Step Instructions
1. Creating the Ribbed Band
- Use the 4.5mm hook to start the ribbed band.
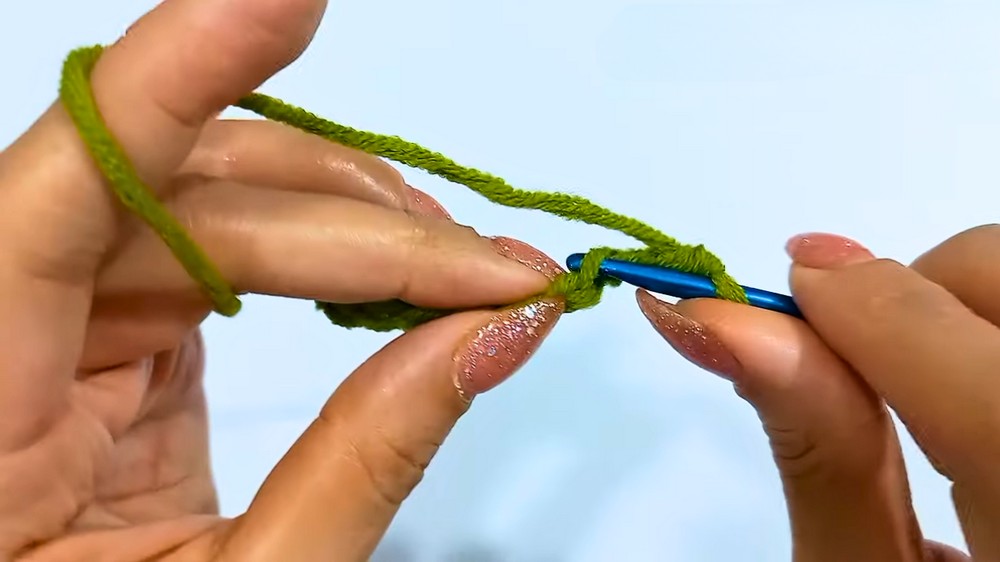
- Make a slip knot, then chain 9 stitches.
- For the first row: Skip the first chain, make single crochets (SC) across.
- For following rows: Alternate between single crochet into the back loop (middle stitches) and both loops for edge stitches.
- Repeat the row pattern until the band’s length matches the desired circumference.
- Note: Ensure the row count is a multiple of 6.
- Join the band edges using slip stitches to form a round band.
2. Starting the Beanie Body
- Switch to the 5mm hook.
- Crochet around the longer edge of the ribbed band:
- Single crochet into each row end.
- Ensure you make 60 single crochets (to match the ribbed band row count).

- Close the round with a slip stitch.
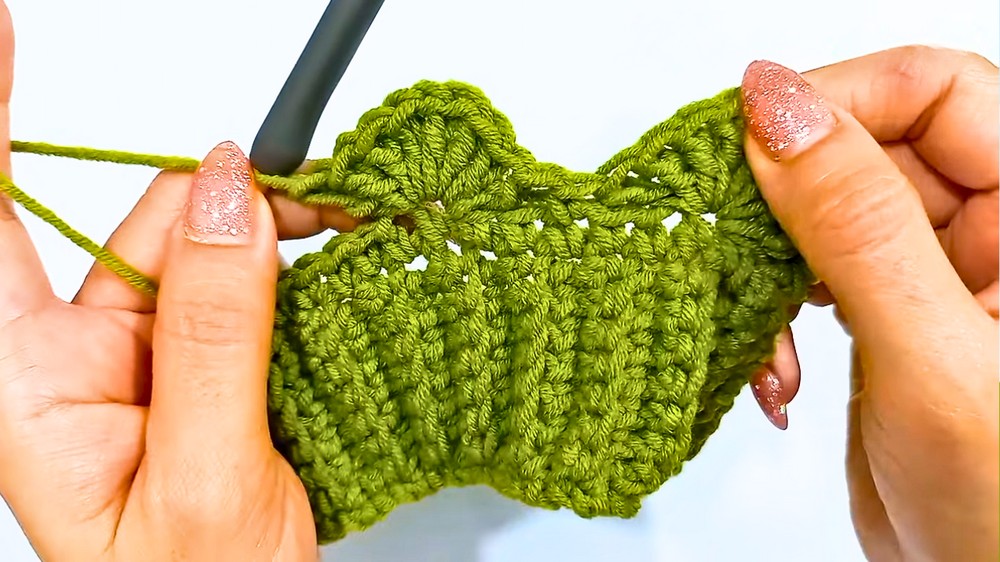
3. Creating the Textured Body
- Round 1 (Fan Stitch):
- Start with a single crochet, then skip two stitches.
- Work 4 double crochets, chain 1, and 4 double crochets into the same stitch (fan stitch).
- Skip two stitches and make a single crochet. Repeat this pattern around.
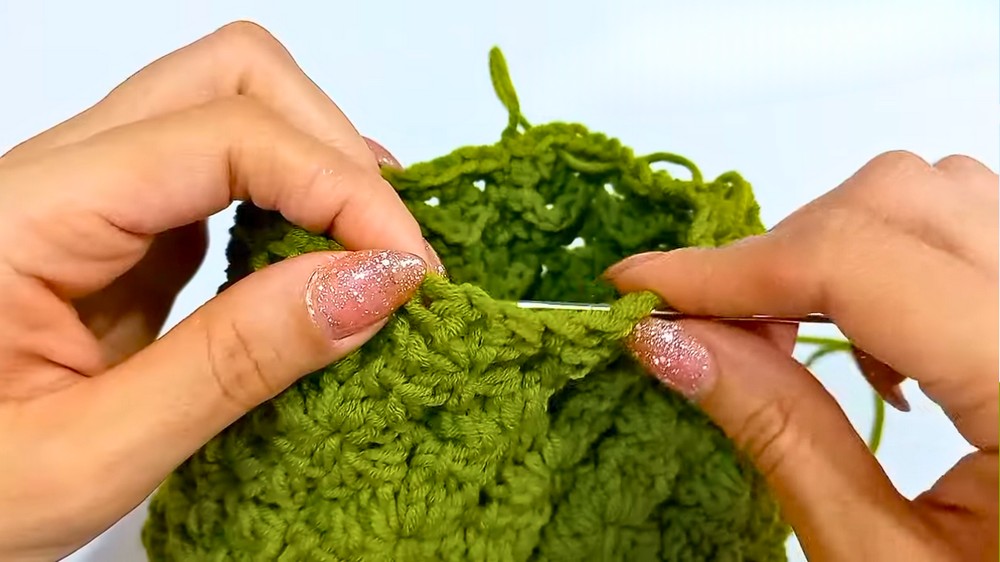
- Round 2 (Decreasing):
- Chain 1 and make a single crochet.
- Work a decrease stitch by combining incomplete back-post double crochets into a single stitch across 8 double crochets.
- Chain 3 and crochet into each chain space.
- Repeat Rounds 1 and 2 until you reach the desired beanie height (22 cm for a child size).
- This creates alternating fan stitches and decrease rows for its signature diamond pattern.
4. Shaping the Top of the Beanie
- As you proceed, reduce the stitches further at the top:
- Decrease fan stitches (from 4 double crochets to 3, then 2, and finally 1).
- Reduce the spacing between stitch sequences (chain spaces go from 3 to 2).
- Securely close the top by threading the yarn tail through chain 1 spaces and pulling it tightly.
- Fasten off and weave in ends using a tapestry needle.
5. Final Touch & Decoration
- Turn the hat right side out.
- Optionally, add a pom-pom for a decorative finish.
Difficulty Level
- Beginner-Intermediate.
The basic stitches (single crochet, double crochet) are beginner-friendly, while the textured pattern and decreases add an intermediate-level challenge.
Tutor’s Suggestions & Uses
- Customization: The tutor recommends adjusting the row count in the ribbed band to create hats for various head sizes (e.g., children, adults).
- Flexibility: You can use any yarn or hook size to suit your preference.
- Practical Use: This versatile beanie is perfect for cold weather and functions as a stylish accessory.
Tip
To maintain the diamond texture, count your stitches carefully and keep track of the sequence while working on patterned rounds (especially fan stitches and decreases). Miscounting can disrupt the symmetry of the texture.
Conclusion
This tutorial provides a simple yet creative way to crochet a ribbed and textured beanie hat. The beanie is customizable, stylish, and ideal for gifting or personal use. By combining basic crochet techniques with an intermediate textured stitch, it offers a fun and satisfying project for beginners looking to advance their skills.