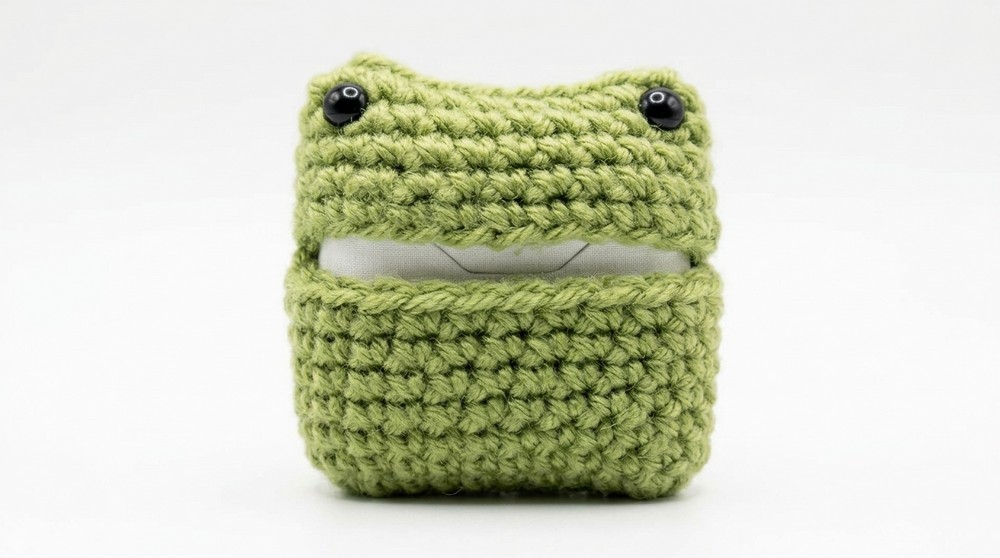
The soft texture feels comforting in your hands, while the bright green color makes it easy to spot. It can sit on your desk, hang from a keychain, or travel in your bag, combining usefulness with fun. Easy to make and full of charm, this little frog brings both protection and joy to your everyday life, turning a simple accessory into a friendly, practical companion.
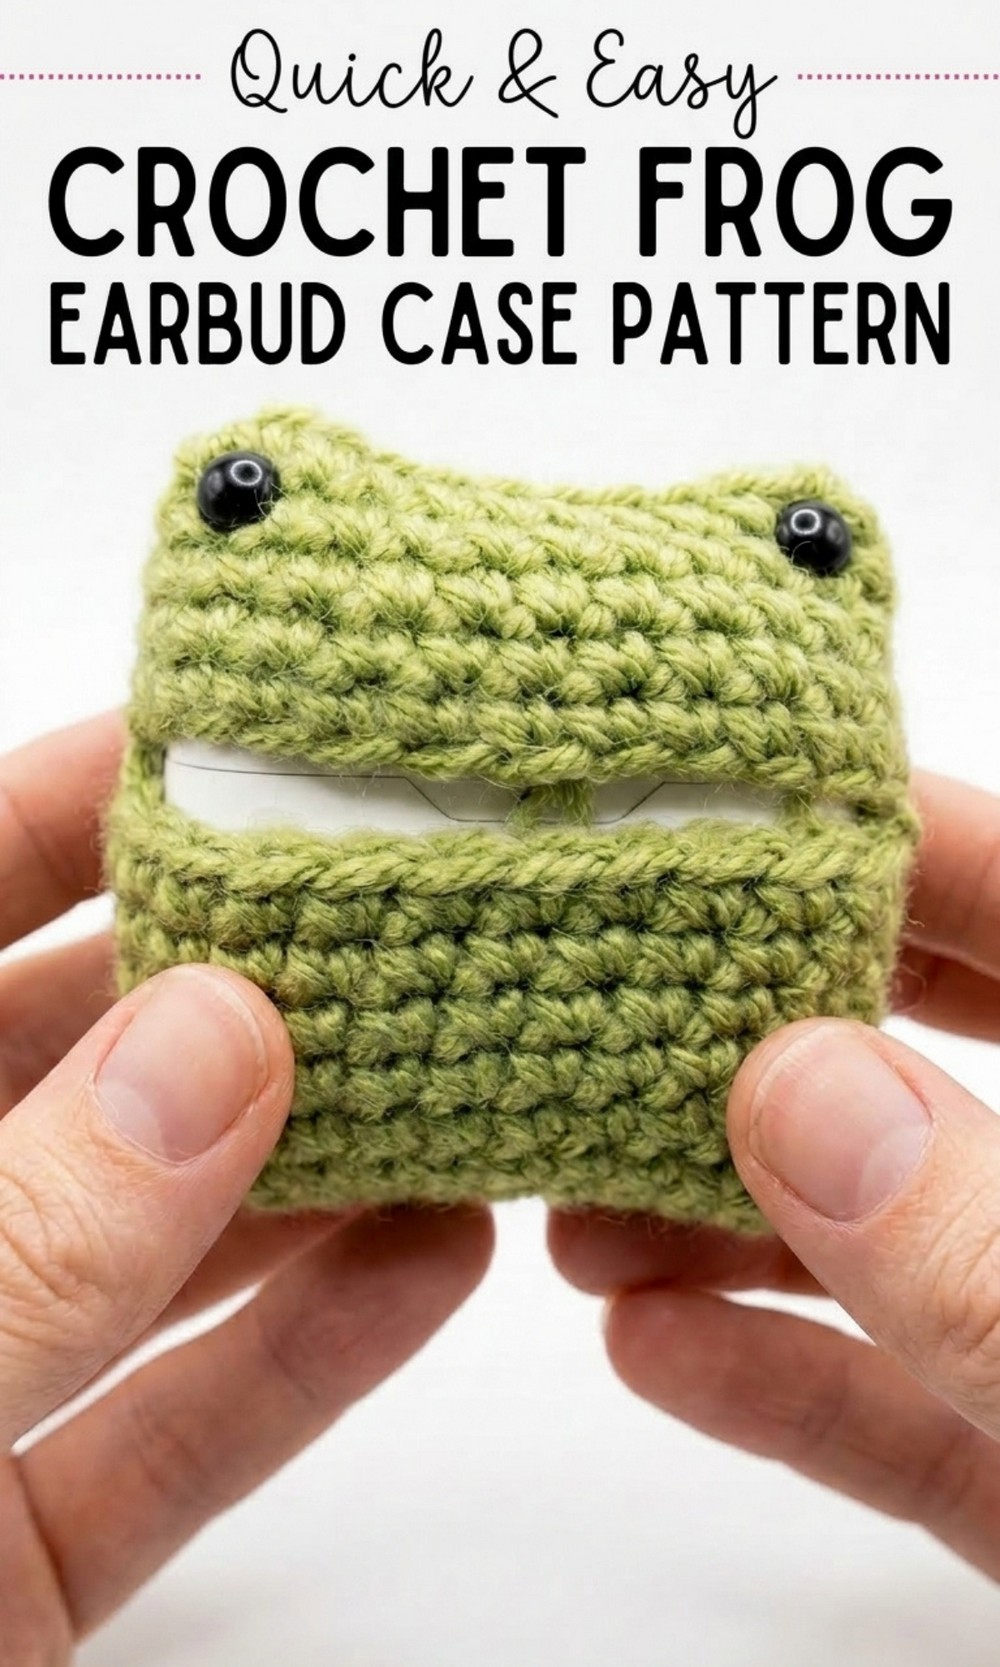
Free Frog Earbud Case Crochet Pattern
Materials
- Yarn:
- Four-weight yarn (green for the case, optional white for detailing).
- Crochet Hook:
- 4 mm (G) hook.
- Safety Eyes:
- 9 mm size. You may adjust the size based on preference.
- Stitch Marker:
- Used to keep track of your rows and the beginning of each round.
- Tapestry Needle:
- For assembly and sewing in the ends.
- Scissors:
- For trimming leftover ends.
Special Techniques and Stitches (US Terms)
- Slip Knot:
A looped knot to start your chain. - Chain Stitch (ch):
Yarn over (YO) and pull through the loop on the hook. - Single Crochet (sc):
Insert hook into stitch, YO, pull through, YO again, and pull through both loops on the hook. - Slip Stitch (sl st):
Insert hook, YO, and pull through the stitch and the loop on the hook. - Working in Two Sides of Foundation Chain:
Crochet along one side of a chain, then flip and work along the opposite side for a seamless, rounded shape. - Magic Loop/Adjustable Ring (optional):
To start seamless circular rounds.
Pattern Instructions
1. Bottom Portion of the Frog Case
Step 1: Start the Base
- Begin by creating a slip knot and chain 10 stitches.
(If required, adjust the chain length to fit your earbuds case—add or subtract stitches for larger or smaller sizes.) - Add 1 extra chain, making a total of 11 chains.

Step 2: Work the First Side
- Skip the first chain (nearest the hook).
- Single crochet (sc) into the second chain and place a stitch marker in the first stitch to mark the round’s start.
- Continue working 1 sc into each chain until you reach the last chain (10 single crochets total).
Step 3: Transition to the Other Side
- Place 2 sc into the last chain to pivot and begin working along the opposite side of the chain. This creates a rounded corner.
- Work 1 sc into each chain along the opposite side (10 stitches total).
Step 4: Adjust Stitch Count
- At the original starting point, place 1 extra sc into the same chain space to even out the round.
- At the end of Round 1, you should have 21 stitches total.

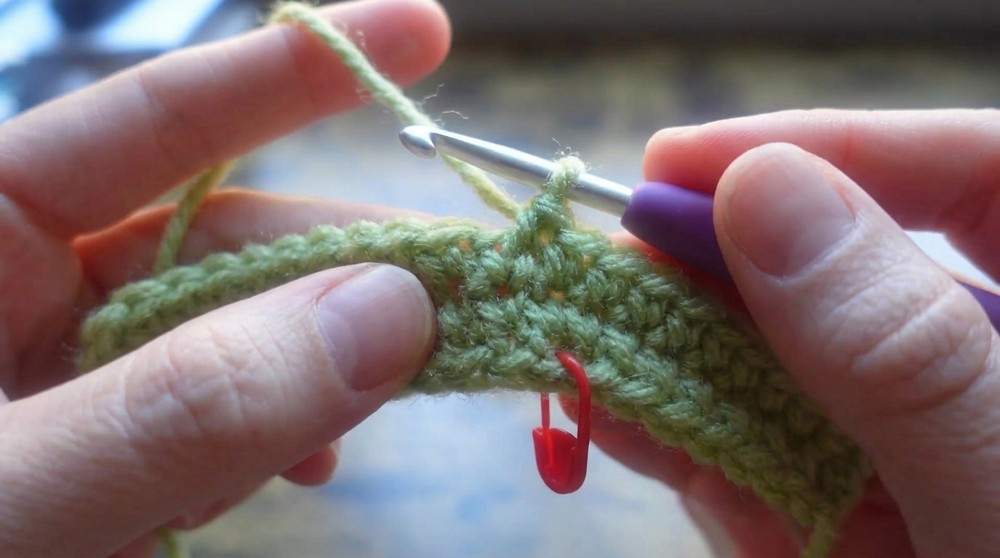
2. Build the Walls of the Case
Step 5: Crochet the Height
- Remove the stitch marker and start the next round by placing 1 sc into the first stitch. Move the marker to the new stitch.
- Work 1 sc into each stitch around (21 stitches per row).
- Repeat this process for 7–8 rows, depending on the height of your earbud case. Adjust the row count so the top fits snugly at the opening.
(Make sure the case covers the lower portion of your earbuds securely.)
3. Top Flap (Frog Head)
Step 6: Begin the Flap
- Start the next round with 1 sc, moving up the stitch marker.
- Work 1 sc into the next 11 stitches, leaving the remaining 10 stitches on the opposite side unworked.
- When you reach the beginning, chain 10 stitches to create a flap.
Step 7: Create the Gap
- Skip the next 10 unworked stitches from the base and insert 1 sc into the first stitch on the worked side.
- Continue single crocheting around until you reach the chain you created.
Step 8: Build the Frog Head
- Over the next rows, work 1 sc into the chain spaces (10 stitches).
- Repeat rounds until the flap reaches your desired height (approximately 4–5 rows).
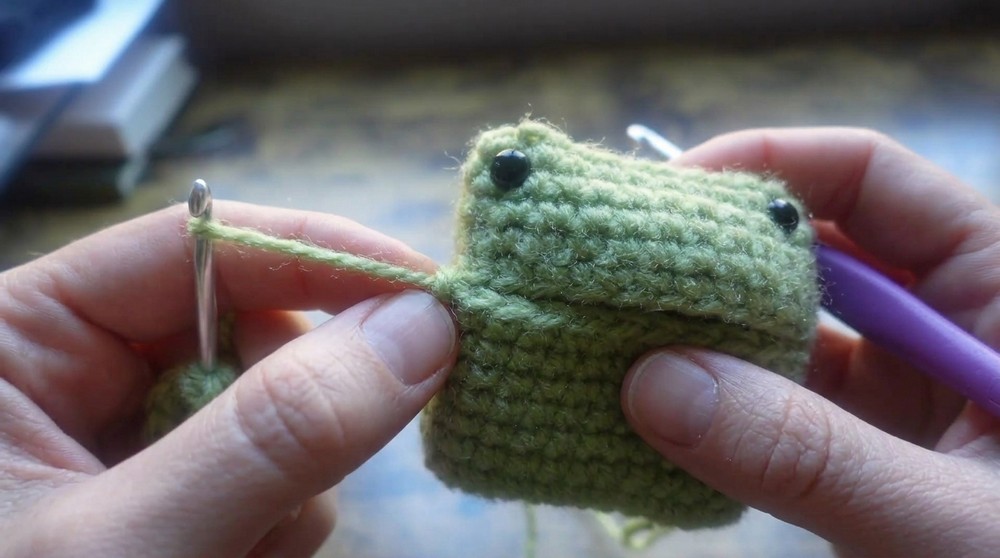
4. Closing the Flap
Step 9: Finish the Frog Head
- Ensure the final row ends at the corner of your work. If not, adjust the stitch marker or slip stitch to move to the correct position.
- Slip stitch into the last stitch.
- Chain 1, cut the yarn. Leave a long tail for sewing.
Step 10: Sew the Flap Shut
- Turn the case inside out so the back side of the stitches faces you.
- Using a tapestry needle, sew the flap shut by alternating between the front and back loops of each “V” stitch.
- Once the top is neatly closed, knot the yarn securely. Flip the piece back to its right side.
5. Attach Safety Eyes
Step 11: Place the Eyes
- Position the safety eyes on the frog’s flap at the desired locations.
- Ensure the eyes are spaced evenly for symmetry.
- Secure the backs of the safety eyes, making sure they are fastened tightly through the yarn.
6. Finishing Touches
- Trim yarn ends and sew any leftover threads into the completed piece using the tapestry needle.
- Place your earbuds case into the bottom section of the frog case, making sure it fits snugly.
- Pull the frog’s head flap over the top and admire your cute, completed project!

Tips for Success
- Gauge is not essential, but check the size of your earbuds case and adjust chains or rows accordingly.
- Use bright green yarn for a cheerful look, or mix colors for unique styles (e.g., neon green or pastel hues).
- For added whimsy, embroider details onto the frog’s face, such as a smile or cheeks.
- Insert the safety eyes before completing the final rounds for easier placement.
Final Words
This sweet frog earbud case is an ideal quick project for practical use or a whimsical gift. It’s easily adjustable to fit different-sized devices, and with creative customization, you can make it truly one-of-a-kind. Combine fun stitches, charming design, and your favorite yarn colors to create an adorable, functional accessory everyone will love.