Style hair with charm using an easy crochet bow pattern that’s perfect for creating lightweight, elegant hair ties customizable for any occasion.
A simple hair accessory can sometimes steal the show, don’t you think? A basic hair tie into an adorable statement piece that adds personality to any outfit. That’s where a crochet bow pattern comes into play, it’s the perfect choice for crafting stylish, lightweight bows that serve both form and function.
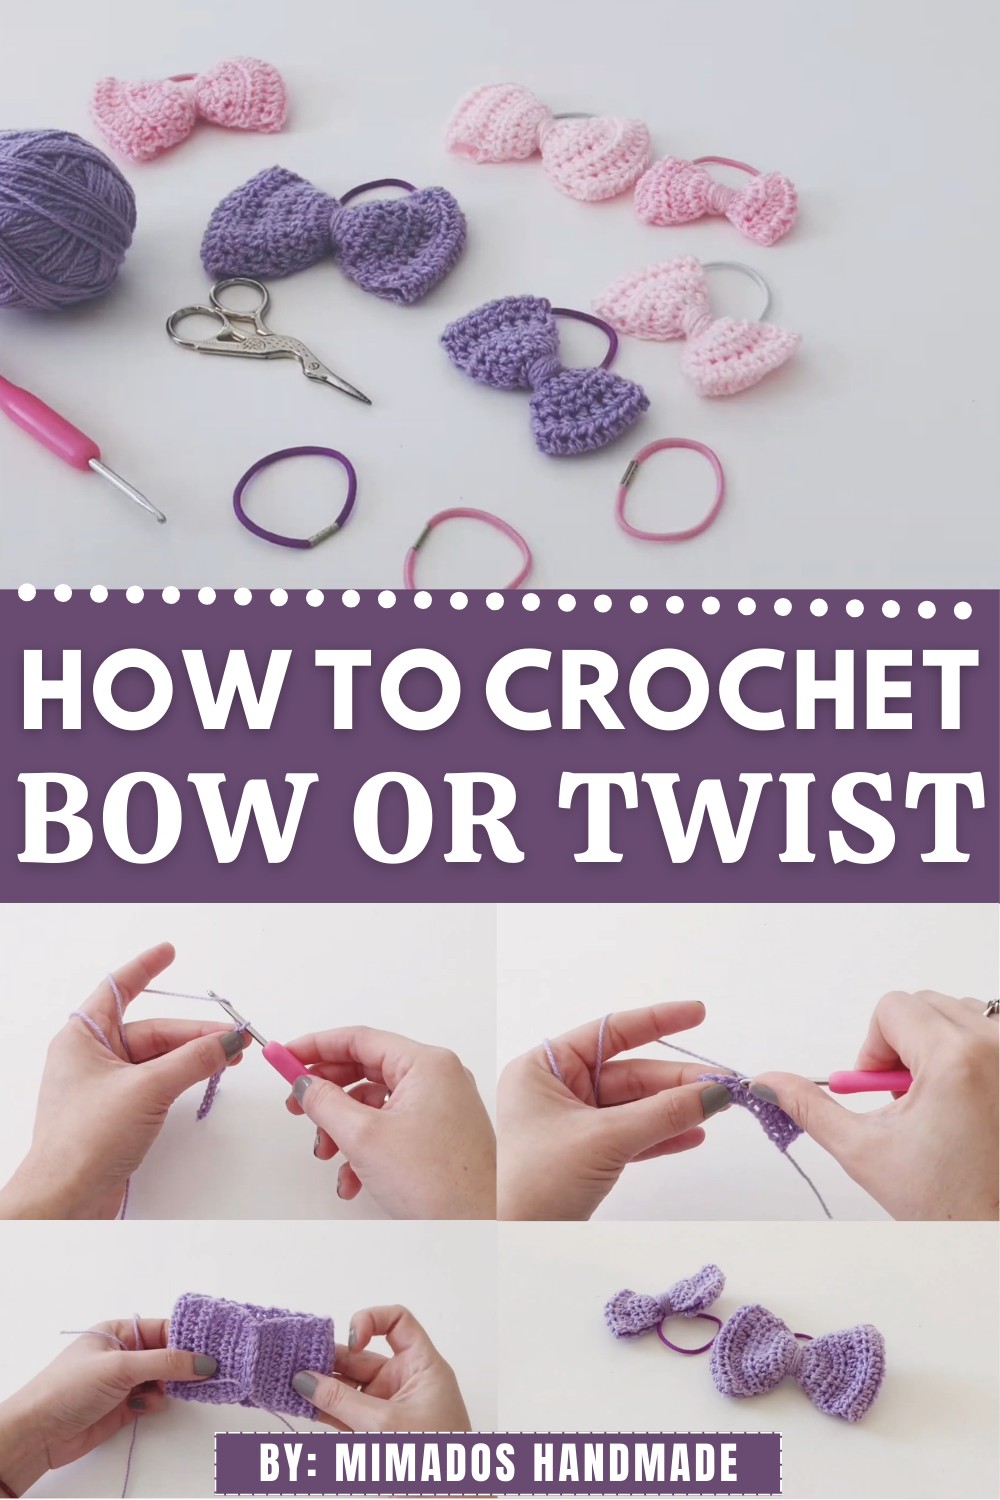
Easy Crochet Bow Pattern for Trendy Hair Ties
Whether you’re enhancing a child’s ponytail, adding charm to casual updos, or accessorizing gift wraps, these bows work wonders. Their versatility shines as they comfortably complement everything from day-to-day wear to festive ensembles. Creating them is quick, beginner-friendly, and budget-conscious, making it an ideal handmade project. With endless possibilities in colors and textures, a crochet bow hair tie combines practicality, creativity, and elegance in one stitch.
Crochet Hair Bow in Two Sizes
This pattern guides you through creating two sizes of lovely crochet bows, perfect for a variety of uses such as hair ties, decorative accents, or handmade gifts. They are quick, fun, and customizable!
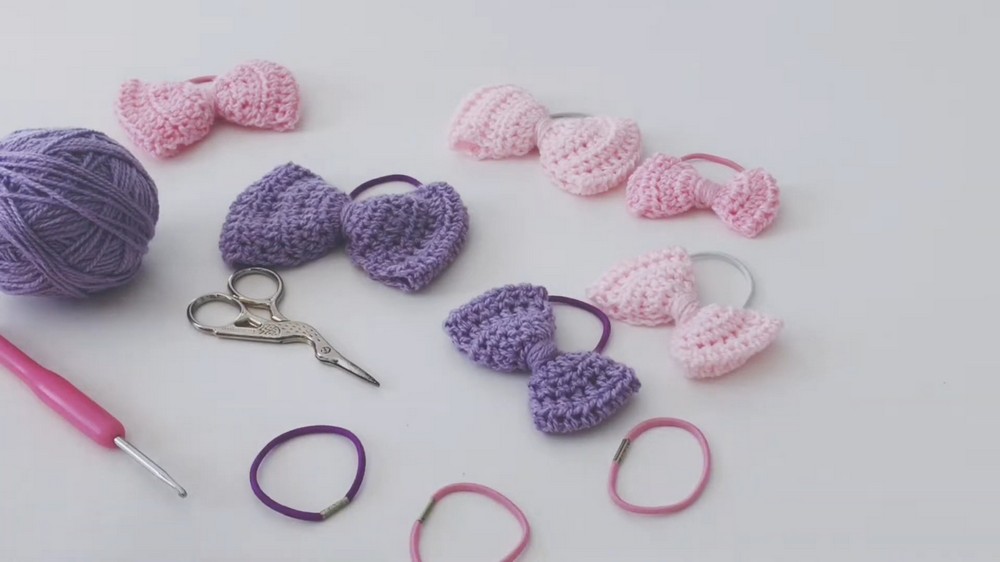
Materials Needed
- Yarn: Baby or lightweight yarn (choose any color you like).
- Crochet Hook: 3.5 mm.
- Scissors
- Elastic Hair Tie: Any type of durable elastic band.
- Yarn Needle: For weaving in ends.
Skill Level
Beginner
Special Notes
- These bows are crocheted as simple rectangles, cinched in the middle, and transformed into a functional or decorative piece.
- The pattern includes two sizes: Small Bow and Large Bow. Adjustments for custom sizes are detailed in the customization section.
- Tension: Maintain consistent tension throughout the project to produce even rows and clearly defined edges.
Step-By-Step Pattern
Large Bow Pattern
- Foundation Row:
- Ch 11.
- Add 2 extra chains (counts as the first Hdc).
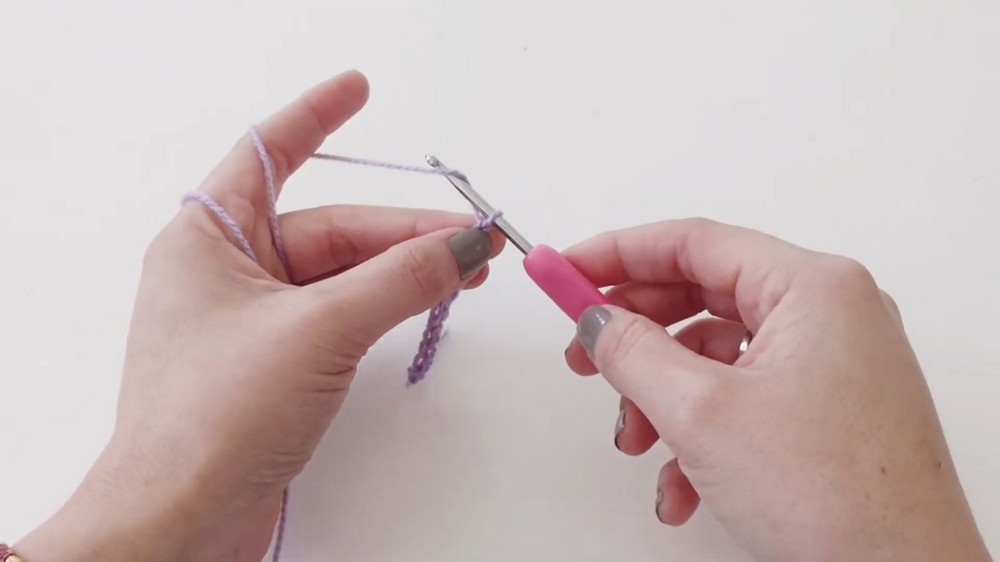
- Row 1:
- Starting from the third chain from the hook, work 1 Hdc in each chain across. You should have 12 Hdc in total (including the turning chains).
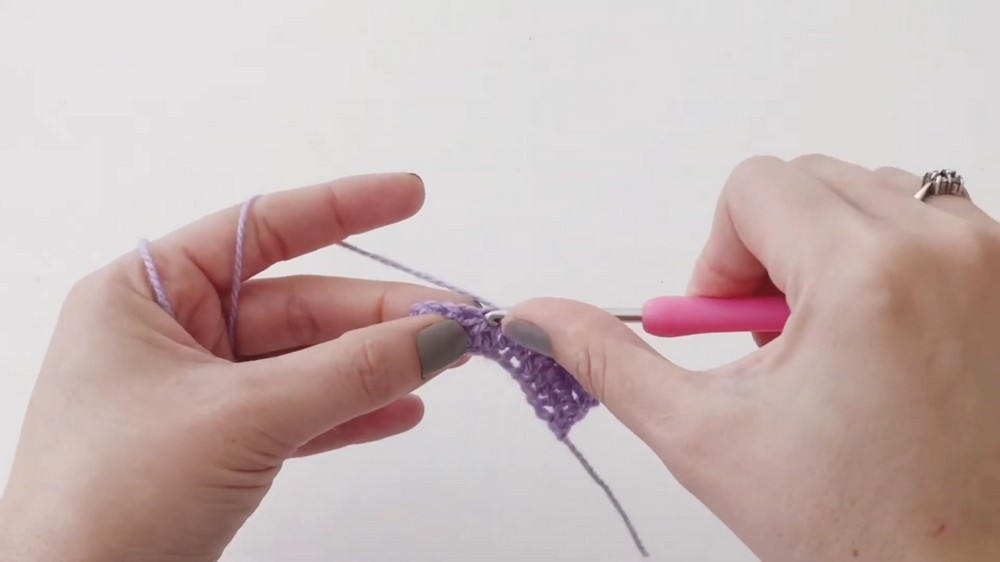
- Row 2-Onward:
- Ch 2, turn the work. Work 1 Hdc in each stitch across (12 Hdc in total). Ensure the turning chains count as the first Hdc of each row.
- Ch 2, turn the work. Work 1 Hdc in each stitch across (12 Hdc in total). Ensure the turning chains count as the first Hdc of each row.
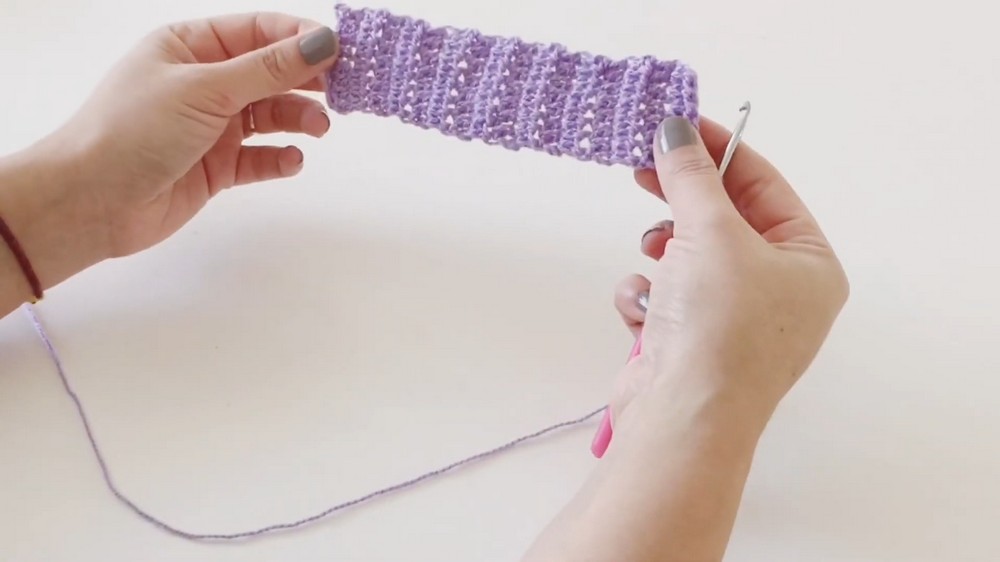
- Continue:
- Repeat Row 2 until you have completed a total of 24 rows. This forms a large rectangular shape that will be the main body of the bow.
- Seaming:
- Fold the rectangle in half widthwise so the starting and ending edges meet.
- Using sl st, join the edges together by working through one loop from each side of the fabric. This forms a tube shape.
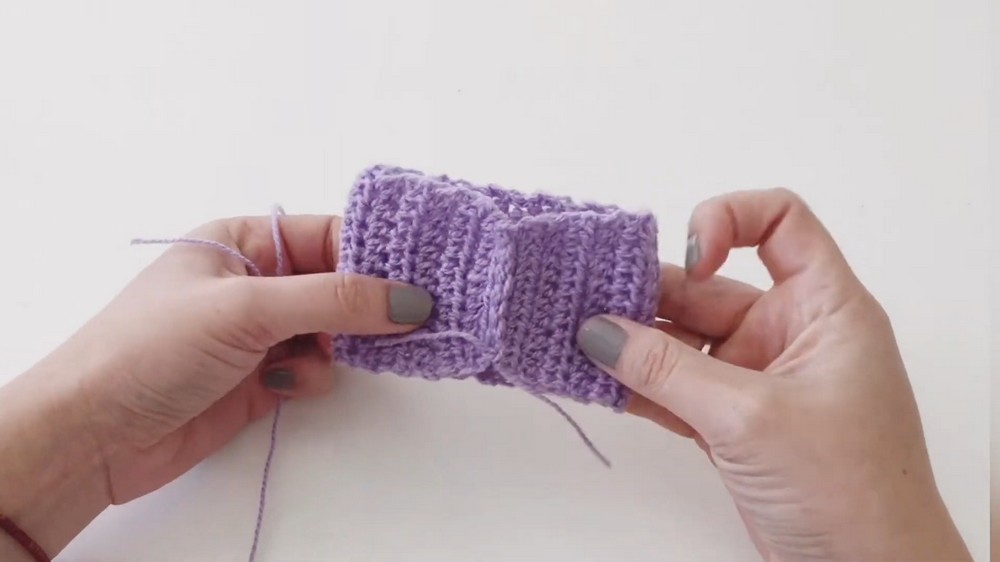
- Shaping the Bow:
- Center the seam along the back of the bow.
- Pinch the fabric in the middle to create a bow shape. Use a long piece of yarn (from the same or contrasting color) to wrap around the center about 10 times securely.
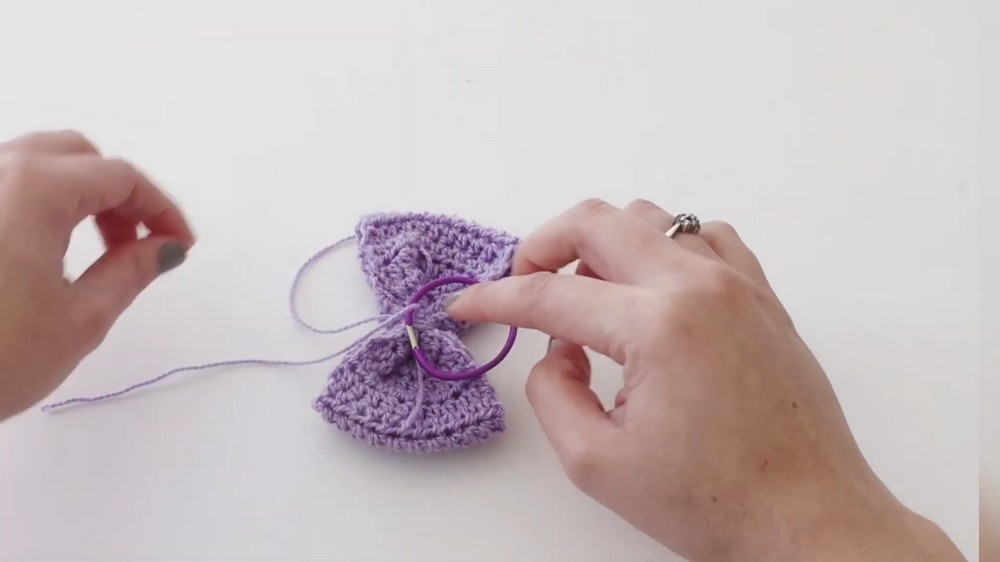
- Add Hair Tie:
- Place the elastic hair tie behind the wrapped center. Secure the tie in place by continuing to wrap the yarn tightly around both the bow and the elastic.
- Place the elastic hair tie behind the wrapped center. Secure the tie in place by continuing to wrap the yarn tightly around both the bow and the elastic.
- Finish:
- Tie the yarn ends securely at the back with a double knot. Use a yarn needle to weave in the loose ends. Ensure that the hair tie is snugly attached.
Small Bow Pattern
The small bow follows the same steps as the large bow, but with different initial dimensions:
- Foundation Row:
- Ch 7, then add 2 extra chains.
- Row 1:
- Starting from the third chain from the hook, work 1 Hdc in each chain across. You should have 8 Hdc in total (including turning chains).
- Starting from the third chain from the hook, work 1 Hdc in each chain across. You should have 8 Hdc in total (including turning chains).
- Row 2-Onward:
- Ch 2, turn. Work 1 Hdc in each stitch across (8 Hdc in total).
- Continue:
- Repeat Row 2 until you have completed a total of 16 rows.
- Seaming:
- Follow the same steps as in the large bow: Fold, sl st the edges together, and shape the bow by wrapping yarn around the center.
- Add Hair Tie:
- Place a smaller elastic band behind the center and secure it the same way as the large bow.
- Place a smaller elastic band behind the center and secure it the same way as the large bow.
Customization Ideas
Change in Size:
- Larger Bow: Add more chains for the foundation row and work additional rows for more height. For example:
- Foundation Row: Ch 14, and work Hdc across.
- Keep increasing until the bow matches your desired size.
- Smaller Bow: Work fewer stitches and rows. For example:
- Foundation Row: Ch 5 for a miniature bow.
Change in Color:
- Use variegated yarn for a multicolor effect.
- Add stripes by switching yarn colors every few rows.
- Match colors to outfits or events for customization (e.g., white for weddings, red for holidays).
Additions:
- Attach a button, bead, or appliqué to the center for an elegant touch.
- Use glittery yarn or metallic thread for a standout bow.
Tips for Success
- Double-check stitch and row counts to ensure accurate sizing.
- Choose a durable but lightweight yarn to keep the bows from becoming too heavy when worn.
- When wrapping yarn around the center of the bow, make sure it is tight enough to hold the shape but not so tight that it distorts the edges of the bow.
Conclusion
This crochet project is quick, fun, and provides charming results that are functional and decorative. Perfect for beginners and experienced crocheters alike, these bows can be scaled up or down and personalized in countless ways. Whether you’re making them for children, party favors, or gifts, these bows will always add a touch of handmade elegance.
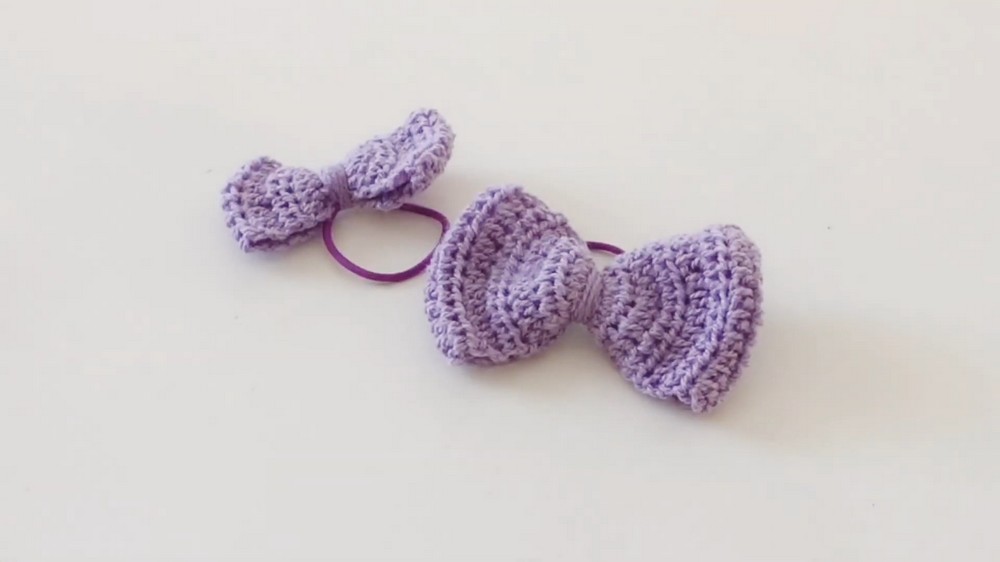
Final Look
The large bow ends up measuring approximately 6 cm wide x 20 cm tall, and the small bow measures 4 cm wide x 14 cm tall. Both are eye-catching and versatile while maintaining their lightweight and airy structure. When attached to an elastic hair tie, they transform into adorable accessories for all ages.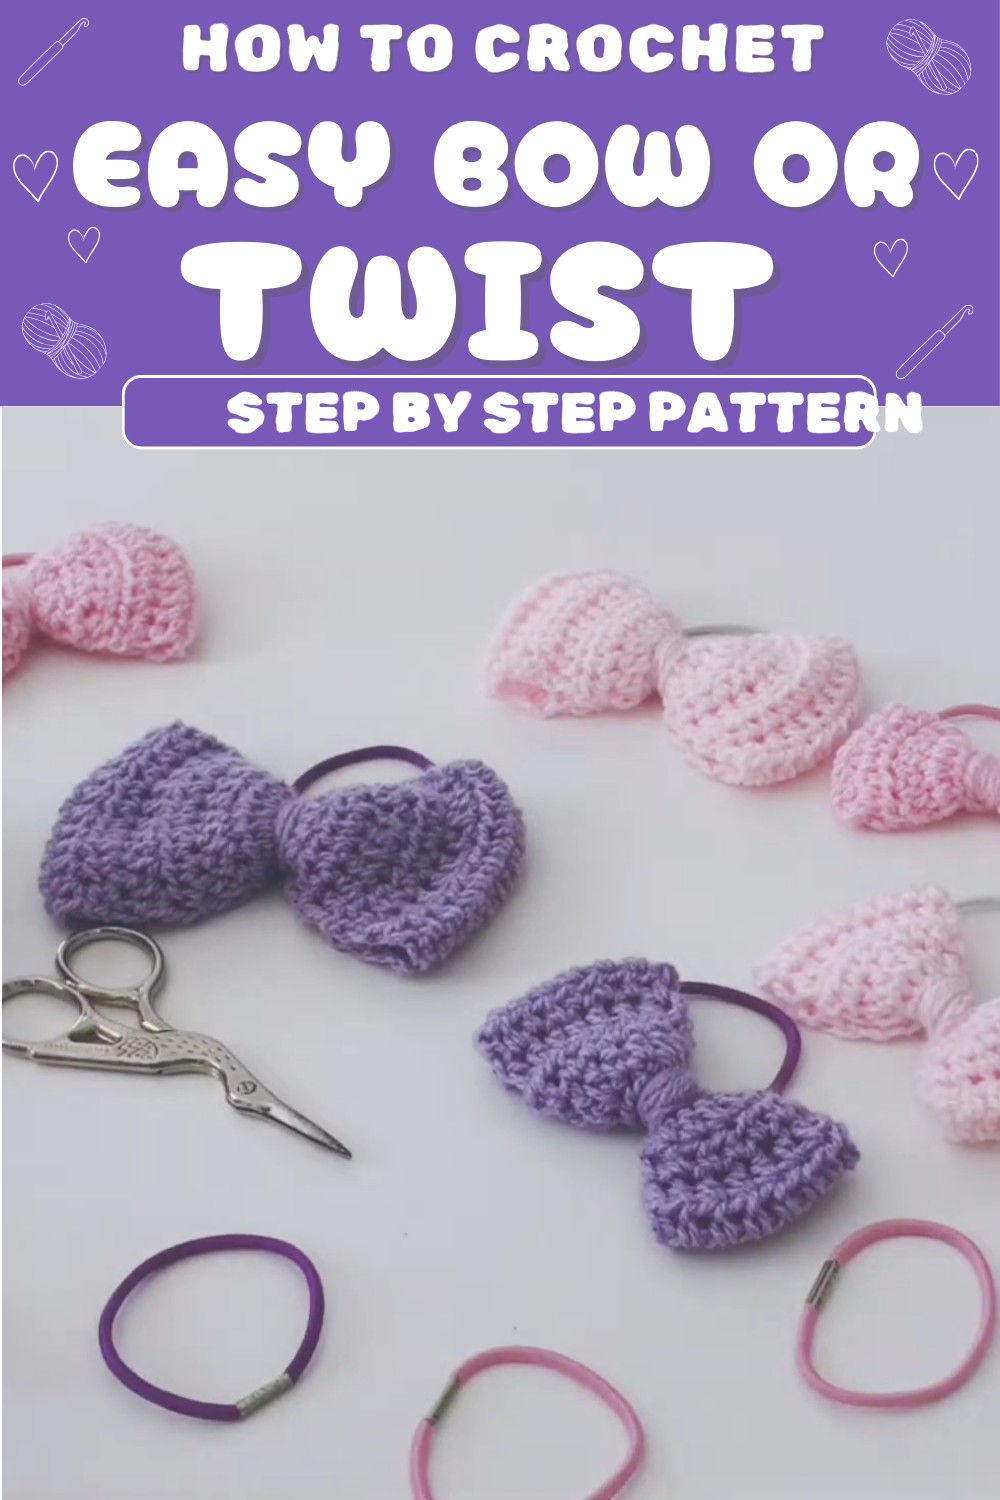
Pattern Variation
- For variety, experiment with different shapes or textures: Use single crochet (Sc) instead of Hdc for a denser texture.
- Try adding frills or picot edging for a fancier design.
- Create double bows: Stack two bows (one large and one small) for a layered effect!