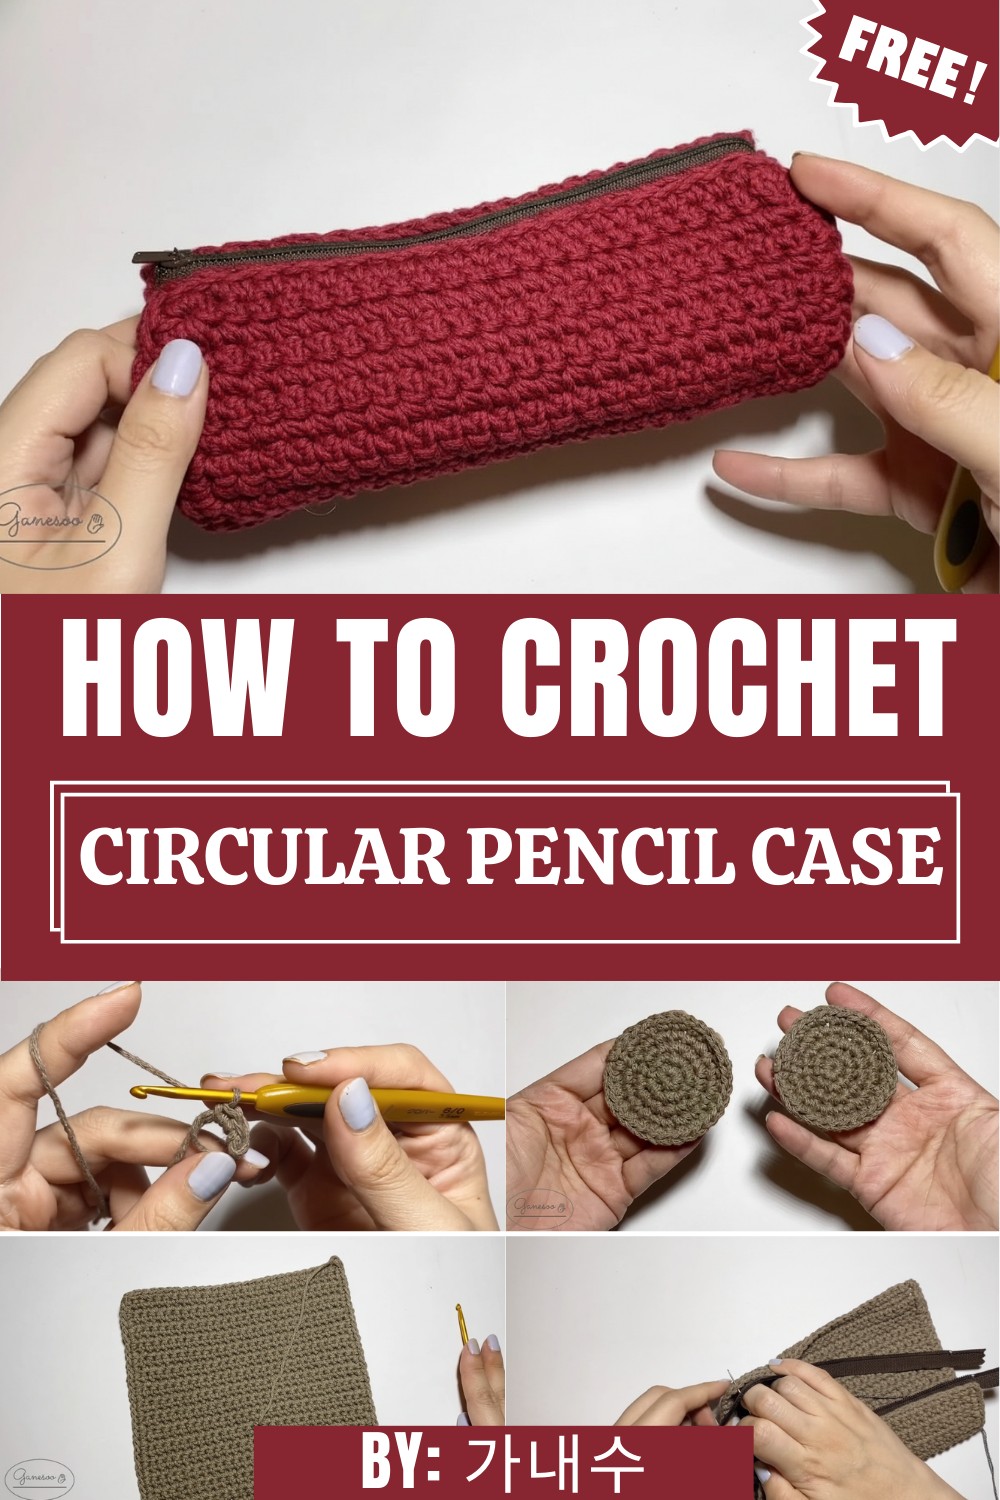
Twirl into fun with this Free Crochet Circular Pencil Case Pattern, offering stylish, functional, and handmade storage for all your essentials.
A playful swirl of yarn turns into a charming and functional pouch with this design. The Free Crochet Circular Pencil Case Pattern lets you work in the round, creating a smooth, tubular shape that holds pens, pencils, crochet hooks, or other small essentials with ease.
Eye-Catching Crochet Circular Pencil Case Pattern That Pops in Color
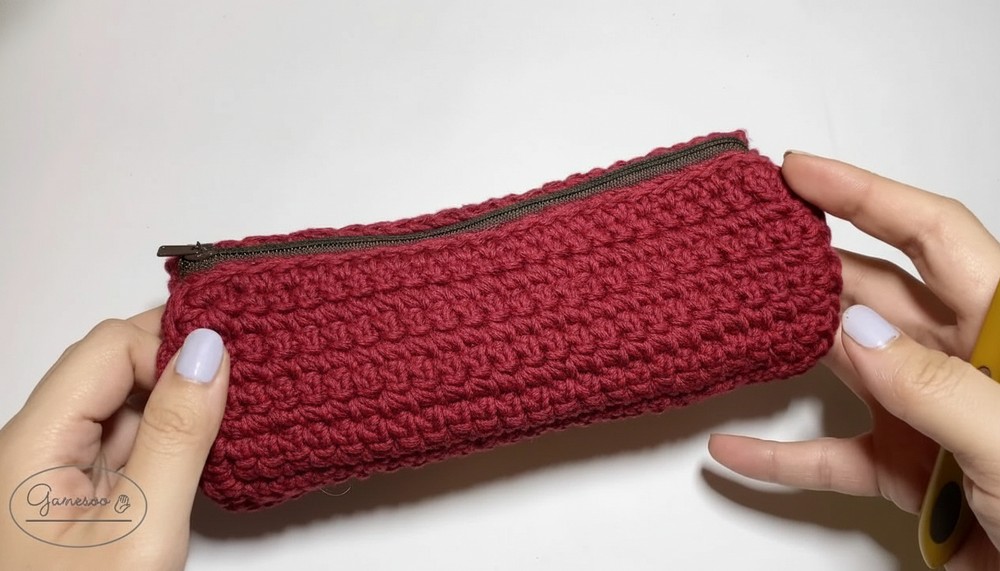
Its curved form and consistent stitchwork give it a polished yet soft feel, making it both sturdy and flexible enough to slip into your bag. As the rounds grow, the stitches form a rhythmic, almost hypnotic pattern, turning your project into a delightful hands-on experience. The finished pencil case balances capacity and compactness perfectly, keeping your tools organized without taking up too much space.
Its seamless, circular design makes everything inside easy to spot and grab, while the handmade texture adds personality and charm to everyday tasks.
With each stitch, it combines practicality, style, and a dash of creative joy, transforming ordinary storage into a fun, handmade accessory that’s as enjoyable to make as it is to use.
This little pouch is ideal for brightening your desk, sprucing up your craft corner, or adding a playful touch to your tote.
Crochet Circular Pencil Case
Materials and Tools
Gather the following items to start your project:
-
Yarn: “PU Twist” cotton yarn (or any firm, stiff yarn like cotton or acrylic blend that holds its shape).
-
Crochet Hook: A 4 mm hook.
-
Zipper: One zipper, sized appropriately for the length of your rectangular body piece.
-
Assembly Tools: A tapestry needle (돗바늘) for seaming and a sewing needle and thread (matching the yarn color) for attaching the zipper.
Special Features
-
Cylindrical Shape: The finished product is a round, spacious pencil case, providing ample storage for multiple pens.
-
Zipper Closure: The case features a functional zipper closure along the top edge, ensuring secure storage.
-
Structured Fabric: The use of firm yarn and single crochet provides a dense, stable fabric that helps the case maintain its cylindrical shape.
Level of Difficulty
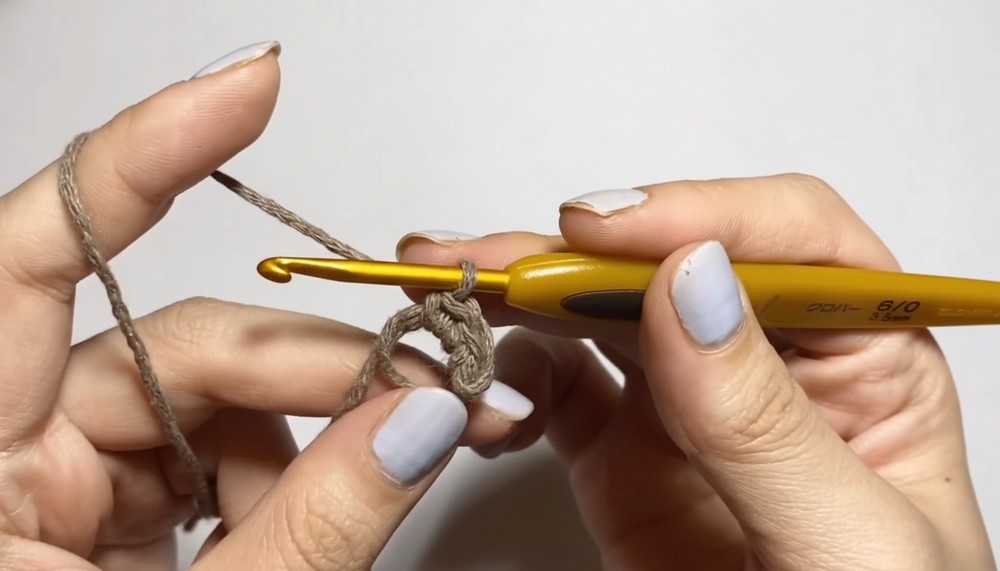
This is an Intermediate project. While the main stitch is simple single crochet, the difficulty comes from working a seamless round foundation (Magic Ring), ensuring precise tension on the rectangular body, and the neat attachment of the zipper and the final round ends.
Tutor’s Suggestions
-
Yarn Choice: Select a stiff, non-stretchy yarn (like cotton) to ensure the finished pencil case is firm and holds its shape well.
-
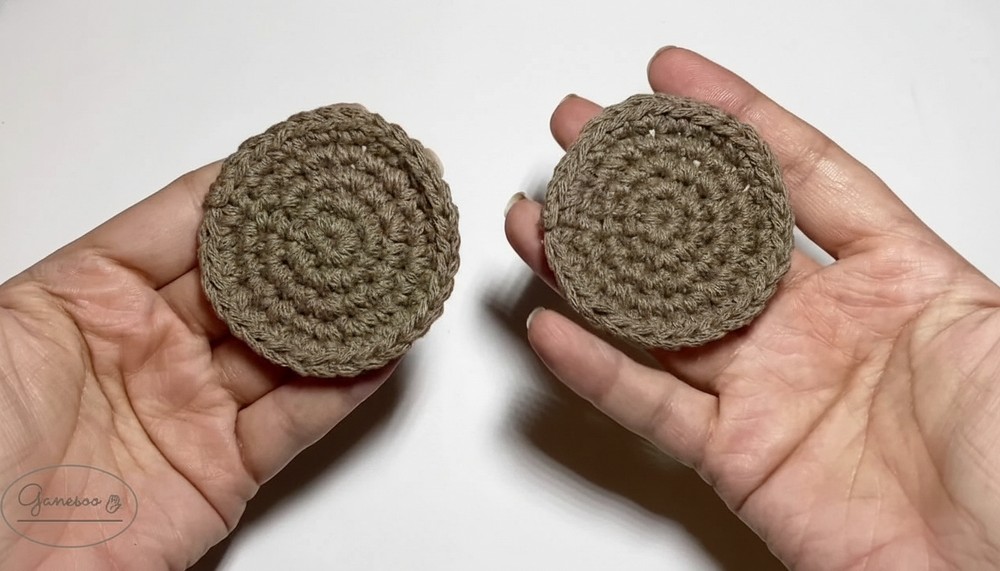
Sizing Consistency: Ensure your circular ends have the correct number of stitches (30 stitches after 5 rounds) to perfectly match the number of rows on the short side of the body piece (30 rows).
-
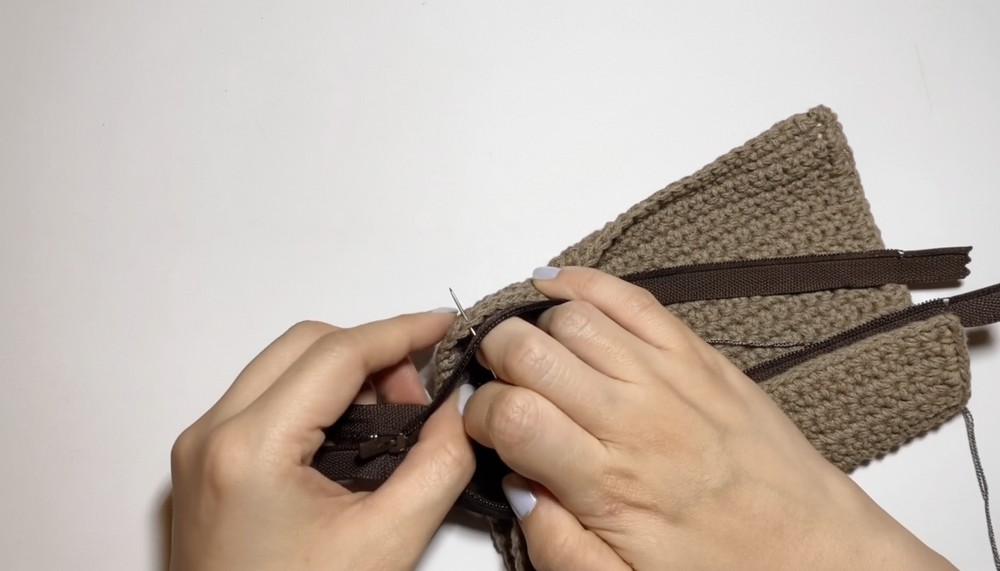
Hiding the Zipper Seam: When sewing the zipper to the body, insert the sewing needle below the top chain of the single crochet row. This technique conceals the sewing thread, creating a much tidier finish.
Uses
-
Pencil and Stationery Storage: The primary use is a durable case for pens, pencils, and other writing tools.
-
Quiet School Accessory: It serves as a quiet alternative to noisy metal or hard-shell pencil cases, which are often restricted in schools.
Step-by-Step Instructions
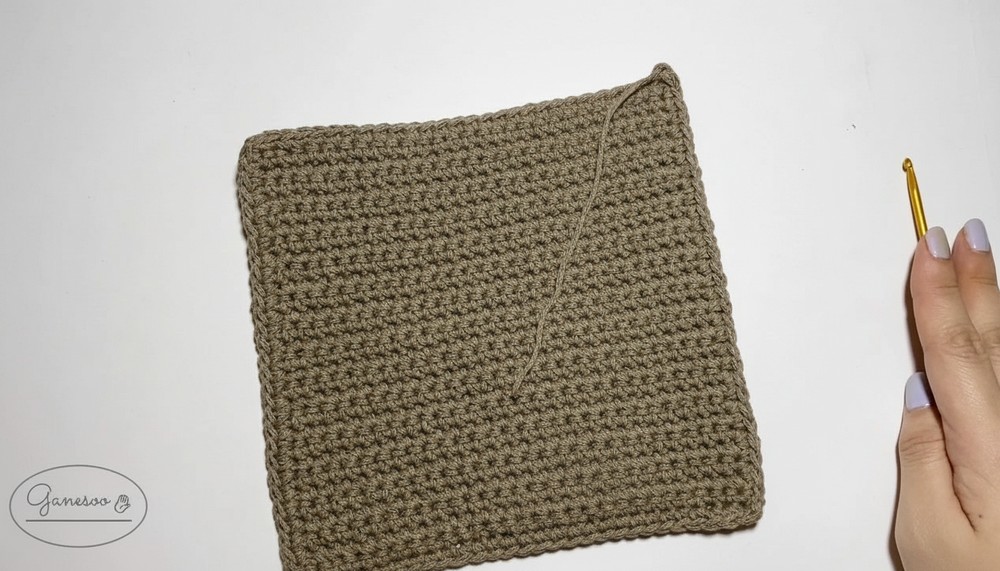
This tutorial guides you through crocheting a sturdy, cylindrical pencil case using single crochet (SC) and the Magic Ring technique. You will create two round end pieces and one rectangular body piece, which you then assemble with a zipper to form a structured pouch.
Conclusion
You have successfully completed a durable, cylindrical pencil case by combining simple crocheted pieces and finishing them with a functional zipper and tight seams. This project results in a structured accessory perfect for daily use.
Tip
Use a sewing needle and thread that exactly matches the color of your yarn when you attach the zipper and seam the ends. This attention to detail will help hide the machine sewing, creating a professional and polished appearance for your finished handmade item.