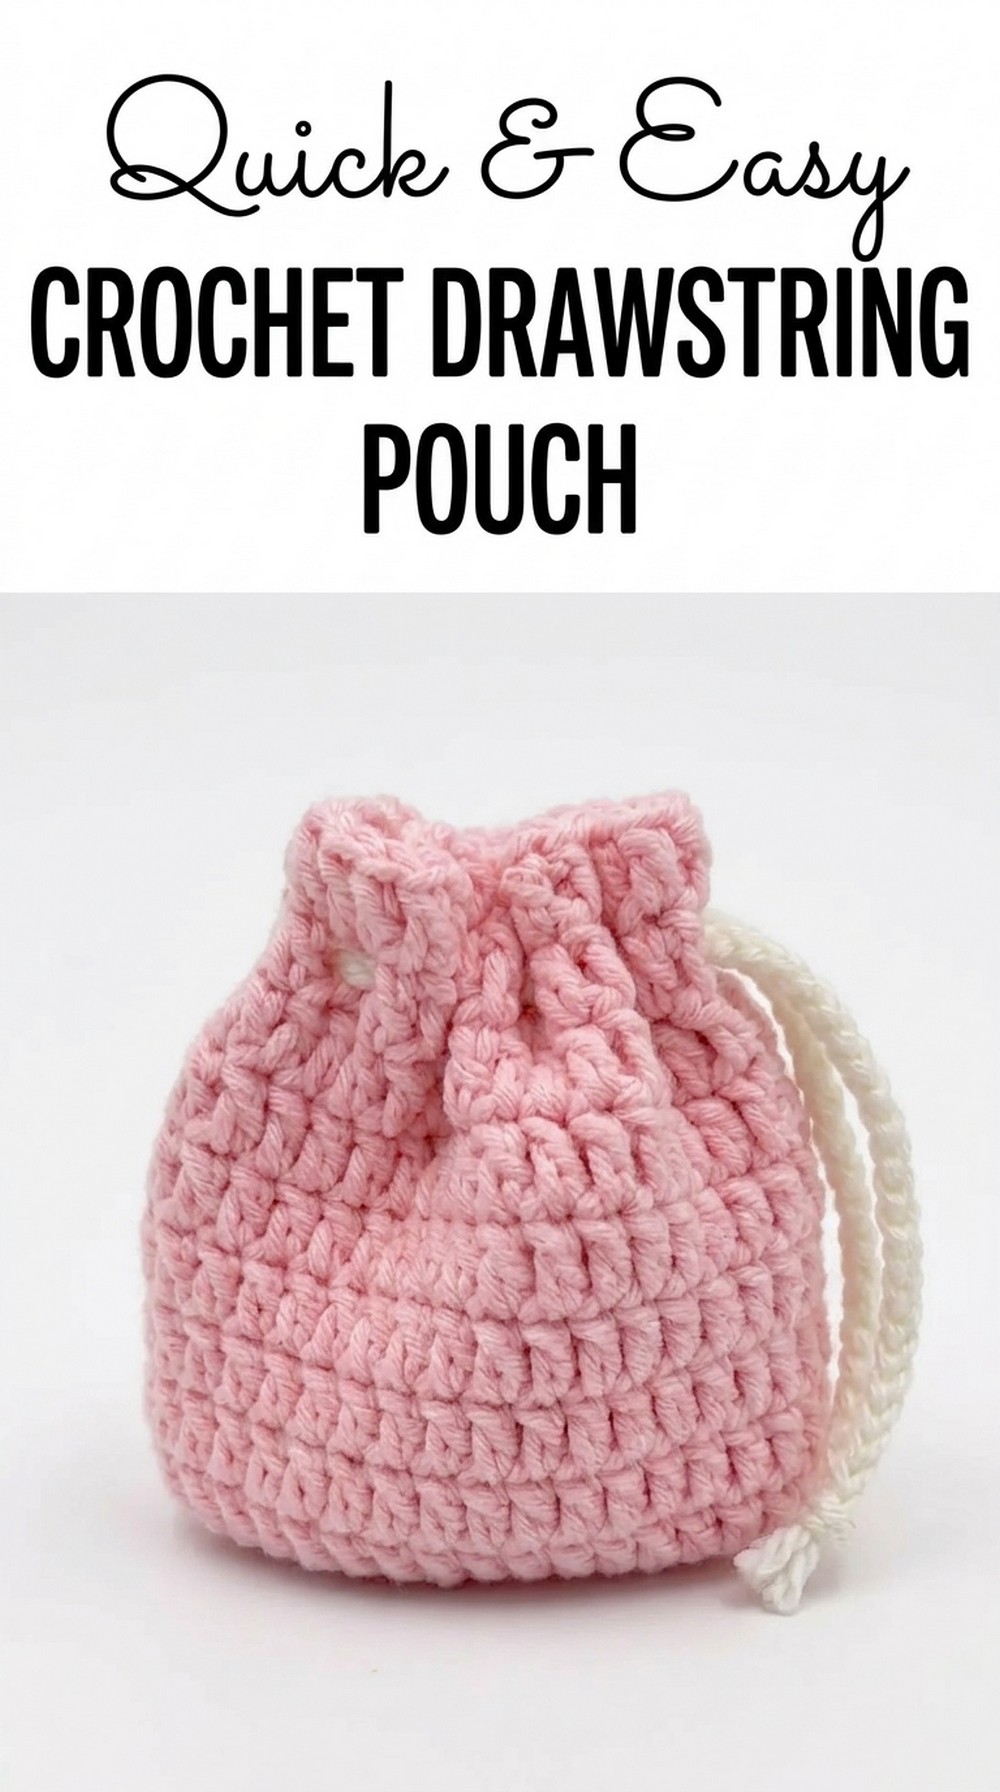
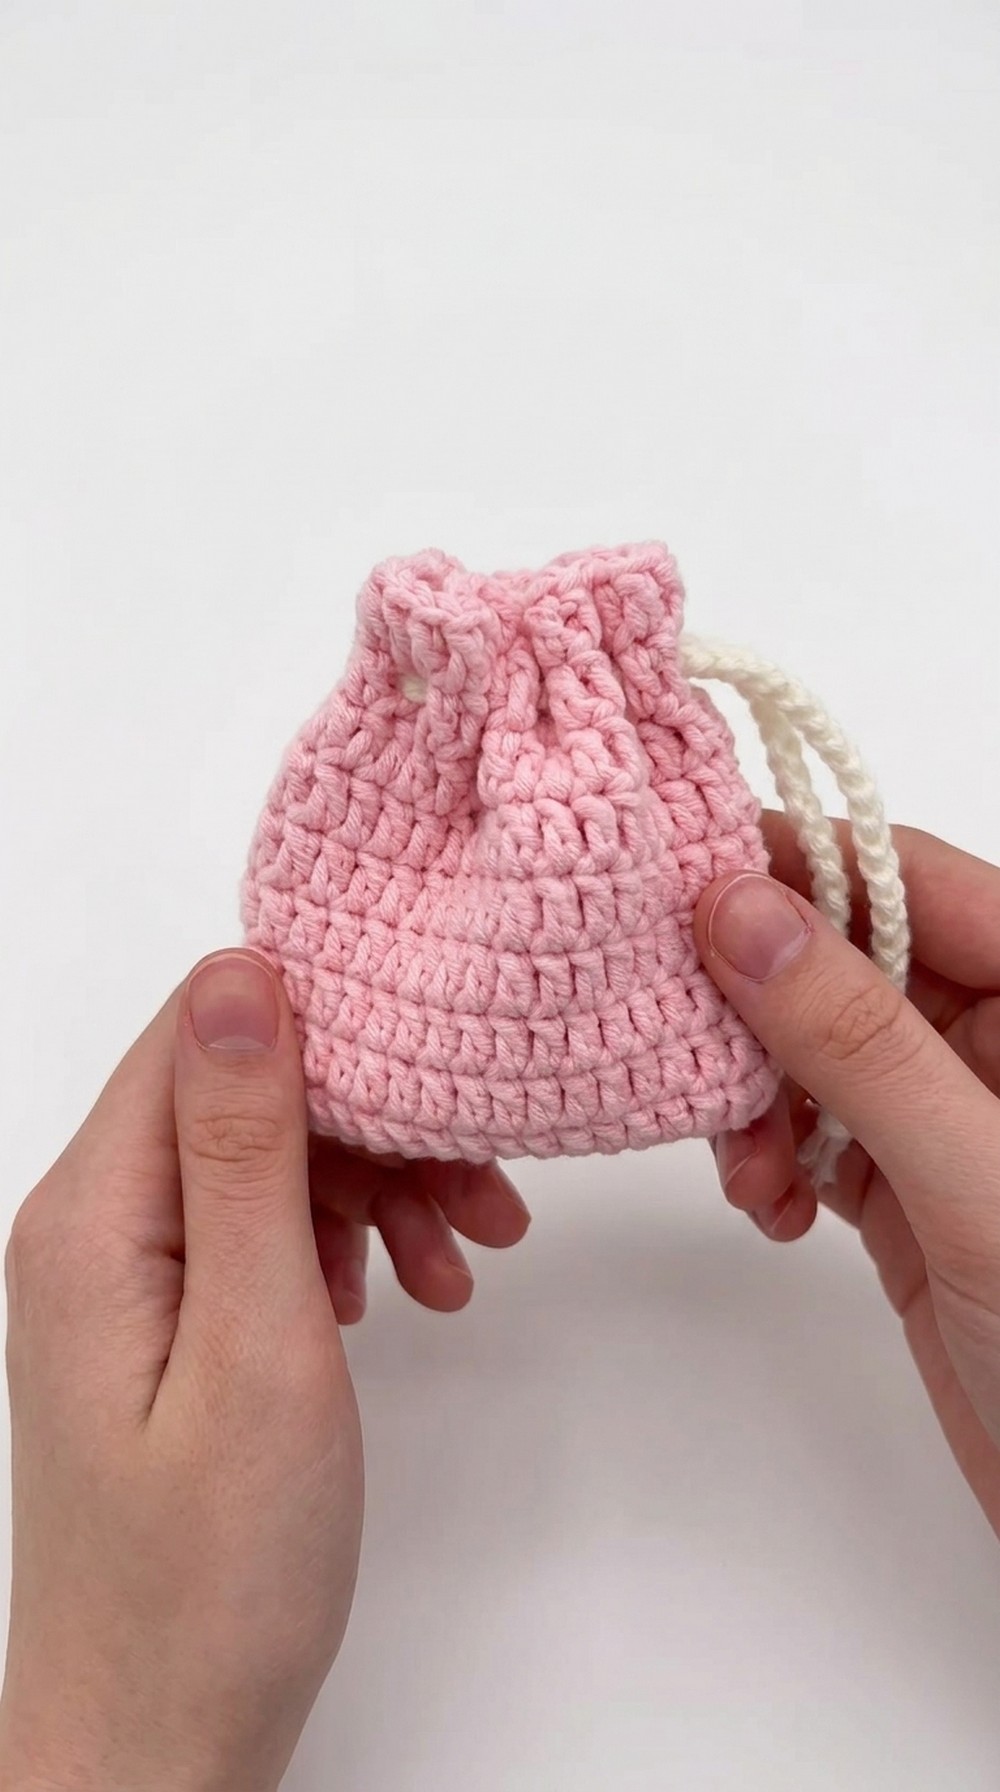
Hold a crochet drawstring pouch that’s full of charm, offering a perfect way to keep your small treasures safe while looking stylish and thoughtful every day.
There’s something heartwarming about holding a small pouch that feels both simple and special. A crochet drawstring pouch stands out for its unique beauty, combining soft yarn with delicate details that easily catch the eye. Its vibrant colors and charming texture give it an elegant yet playful appearance. The drawstring closure not only keeps your small belongings secure but also adds a neat and practical touch.
Adorable Free Crochet Drawstring Pouch Pattern for Gifts
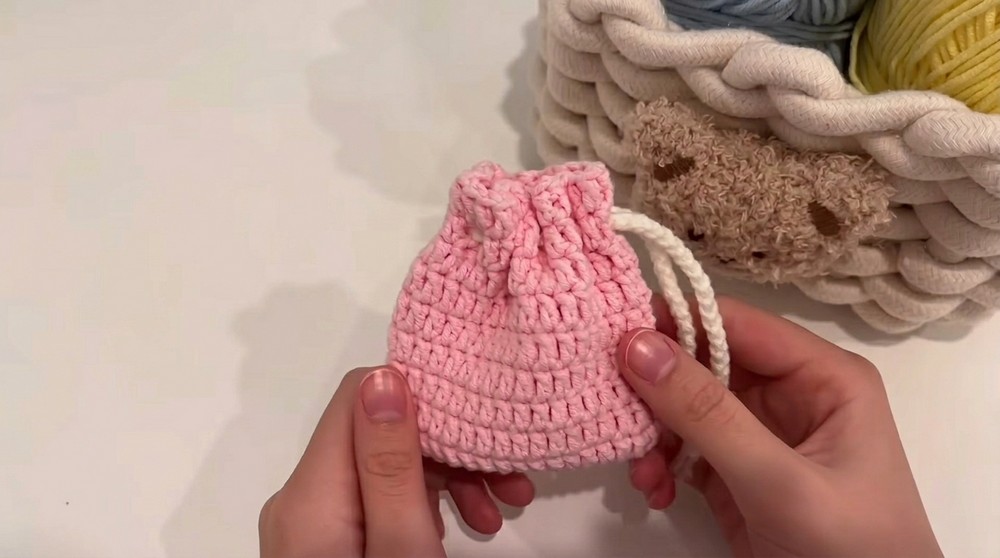
Ideal for storing jewelry, coins, keys, or other little treasures, it can also serve as a lovely gift bag, making presents feel more personal and thoughtful. The fine details and effort put into its design give it a sense of warmth and care that makes it more than just an everyday item. Whether used to tuck away keepsakes or to present a heartfelt gift, this pouch brings beauty and purpose together in a way that feels both meaningful and timeless.
Beginner-Friendly Crochet Drawstring Pouch Pattern
Materials
- Yarn:
- 5-ply milk cotton yarn (or any size you have with its corresponding hook size).
- Main color (e.g., pink) for the pouch and a contrasting color (e.g., white) for the drawstring.
- Hook:
- 3 mm crochet hook (or size appropriate for the yarn weight).
- Accessories:
- Stitch marker.
- Tapestry needle.
- Scissors.
Stitches Used (US Terminology)
- Slip knot (slk): To create the starting loop.
- Chain (ch): Foundation and other chains.
- Double crochet (dc): Main stitch for the pouch.
- Slip stitch (sl st): For joining rounds.
- Fasten off: For ending a piece.
- Weaving in ends: For hiding yarn tails.
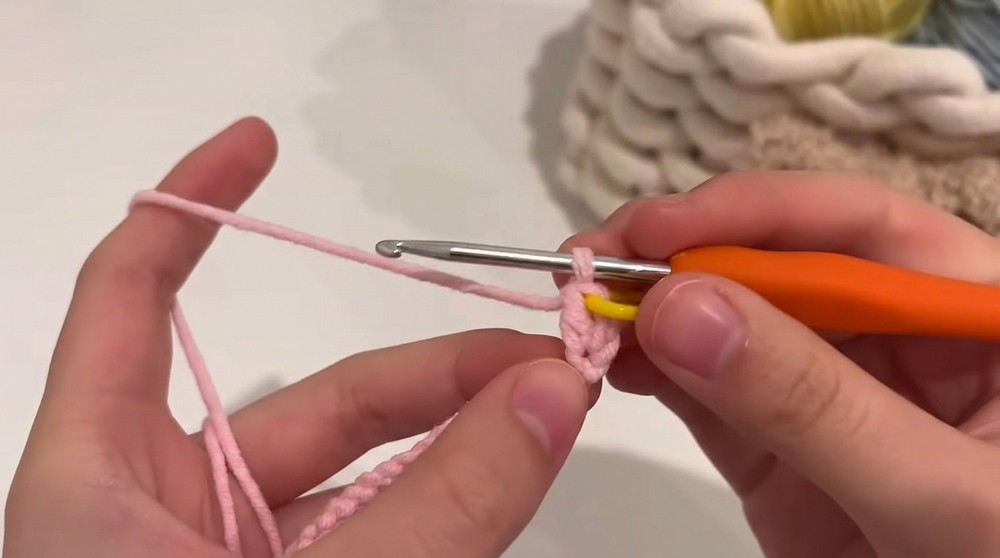
Starting the Pouch
Foundation Chain
- Create a slip knot and attach it to your hook.
- Chain the number of stitches that determines the width of your pouch:
- Example: Ch 21 for a small pouch (or adjust for desired size).
Note:- Add or reduce chains for a wider/narrower pouch. - Example: Ch 21 for a small pouch (or adjust for desired size).
Round 1: First Row with Increases
- Chain 2 (ch 2): This adds height. This ch 2 does NOT count as a stitch.
- Double crochet (dc) into the 3rd chain from the hook.
- Yarn over, insert the hook into the 3rd chain, yarn over, pull through, yarn over, pull through first 2 loops, yarn over, pull through last 2 loops.
- Continue working one dc in each chain across the row until the last chain.
- Turning Point on the Last Chain:
- In the very last chain, work 3 dc into the same chain (this creates a curved corner for the pouch’s bottom).
Round 1 (Cont’d): Second Side
- Rotate your work to begin crocheting into the underside of the foundation chain.
- Work 1 dc into each chain space along the bottom of the foundation chain.
- Turning Point for the Second Side:
- In the last chain space (same as where the previous 3 dc are), work 3 more dc into the same stitch.
- Join the Round:
- Slip stitch (sl st) into the top of the first dc (not the chain 2).
- Tighten the sl st to ensure no gaps.

Round 2: Begin Working in Rounds
- Chain 2 (ch 2):
- This adds height for the next row and does NOT count as a stitch.
- Work 1 dc into the 1st stitch (the same space where the slip stitch joined).
- Place a stitch marker in the top of this dc, marking the first stitch of the round.
- Work 1 dc into each stitch around.
- Continue working one dc into every stitch from the previous round.
- At the curved corners (where you made 3 dc into one stitch), work 1 dc into each of these 3 stitches.
- Join the Round:
- At the end of the round, slip stitch into the top of the first dc. Tighten the slip stitch.
Rounds 3 and Beyond: Build the Pouch
- Chain 2 (ch 2):
- For height at the beginning of each round (this does not count as a stitch).
- Work 1 dc into each stitch around.
- Where there are more than one stitch worked into a space from the previous round (at the corners), treat each stitch as its own and dc into it.

- Where there are more than one stitch worked into a space from the previous round (at the corners), treat each stitch as its own and dc into it.
- Join and Repeat:
- Slip stitch into the top of the first dc to join the round.
- Repeat this process (ch 2, dc in each stitch, join with sl st) until your pouch reaches the desired height.
Fasten Off
- After completing the final round, slip stitch into the first dc.
- Chain 1, pull up a large loop, and cut the yarn.
- Pull the yarn tail through the loop to secure the stitch.
- Weave in any ends with a tapestry needle.
Creating the Drawstring Strap
Make a Long Chain
- Using the contrasting color yarn, make a slip knot and attach it to your hook.
- Chain as many stitches as needed to comfortably wrap around the pouch opening with excess length for tying the drawstring (approximately 80-100 chains).
- Fasten off:
- Cut the yarn, pull the tail through the last loop, and tighten.
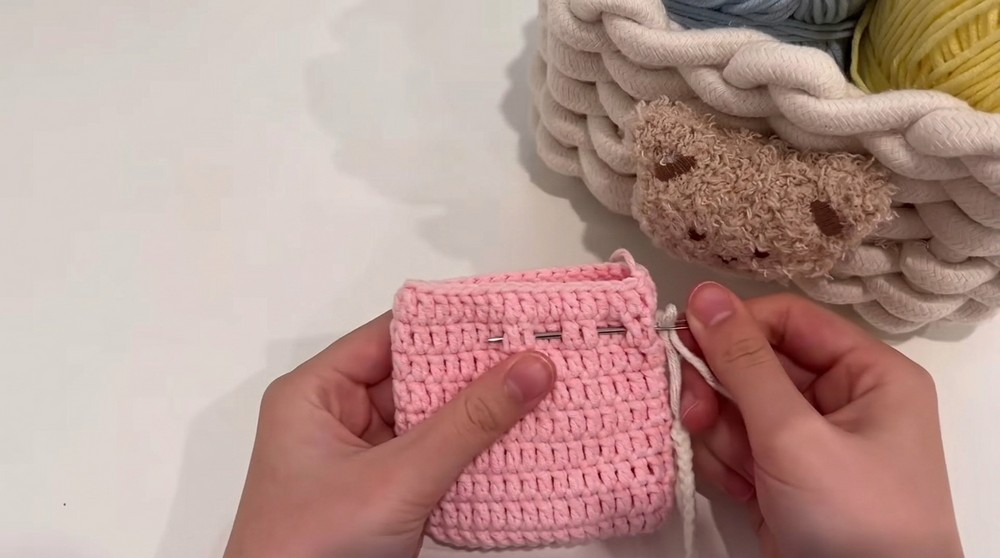
Thread the Drawstring
- Using a tapestry needle, thread one yarn tail of the drawstring and weave it through the second-to-last row of the pouch (or any row near the top):
- Go under 2 stitches, then over 2 stitches, alternating this pattern around the pouch.
- Pull the drawstring through to meet the other end.
Securing the Drawstring
- Tie both ends of the drawstring into a secure knot at the bottom.
- Optionally, add small decorative beads or tassels to the end of the drawstring.
Finishing
- Weave in any remaining ends on both the pouch and drawstring.
- Stretch the pouch to even out the stitches. Optionally, block the pouch for a polished shape.
Congratulations!
Your customizable drawstring pouch is now complete. Perfect for holding small items like earphones, lip balm, or keys, this beginner-friendly project helps build confidence in key crochet techniques.
Tips for Success
- Count Stitches:
- Frequently count stitches to ensure an even number between rounds, avoiding unintentional increases or decreases.
- Tighten Slip Stitches:
- Tighten slip stitches to prevent them from stretching out and distorting the pouch.
- Practice Careful Tension:
- Maintain consistent yarn tension for an even look.
- Customizing Size:
- Adjust the foundation chain for width and the number of rounds for height as desired.