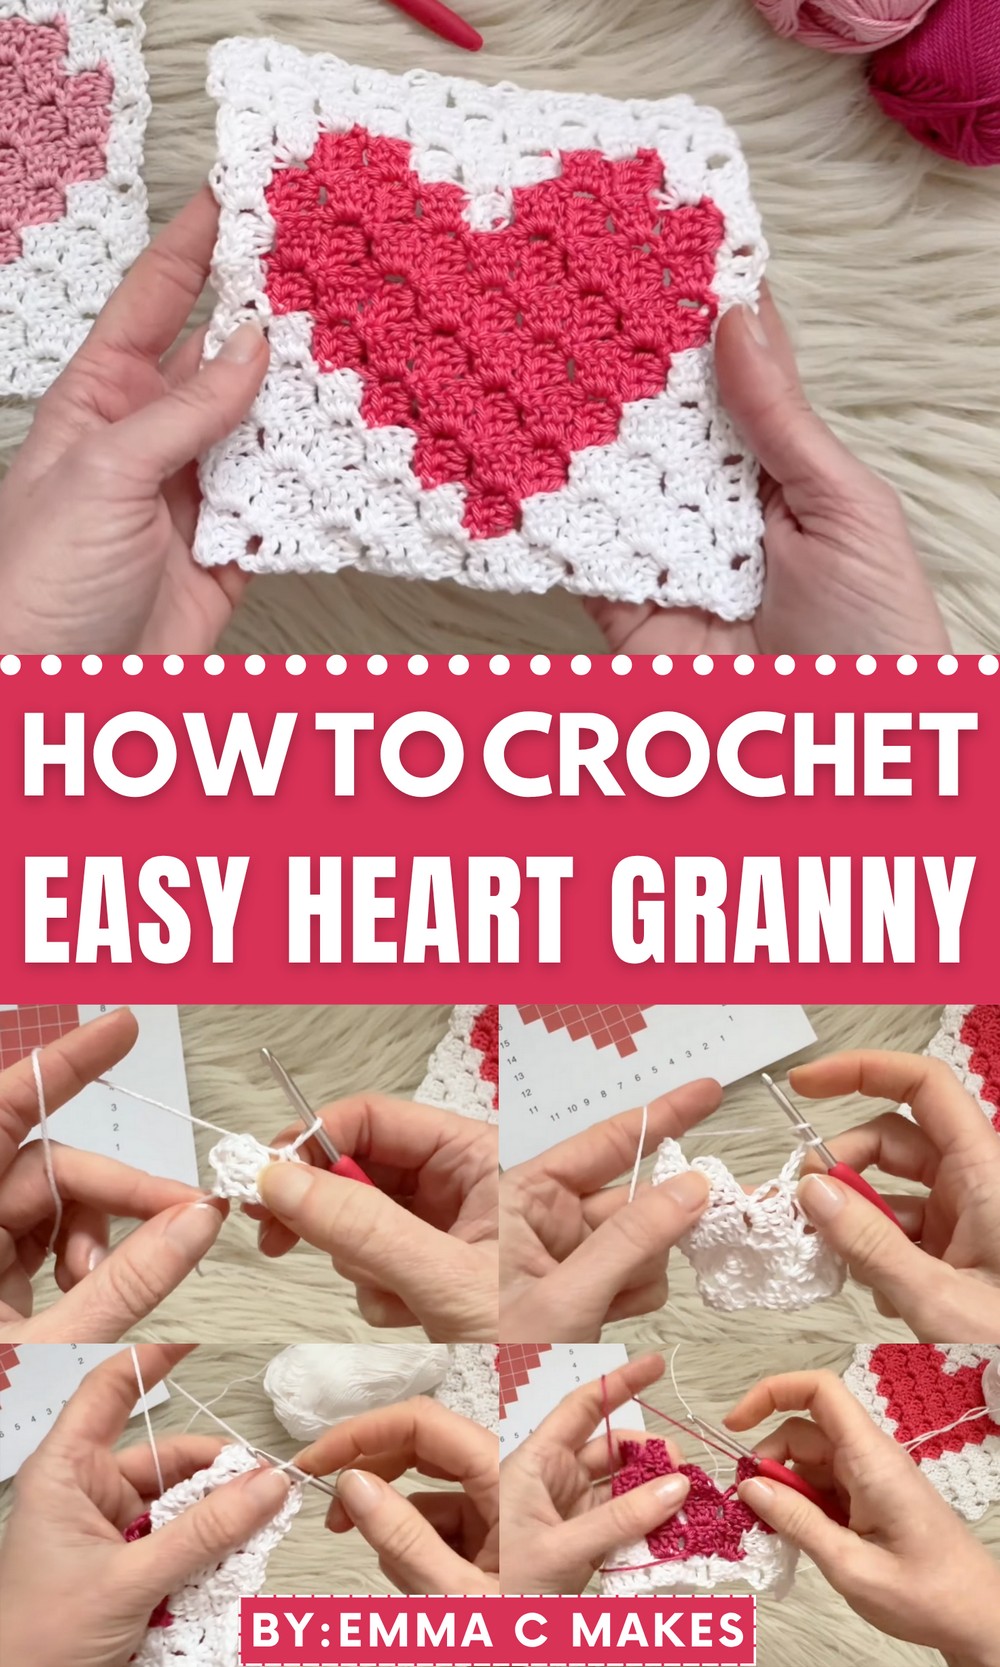
Infuse your projects with love using the Free Crochet Heart Granny Pattern, perfect for adding warmth, color, and charm to blankets or decor.
Every stitch has the power to convey warmth, and few designs capture affection as beautifully as a heart motif. The Free Crochet Heart Granny Pattern combines traditional charm with a touch of modern creativity, offering a design that symbolizes love in every loop. Crafted with precision, this pattern transforms simple yarn into delightful squares that can be used for blankets, cushions, wall hangings, or even wearable accessories.
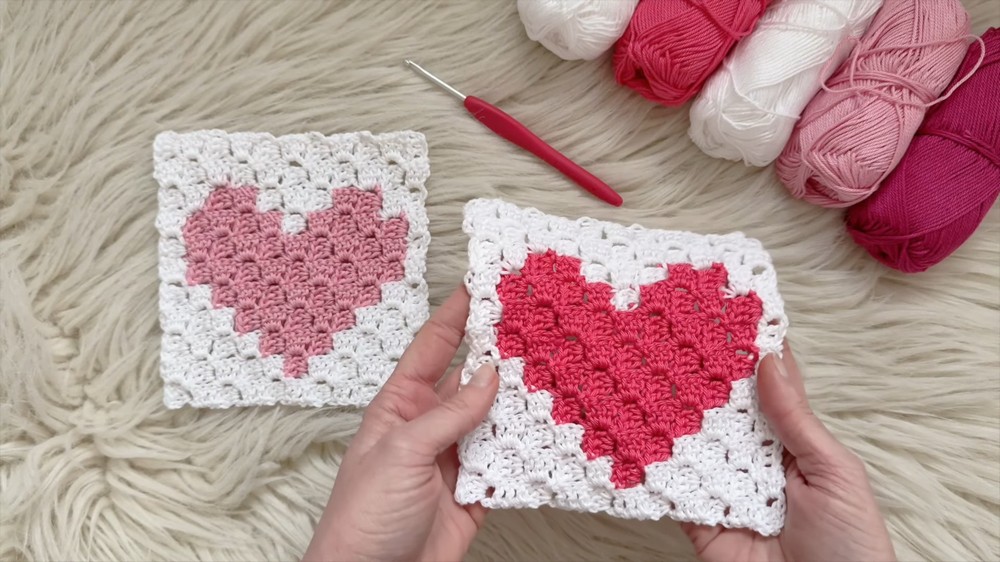
Trendy Touch Crochet Heart Granny Pattern for a Playful Look
Each heart sits perfectly within its square frame, creating a harmonious balance between structure and softness. Its versatility allows for endless color combinations bold tones for a vibrant look or pastel hues for a gentle, romantic feel. Crocheting these squares is not only enjoyable but also a wonderful way to refine stitch accuracy and experiment with creative layouts.
The repetitive rhythm of the pattern brings a sense of calm and focus, making it an ideal project for mindful crafting sessions. Beyond its visual appeal, the finished piece carries emotional significance, often becoming a heartfelt gift or keepsake. Whether displayed in home décor or worn as a personal touch, this heart granny design blends beauty, warmth, and meaning, celebrating the connection between handmade artistry and heartfelt expression.
Special Features
- Corner-to-Corner Design: The technique starts at one corner and gradually increases until reaching the other point, giving a modern diagonal square appearance.
- Heart Pattern: You’ll follow a graphgan (chart), which uses colored squares to guide the placement of stitches for the heart design.
- Customizable Sizes: The dimensions of the square can be adjusted by using thicker yarn and larger hooks.
- Efficient Color Changes: The tutorial introduces tips to minimize loose ends and create tidier color transitions for intricate patterns.
Level of Difficulty
- Skill Level: Suitable for beginners who are comfortable with UK treble crochet stitches (US double crochet).
- Uses basic stitches combined with careful attention to graph patterns and color changes.
- Slightly challenging when first introducing color changes and decreasing rows, but the guided explanations make it manageable for learners.
Tutor’s Suggestions
- Yarn Preparation: If the project requires a color to repeat in multiple sections (like white), ensure the yarn is split into two balls for smoother transitions.
- Choose Appropriate Yarn and Hook: The tutor uses 4-ply yarn and a 3.5mm hook, but recommends selecting tools that suit your desired square size.
- Graph Efficiency: Always start from the bottom right of the graph, working upward for odd rows and downward for even rows.
- Terminology Awareness: UK crochet terminology is used throughout, so a UK treble crochet translates to a US double crochet.
- Prevent Loose Ends: Advice is given on carrying yarn across rows carefully to avoid excessive loose ends, simplifying the finishing touches.
Materials Needed
- Yarn:
- Two colors of yarn (e.g., cherry red and white).
- Separate a single ball of white yarn into two for easier handling.
- Crochet Hook: 3.5mm or appropriate size for your yarn’s thickness.
- Scissors: For cutting yarn when transitioning or finishing.
- Darning Needle: To sew in yarn tails after completion.
- Graphgan Template: Printable PDF graph provided in the tutorial’s description.
Step-by-Step Instructions
Basics: Starting the First Square (Row 1)
- Create a Slip Knot and insert the crochet hook.
- Chain 6 stitches.
- Turn the chain and work into the back bumps for a neater edge.
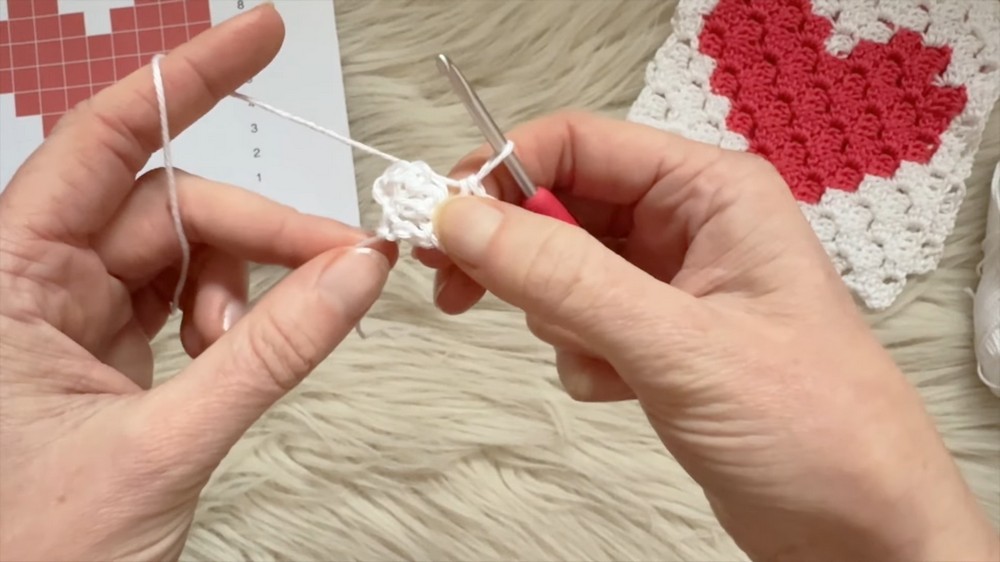
- Work 1 UK treble crochet stitch (US double crochet) into the 4th chain from the hook.
- Work 2 UK treble crochet stitches into the remaining 2 chains. This forms the first corner square.
Building the Square: Increasing Rows
- Turn the Work: Flip the piece over so the tail stays in the bottom left corner.
- Start the Next Row: Chain 6, then work 1 UK treble crochet into the 4th chain from the hook. Continue with 2 more treble crochets into the next 2 chains.
- Slip Stitch: Attach the newly formed square to the edge of the previous row by slip stitching into the chain space at the top of the adjacent square.
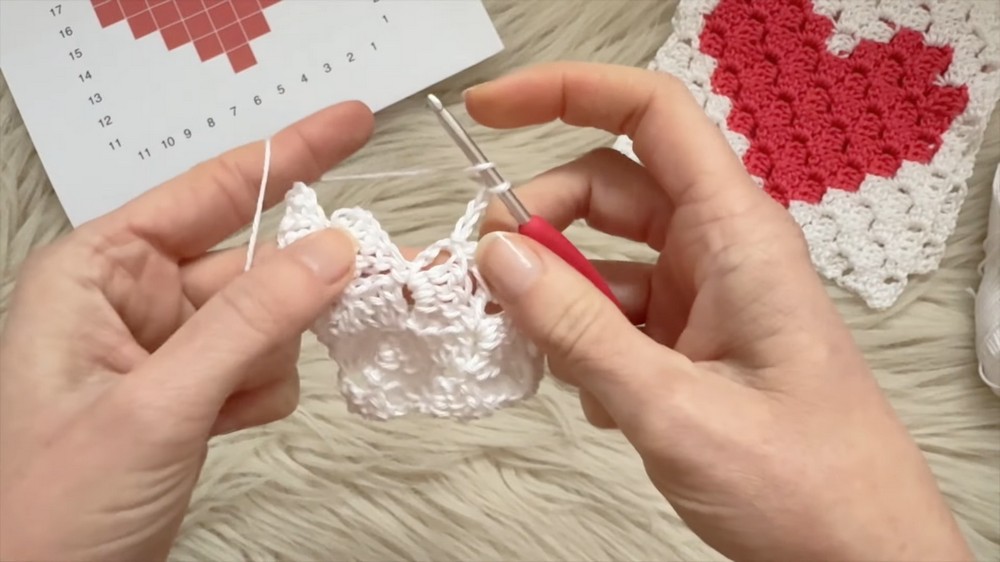
- Build Additional Squares: Chain 3, work 3 UK treble crochets into the slip-stitched space. Repeat until the row matches the required graph squares.
- Continue increasing until you have formed rows matching the graph’s size for the base of the heart, ensuring proper placement and stitch count.
Color Changes: Introducing the Heart Shape
- Refer to the graph to determine where to introduce color (e.g., cherry yarn for the heart).
- Switch colors by leaving the last treble incomplete (two loops on the hook), then yarn over with the new color to complete the stitch.
- Carry unused yarn behind stitches, working over it to prevent tangling or leaving loose ends.
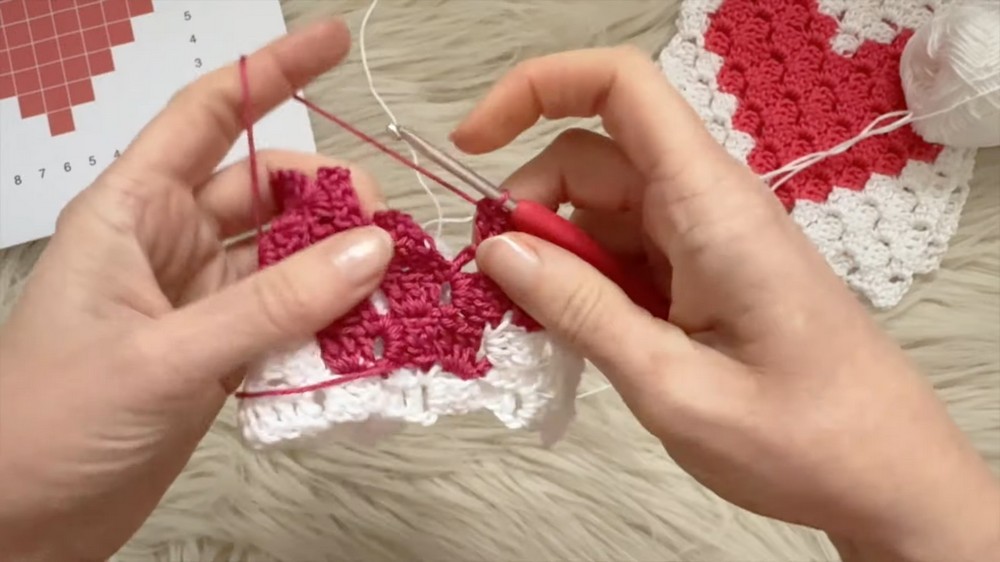
- Follow the graph closely to ensure the heart takes shape as the project grows.
Decreasing Rows: Forming the Square Edges
- After reaching the widest point (maximum graph width), begin decreasing.
- Skip the chain required to increase rows. Instead, slip stitch your way across the top of the row until you reach the next square’s edge.
- Work squares as normal, slip stitching into adjacent squares while following the graph for color placements.
- Continue decreasing rows until the square dimensions match the graph.
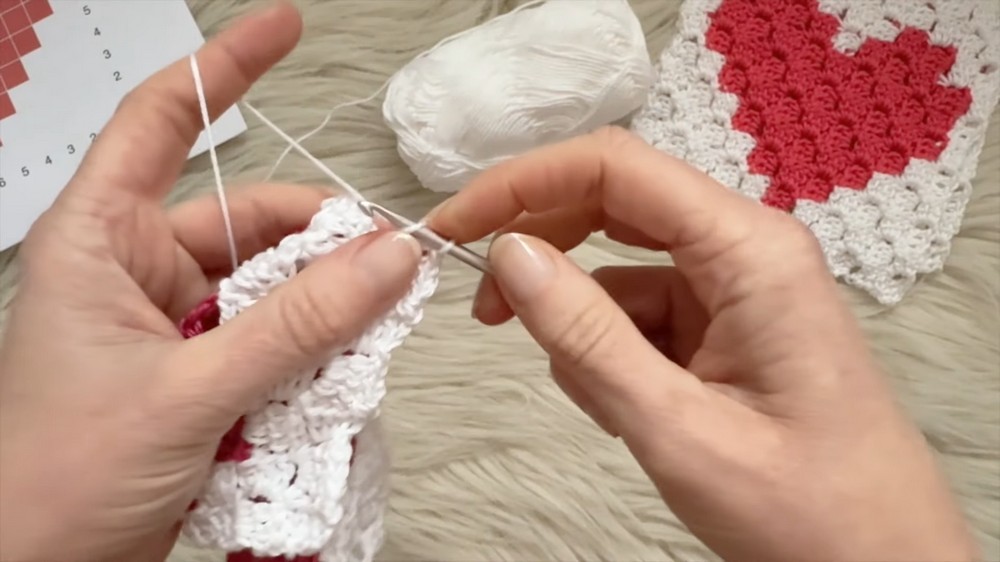
Final Rows: Closing the Square
- The last rows are worked entirely in white, with no further color changes.
- As decreasing continues, fewer squares will be made per row. Follow the graph’s layout for accurate stitch placement until one final square remains.
- Slip stitch through the last square’s chain spaces and bind off the yarn.
Finishing Touches
- Sew in Yarn Tails: Use a darning needle to secure all loose ends from the color changes.
- Block the Square: Wash in warm water and dry flat to smooth out edges.
Uses
- Standalone Projects: These heart squares make lovely coasters, placemats, or decorative items.
- Home Décor: Combine multiple squares to create cushion covers, blankets, or other home accessories.
- Gift Item: Perfect for gifting as handmade presents with personalized colors for loved ones.
Special Tip
When switching yarn colors, make sure to leave a long tail for easy weaving of loose ends afterward. This will save time and ensure tidier finishes with fewer knots.
Conclusion
This corner-to-corner heart square tutorial combines simplicity and creativity to create a charming design. The C2C technique paired with a graphgan enables the formation of unique patterns while minimizing loose ends. Whether used alone or in combination for larger projects, these squares are versatile, beginner-friendly, and fun to make.