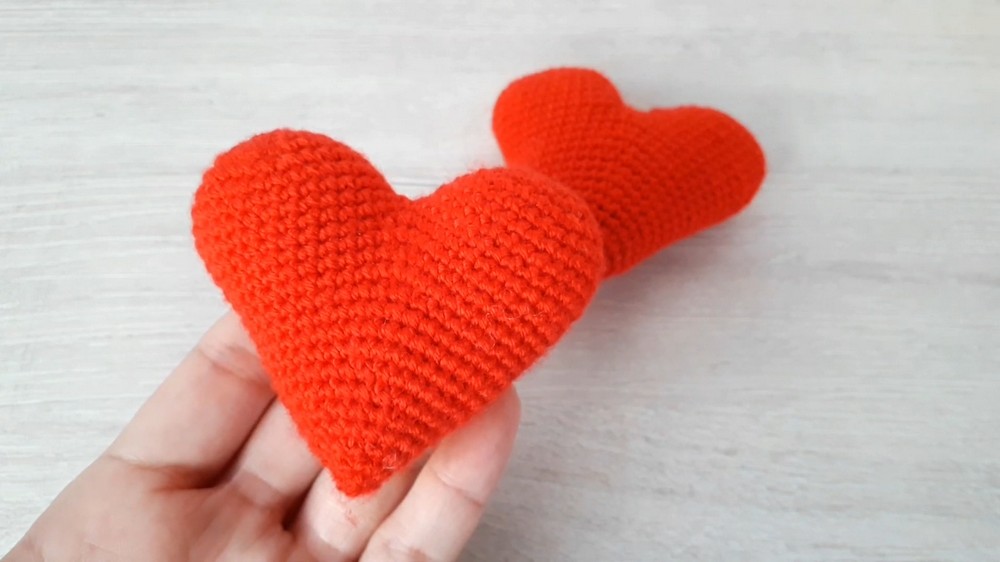
Spread love easily with this Free Crochet Amigurumi Heart Pattern that offers cheerful and simple steps perfect for thoughtful gifts or décor.
Do you ever wish you could make a sweet and simple heart to show someone you care? With a Crochet Amigurumi Heart pattern, creating a soft and colorful heart is easier than you think. These little hearts are so beautiful—they come in any bright color you choose and are shaped just right to fit in your hand or pocket. You can use them as toys for children, keychains for your bags, or even decorations in your home.
Small Free Crochet Amigurumi Heart Pattern for Gifts
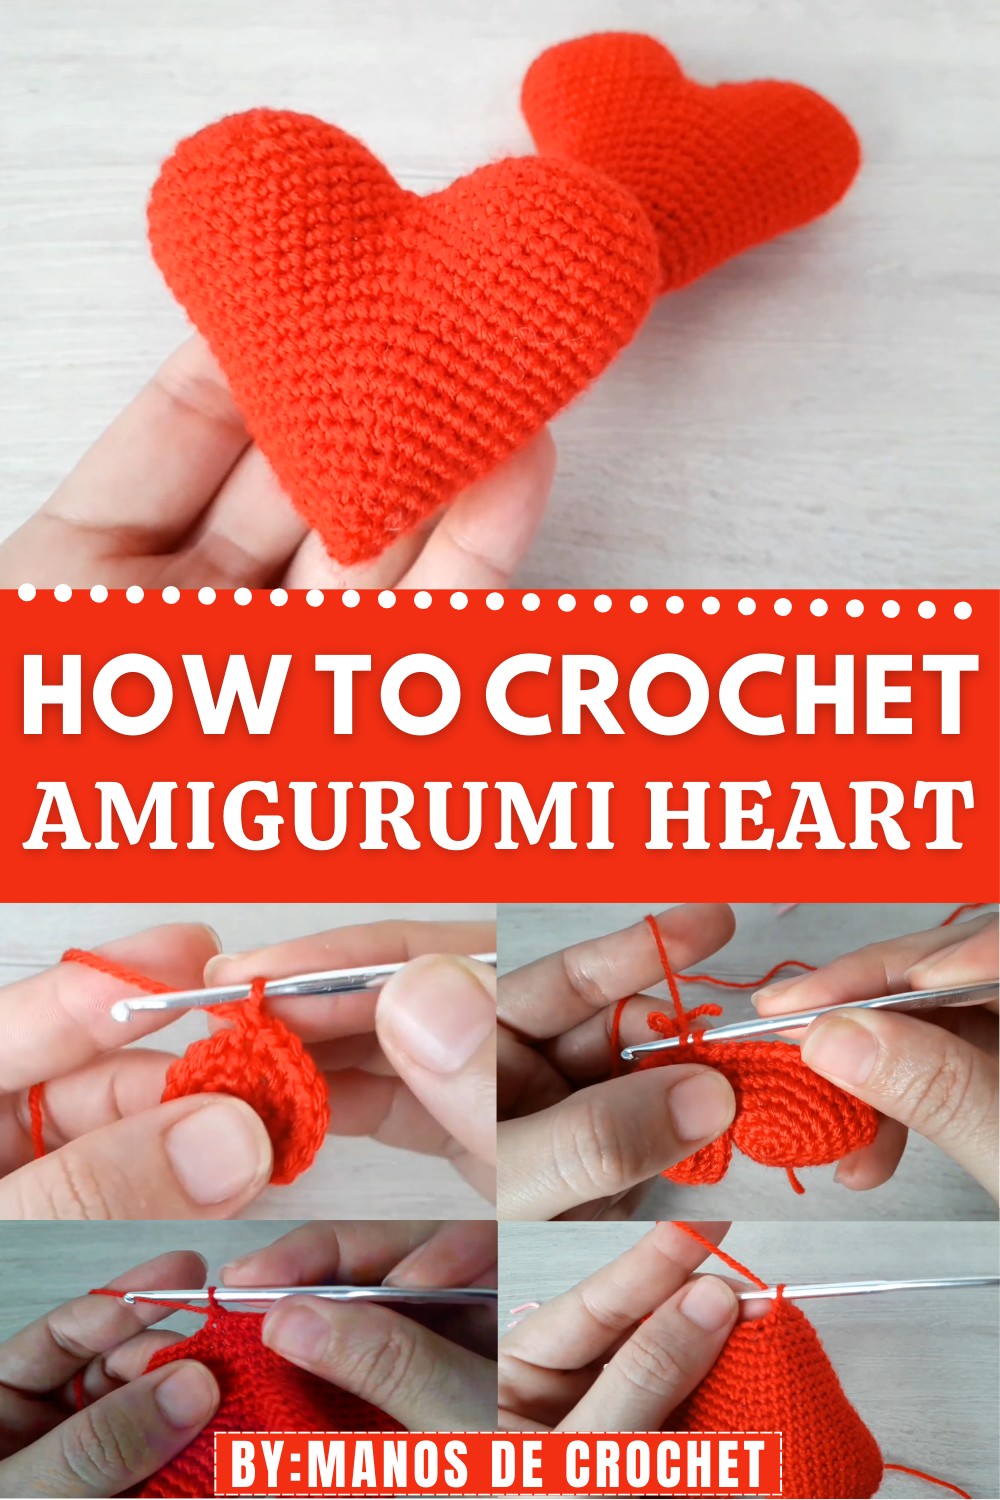
Making them is not hard, and you don’t need any special skills—all you need is yarn and a little time. Every heart you crochet is special and full of love. This pattern lets you create as many hearts as you want, each one unique and made with care. Give a handmade heart to make someone smile—it’s a small gift with a big meaning.
Materials
- Yarn: Worsted Weight/Medium (4) acrylic or cotton in color of choice
- Hook: 2.5–3.5 mm (or as needed for tight amigurumi stitches)
- Stuffing: Polyester fiberfill or preferred stuffing material
- Notions:
- Yarn needle (for sewing, weaving in ends, closing)
- Stitch marker (strongly recommended)
- Scissors
- Optional: Embroidery thread, safety eyes, accessories for decoration
Abbreviations (US Terminology)
| Abbreviation | Meaning |
|---|---|
| MR | Magic Ring |
| ch | Chain |
| sc | Single Crochet |
| inc | Increase (2 sc in same st) |
| dec | Invisible Decrease (see below) |
| st(s) | Stitch(es) |
| sl st | Slip Stitch |
| FO | Finish Off |
Special Notes:
- Work in continuous rounds unless specified.
- Use a stitch marker to track the start of each round.
- Invisible decrease is created by working the front loops only.
Pattern
Heart (Make 2 Halves and Join)
First Half (Make 2)
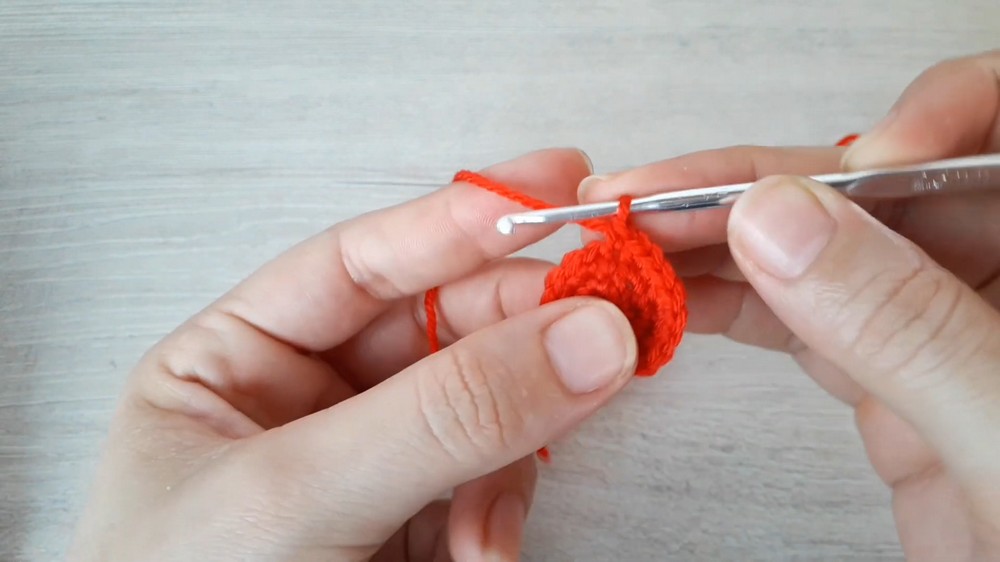
- Start:
- Make a Magic Ring (MR)
- Ch 1 (does not count as a stitch).
- Rnd 1:
- 6 sc in MR (6 sts).
- Rnd 2:
- Inc in each st around (12 sts).
- Inc in each st around (12 sts).
- Rnd 3:
- (Sc in next st, inc in next st); rep from * to * around (18 sts).
- Rnd 4:
- (Sc in next 2 sts, inc in next st); rep from * to * around (24 sts).
- Rnd 5:
- (Sc in next 3 sts, inc in next st); rep from * to * around (30 sts).
- Rnd 6–7:
- Sc in each st around (30 sts, two rounds).
(Should start to cup/fold here.)
- Sc in each st around (30 sts, two rounds).
- FO the first half, leaving a long tail to join halves later.
- Make a SECOND half. Do not cut yarn at the end—instead, continue to joining round.
Joining the Two Halves
- Hold both halves side by side with work facing you.
- Attach working yarn to second half.
- Sc around the first half (30 sts), then continue to sc around the second half (30 sts)—60 sts total in round.
- Place a marker at start.

Heart Body
Shaping and Decreasing
- Rnd 1:
- Sc in each st around (60 sts).
- Rnd 2 (Dec Row):
- (Dec, sc in next 9 sts); rep from * to * around. (54 sts: 6 decreases evenly spaced)
- Rnd 3:
- Sc in each st around (54 sts).
- Rnd 4:
- (Dec, sc in next 7 sts); rep from * to * around. (48 sts)

- (Dec, sc in next 7 sts); rep from * to * around. (48 sts)
- Rnd 5:
- Sc in each st around (48 sts).
- Rnd 6:
- (Dec, sc in next 6 sts); rep from * to * around. (42 sts)
- Rnd 7:
- Sc in each st around (42 sts).
- Rnd 8:
- (Dec, sc in next 5 sts); rep from * to * around. (36 sts)
- Rnd 9:
- Sc in each st around (36 sts).
- Rnd 10:
- (Dec, sc in next 4 sts); rep from * to * around. (30 sts)
- Rnd 11:
- Sc in each st around (30 sts).
- Rnd 12:
- (Dec, sc in next 2 sts); rep from * to * around. (22–24 sts, adjust final sc if count varies)
Tip: Start stuffing heart as opening gets smaller. Add a bit of stuffing each round.
- Rnd 13:
- (Sc, dec); rep from * to * around. (about 16 sts)
- Rnd 14:
- Dec around, or (sc in next st, dec in next st); rep if opening too small for clean decreases (continue stuffing as needed).
- Last Round(s):
- Continue decreasing until only a small opening remains (about 6–8 sts).
- FO, leave tail to close opening with needle.

Finish
- Closing:
- With tail and yarn needle, weave through last sts, pull tight to close hole.
- Secure with knot and bury the yarn end inside the heart.
- Shape Heart:
- Gently shape the heart with your fingers, adjusting stuffing as needed.
- Finishing Touches:
- Weave in any remaining ends.
- Decorate with safety eyes, embroidery, or accessories as desired.

Pattern Corrections & Tips
Corrections
- Ensure proper stitch count at the end of each round.
- Work decreases over the front loops only for an invisible finish.
- Stuff as you go, especially after closing the first half of the heart.
Tips
- For neater decreases, use the invisible decrease (insert hook in the front loop of next two stitches, yarn over and pull through both, sc as usual).
- Use a contrasting stitch marker at the start of each round for better tracking.
- Adjust stuffing for desired firmness and shape.
- Make a set in different colors for garlands, gifts, or ornaments.
Conclusion
This amigurumi heart pattern yields a cheerful, soft plush ideal for gifting and decorating. The method is easily scalable for larger or smaller hearts—simply use thicker/thinner yarn and an appropriate hook. Personalize with eyes, hands, or embroidery for a unique touch.