Build a Crochet Long-sleeve Sweater Pattern that feels warm yet breathable, fits daily wear, and adds a handmade touch to cool weather outfits everywhere.
Warm and cozy, this sweater is just right for chilly days and cool evenings. Its long sleeves keep your arms snug, while the soft yarn feels nice and gentle on your skin. The design is simple yet beautiful, with neat stitches that make it look stylish and inviting. You can wear it when you’re outside on a cool morning, sitting by a fire, or even when you just want to feel comfortable at home.
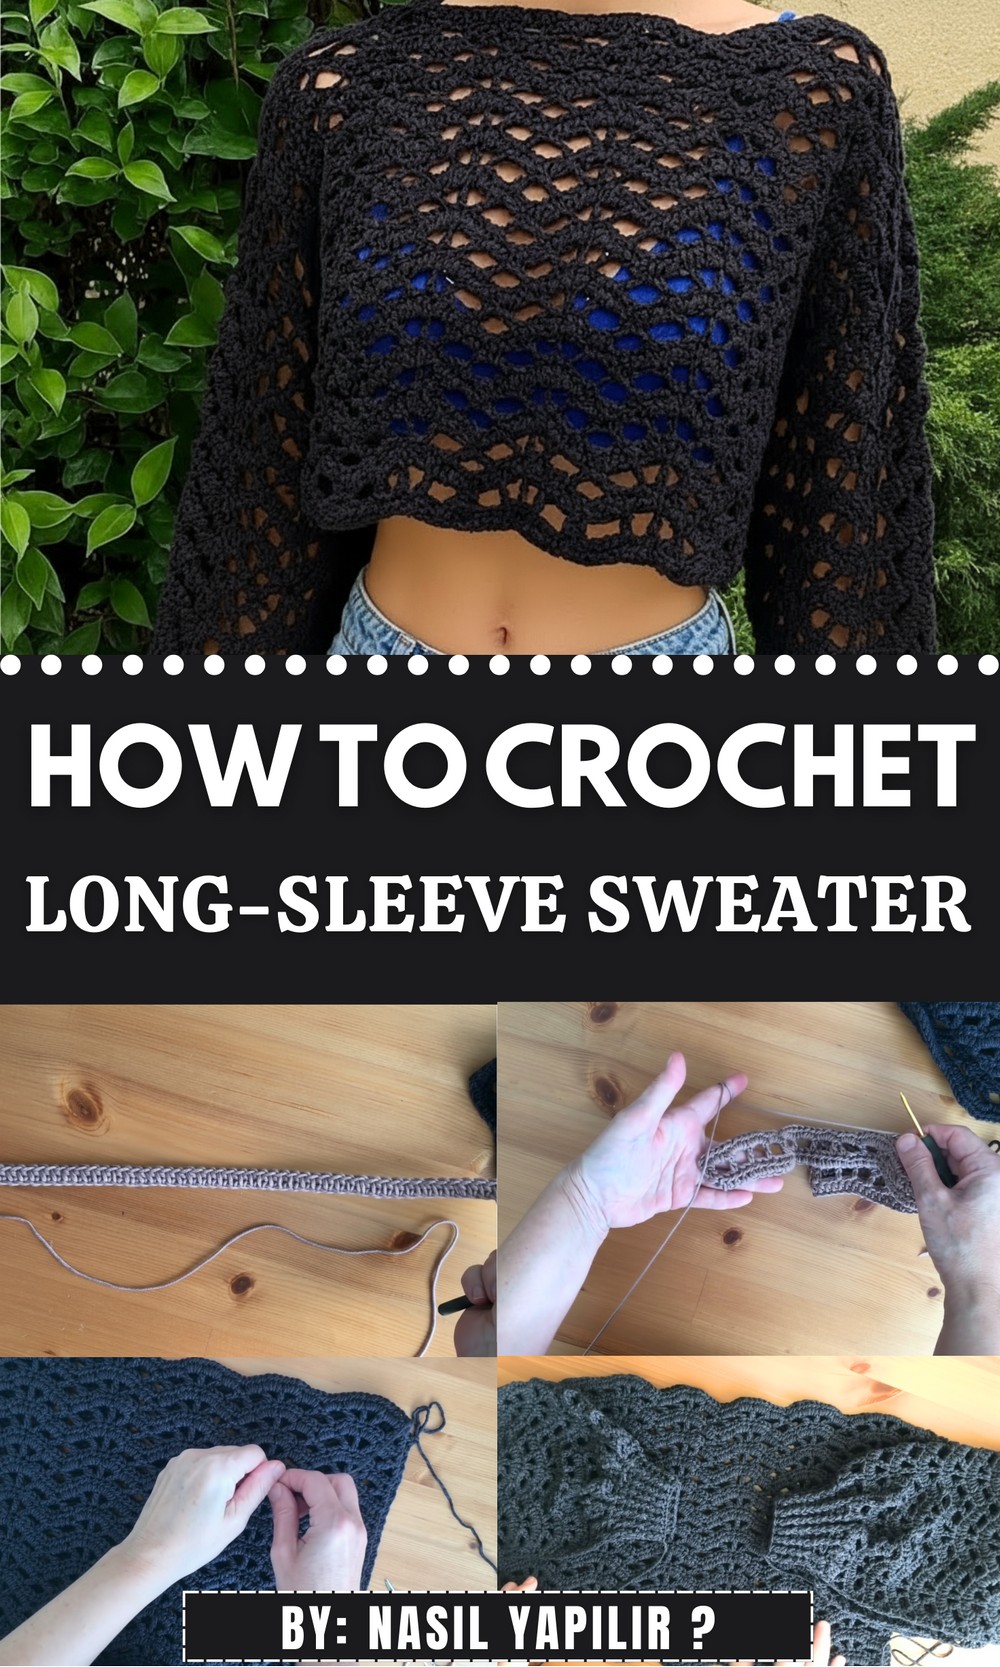
Warm Crochet Long-Sleeve Sweater Pattern for Fall Days
The sweater fits well without being too tight, giving you plenty of room to move and relax. Its classic look matches with jeans, skirts, or even over a dress, making it easy to wear anywhere. This sweater is not only warm but also brings a handmade charm that makes your outfit special. It’s a perfect choice for anyone who loves comfort with a touch of style.
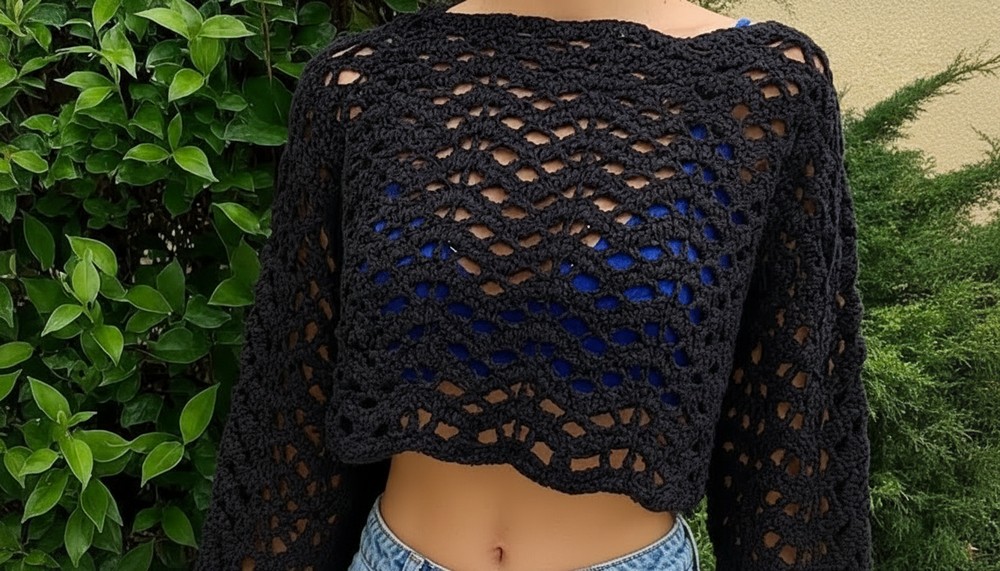
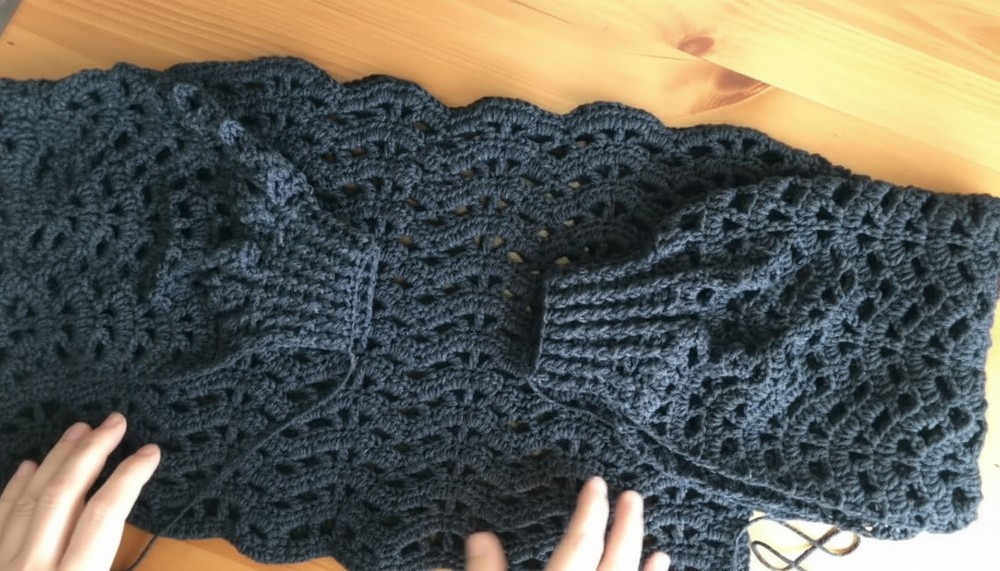
Stylish Crochet Sweater Sleeves Pattern
Difficulty Level:
Intermediate – Suitable for crocheters comfortable with double crochet, single crochet, increasing and decreasing and working stitch patterns with skipping stitches and chain spaces.
Materials:
- Nako’s test yarn or similar medium-thick yarn
- Crochet hook size 3 mm (can vary up to 4 mm)
- Tapestry needle (for finishing and sewing)
- Stitch markers
- Measuring tape
Special Features:
- Alternating groups of double crochet clusters with chain spaces create an embroidered effect
- Structured shaping with decreases toward wrist cuff
- Elastic cuff finish for snug and comfortable wrist fit
- Textured pattern looks great on black or solid colors
- Flexible construction method adaptable to different sleeve lengths and widths
Step-by-Step Pattern
Step 1: Foundation Chain
- Chain 78 stitches (or adjust for your size).
- Add 1 extra chain for turning.
Step 2: Row 1 – Single Crochet Base
- Turn and work 78 single crochet stitches (simple handrails) across the foundation chain.
- This row forms the solid base.
Step 3: Row 2 – Start of Double Crochet Pattern
- Chain 3 (counts as first double crochet).
- Make 1 additional double crochet stitch into the same stitch.
- Chain 3.
- Skip 1 stitch, double crochet into the next stitch.
- Repeat skipping 1, then double crochet, until you complete the row.
- The chain 3 between double crochets will form spaces.
- End row with double crochet as at the beginning.

Step 4: Row 3 – Grouped Double Crochet Clusters
- Chain 3, turn.
- Work groups of 3 double crochet stitches (clusters) separated by chain 3 spaces as follows:
- Skip 2 stitches.
- In the 3rd stitch, work 3 double crochets.
- Chain 3.
- Repeat the cluster + chain 3 across the row.
- Adjust skips and clusters evenly to maintain pattern.
Step 5: Continuing the Pattern Rows
- Alternate clusters of three double crochets and chain 3 spaces across the rows.
- Make sure the cluster groups align alternately row after row to create an embroidered, textured effect.
- Keep consistent chain space sizes (usually chain 3) to maintain openness.
Step 6: Filling & Skipping Spaces
- Fill chain spaces with:
- 3 single crochets in chain spaces of double chain gaps.
- 4 single crochets in single chain gap spaces.
- This alternation keeps the fabric structured and dense where necessary.
Step 7: Pattern Repetition and End of Row Care
- Always skip stitches evenly as per the pattern:
- Either skip one or two stitches as indicated.
- Repeat pattern of cluster, spaces, and skipping through the row.
- At row ends, finish with a single crochet to keep the edges neat.
- Be mindful of leaving matching stitch counts when starting and ending rows to maintain shape.
Step 8: Sleeve Shaping and Decreasing Toward Wrist
- Once sleeve length approaches desired size, begin decreases:
- Skip stitches strategically in double crochet rows to reduce width.
- Decrease about half the stitches over several rows.
- On reduction rows, skip 1, then 2 stitches or vice versa to shape sleeve.
- Use stitch markers to keep track of decrease points.
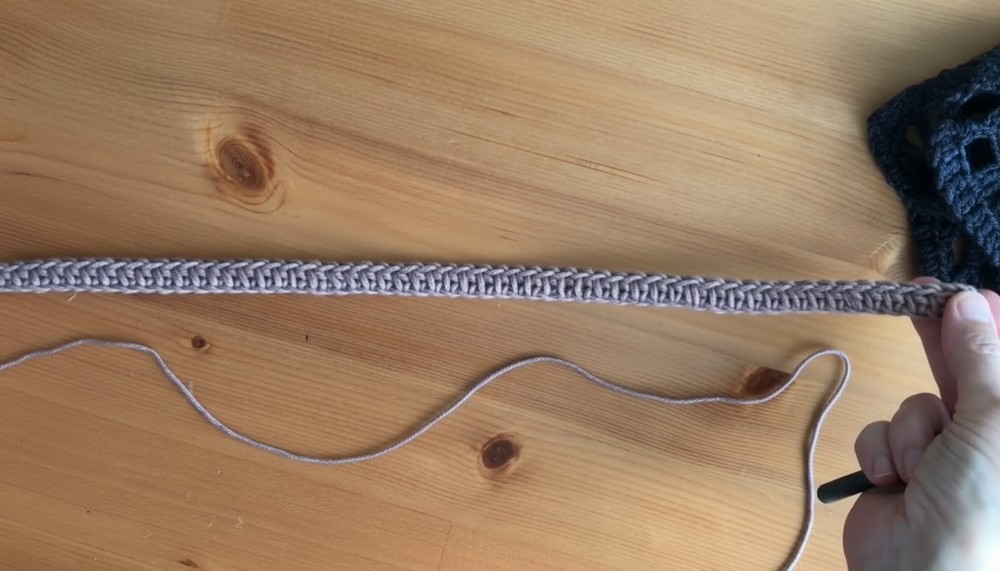
Step 9: Elastic Band Cuff
- When sleeve reaches wrist length:
- Crochet an elastic band cuff by stitching evenly around cuff edge.
- Use single crochet stitches while working under the loops of previous rows.
- Decrease slightly to snug up wrist fit.
- Leave cuff comfortable but form-fitting.
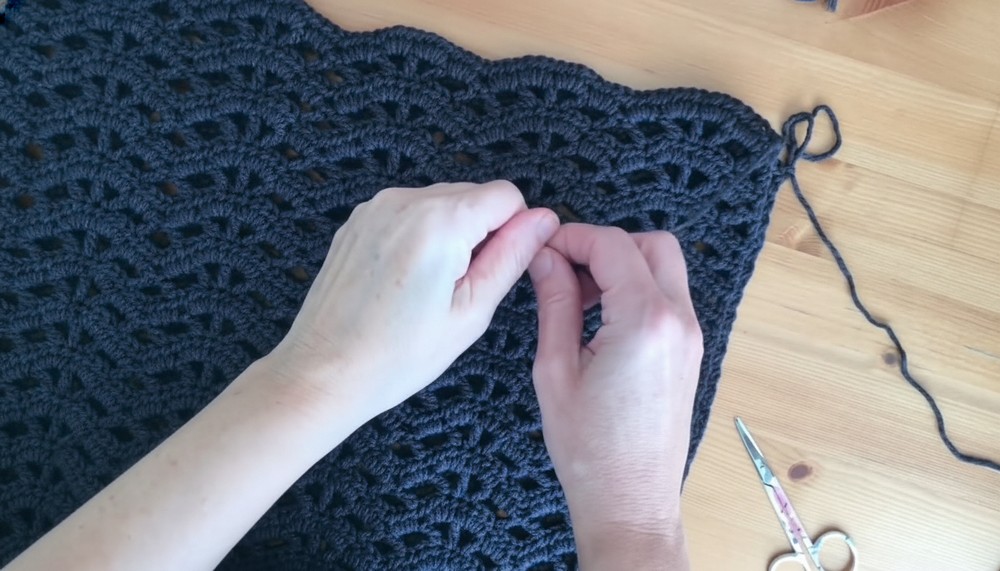
Step 10: Sewing Sleeve to Body
- Sew sleeve edges neatly using needle and matching thread.
- Attach sleeves to sweater body, maintaining the V-shape curve without tightening.
- Sew shoulder seams securely, shaping the upper arm area for comfort.
Tutor’s Suggestions:
- Use a smaller or larger hook (3 mm to 4 mm) to adjust sleeve thickness.
- Leave arm opening around 1.5 to 2 cm wider for ease and comfort under the armpit.
- Maintain consistent tension to get neat cluster and space effects.
- Joining the sleeves to the body before finishing cuffs can help in better fitting.
- Try it on as you go to perfect sizing.
Uses:
- Perfect for styling cardigans or sweaters with textured sleeves.
- Works well for casual, professional, or evening wear.
- Can easily be adapted for different sleeve lengths — full, 3/4, or short.
- Stunning choice in solid dark colors to highlight texture or in bright tones for fun statements.
Tip:
Keep track of your stitch counts carefully when working skipping patterns and clusters. Use stitch markers to mark increases, decreases, and turn points to avoid mistakes in repetitive stitch patterns.
Conclusion:
This crochet sleeve pattern blends texture and shaping for a comfortable yet stylish fit. By balancing clusters of double crochets with chain spaces, you create a visually interesting fabric with an embroidered feel. Adaptable and elegant, these sleeves complete your sweater with finesse and can be tailored to any size.