Start your crochet journey with this free Crochet bunny and kitty pattern that’s easy, fun to make, and brings joy as a gift, charm, or decoration.
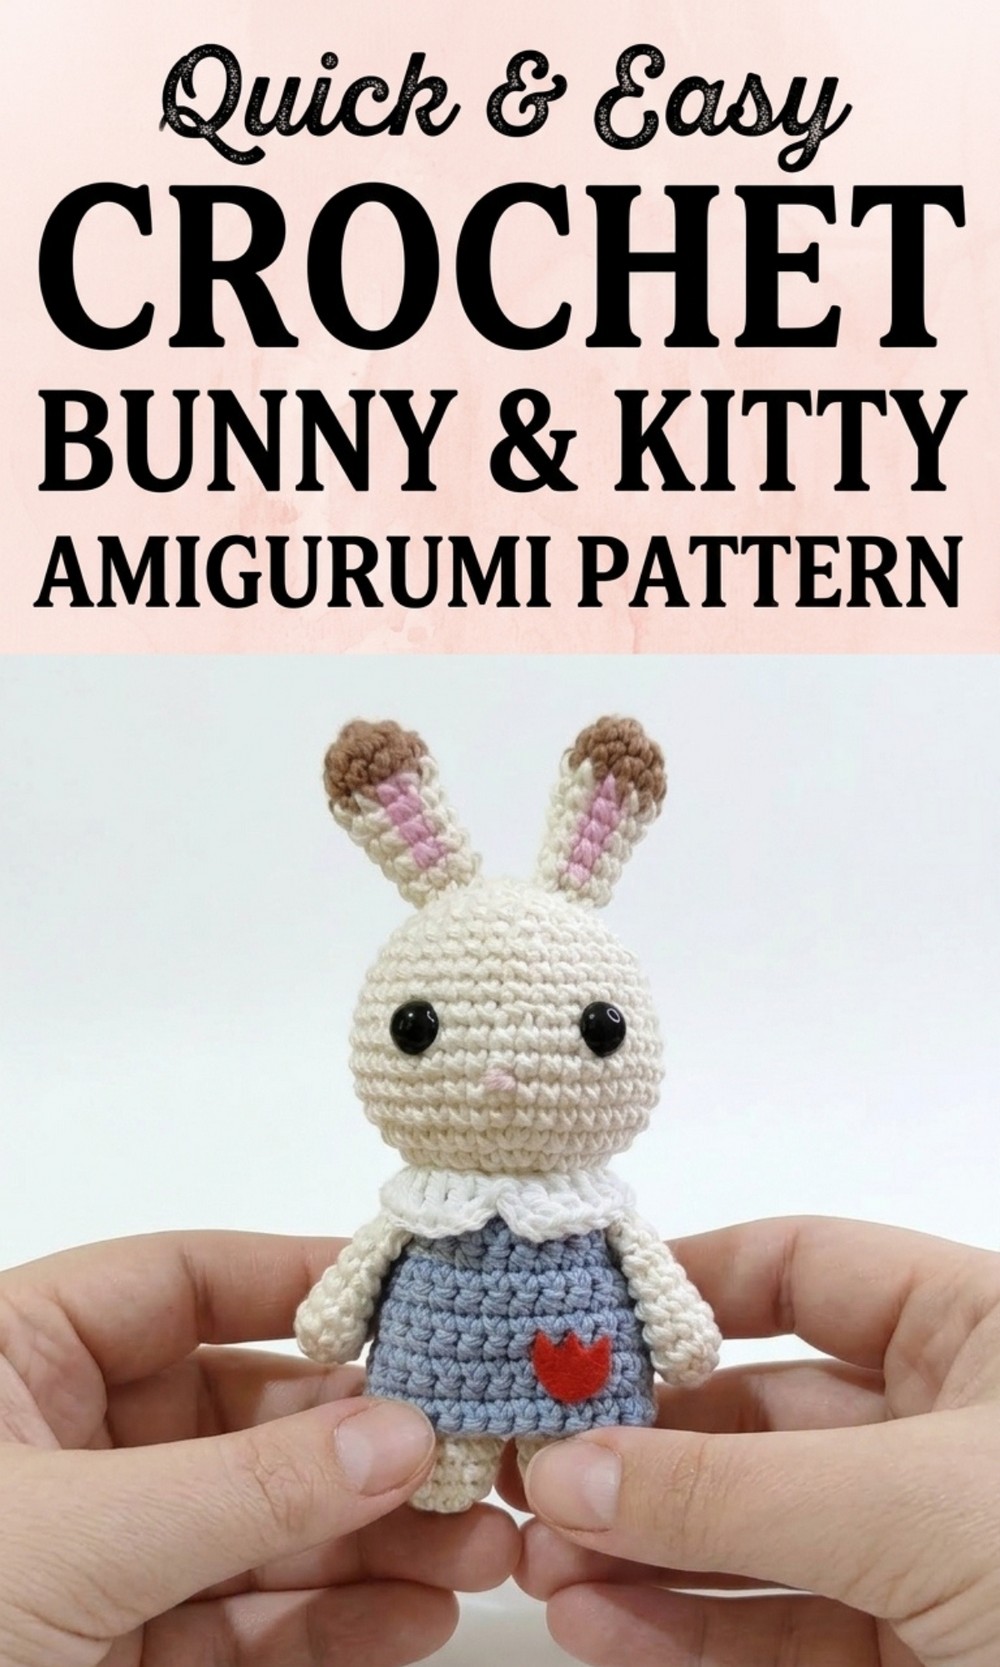
Make Free Crochet Bunny and Kitty Pattern as Lovely Car Hangings or Charms
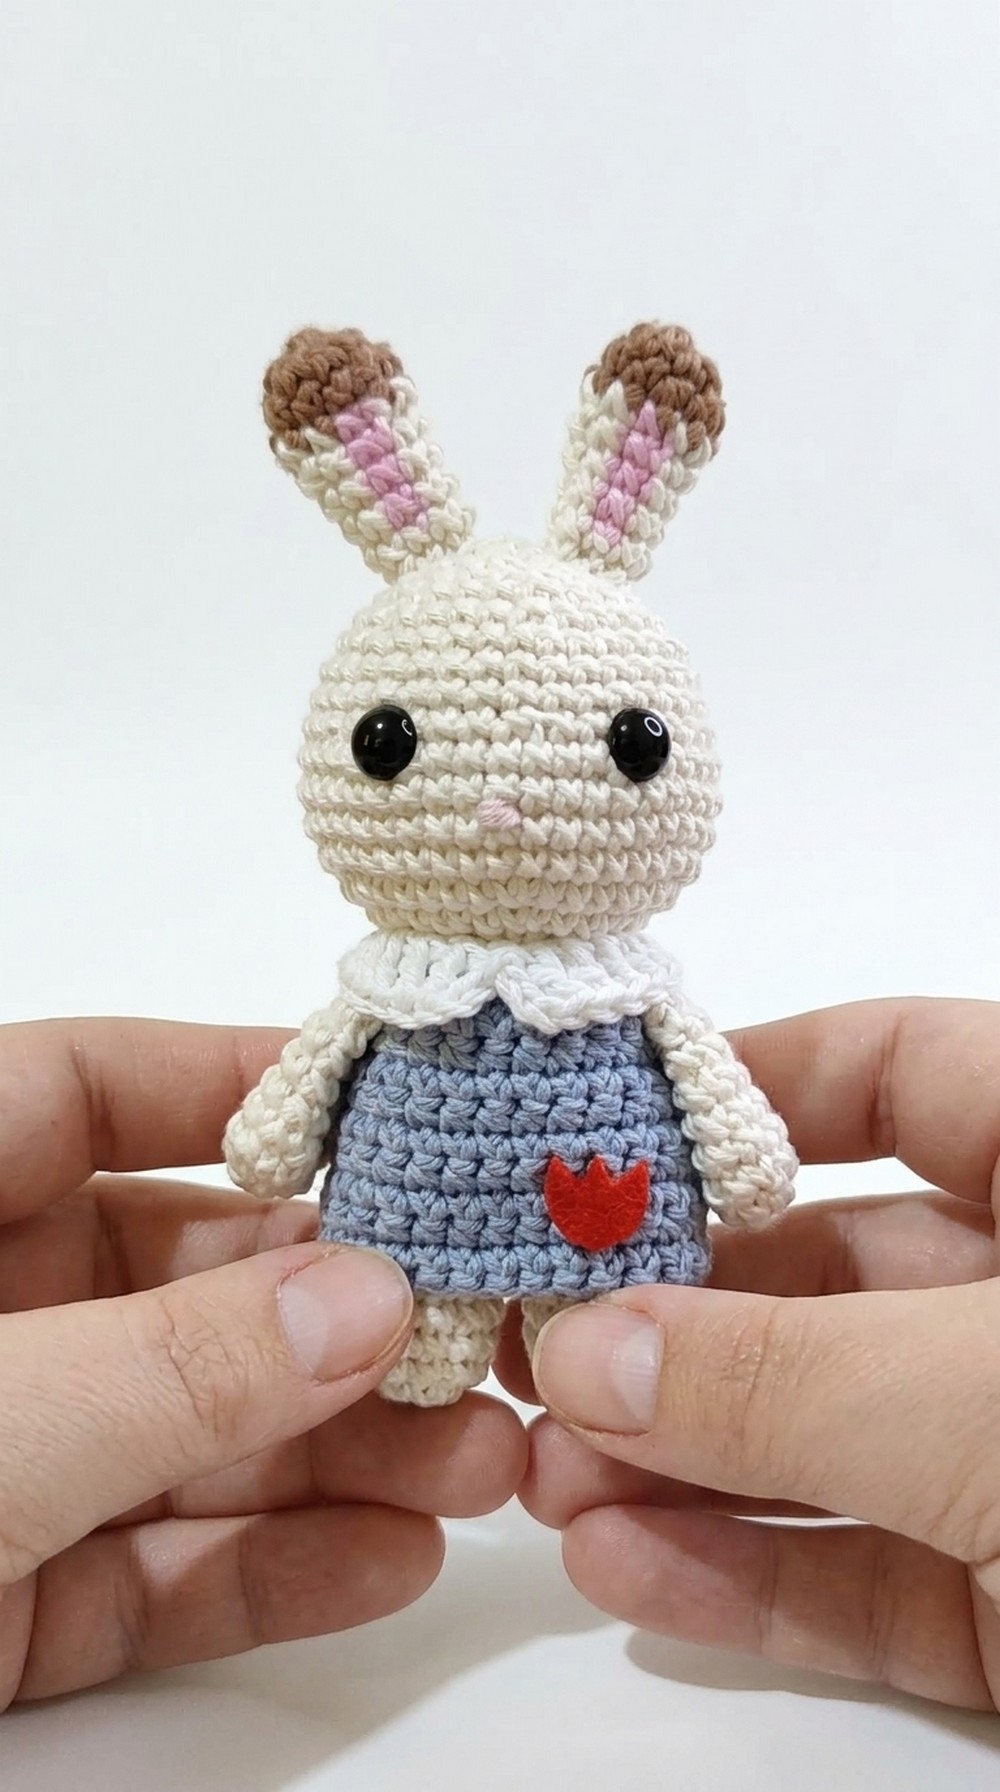
Build your very own cheerful and cuddly friend with this delightful Free Crochet Bunny and Kitty Pattern. This soft, squishy companion is here to bring happiness with its bright, friendly eyes and adorable smile. Its charm shines through in every detail – from its colorful clothes to the elegant lace collar that makes it look party ready.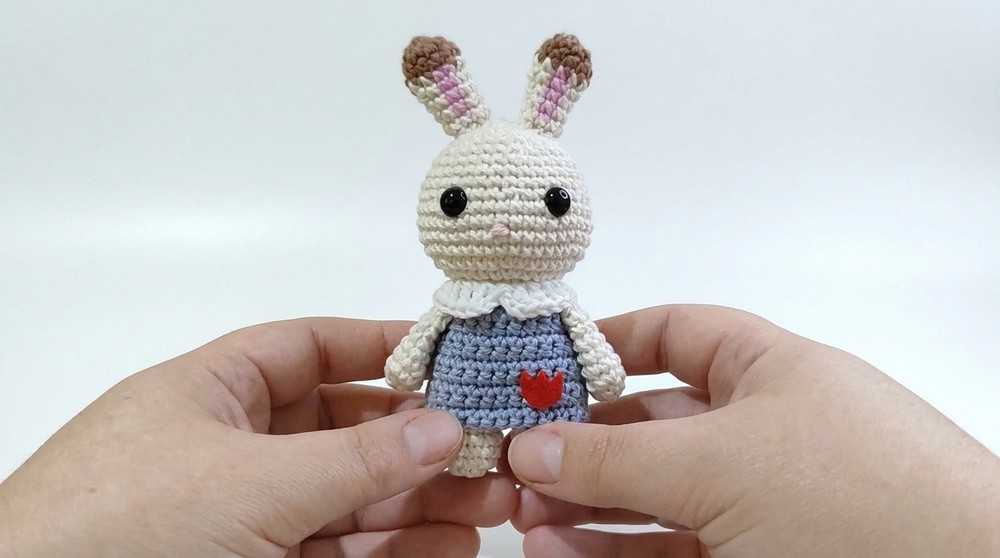
Whether you pick the long eared bunny or the pointy eared kitty, both are irresistibly cute and perfect for snuggles. Carry this lovable little friend as a lucky charm on your school bag, or surprise your best friend with a heartfelt handmade gift.
Crochet Bunny and Kitty Pattern
Finished Size:
Once completed, each Ternurine measures approximately 7 to 9 cm tall (depending on stitch tension and yarn used).
Materials Needed:
- Yarn:
- For the body: Light worsted weight yarn in desired colors, such as pastel blue for the rabbit or light beige for the kitty.
- For clothes: Contrasting yarn colors (e.g., red for the rabbit, yellow for the kitty).
- For details: Small amounts of pink for the nose and white for accents.
- Crochet Hook: 2.5 mm to 3 mm (depending on your preferred gauge).
- Toy stuffing: Polyfill for shaping the head, body, and legs.
- Safety eyes: Size 5 to 6 mm for the eyes of both the rabbit and kitty.
- Embroidery thread: Pink for the nose and complementing thread for optional details.
- Scissors & yarn needle: For joining and finishing.
Gauge (Optional):
While gauge is not critical for this project, aim for Crochet Amigurumi Tension:
- 10 rounds in single crochet = approximately 5 cm in diameter.
Use tighter stitches for a firmer result.
Pattern Instructions:
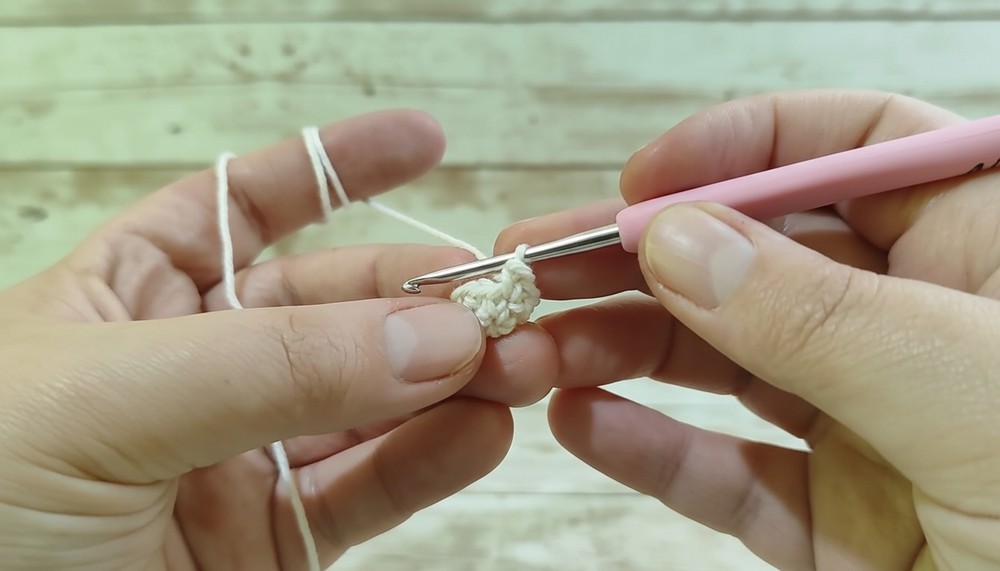
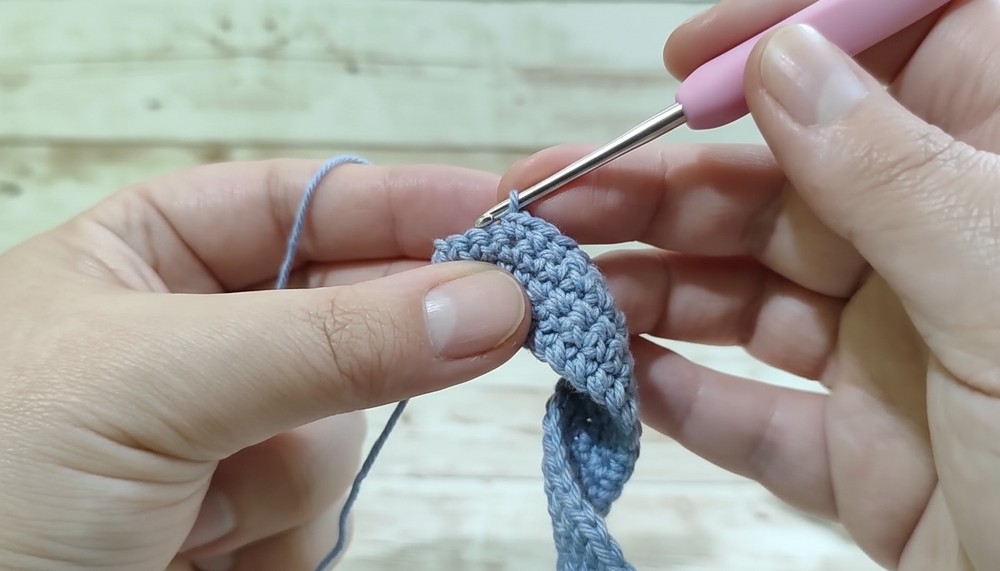
Step 1: Arms (Make 2)
- Round 1: Start with a magic ring and crochet 6 single crochets (SC) into the ring. Pull tight to close.
- Round 2: 1 SC, 1 increase – repeat around (total 9 SC).
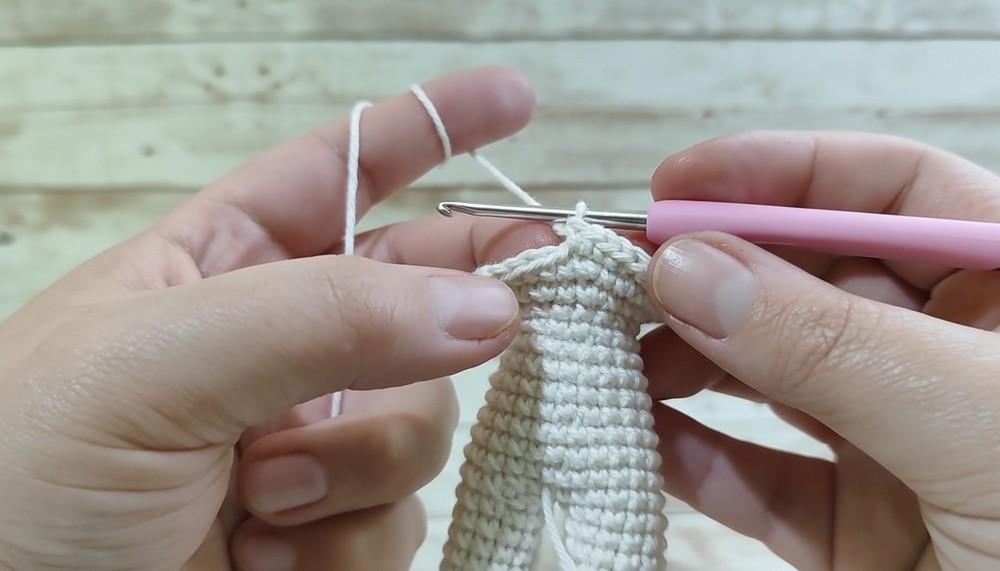
- Rounds 3 to 7: Work 1 SC into each stitch (repeat for 5 rounds to create the arm’s length).
- Do not stuff the arms.
- Flatten the open end, join the last two layers with slip stitch, and leave a long tail for sewing.
Step 2: Legs (Make 2)
- Round 1: Start with a magic ring, crochet 6 SC into the ring. Pull tight to close.
- Round 2: Crochet 2 SC into each stitch (total 12 SC).
- Rounds 3 to 7: Work 1 SC in each stitch (12 SC per round).
- Finish the first leg completely and tie off. For the second leg, do not tie off, as legs will connect to the body.
Step 3: Body Base
- Connect the second leg to the first leg using a chain:
- Crochet 4 chains at the end of Leg 2, join it to Leg 1, and continue working 12 SC around Leg 1.
- Work SC across the chain, then complete 12 SC around Leg 2.
- Continue building the body shape through increases:
- Round 9 to 12: Work SC around (26 SC total).
- Use increases/decreases for shaping: Adjustments (e.g., 1 SC decrease every few stitches) detailed in the transcription above.
Step 4: Head
- Begin shaping the head with a magic ring (6 SC).
- Gradually increase stitches to widen the diameter (up to 42 SC) and adjust with decreases as noted in the transcript.
- Safety Eyes: Insert safety eyes between rounds 24 and 25, leaving 8 stitches of separation. Secure the eyes with backing pieces.
- Stuff the head firmly with polyfill as rounds become smaller to maintain its round shape.
Step 5: Ears
- Rabbit Ears (Make 2)
- Start with a brown colored magic ring (5 SC).
- Continue working SC and switch to white yarn as instructed.
- Increases and shaping are completed through rounds. Paint the inner ear lightly with pink embroidery thread or use pastel shading for detailing.
- Kitty Ears (Make 2)
- Use beige yarn and follow shaping instructions carefully to create triangular ears. Add color detailing with pink embroidery thread or a pastel marker.
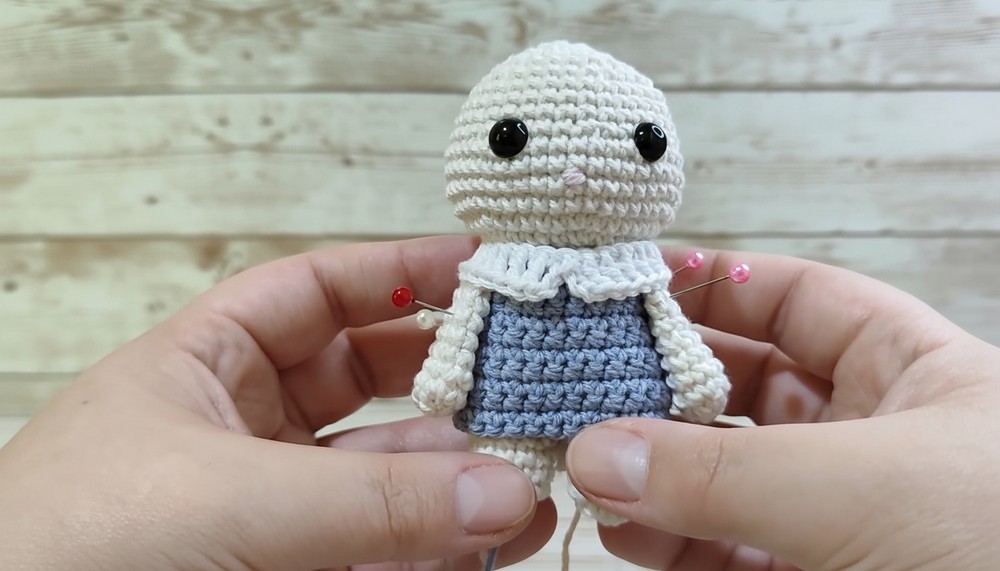
Step 6: Clothes
- Base Shirt for Kitty/Rabbit:
- Start with a chain foundation (see transcript for chain counts).
- Use SC for a neat texture, switching colors for accents or details.
- Add accessories: the rabbit’s cape or the kitty’s yellow shirt hem decoration.
Step 7: Tail (Kitty)
- Roll white yarn into a ball and crochet basic shapes to attach below its shirt. Optional detailing with pink embroidery additions.
Assembly:
- Attach Arms & Legs: Use yarn tails to securely sew arms to the sides of the body and legs underneath.
- Affix Head to Body: Stabilize the connection securely to keep the piece balanced.
- Clothing Placement: Dress the body by pulling the shirt over and stitching necklines for firm placement.
- Secure Ears: Position ears based on visual preference before sewing them into final placement around the top of the head.
Customization Ideas:
- Color Variations: Experiment with whimsical colors like pastel purples or greens for unique outcomes.
- Accessories: Add pouches, bows, or hats to personalize your kitty/rabbit.
- Expressions: Embroider various facial features (smiling mouth, whiskers).
Special Techniques:
- Magic Ring: Ensure a tight closure for neatness.
- Invisible Decrease: When decreasing, use the inner loops of stitches for seamless results.
- Shaping: Adjust polyfill to avoid bulges or uneven surface areas.
Important Remarks:
- Constantly count stitches to maintain symmetry during shaping.
- Keep alignment in mind while adding features (eyes, ears, arms).
- The final characters are charming and versatile—use them as keychains or display accessories.
Conclusion:
This crochet pattern brings to life adorable tiny friends—customizable as a rabbit or kitty. With this easy-to-follow guide, you will crochet delightful companions, perfect for gifting or personal keepsakes. Enjoy the creative process, and watch your Ternurines come to life stitch by stitch.