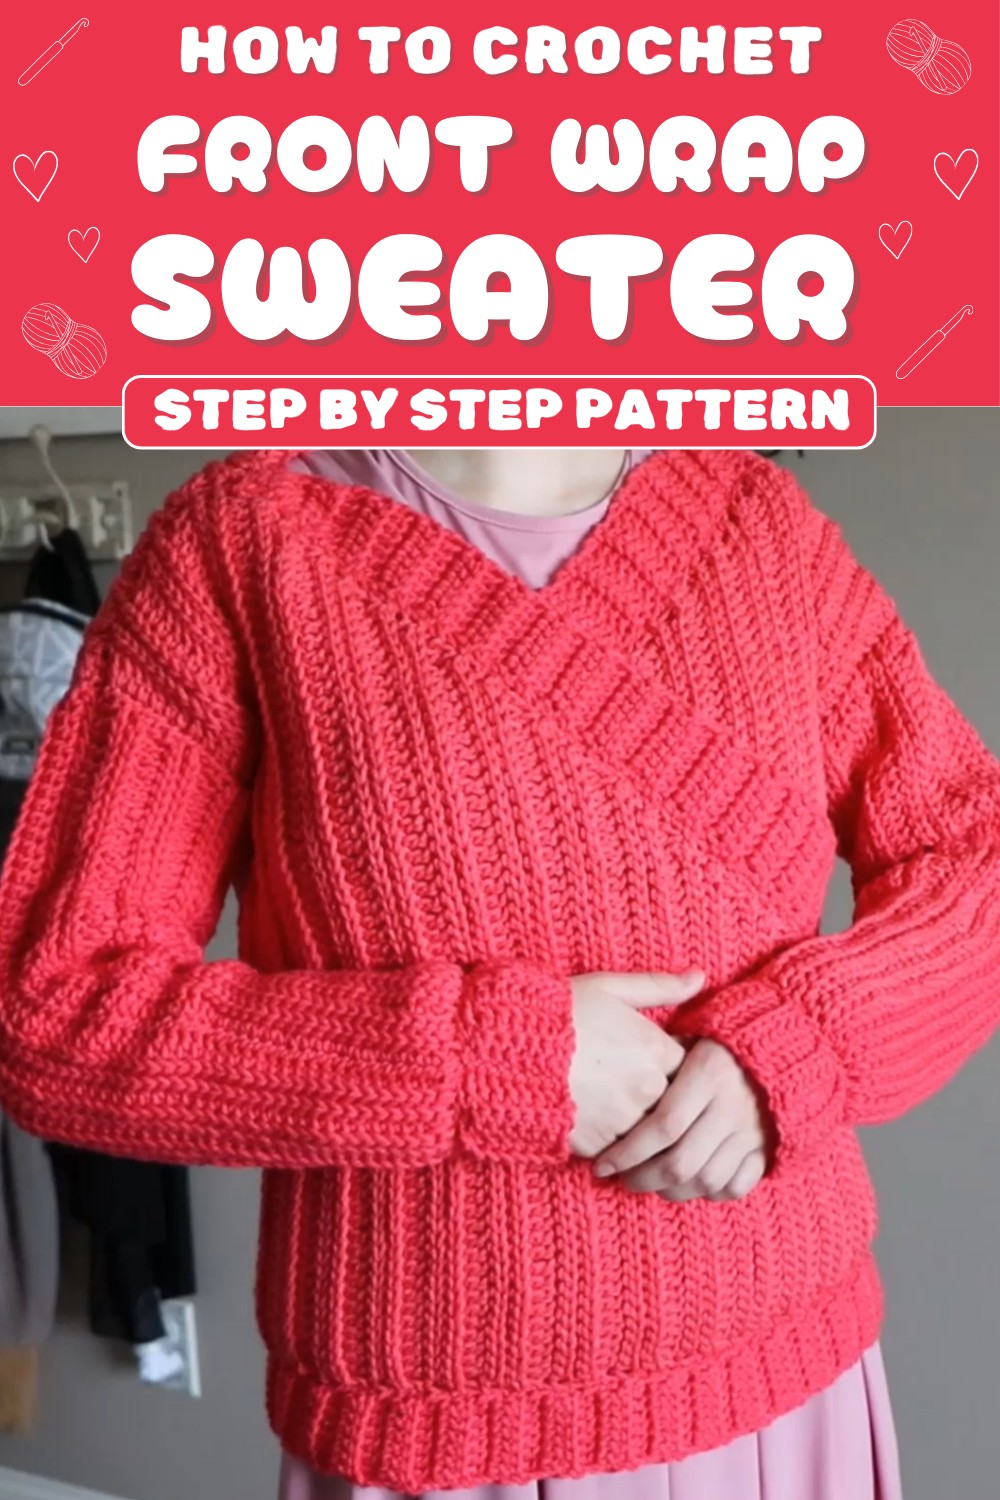
Slip into cozy warmth with Free Crochet Front Wrap Sweater Pattern, perfect for all skill levels for stylish layering comfort in every season.
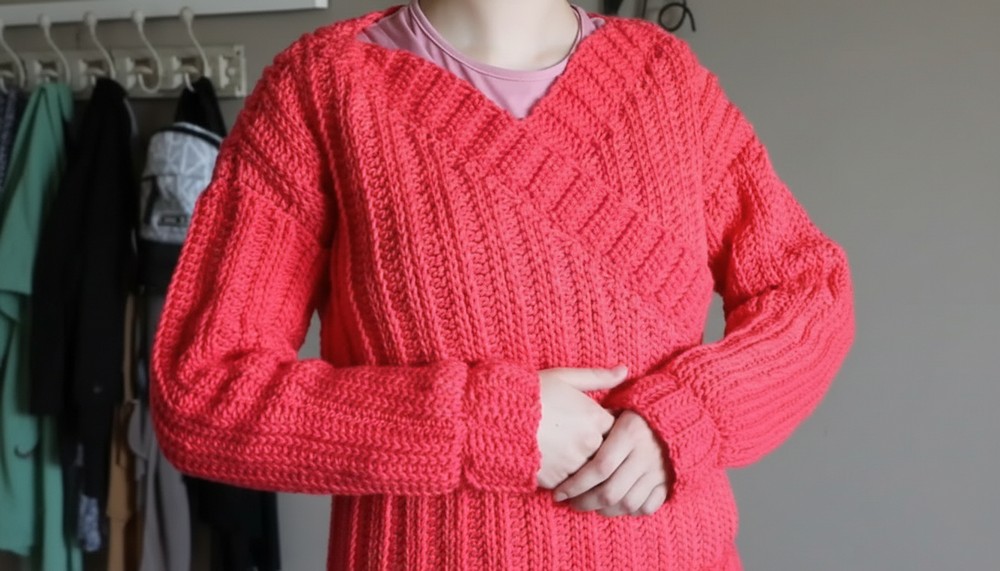
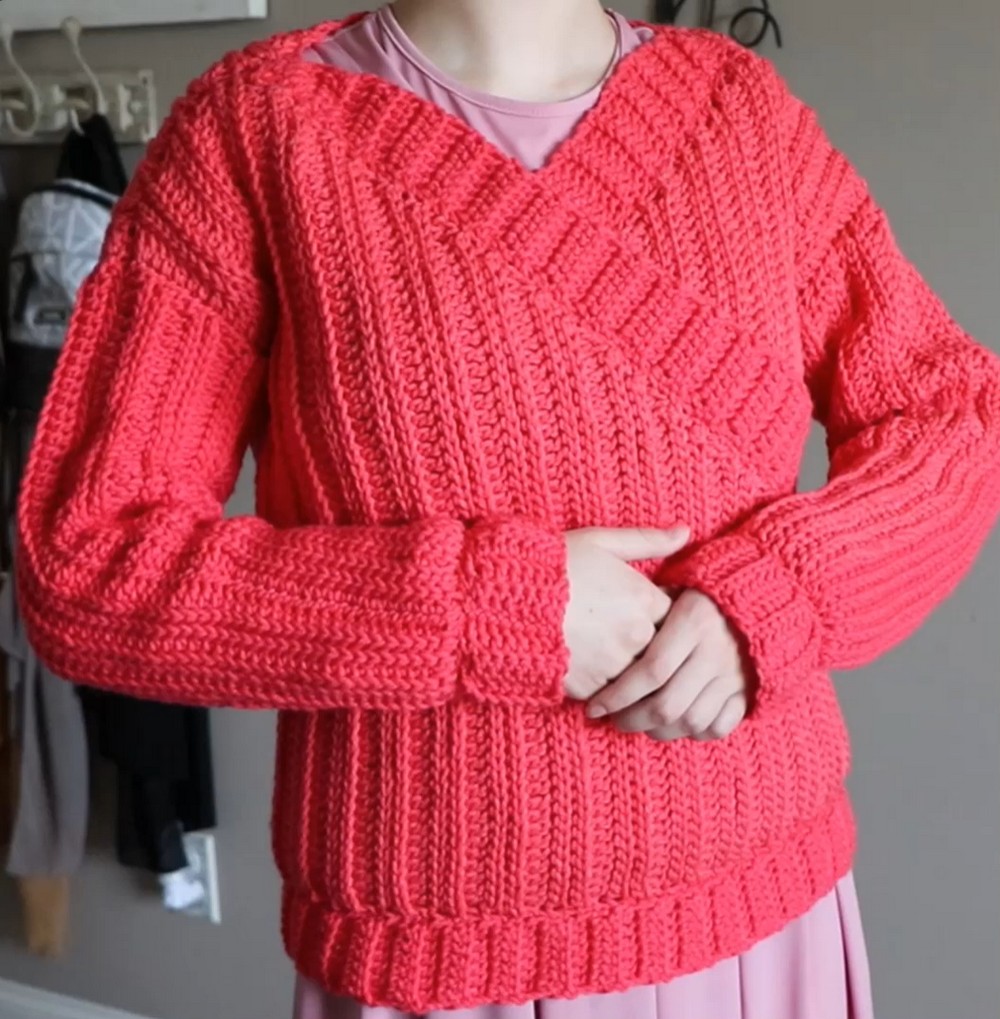
Soft loops of yarn come together in gentle curves to form a sweater that looks just as good as it feels warm. With sleeves that hug your arms and a front that twists across the body this style brings a touch of charm to any outfit. The Crochet Front Wrap Sweater pattern makes it easy for folks to put together a piece that fits well and feels cozy all day.
Cozy Front Wrap Sweater Free Crochet Pattern Perfect for your next project
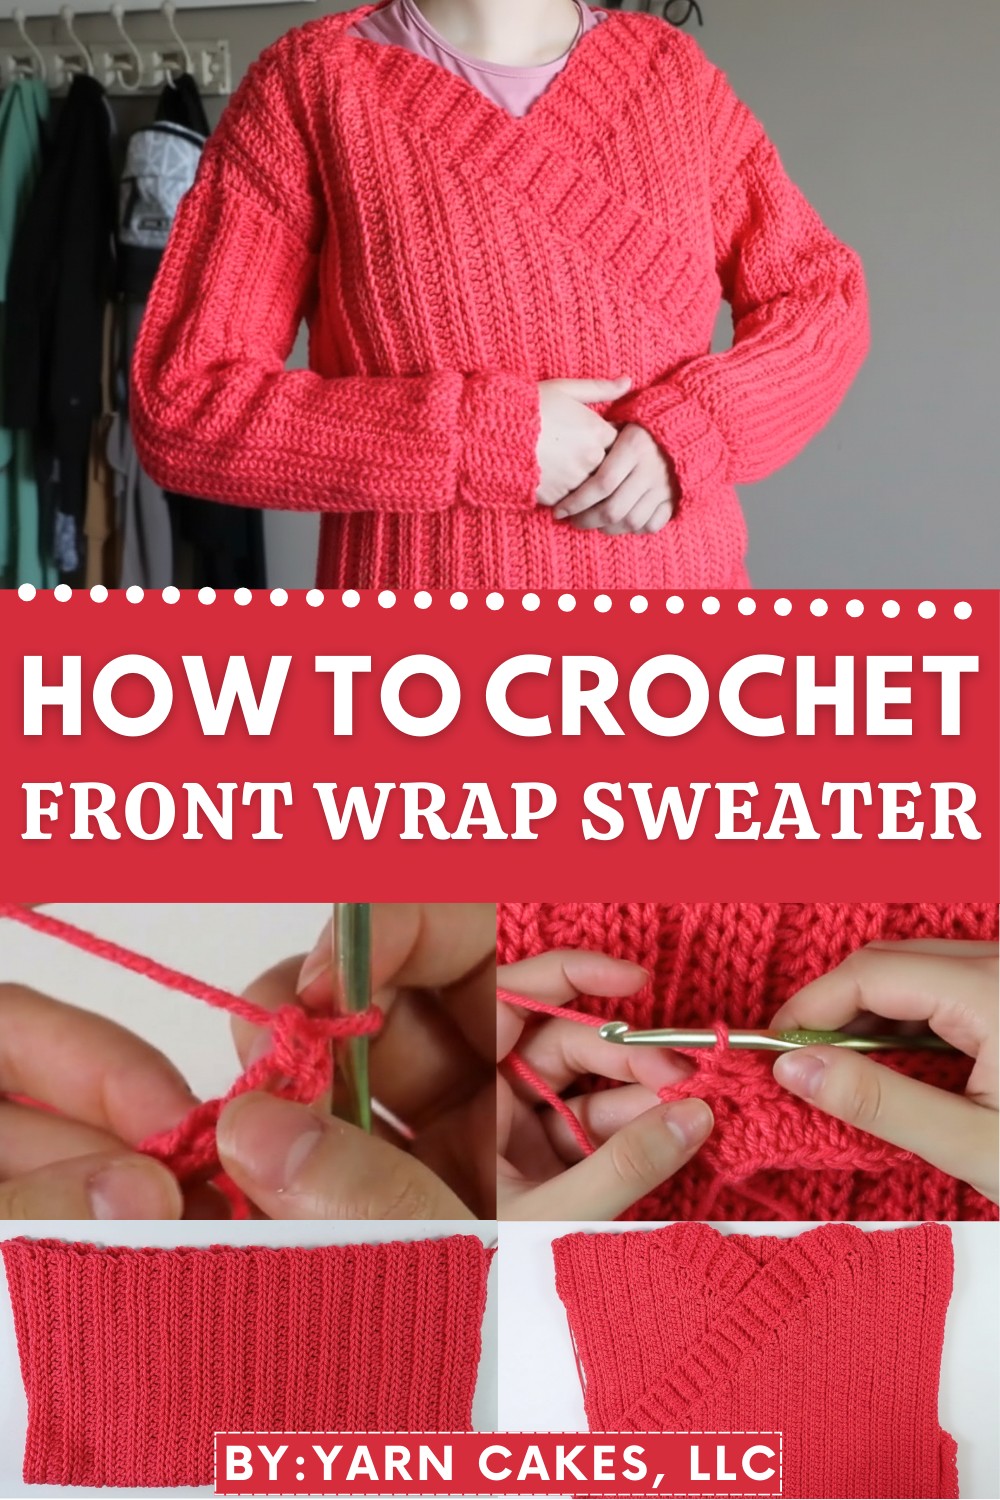
Its special design allows the front to cross over and tie or tuck in place making it simple to wear in more than one way. Whether you want to dress up for a cool evening or need something comfy for a day at home this sweater does the trick. Its look shows off neat lines and a handmade touch that makes each piece special. Powerful in its beauty this project brings comfort and style together in every stitch.
Materials
- Yarn: Crafter’s Secret Big Idea (Worsted/Category 4). Approx. 2 skeins for size Small (adjust for larger sizes).
- Hooks: 5.5 mm (main body), 4.5 mm (borders, cuffs)
- Scissors
- Large tapestry needle (for seaming and weaving ends)
- Measuring tape (for checking panel/sleeve size)
Key Abbreviations
| Abbreviation | Meaning |
|---|---|
| ch | chain |
| st(s) | stitch(es) |
| sl st | slip stitch |
| dc | double crochet |
| hdc | half double crochet |
| sc | single crochet |
| BLO | back loop only (back bar) |
| RS/WS | right side/wrong side |
| rep | repeat |
| dec | decrease |
| inc | increase |
| FO | fasten off |
Special Stitches:
- Back Bar (Back Loop) Slip Stitch (BLO Sl St): Insert hook only into back loop of st, yarn over and pull through both loops on hook.
- BLO Double Crochet (BLO Dc): Yarn over, insert hook into back loop of st, yarn over, pull up a loop (3 loops on hook), yarn over, pull through 2, yarn over, pull through remaining 2.
- Dc Dec (Double Crochet Decrease): (Yarn over, insert hook in st, yarn over, pull up a loop, yarn over, pull through 2) twice in 2 sts, yarn over, pull through all 3 loops on hook.
- Sl St Dec (Slip Stitch Decrease): Insert hook in first st, pull up a loop, insert hook into next st, yarn over, pull through all 3 loops on hook.
Notes
- Pattern is written for size Small. Adjust starting chains and row counts for larger/smaller sizes as needed.
- Ch 1 at the start of a row does not count as a stitch unless specified.
- Ch 2 at the start of a dc row does count as the first dc.
- “Back bar” is synonymous with “back loop only (BLO)” throughout this pattern.
- Always keep slip stitches loose to avoid a stiff fabric.
- Panels are worked flat and assembled at the end.
- Refer to “Pattern Correction” for adjustments or clarifications.
Pattern Instructions
1. Back Panel
- Foundation:
Ch 65 (adjust for desired length). - Row 1:
Dc in 3rd ch from hook and in each ch across. (63 dc) - Row 2:
Ch 1, turn. BLO Sl st in each st across. - Row 3-4:
Rep Row 2 two more times (3 total rows of BLO sl st after foundation row).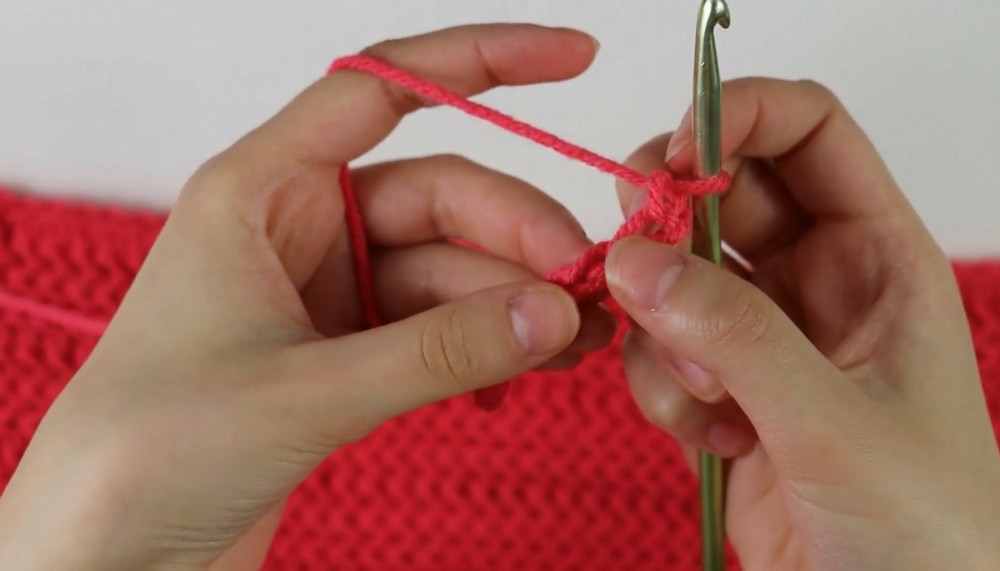
- Row 5:
Ch 2 (counts as first st), turn. BLO dc in each st across. - Rows 6-56:
Repeat Rows 2-5. You should have a pattern of 3 slip stitch rows and 1 BLO DC row. Continue until you reach 56 rows in total.
FO and set aside.
2. First Front Panel (Decreasing Side)
- Foundation:
Ch 65 (as back panel). - Rows 1-12:
Rep the pattern for the back panel (Row 1: dc across, then alternate 3 rows BLO sl st + 1 row BLO dc). - Row 13: (BLO Dc Decrease Row)
Ch 2, turn. BLO dc in each st until last 2 sts. Dc2tog in last 2 sts. - Row 14: (BLO Sl St Dec Row)
Ch 1, turn. Sl st dec in first 2 sts, BLO sl st in each st to end. - Row 15:
Ch 1, turn. BLO sl st in each st until last 2 sts; sl st dec in last 2 sts.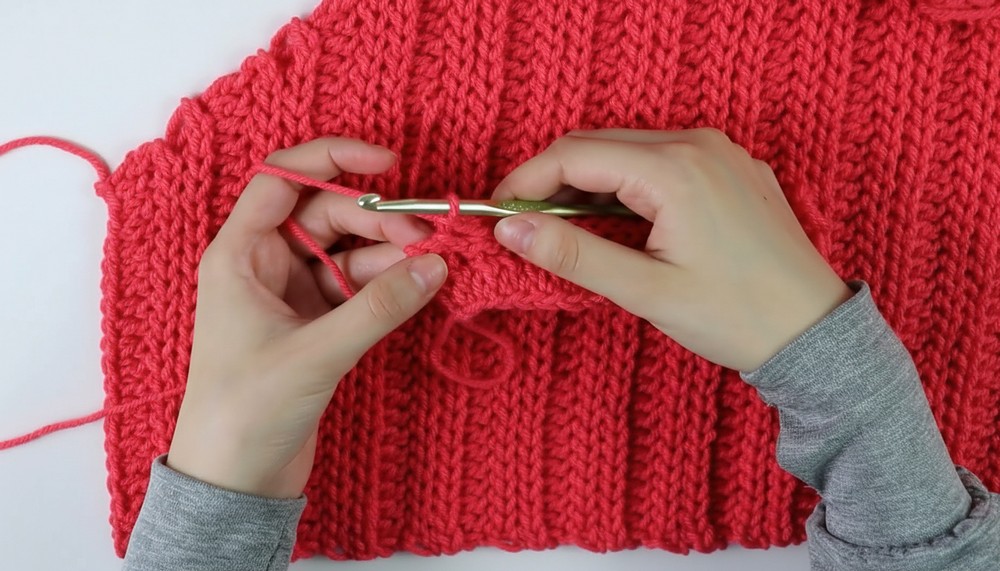
- Row 16:
Ch 1, turn. Sl st dec, BLO sl st to end. - Continue Pattern:
- Repeat these 4 rows (one decrease row for BLO dc, and three for BLO slip stitches) until you have 56 rows total.
- FO and set aside.
3. Second Front Panel (Increasing Side)
- Foundation:
Ch 21. - Row 1:
Dc in 3rd ch from hook and each ch across until last ch; 2 dc in last ch (increase made). - Row 2:
Ch 1, turn. BLO sl st twice in first st (inc), BLO sl st in each st across. - Row 3:
Ch 1, turn. BLO sl st in each st to last st; 2 BLO sl st in last st (inc). - Row 4:
Ch 1, turn. 2 BLO sl st in first st, BLO sl st in each st across. - Row 5:
Ch 2, turn. BLO dc in each st across to last st; 2 BLO dc in last st (inc).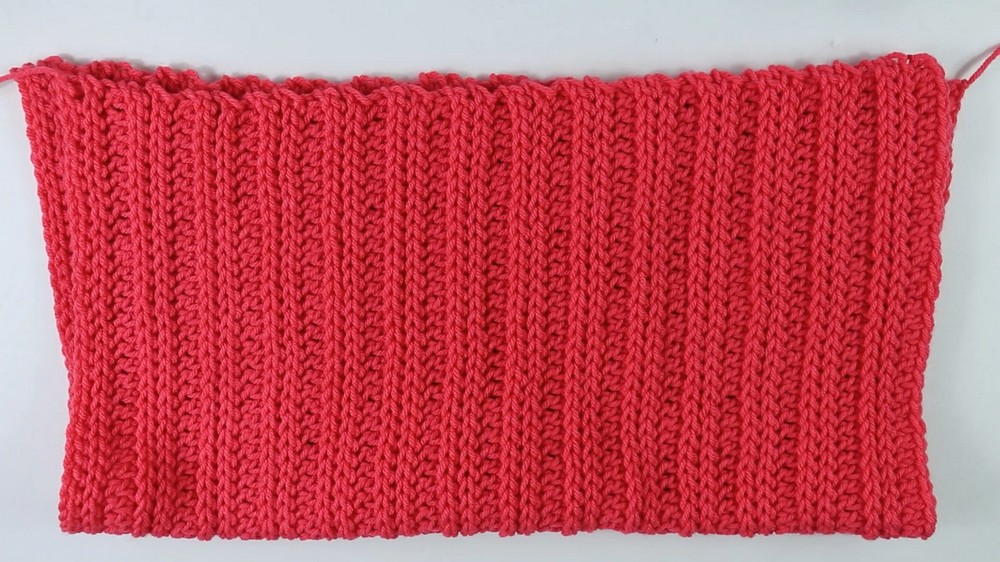
- Repeat Rows 2-5:
Continue alternating increases at the beginning or end of rows as described until you have 44 rows (shaping for the twist). - Final 12 Rows:
Work 12 rows with no increases or decreases, maintaining the established stitch pattern.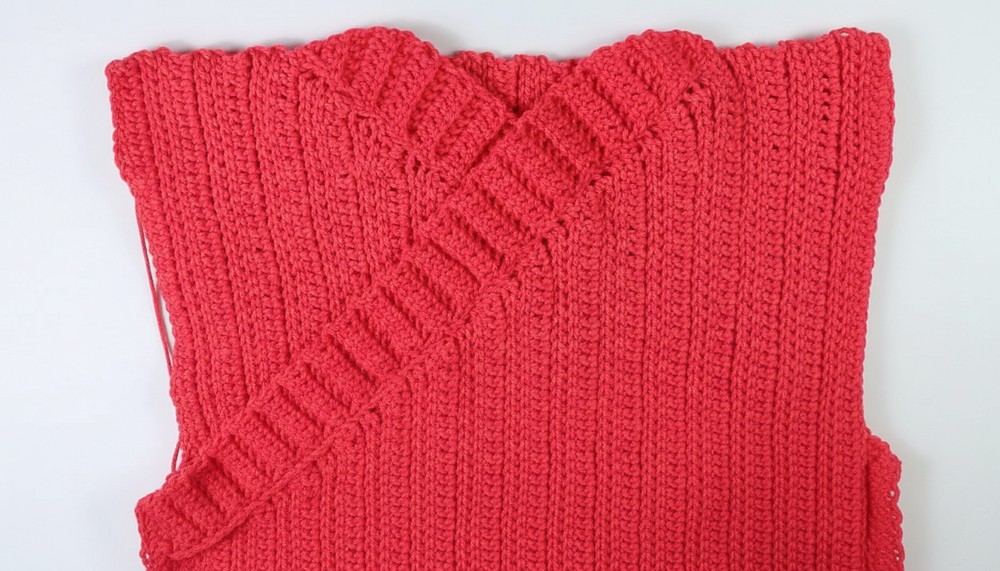
FO and set aside.
4. Sleeves (Make 2)
- Foundation:
Ch 58. - Row 1:
Sc in 2nd ch from hook and next 18 ch (19 sc), hdc in next 19 ch, dc in last 19 ch. - Rows 2-4:
Ch 1, turn. BLO sl st in each st across. - Row 5:
Ch 1, turn. 19 sc, 19 hdc, 19 dc. - Rows 6-41:
Repeat Rows 2-5 until 41 rows total.
FO and make a second sleeve.
5. Cuffs (Make 2)
- With 4.5 mm hook:
Ch 9. - Row 1:
Dc in 3rd ch from hook and each ch across. - Row 2:
Ch 2, turn. Skip first st, BLO dc in each st across to last st; dc in last st. - Rows 3-16:
Repeat Row 2 until you have 16 rows.
FO.
6. Bottom Border
- With 4.5 mm hook:
Ch 9. - Row 1:
Dc in 3rd ch from hook and each ch across. - Row 2:
Ch 2, turn. Skip first st, BLO dc in each st across to last st; dc in last st. - Rows 3-68:
Repeat Row 2 until you have 68 rows.
FO.
7. Front Borders (Make 2)
Each front border starts with a taper:
- Ch 3.
- Row 1:
Dc in 3rd ch from hook. - Row 2:
Ch 2, turn. BLO dc in first st, inc in last st (1 BLO dc, 1 regular dc in last st). (Total 3 sts) - Row 3:
Ch 2, turn. Inc in first st (BLO dc, then BLO dc in same st), BLO dc in next st(s), 2 sts in last st. - Row 4:
Ch 2, turn. Inc in first st, BLO dc in every st until 1 remains, inc in last st. You should now have 8 sts. - Rows 5-38:
Ch 2, turn. Skip first st, BLO dc in each st across, dc in last st.
FO.
Assembly
- Seam Cuffs to Sleeves:
- Fold cuff, place along end of sleeve (wrong side facing you).
- Whipstitch with tapestry needle.
- Seam Front Borders to Front Panels:
- Place tapered end at top of panel; seam along edge with whipstitch.
- Seam Panels Together:
- Lay back panel RS down, cross front panels over each other as shown in the video.
- Pin and whipstitch sides together, leaving 6.5″ unseamed at top for armholes.
- Sew shoulder straps together at top.
- Prepare Sleeves:
- Fold sleeve in half lengthwise, seam along edge to form a tube.
- Attach Sleeves to Body:
- Place sleeve into armhole, wrong sides together.
- Whipstitch around armhole opening.
- Attach Bottom Border:
- Place along bottom edge, whipstitch in place.
- Finishing:
- Weave in all loose ends.
Correction/Clarification
- Chain counts and row numbers are based on the transcript for size Small. Always check measurements and adjust as needed for other sizes.
- Always seam with WS facing for a neater finished look.
- When decreasing/increasing, match the stitch type to the established row (i.e., decrease in BLO sl st rows with sl st dec, in dc rows with dc dec).
- Keep slip stitches loose to prevent puckering.
Tips
- For a neater join, block your panels before assembly to even out the stitches.
- Try the panels on before seaming sides to check fit.
- Mark key points (shoulders, armhole openings) with stitch markers before sewing.
- Keep consistent tension, especially for BLO slip stitches, for a smooth knit effect.
Conclusion
This knit-look crochet sweater combines simple stitches and shaping for an elegant twist-front design. Take your time with assembly for the best results, and don’t hesitate to personalize the length or fit by adjusting starting chains or row counts.