Cute and cuddly sheep are easy to make with this free crochet sheep amigurumi pattern that is soft, fun, and perfect for gifts.
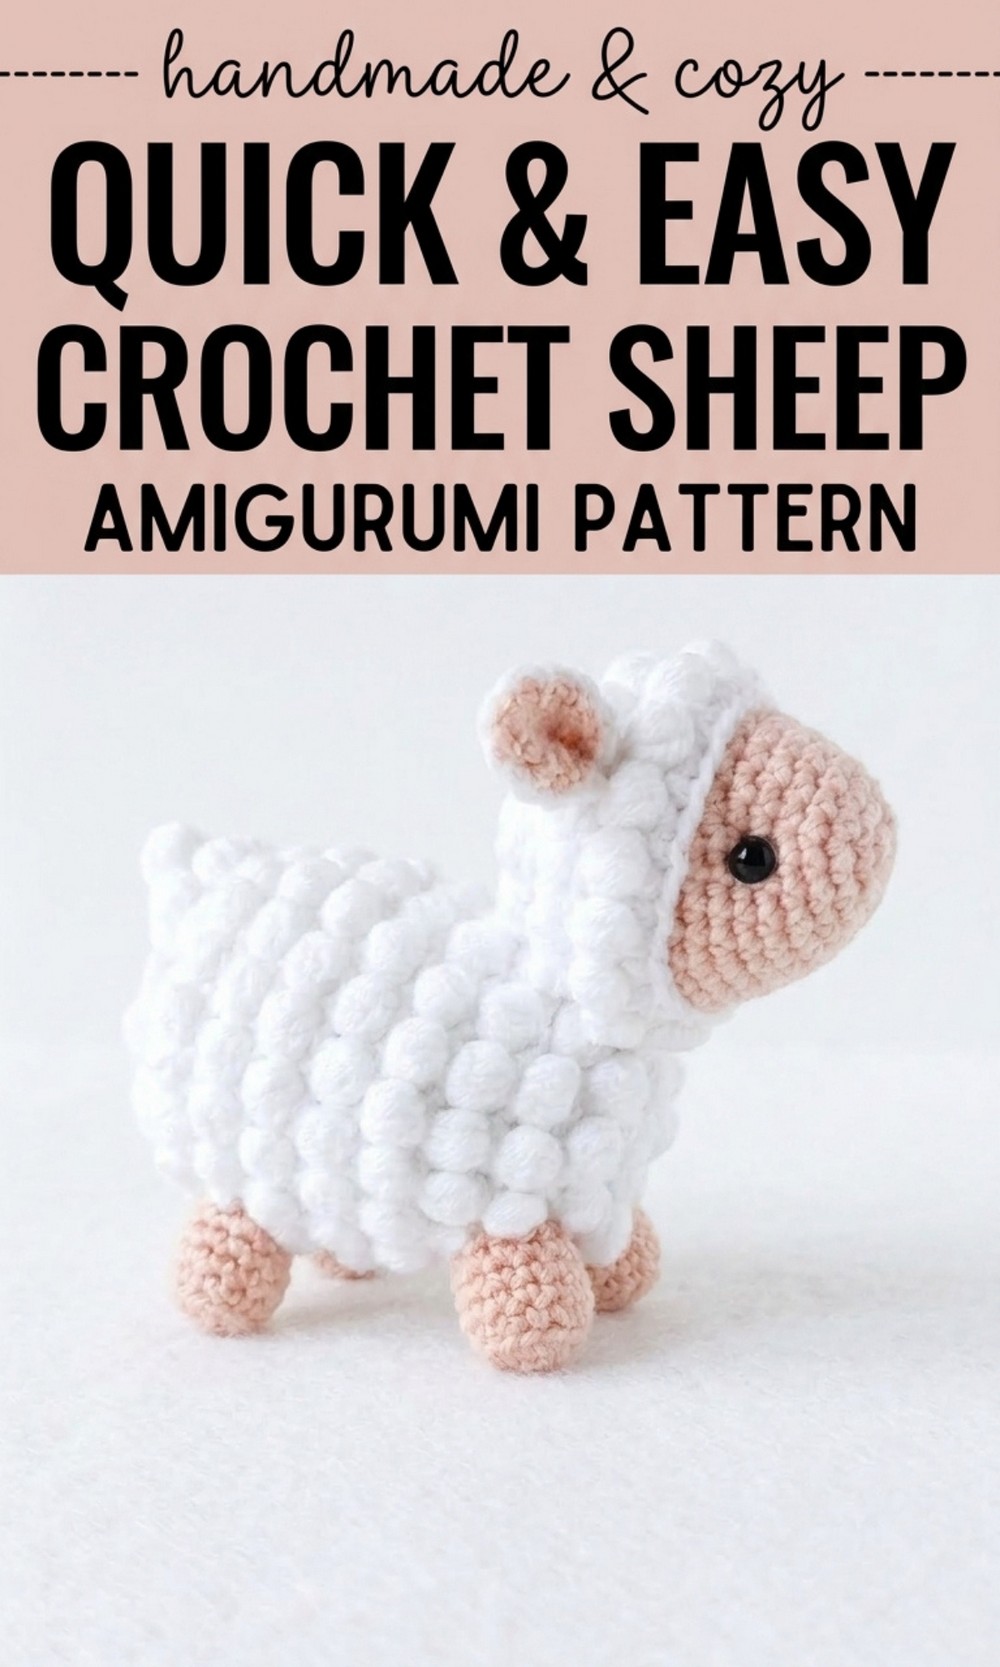
Snuggle Up with This Free Crochet Sheep Amigurumi Pattern
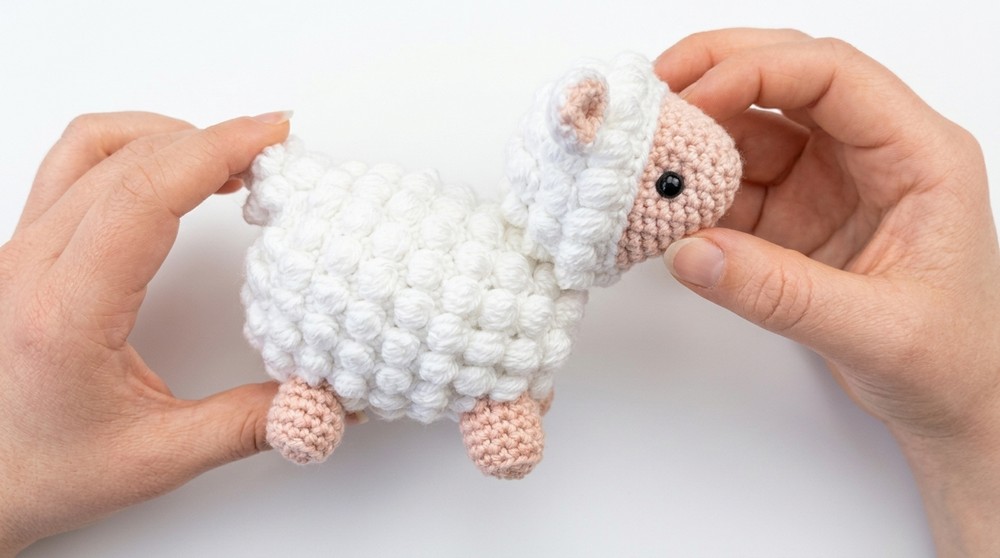
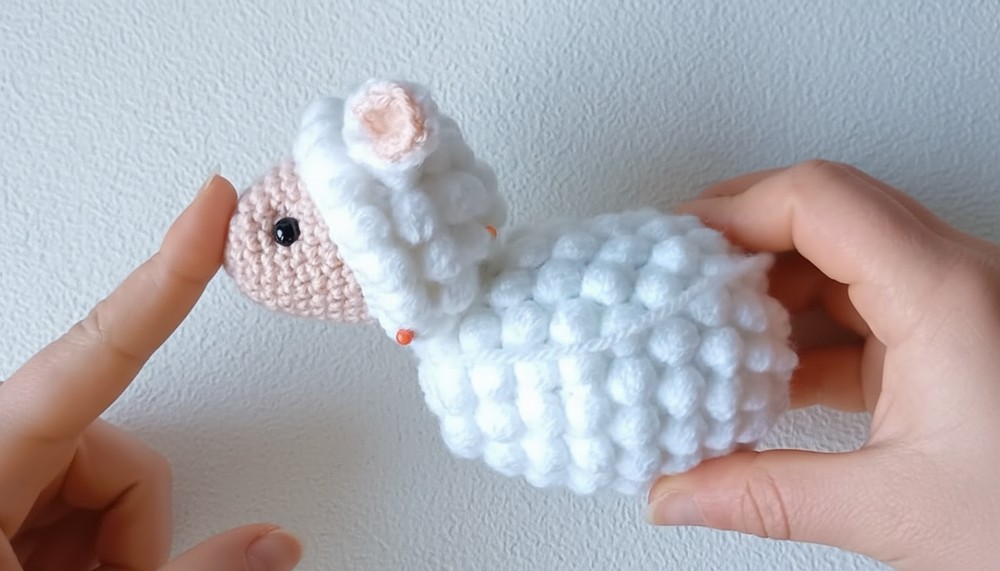
Learn how to crochet the cutest and fluffiest sheep with this Free Crochet Sheep Amigurumi Pattern. This adorable sheep stands out with its soft, textured wool created using the fun popcorn stitch. Its tiny pink ears, cheerful face with safety eyes, and a playful little tail make it the perfect companion for kids, home decor, or heartfelt gifts.
The pattern is beginner friendly, includes step by step guidance, and uses basic techniques like the magic ring, single crochet, and easy increases. You can customize its wool and details with different colors, giving your sheep a unique personality each time. It’s great for sparking creativity or crocheting a farmyard friend that everyone will love. 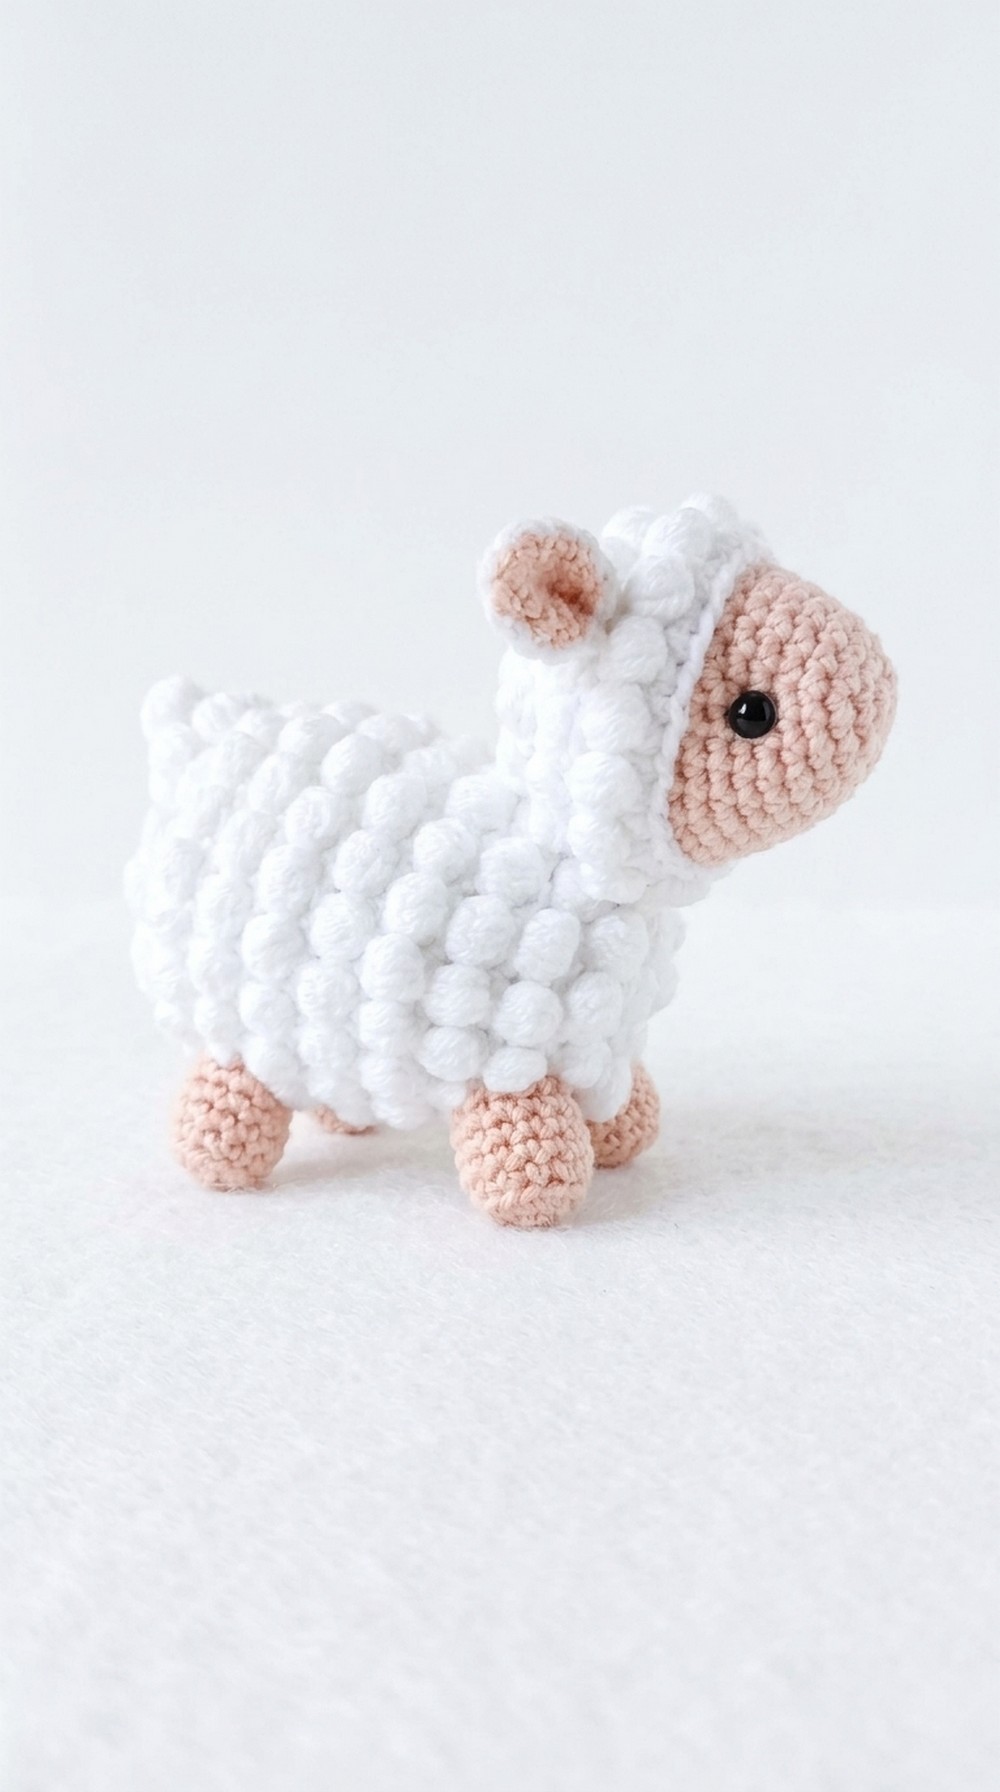
Whether you’re experienced with crochet or just starting out, this simple pattern is packed with fun and character, making it enjoyable for all ages. Make this delightful project now and bring this charming little sheep to life.
Crochet Sheep Amigurumi Pattern
Materials Needed
- Yarn:
- White yarn (for the sheep’s body and wool cap).
- Pink or beige yarn (for the head, legs, and ears).
- Crochet Hook:
- 3 mm hook (or size suited to your yarn).
- Accessories & Tools:
- Scissors
- Stitch markers (optional, for marking rows and reference points).
- Tapestry needle (for sewing and weaving ends).
- 8 mm safety eyes
- Toy stuffing (polyfill or similar).
Special Techniques Used
- Magic Ring: Used as the foundation for rounds.
- Single Crochet (SC): The basic crochet stitch throughout the project.
- Increase (INC): Two single crochets in one stitch to increase the stitch count.
- Decrease (DEC): Combine two stitches into one to decrease the stitch count.
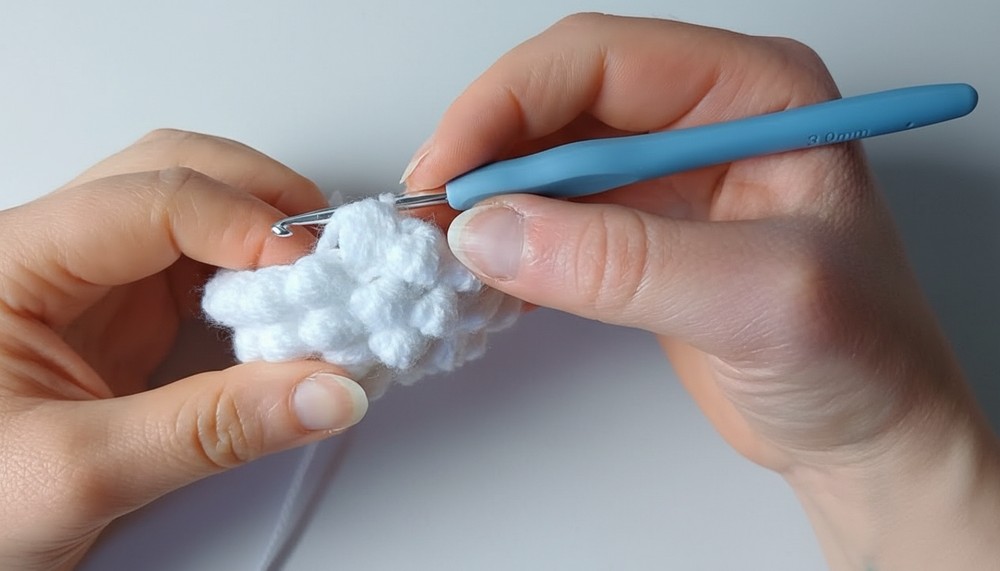
- Popcorn Stitch: Unique stitch used for the texture of wool, made by incomplete double crochets in the same stitch pulled together in one motion.
- Work in Back Loops Only (BLO): Technique for detailing edges, where the stitch is made only in the back loop of the stitch.
Pattern Instructions
Head
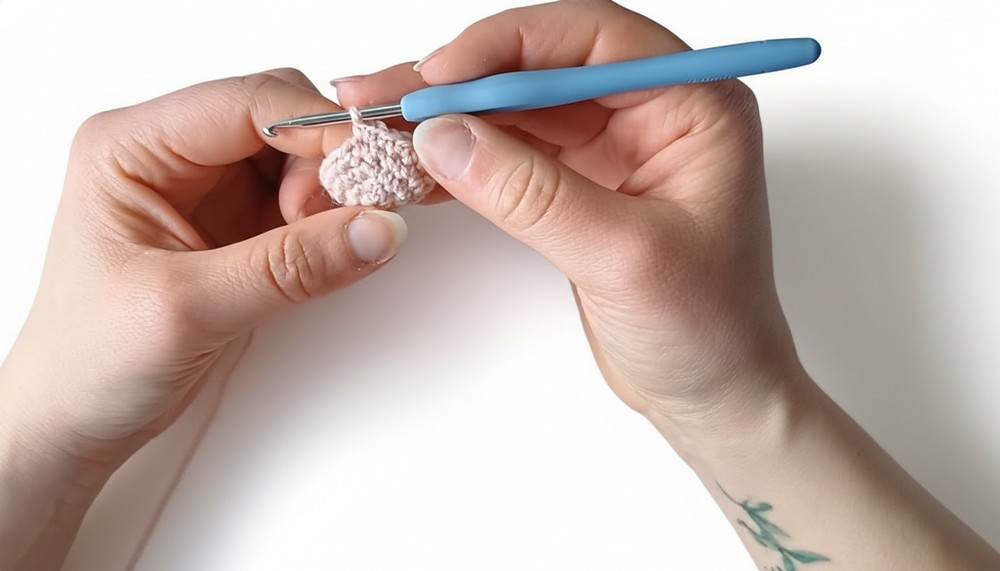
- Start:
- Use pink yarn with a magic ring. Make 6 SC inside the magic ring.
- Tighten the magic ring (Round 1 done).
- Round 2:
- Work 6 INC (1 INC in each SC) – total 12 SC.
- Round 3:
- (1 SC, 1 INC) repeated 6 times – total 18 SC.
- Round 4:
- 1 SC in each stitch – total 18 SC.
- 1 SC in each stitch – total 18 SC.
- Round 5:
- (2 SC, 1 INC) repeated 6 times – total 24 SC.
- Rounds 6–7:
- 1 SC in each stitch – total 24 SC each round.
- Round 8:
- (3 SC, 1 INC) repeated 6 times – total 30 SC.
- Round 9:
- 1 SC in each stitch – total 30 SC.
- Round 10:
- (4 SC, 1 INC) repeated 6 times – total 36 SC.
- Rounds 11–12:
- 1 SC in each stitch – total 36 SC each round.
- Round 13:
- (4 SC, 1 DEC) repeated 6 times – total 30 SC.
- Round 14:
- (3 SC, 1 DEC) repeated 6 times – total 24 SC.
- Round 15:
- (2 SC, 1 DEC) repeated 6 times – total 18 SC.
- Round 16:
- (1 SC, 1 DEC) repeated 6 times – total 12 SC.
- Stuff the head lightly before closing.
- Round 17 (Final Round):
- 6 DEC – total 6 stitches left.
- Finish the head:
- Slip stitch to finish and leave a long tail for sewing.
- Slip stitch to finish and leave a long tail for sewing.
Ears
- Make 4 Small Circles:
- Use pink yarn to make the inner ear and white yarn for the outer ear.
- Begin with a magic ring.
- Round 1: 6 SC inside the magic ring. Tighten.
- Round 2: 1 INC in each SC – total 12 SC.
- Leave a short tail for pink and a long tail for white (used to join).
- Join the Circle Halves:
- Place the pink and white circle with their wrong sides together.
- Using the white tail, join the two pieces by working 12 SC around, stitching through both layers in the back loops only.
- Shape the Ears:
- Fold the ear slightly and sew the bottom segment to create an angled ear shape.
Body
- Start:
- Use white yarn with a magic ring. Make 6 SC inside the magic ring (Round 1).
- Round 2:
- Work 6 INC – total 12 SC.
- Round 3:
- (1 Popcorn Stitch, 1 INC) repeated 6 times – total 6 popcorn stitches and 12 SC.
- Round 4:
- (2 SC, 1 INC) repeated 6 times – total 24 SC.
- (2 SC, 1 INC) repeated 6 times – total 24 SC.
- Repeat Popcorn Rows & Clean Rows Alternately:
- (1 Popcorn Stitch, 1 SC, 1 INC) repeated 6 times.
- Alternating rows of texture and plain crochet shapes the body.
- Carry this pattern until reaching the desired size, depending on personal preference.
Legs
- Start:
- Use pink yarn to make a magic ring.
- Round 1: 6 SC inside the magic ring.
- Round 2: 1 INC in each SC – total 12 SC.
- Round 3: Work 12 SC in BLO (for shaping).
- Rounds 4–6:
- Work 1 SC in each stitch – total 12 SC per round.
- Finishing and Sewing:
- Slip stitch and cut yarn, leaving a long tail for sewing.
- Make four legs.
Wool Cap
- Essential Texture: Use popcorn stitches as in the body to create the wool cap.
- Follow popcorn and increase rounds alternately:
- Keep a smooth transition to ensure the cap sits naturally atop the head.
- Shape by increasing or decreasing stitches to fit the roundness of the head.
- Finish with a slip stitch.
Tail
- Make Like Tiny Ears: Use popcorn stitches to create a small textured segment for the tail.
- Adjust Size: Keep the tail dainty and proportional to the body size.
Finishing the Pattern
- Sew the Pieces Together:
- Attach the head to the body. Ensure the head is angled slightly upward.
- Secure the ears atop the head near the wool cap.
- Sew the legs evenly across the bottom of the body, ensuring balance for standing.
- Attach the tail to the back of the body, centered between the back legs.
- Finishing Details:
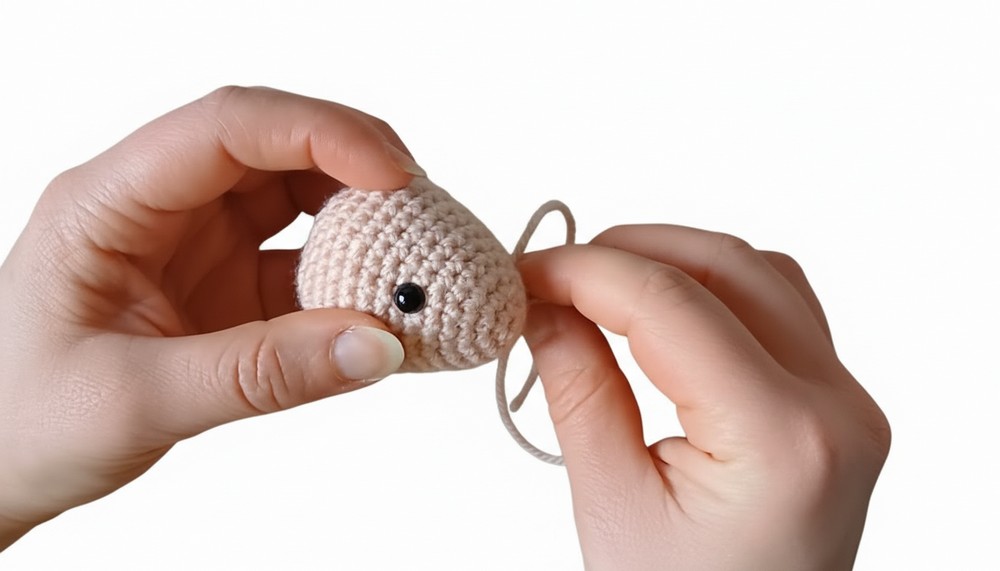
- Place safety eyes between rounds 6 and 7 on the head, with about 9 stitches apart.
- Lightly stuff all parts to maintain shape.
Final Words and Tips
- Adjust Colors and Sizes: Experiment with other yarn colors to make unique sheep or adjust hook size for larger or smaller projects.
- Take Your Time with Popcorn Stitches: They define the uniqueness of the sheep, so don’t rush.
- Stitch Markers Are Your Friend: Complex patterns, especially those involving popcorn stitches, benefit from using stitch markers to keep track of rounds.
- Tidy Finishing: Always weave in all loose ends neatly to prevent unraveling.