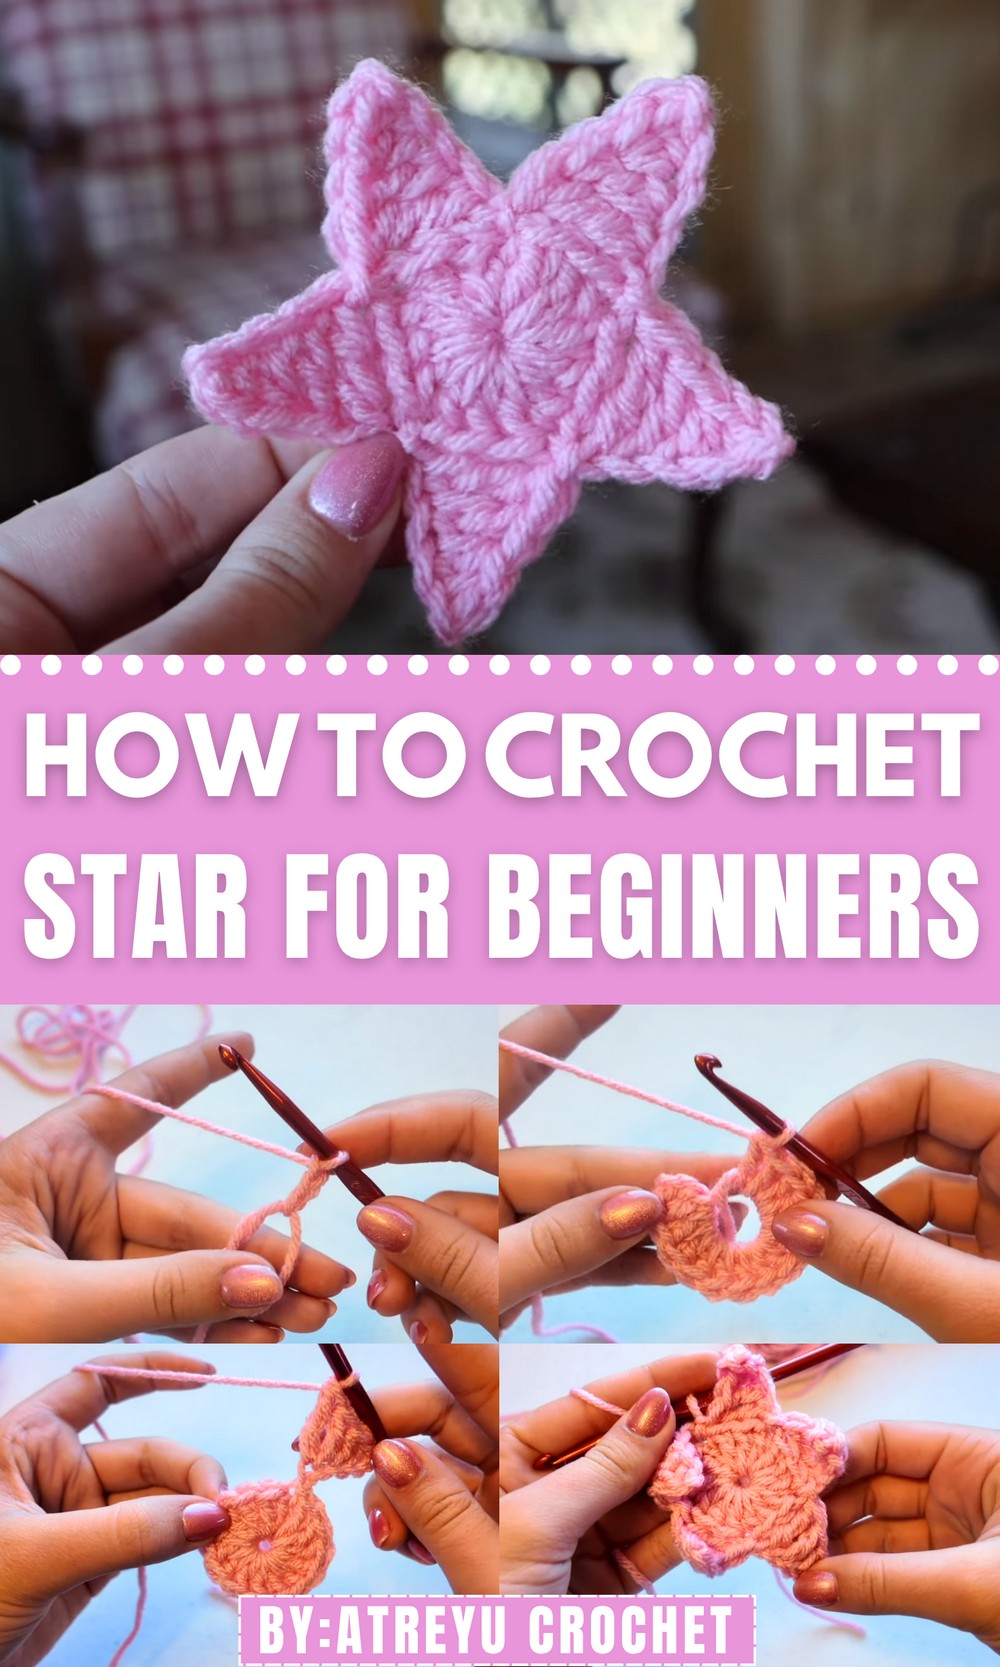
Shine with creativity through the Free Crochet Star Pattern, a radiant design that brings sparkle, charm, and handmade elegance to your favorite projects.
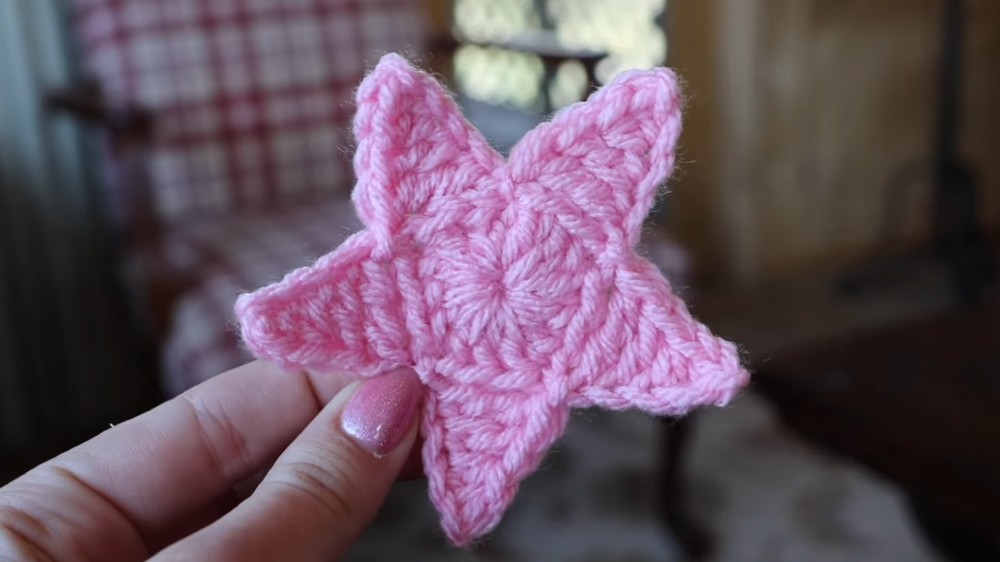
Under the quiet night sky, a single star gleamed with effortless grace, its gentle light spreading calm across the darkness. The Free Crochet Star Pattern reflects that same radiance, capturing harmony and elegance in every delicate point. Its pointed edges shimmered with balance, expressing both strength and serenity in perfect form. The charm of its shape lies in how it mirrors hope bright, simple, and endless.
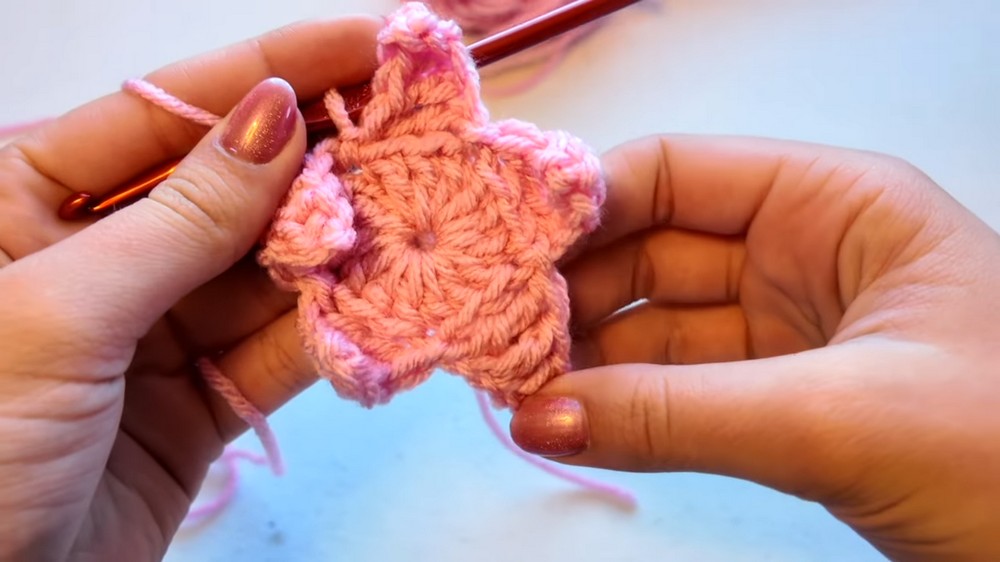
Free Crochet Star Pattern That’s for Cozy Winter Decor
This lovely project brings celestial beauty into handmade art, adding a touch of brightness to any décor or collection. Its symmetrical design makes it ideal for ornaments, garlands, keychains, or festive accents. Whether used to decorate cozy spaces or offered as a thoughtful gift, it carries warmth and positivity wherever it goes. The soothing rhythm of each stitch invites calm and satisfaction, turning creative time into a gentle retreat.
Its adaptability allows endless color choices, making every piece a reflection of personal style. Perfect for seasonal décor, baby mobiles, or everyday accents, these stars spread subtle charm through their simplicity. Each finished one feels like holding a fragment of the night sky—a quiet reminder that even small creations can shine brightly and fill spaces with joy, comfort, and meaning.
Special Features
- Quick & Easy: Takes just 5-10 minutes to complete one star, making it an ideal project for creating multiples in a short time.
- Beginner-Friendly: An easy-to-follow tutorial perfect for those new to crochet.
- Versatile Decoration: Use the stars to personalize bags, turn them into keychains, or add festive cheer to various projects.
- Compact Design: Lightweight and small, suitable for a variety of applications without being fragile.
- Customizable Colors: Personalize your stars with any color yarn to match your preferences or project themes.
Materials
- Yarn: Medium-weight acrylic yarn is recommended, though other types can be used.
- Crochet Hook: Size 5 mm hook (or use the size recommended for your chosen yarn).
- Yarn Needle: For sewing in ends and finishing touches.
- Scissors: For trimming yarn.
Difficulty Level
This project is beginner-friendly, perfect for those just starting their crochet journey or anyone looking for a relaxing, quick craft. The tutorial provides detailed instructions and tips for even tricky steps like the magic ring, making it accessible for all skill levels.
Tutor’s Suggestions
- Magic Ring Tip: Use a detailed tutorial (linked by the tutor) if you struggle with creating the magic ring—it’s okay to revisit this step until it feels comfortable.
- Recommended Hook Size: Ensure you use the correct hook size for your yarn type to maintain consistency in stitches and avoid gaps.
- Hold Your Magic Ring Steady: Keep the tension secure by holding the magic ring tightly as you work with it.
- Flatten Points of the Completed Star: Stars may curl slightly after completion, but a gentle adjustment will flatten them out.
Step-by-Step Instructions
Step 1: Make the Magic Ring
- Hold the tail end of the yarn in your left hand. Wrap the long strand around two fingers, creating an “X” over your fingers.
- Insert the hook under the first strand and pull the long strand through. Twist the hook upward.
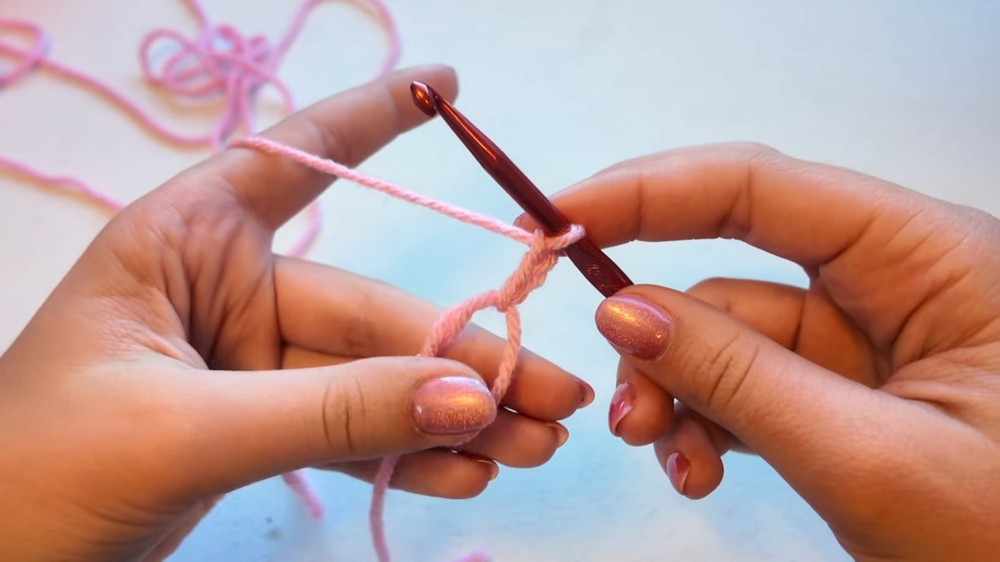
- Yarn over the long strand and pull through the loop on the hook.
- Slip the ring off your fingers, ensuring a neat magic ring formation.
Step 2: Crochet the First Round
- Chain 2 to begin.
- Work 14 double crochets into the magic ring. Remember to keep the tension steady to avoid wobbling.
- Tighten the magic ring by pulling the tail end of the yarn firmly.
- Slip stitch into the top chain from the beginning to close the round.

Step 3: Making the Star Points
- Chain 5 to start the star points.
- Into the second chain from the hook, make a single crochet.
- In the next chain, work a half double crochet (yarn over, insert into chain, pull up loop, yarn over and pull through all three loops).
- In the next chain, make a double crochet (yarn over, insert into chain, pull up loop, yarn over, pull through 2 loops, yarn over, pull through the final 2 loops).
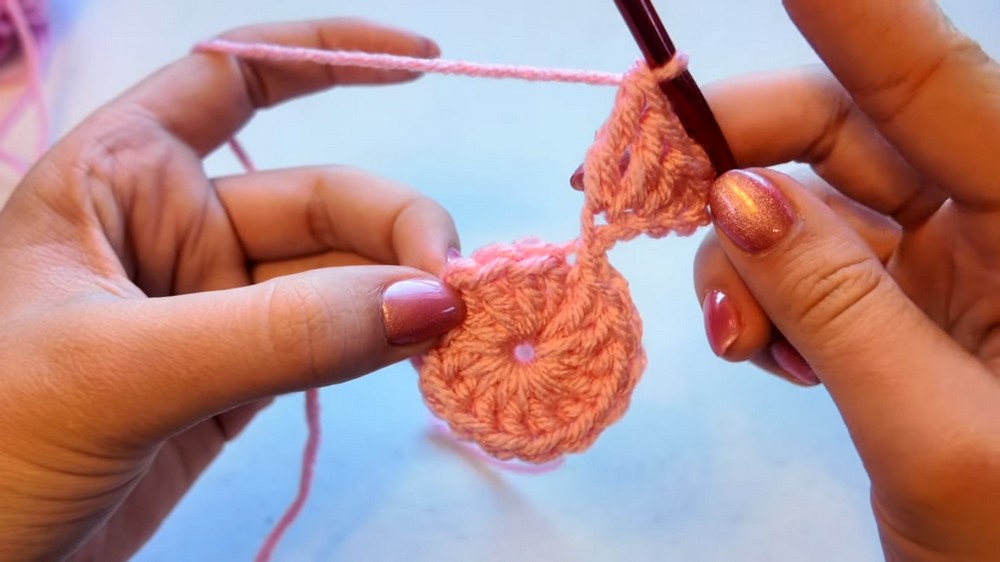
- In the last chain, work a triple crochet (yarn over twice, insert into chain, pull up loop, yarn over, pull through two loops, yarn over, pull through next two loops, yarn over, pull through last two loops).
- Skip two double crochets from the base round and slip stitch into the third to finish the star point.
Step 4: Complete All Star Points
- Repeat the above steps (chain 5, single crochet, half double crochet, double crochet, triple crochet, slip stitch) until you have made all five points of your star.
- Adjust the points as needed to ensure they are evenly spaced.
Step 5: Final Touches
- Trim the yarn, leaving enough length for weaving in the ends.
- Fasten off by pulling the yarn tail through the loop.
- Use a yarn needle to sew in the ends, weaving through the tight stitches to secure the yarn. Trim off any excess.
Uses
- Decorations: Add stars to crochet bags, blankets, hats, or scarves.
- Keychains: Attach a small loop and turn the star into a fun keychain.
- Gifts: Share the stars with loved ones or use them to embellish greeting cards, gift bags, or holiday displays.
Conclusion
Crocheting a tiny star is a joyful experience that showcases how small, simple projects can have a big impact. These stars are quick to make, incredibly versatile, and offer a beautiful way to personalize any project. Whether serving as festive hangings, thoughtful gifts, or imaginative decorations, these stars add lighthearted charm wherever they go.
Pro Tip
To prevent your stars from curling up too much, gently block them by pinning them flat onto a soft surface and steaming lightly. This will help the points stay crisp and even!