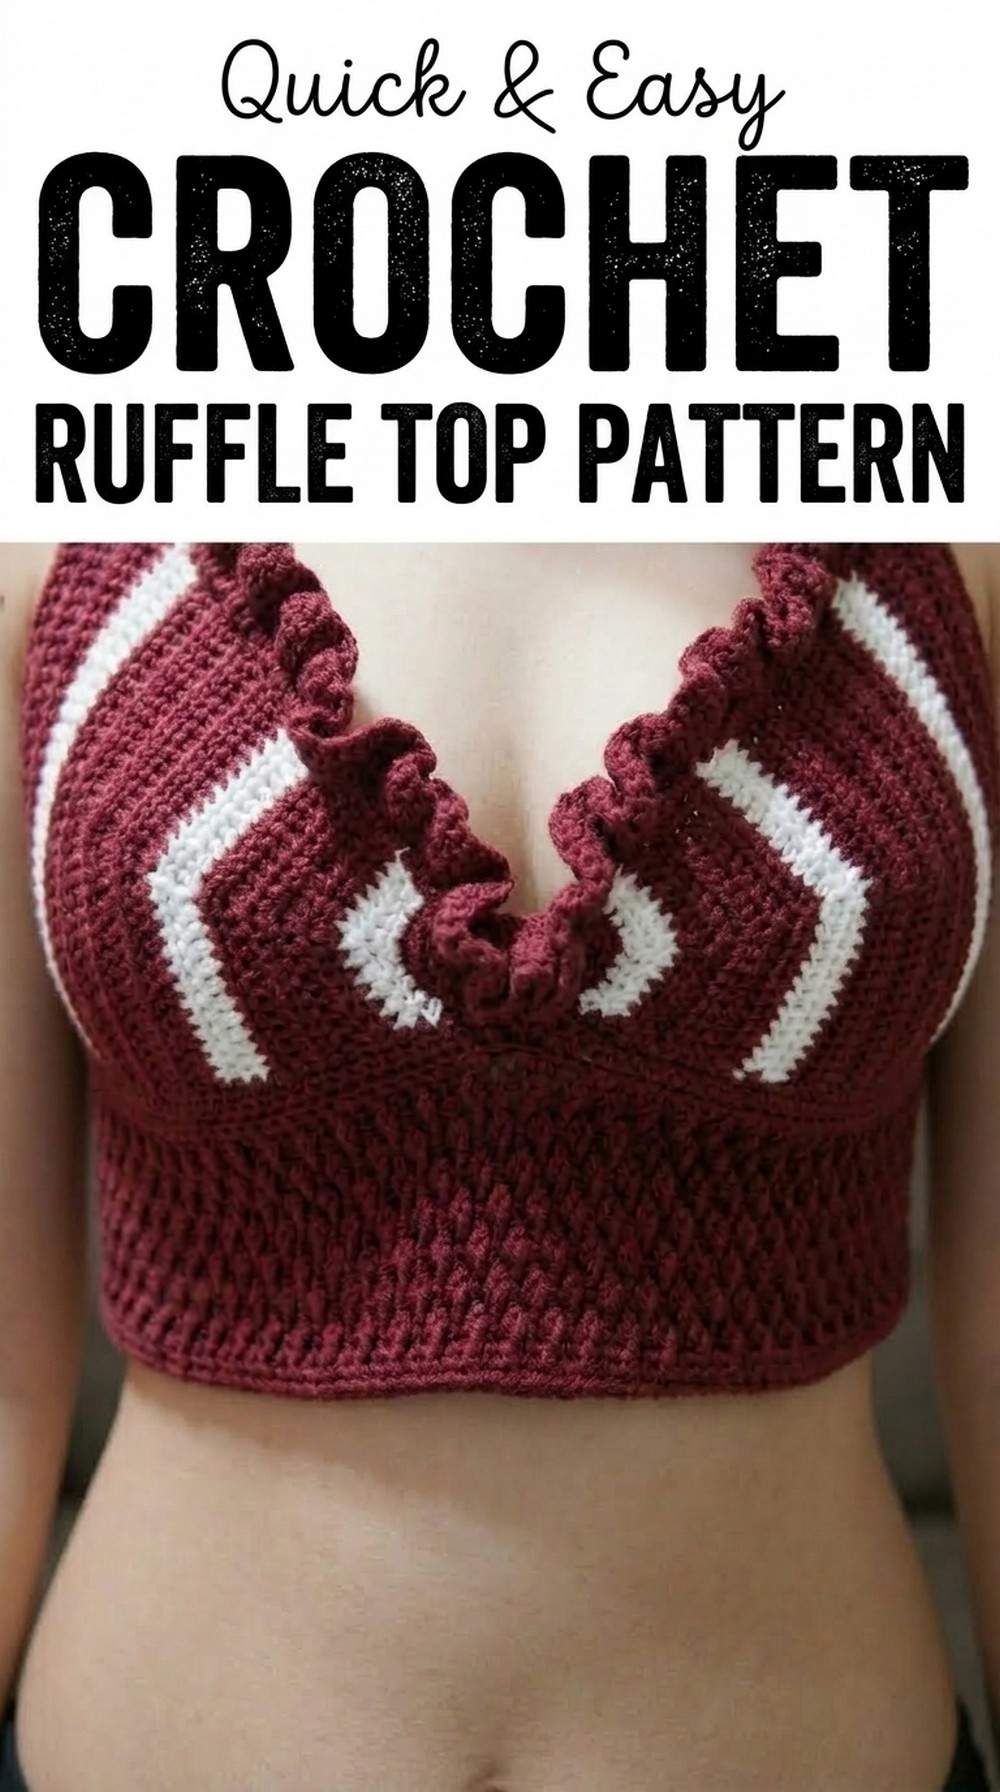
Whip up your own stylish wardrobe staple with this FREE Crochet Ruffle Top Pattern, ideal for sunny days, outfit layering, and showcasing feminine flair.
Slipping into something that’s both playful and effortlessly chic, whether you’re heading for a casual brunch or dressing up for an evening get-together. A Free Crochet Ruffle Top pattern offers exactly that versatility by blending cute, feminine ruffles with a lightweight, breathable design. It’s perfect for spring and summer days, and you can easily pair it with high-waisted jeans, flowy skirts, or even tailored shorts for a polished yet relaxed look.
Create a Beautiful Crochet Ruffle Top With This Easy Pattern
The purpose of crocheting your own ruffle top goes beyond style, it’s a chance to personalize your wardrobe piece with the right colors and fit to suit your vibe. With its easy-to-follow design, this crochet top is ideal for intermediate crocheters or beginners looking for a fun yet manageable challenge. Plus, handmade tops are sustainable, budget-friendly, and always unique.
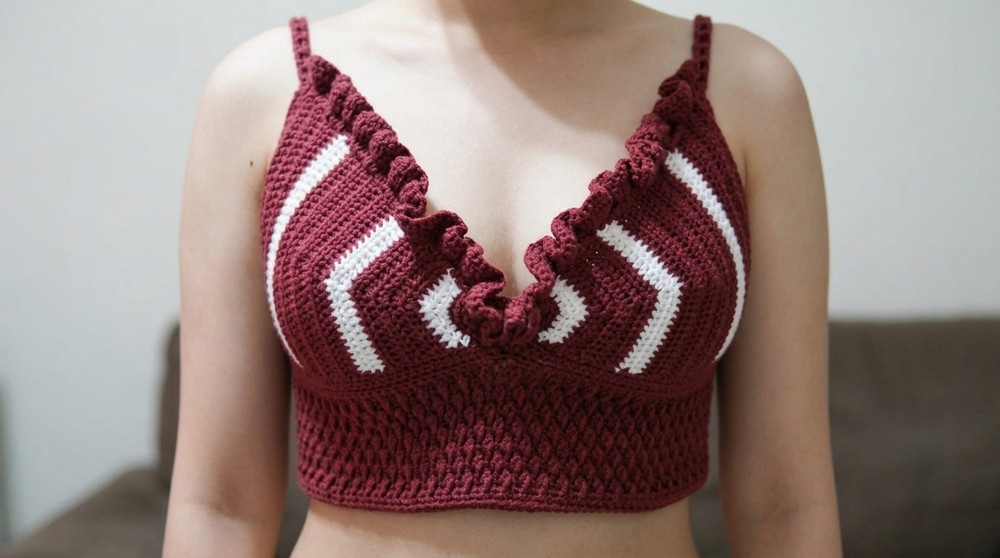
Beautiful Crochet Ruffle Top Pattern
Materials Needed
Yarn:
- 4-ply Acrylic Yarn in Maroon
- 4-ply Acrylic Yarn in White (or contrasting color)
Hook:
- 3.5 mm crochet hook
Additional Tools:
- Tape Measure: For accurate measurements.
- Stitch Markers: Use at least two to mark rows or sections.
- Tapestry Needle: For weaving in ends.
- Scissors: For cutting yarn.
Skill Level
Intermediate
Key Abbreviations
Written using US crochet terminology.
- CH: Chain
- SC: Single Crochet
- HDC: Half Double Crochet
- DC: Double Crochet
- SL ST: Slip Stitch
- YO: Yarn Over
- REP: Repeat
- ST(S): Stitch(es)
- FPDC: Front Post Double Crochet
- BPDC: Back Post Double Crochet
Special Notes
- Maintain consistent tension throughout to ensure even stitches.
- Ensure you follow the color changes accurately to achieve the intended design.
- Measure frequently to verify sizing, especially as the stitch pattern can affect the final dimensions.
Pattern Instructions
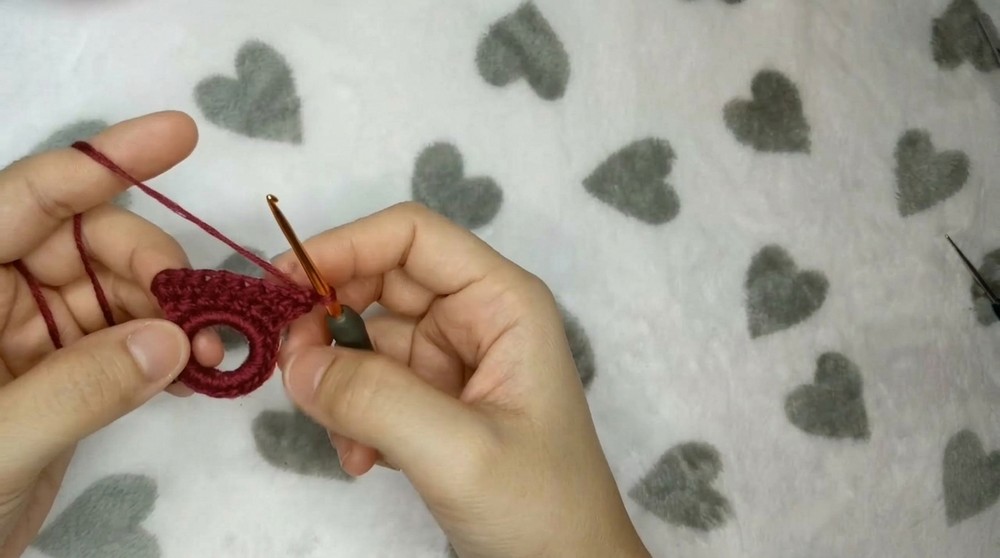
Step 1: Foundation and Bra Cups
- Foundation Round:
- Make a Magic Ring.
- CH 1, and work 20 SC into the ring.
- Join with a SL ST to the first SC.
- Row 1:
- CH 1, HDC in the same ST and in the next 6 STS.
- Row 2:
- CH 1, turn, HDC in the same ST, 2 HDC in the next ST, HDC in the next 5 STS, 2 HDC in the last ST.
- CH 1, turn, HDC in the same ST, 2 HDC in the next ST, HDC in the next 5 STS, 2 HDC in the last ST.
- Row 3:
- CH 1, turn, HDC in each ST across.
- Row 4-5 (Color Change to White):
- Attach white yarn.
- CH 1, turn, HDC in each ST, increasing in the middle by working 3 HDC into the central ST.
- Row 6-15 (Color Change to Maroon):
- Alternate between white and maroon yarns.
- Continue as established: HDC in each ST, with 3 HDC in the middle ST on every row.
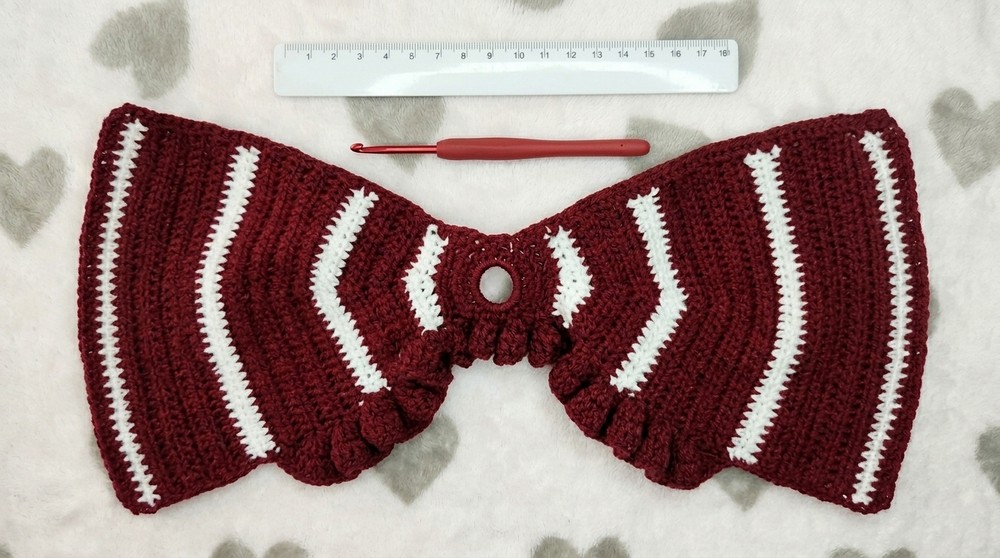
Step 2: Body of the Top
- Continuing from Row 15:
- CH 1, turn, HDC in each ST across without any increases until achieving desired length (approximately 28-30 rows).

- CH 1, turn, HDC in each ST across without any increases until achieving desired length (approximately 28-30 rows).
- Ruffle Edge:
- CH 2, turn, DC in the same ST, work 2 DC in the next ST, 3 DC in the following ST, repeat across.
- Fasten off and weave in ends.
Step 3: Bottom Section and Alpine Stitch
- Foundation Chains:
- Attach the yarn to the lower edge of the bra cups.
- CH 20 (or desired length).
- Row 1-4 (SC Foundation):
- SC evenly across the entire foundation chain and the width of the bra cups.
- Place increases/decreases at the center for shaping.
- Transition to HDC:
- Switch to HDC for the next several rows.

- Switch to HDC for the next several rows.
- Row 5: Starting Alpine Stitch:
- Continue with rows of DC followed by alternating between front post double crochet (FPDC) and back post double crochet (BPDC).
- HDC around the base.
Step 4: Alpine Stitch Section
- Starting Alpine Stitch:
- CH 2 (counts as DC), skip one ST, FPDC around the post of the DC below, DC in the next ST.
- Continue pattern of alternating FPDC and regular DC across.
- Return Row:
- CH 1, SC across.
- Ensure missed STS are filled to maintain stitch count.
- Repeat Alpine Stitch Rows:
- Alternate rows of FPDC and BPDC to create the alpine texture.
Step 5: Back Panel and Length Extension
- Back Panel:
- From the lower edge, work evenly spaced HDC rows, increasing every few rows to maintain pattern consistency.
- Work an even number of HDC rows (approximately 8 rows).
- Lace Edging:
- Create shell stitches and double crochets with chain spaces to produce lacy detailing.
- Final Row (Decrease):
- Incorporate double crochet together decreases at the center.
- Ensure symmetry on both sides.
Step 6: Straps
- Strap Foundation:
- Chain to desired length for strap (approximately 50 inches).
- Repeat lacy shell stitch pattern for strap consistency.
- Attaching the Strap:
- Securely fasten to marked points on the top, ensuring a secure attachment to support.
Conclusion
This Alpine Stitch Crochet Top combines elegant texture with functional design for a refined, fashionable garment. By mastering the alpine stitch and meticulous construction, you create a versatile piece suitable for various occasions.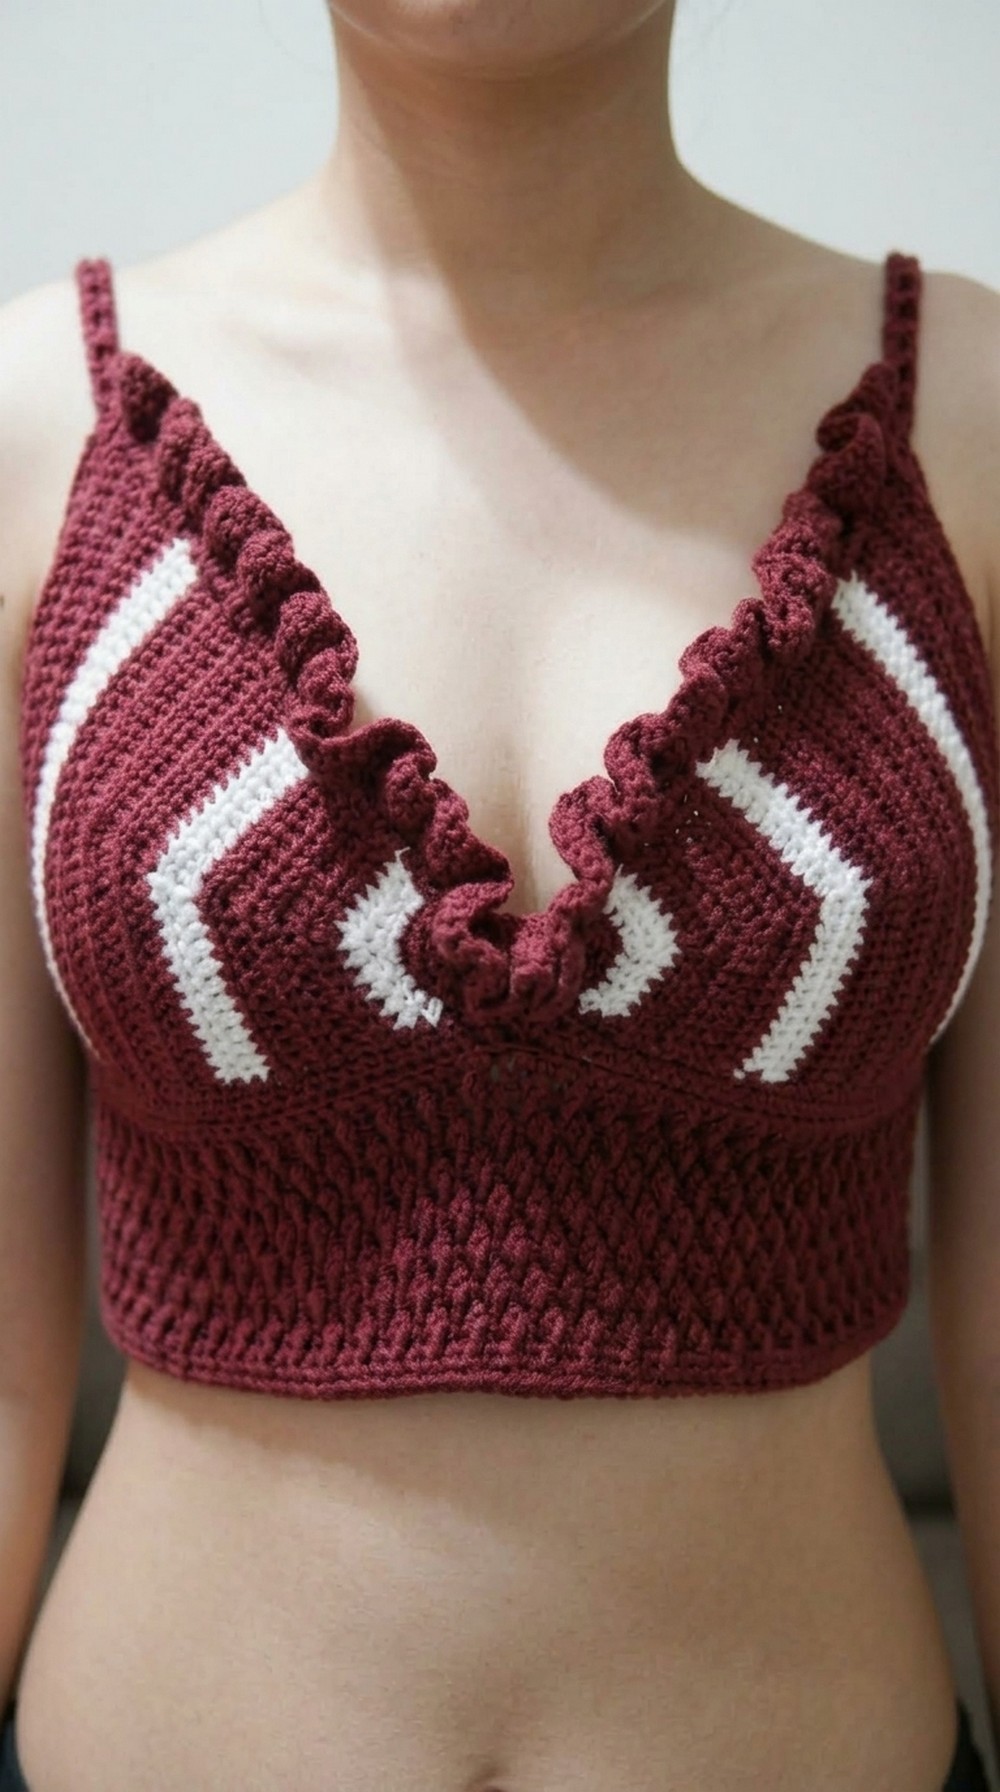
Observations
- Consistent Tension: Essential for uniform alpine stitches.
- Color Coordination: Maintain color transitions for a bold visual effect.
- Blocking: Lightly block finished garment for optimal fit and appearance.
Tips
- Customization: Adjust chain lengths and rows for a personalized fit.
- Stitch Markers: Essential for tracking increases/decreases.
- Color Choices: Experiment with different combinations for a unique look.