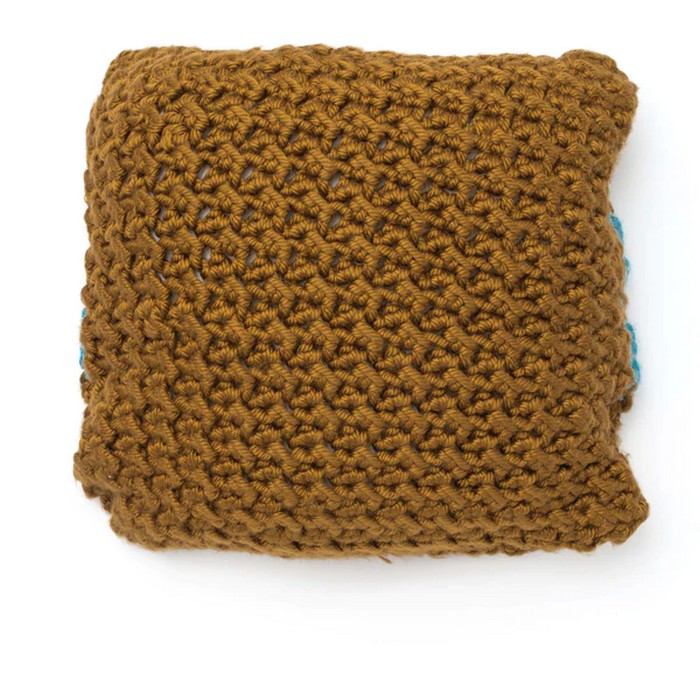
Having a good pillow is more than just about getting cozy; it’s about adding a splash of your style and comfort to any room. A well-chosen pillow can turn a plain space into something special, giving it a warm, inviting atmosphere. The Simple Stripes Pillow Crochet Pattern is a great way to do this. Using chunky yarn in rich colors like New Gold and Teal, you can make a pillow that’s not just lavish and comfy to cuddle with but also a beautiful decorative element. It’s an easy way to upgrade your decor and create a space that feels both luxurious and personalized. Get your hooks ready and start making something special with your pretty hand!

Making Your Simple Stripes Pillow
Measurement
- Bernat® Mega Bulky™ (10.5 oz/300 g; 64 yds/58 m)
- Contrast A New Gold (88609) 6 balls
- Contrast B Teal (88206) 2 balls
Size U.S. Q (16 mm) crochet hook or size needed to obtain gauge.
Abbreviations:
- Approx = Approximately
- Beg = Beginning
- Ch = Chain(s)
- Hdc = Half double crochet
- Pat = Pattern
- Rem = Remaining
- Rep = Repeat
- RS = Right side
- Sc = Single crochet
- Sl st = Slip stitch
- St(s) = Stitch(es)
- Tog = Together
MEASUREMENT
- Approx 24″ [61 cm] square.
GAUGE
- 5 sc and 5 rows = 4″ [10 cm].
Step By Step Pattern
Note:
- Ch 2 at beg of the row does not count as acidic.
- To join colors, work to the last 2 loops on the hook of the previous color. Draw a new color through loops and proceed with a new color.
PILLOW FRONT
- **With A, ch 32.
- 1st row: (RS). Sl st in 2nd ch from hook. *1 hdcin next ch. Sl st in next ch. Rep from * to end of the chain. Turn. 31 sts.
- 2nd row: Ch 2. 1 hdc in first sl st. *Sl st in nexthdc. 1 hdc in next sl st. Rep from * to end of row. Turn.
- 3rd row: Ch 1. Sl st in the first hdc. *1 hdc in nextsl st. Sl st in next hdc. Rep from * to end of row. Turn.**
- Rep the last 2 rows for pat 3 times more, then rep
- 2nd row once, joining B at the end of the last row.
- With B, work 4 rows in pat, joining A at the end of the last row.
- With A, work 2 rows in pat, joining B at the end of the last row.
- With B, work 4 rows in pat, joining A at the end of the last row.
- With A, work 10 rows in pat. Fasten off.
PILLOW BACK
- Work from ** to ** as given for Pillow Front. Rep the last 2 rows for pat until 30 rows in total have been worked. Fasten off.

Finishing
- Sew 3 sides of the Pillow tog, leaving 1 side open. Insert pillow form. Sew rem side closed.