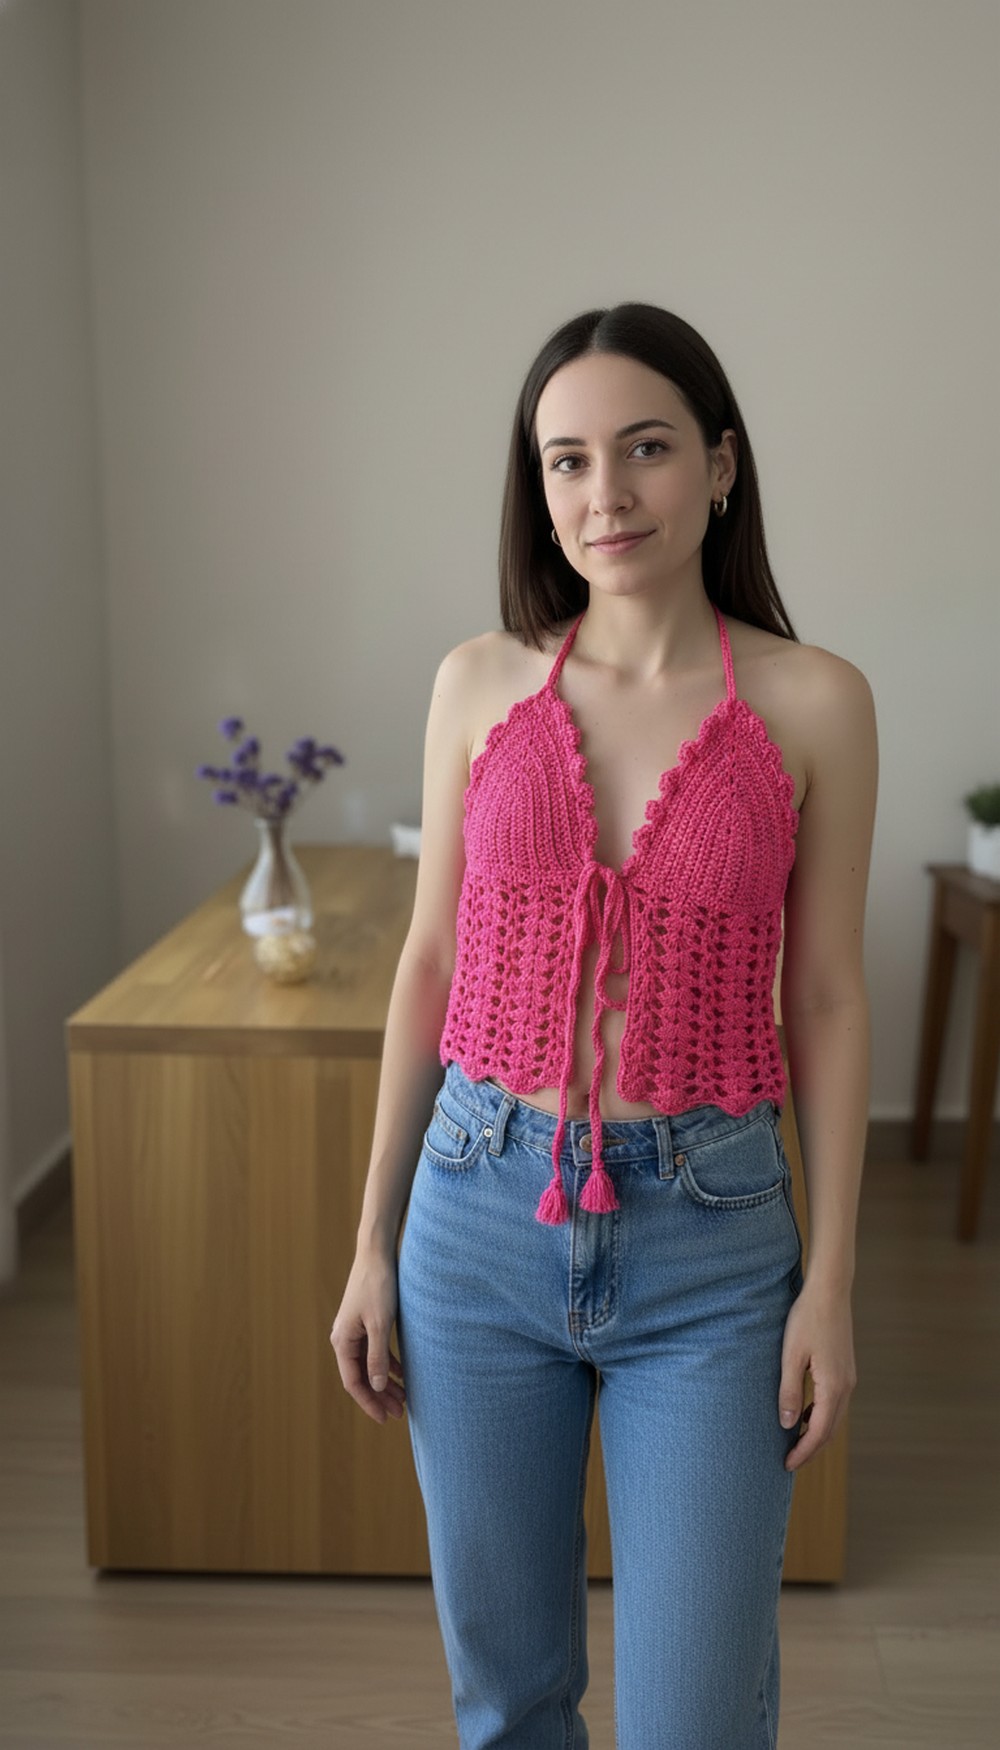
A stylish and cool summer top with this free crochet front tie halter top pattern that is easy to make, comfortable to wear, and perfect for sunny days.
Free Crochet Front Tie Halter Top Pattern for Beach Days and Summer Fun
Looking for a fun and stylish summer top? The free crochet front tie halter top pattern is just what you need to brighten your wardrobe. It’s perfect for sunny days and adds charm to any outfit. This easy to make design stands out with its trendy front tie detail and halter neck style, giving you both fashion and comfort.
Lightweight and airy, it’s ideal for staying cool during hot weather, whether you’re going to a beach trip, casual hangout, or summer party. The adjustable tie ensures the perfect fit, while the crochet texture adds a unique and beautiful touch. 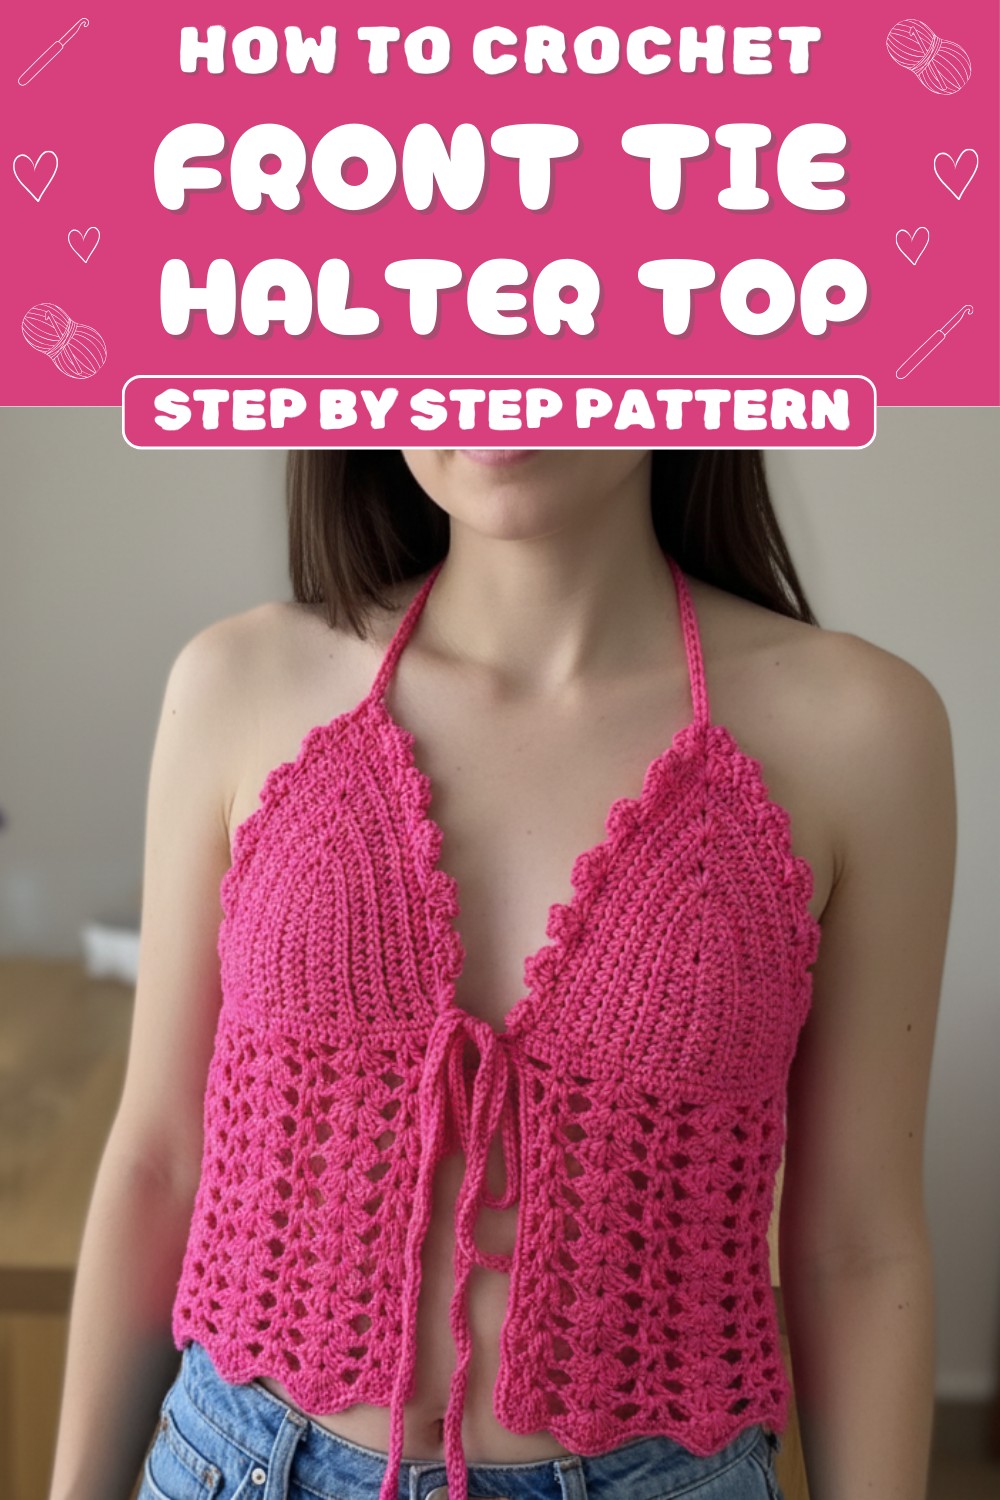
Perfect for beginners and skilled crocheters alike, this free pattern makes it simple to create a fresh and eye-catching piece that’s sure to turn heads.
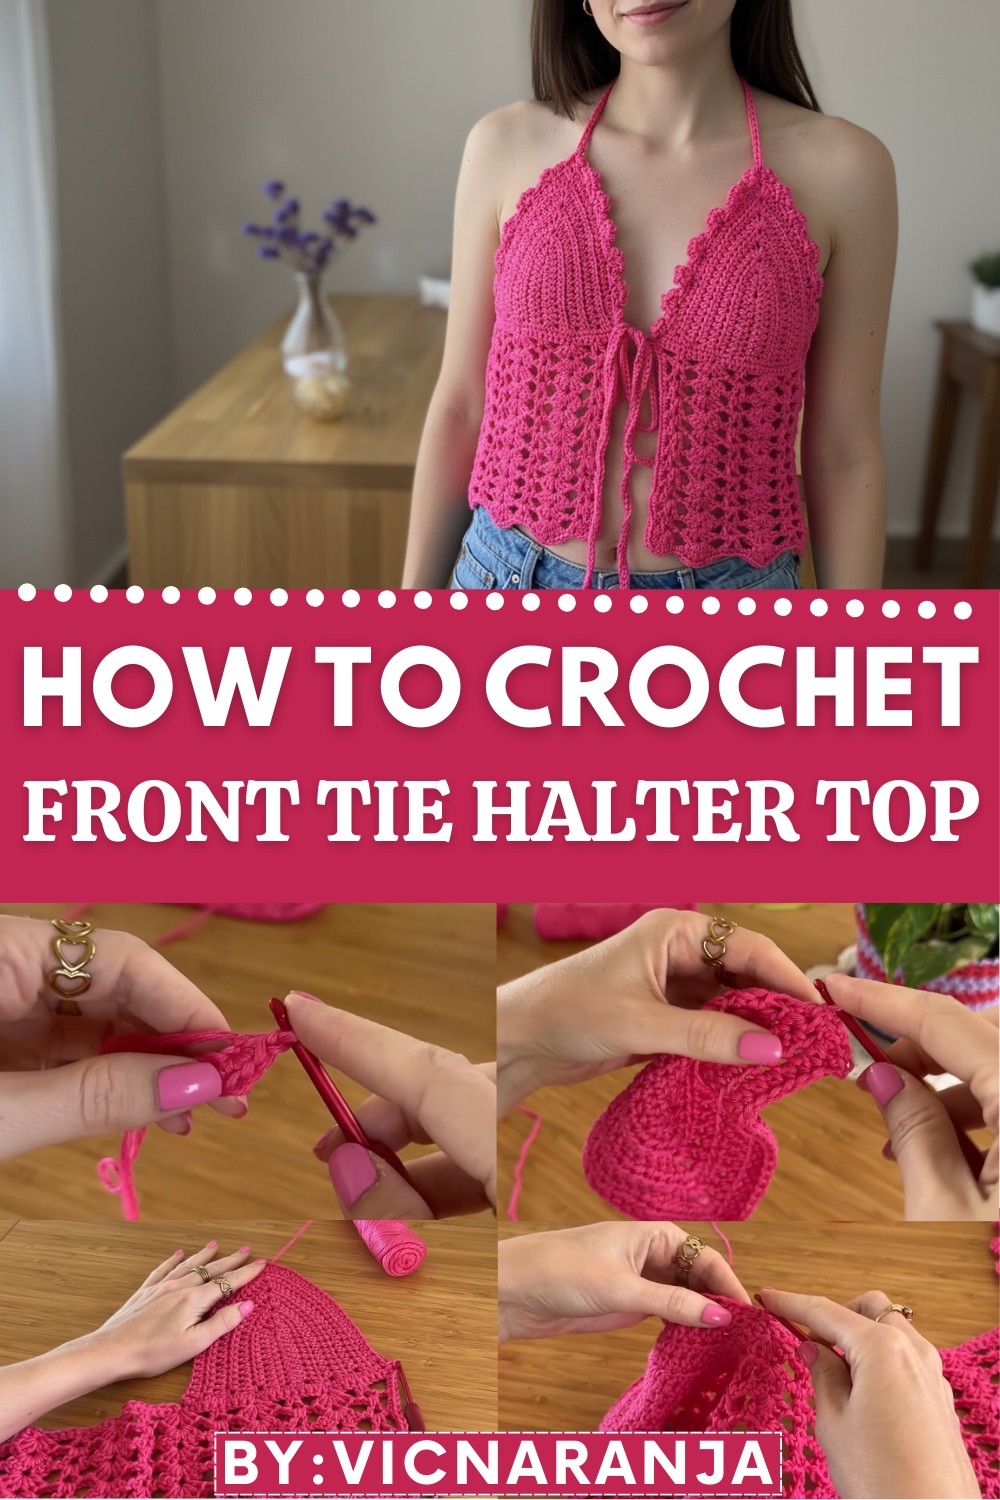
Crochet Front Tie Halter Top
Materials Needed
- Yarn: Approximately 2 skeins of eucalyptus fiber yarn (specific brand: Hooked) or any yarn with similar weight.
- Hook: 4 mm crochet hook.
- Other Tools:
- Stitch marker.
- Scissors.
Abbreviations (US Terminology)
- CH: Chain.
- SC: Single Crochet.
- HDC: Half Double Crochet.
- DC: Double Crochet.
- SL ST: Slip Stitch.
- ST: Stitch.
- REP: Repeat.
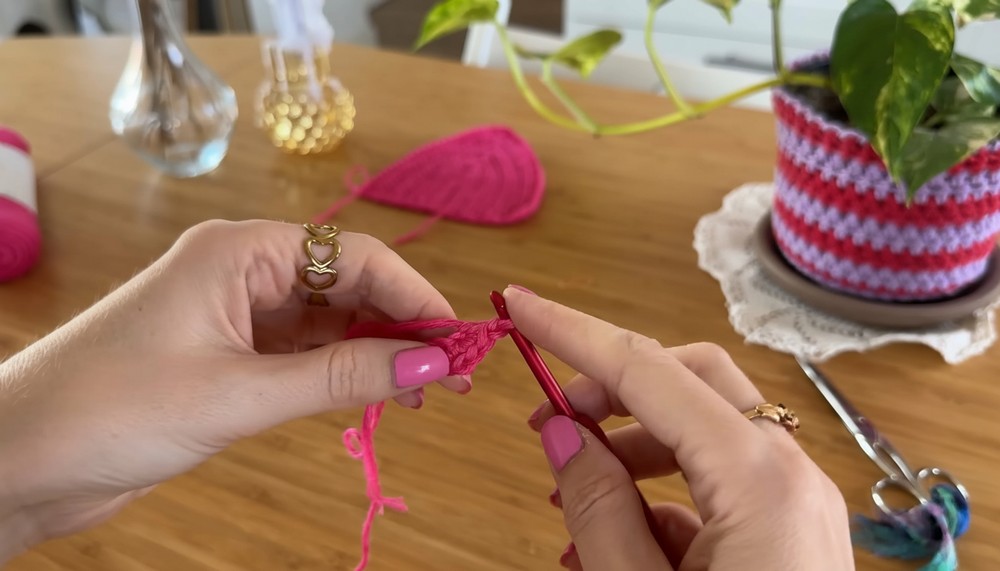
Pattern Instructions
1. Crochet the Cups (Make Two)
- Start: Create a slip knot and CH 10 (this forms the base for size S). Add 1 additional CH to use as a turning chain.
- Row 1: SC across the 10 CH (do not count the turning chain as a stitch). You will have 10 SC at the end.
- In the last ST, crochet 3 SC, CH 1, and another 3 SC (all in the same ST to create the curve for the cup).
- Tip: Use a stitch marker to mark the CH 1 space for reference in subsequent rows.
- Continue the Row:
- SC along the opposite side of the foundation chain until you reach the beginning.
- Row 2: Turn and CH 2 (counts as HDC for this row). HDC across until you reach the stitch marked CH 1 space.
- At the corner: Crochet 2 HDC, CH 1, 2 HDC in the CH 1 space.
- Continue HDC across the other side.
- Repeat Row 2: Continue repeating until the cup reaches your desired size. For size S, a total of 8 rows (1 row of SC and 7 rows of HDC) is recommended. Ensure both cups are identical in size.
2. Joining the Cups
- Place the cups side by side, ensuring both are facing the correct direction (the yarn tail and current working yarn should align on the same side).
- Starting at the last ST on one cup, CH 1 and SC across the bottom of the first cup.
- For size S: Crochet 30 SC along the bottom of each cup (15 SC per half of each cup).
- Use even spacing to ensure the cups have symmetrical edges.
- Back Panel Foundation:
- CH a multiple of 10 + 11 to fit your back width. For size S, CH 61 to match the pattern’s proportions.
- Join the chain to the base of the second cup using SC. Continue to SC across the bottom of the second cup.
- Once joined, work 1 more row of SC around the base and back panel for a firmer foundation.

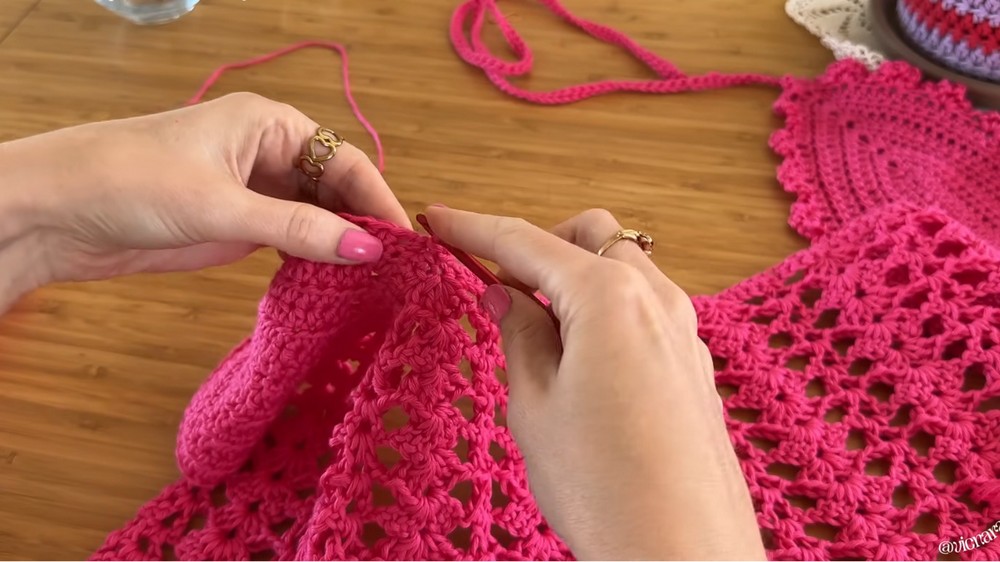
3. Body of the Top (Mesh Pattern)
- Row 1:
- CH 2 (or 3, depending on your preferred height for DC), then CH 1 for a spacer.
- Skip 4 ST, and in the 5th ST, work 1 DC, CH 2, 1 DC (in the same ST).
- CH 1, skip 4 ST, and in the next ST, crochet 3 DC, CH 2, 3 DC (in the same ST for a cluster).
Repeat: Continue alternating the patterns of 1 DC clusters and 3 DC clusters with CH 1 spacers until the end of the row.
- Row 2 (and onwards):
- CH 2 or 3 (depending on preference) for height and CH 1 for space.
- In the CH 2 space of the first pattern (from the previous row), work 1 DC, CH 2, 1 DC.
- In the CH 2 space of the cluster, work 3 DC, CH 2, 3 DC.
Repeat: Continue this sequence, repeating the pattern established in Row 1.
- Continue Rows:
- Repeat the mesh stitch until you reach your desired length. For size S, the video suggests a total of 12 rows (inclusive of Row 1).
- Repeat the mesh stitch until you reach your desired length. For size S, the video suggests a total of 12 rows (inclusive of Row 1).
4. Edging and Straps
- Edging Around Cups and Back:
- Begin from the edge of one cup and work along the top edge using SC stitches evenly around. At the corners, add CH-1 spaces as needed to ensure smooth shaping.
- Create decorative “floral” loops by using sequences of CH and SC:
- Work 3 CH, SC into the same ST to create a petal edge.
- Continue looping along one side of the cup.
- Straps:
- From the top center edge of the cups, CH 70 (or your preferred length for chest straps). Turn and SL ST into each CH back to the base.
- Attach at the shoulders: CH 120 for shoulder straps. Use the same SL ST method to reinforce and secure.
- Floral Finish (Optional):
- Use the floral edging method to continue around the second cup, repeating the pattern for symmetrical finishes.

- Use the floral edging method to continue around the second cup, repeating the pattern for symmetrical finishes.
5. Finishing
- Weave Ends: Weave in all loose yarn tails securely.
- Block the Top: If needed, block the top gently to help it retain its shape and to smooth the stitches.
- Check all straps for uniform length and adjust if required.

Final Words and Maintenance Tips
Congratulation, Your Cala Crochet Top is ready to wear. It’s versatile and perfect for summer outings or as a chic layering piece. Here are a few tips for maintaining your handmade top:
- Washing: Hand wash with mild detergent and lay flat to dry.
- Storage: Store flat or rolled to maintain shape and avoid stretching.
- Customization: Adjust the number of rows, the length of the straps, or the width of the back panel to suit other sizes or personal preferences.
Thank you for creating this gorgeous crochet project, Enjoy wearing (or gifting) your Cala Top, and don’t hesitate to experiment with different yarns, colors, or embellishments to make it uniquely yours.