See your yarn turn into a tiny colorful plant with this free crochet carnivorous plant pattern that looks amazing, bringing creativity and joy to your crochet projects.
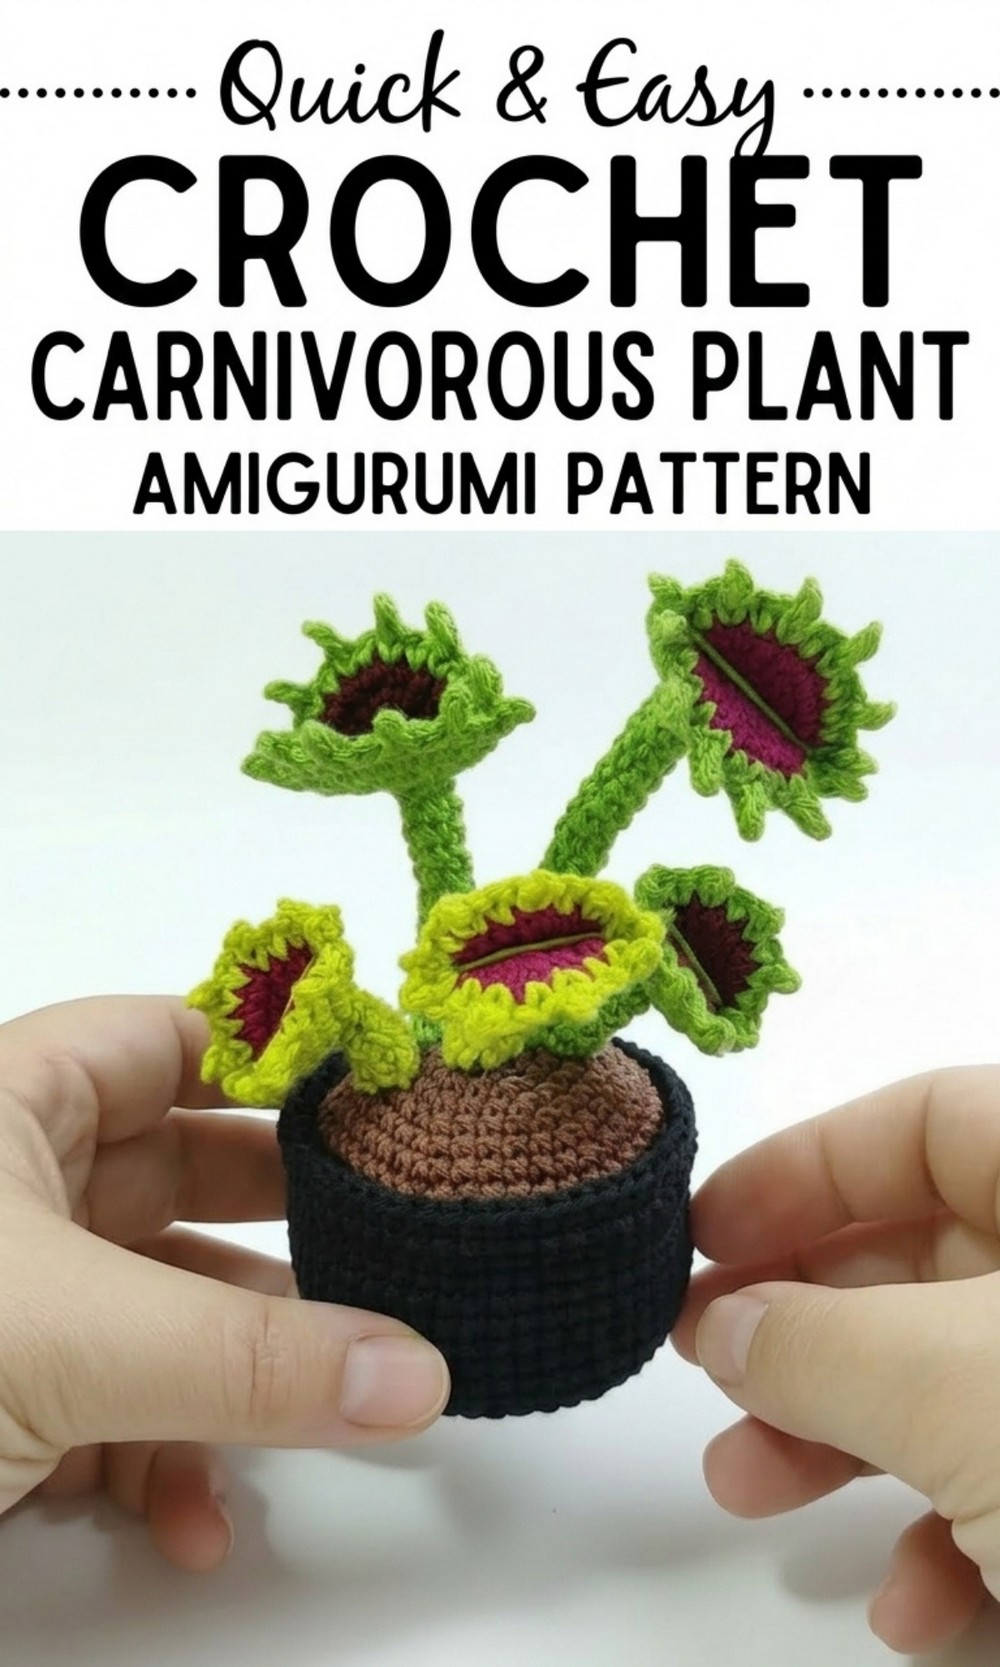
Cheerful Free Crochet Carnivorous Plant Pattern That Everyone Will Love to Make
Crochet can make fun and unusual things, and the Free Crochet Carnivorous Plant Pattern lets you create a soft plant that looks like it could eat a bug. This quirky Venus flytrap inspired design is perfect for anyone who loves playful and creative projects.
With its sharp looking leaves, vibrant colors, and lifelike details, this plant stands out as a unique piece of art. It’s not just a decoration — it’s a conversation starter, You can place it on your desk, shelf, or use it as a gift for friends who enjoy handmade surprises.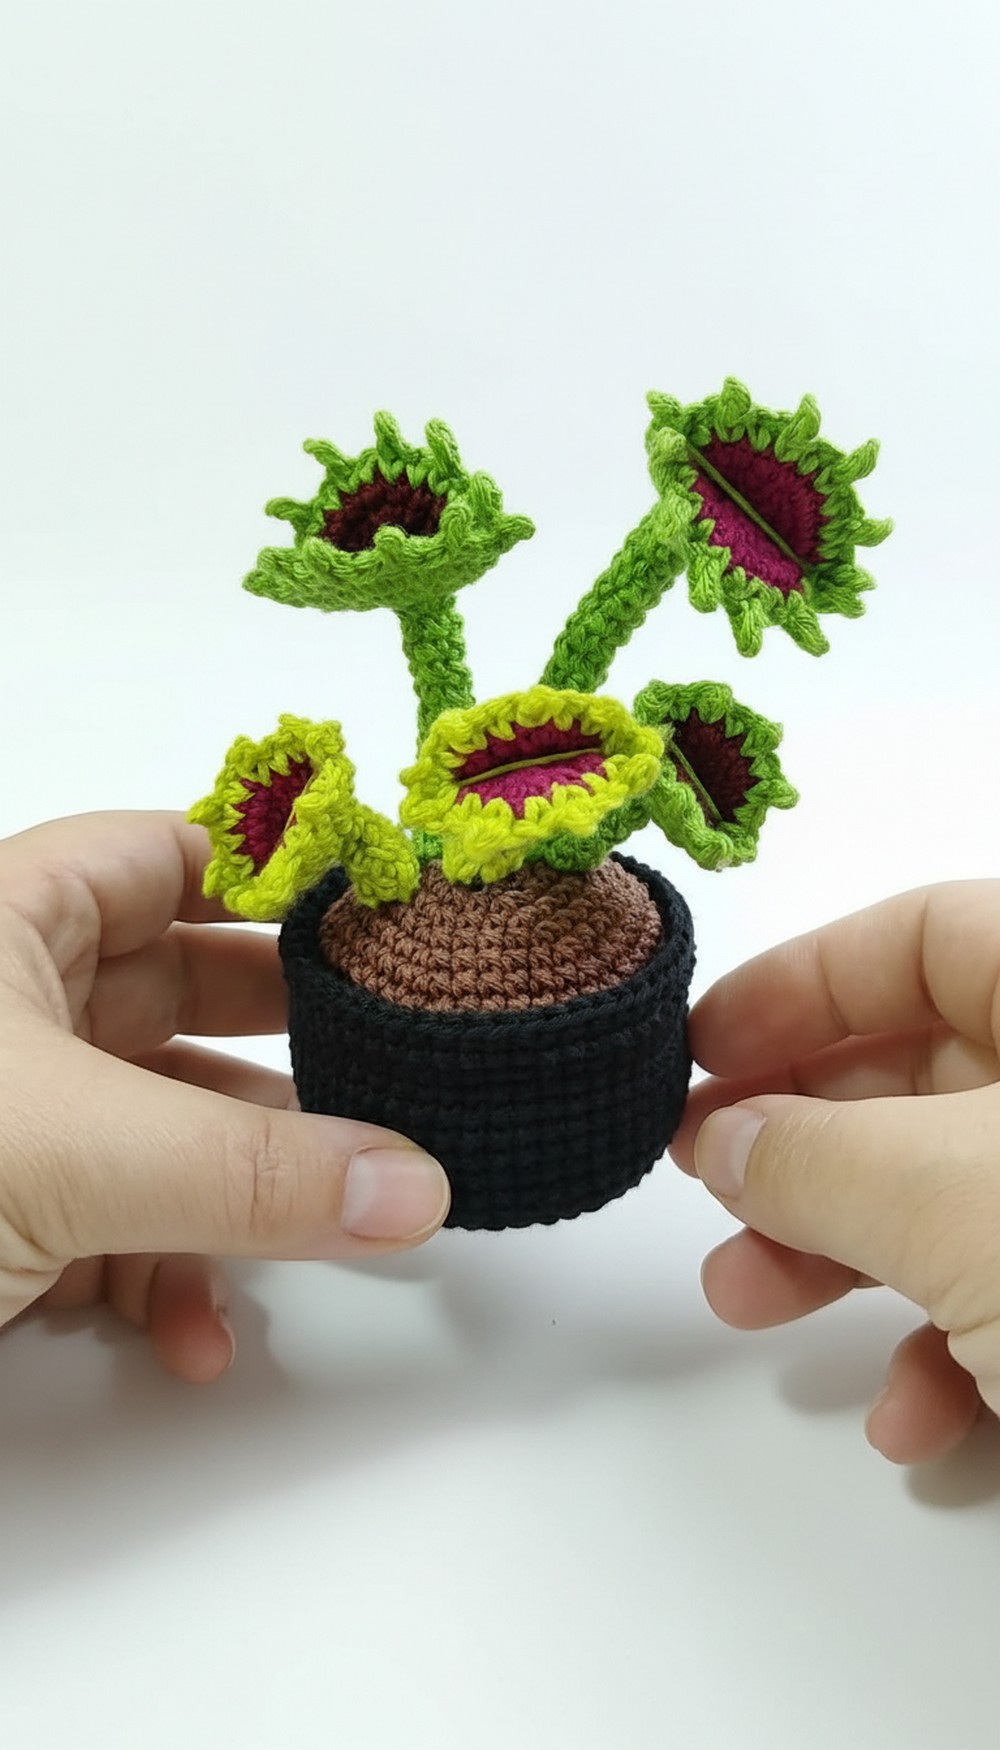
Customize the colors to match your personality and watch your plant come to life one stitch at a time. Bring charm and creativity to your space with this exciting crochet project.
Bright Crochet Carnivorous Plant Pattern
Materials Required
- Yarn:
- Green yarn (two shades optional) for plant stems and heads.
- Dark pink (or burgundy/frambuesa) yarn for the inside of the plant heads.
- Brick or black colored yarn for the pot (or a color of your choice).
- Brown yarn for the “soil.”
- Hook Size: Use a crochet hook suitable for your yarn weight (commonly 2.5 mm or 3.0 mm for amigurumi).
- Stuffing: Soft polyester fiberfill for stuffing the pot and plant stems.
- Galvanized wire: For internal support of longer stems.
- Tapestry needle: To sew pieces together and weave in ends.
- Scissors.
- Stitch marker: To mark the beginning of each round (optional).
- Optional: Tiny stones or weighted items to stabilize the pot.
Stitch Guide
- Magic ring (MR): A circular ring of stitches to start a piece.
- Single crochet (sc): Insert hook into stitch, yarn over, pull through, yarn over, pull through both loops.
- Increase (inc): Two single crochets in one stitch.
- Slip stitch (sl st): Insert hook, yarn over, pull through both loops.
- Back loop only (BLO): Work in the back loop of the stitch only.
- Chain stitch (ch): Yarn over, pull through one loop on the hook.
Note on Technique: This pattern is worked in continuous rounds unless otherwise specified. Use a stitch marker if necessary.
Pattern Instructions
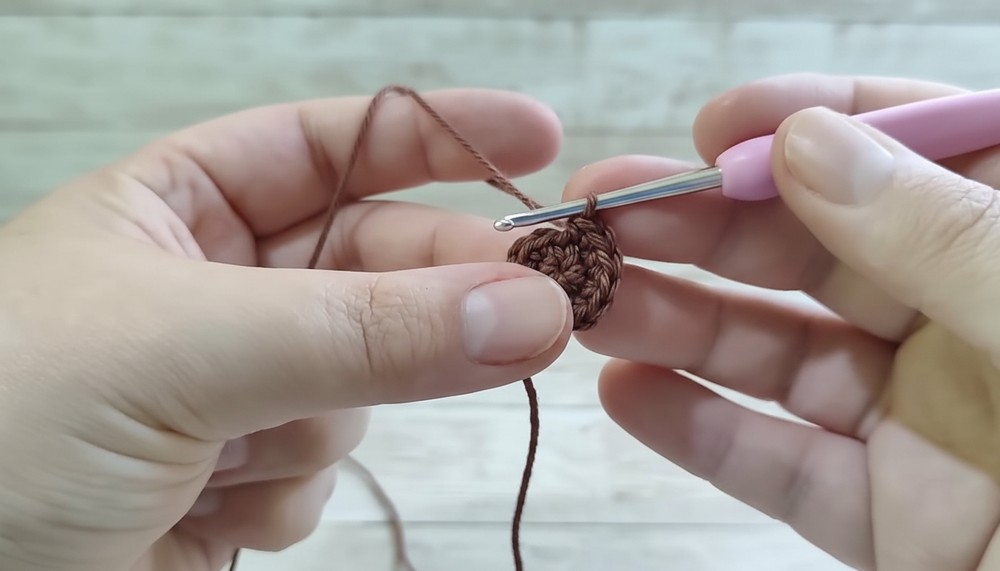
Part 1: Soil Base
- Round 1: Start with a magic ring and make 6 sc into it. (6 sts)
- Round 2: Inc in each stitch around. (12 sts)
- Round 3: 1 sc, inc, repeat around. (18 sts)
- Round 4: 2 sc, inc, repeat around. (24 sts)
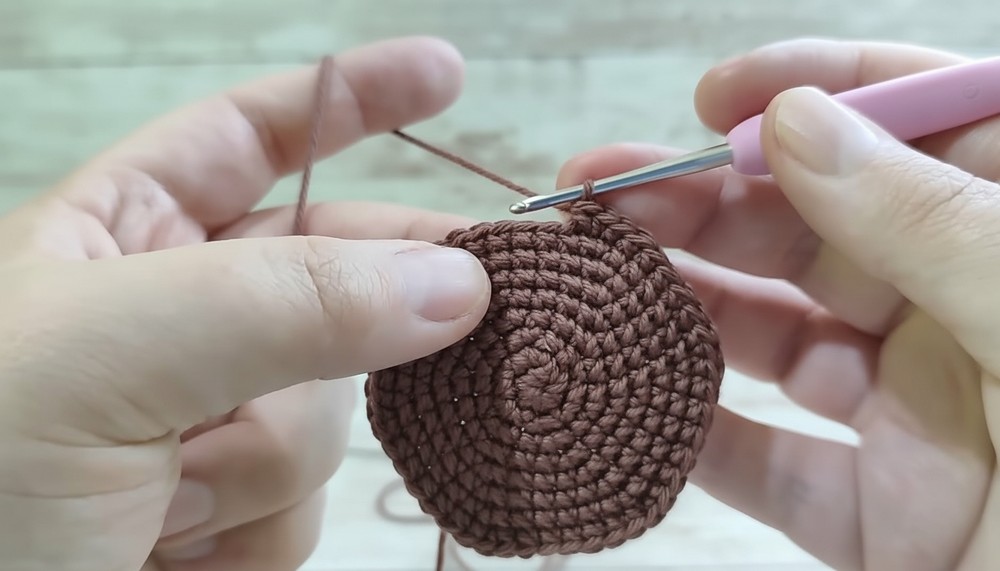
- Round 5: 3 sc, inc, repeat around. (30 sts)
- Round 6: 4 sc, inc, repeat around. (36 sts)
- Round 7: 5 sc, inc, repeat around. (42 sts)
- Round 8: 6 sc, inc, repeat around. (48 sts)
- Round 9: 7 sc, inc, repeat around. (54 sts)After completing the 9th round, finish off with a slip stitch. Leave a long tail for sewing later. Set aside this part.
Part 2: Pot
- Rounds 1 to 9: Crochet the base of the pot exactly like the soil (refer to Part 1).
- Rounds 10 to 17: For the pot height, work 1 sc in each stitch around for 8 rounds. (54 sts per round)Make sure the pot walls are tall enough by crocheting tightly or adding extra rounds if necessary for a desired look.
- Round 18: Work BLO for the entire round to create a fold line, continuing with 1 sc in each stitch. (54 sts)
- Rounds 19 to 20: Work 1 sc in each stitch around, taking the full loops of the stitches. (54 sts per round)Slip stitch to finish. Leave a long tail for assembly. Set aside.
Part 3: Plant Stems
- Mini Stem:
- Round 1: Begin with a magic ring and crochet 5 sc into the ring. (5 sts)
- Rounds 2 to 4: Work 5 sc in each round.
- Finish with a slip stitch, leaving a long tail for sewing. This is the shortest stem.
- Other Stems (varying lengths):
- Repeat the instructions above, but adjust the number of rounds:
- Stem 2: 5 rounds.
- Stem 3: 8 rounds.
- Stem 4: 12 rounds.
- Stem 5: 16 rounds.
For stems 4 and 5, insert galvanized wire inside to provide firmness and structure.
- Repeat the instructions above, but adjust the number of rounds:
Make one of each stem length. Securely set each aside.
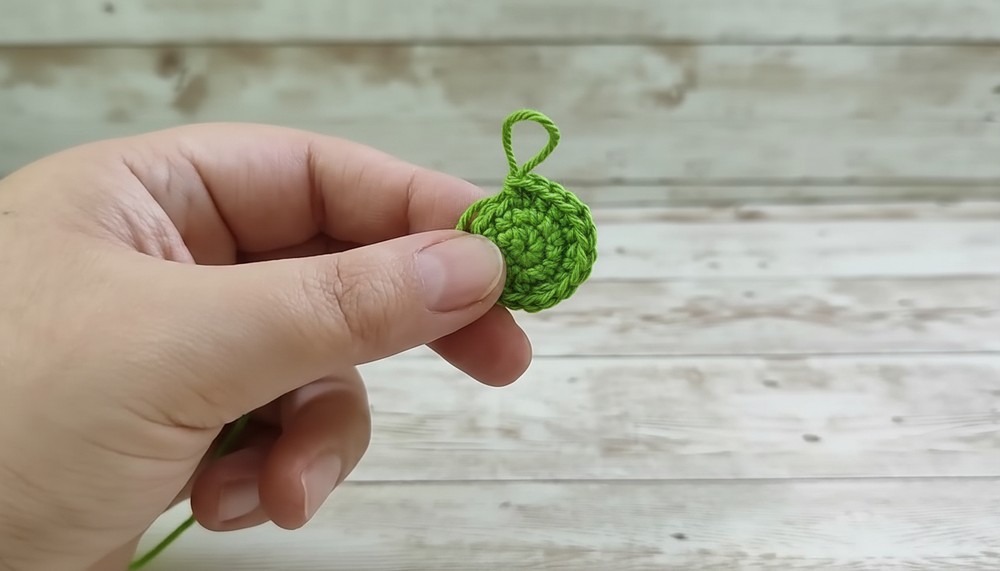
Part 4: Plant Heads
- Large Heads:
- Outer Circle:
- Round 1: Magic ring with 6 sc. (6 sts)
- Round 2: Inc in each stitch. (12 sts)
- Round 3: 1 sc, inc, repeat around. (18 sts)
- Round 4: 2 sc, inc, repeat around. (24 sts)
Slip stitch to finish. Set aside.
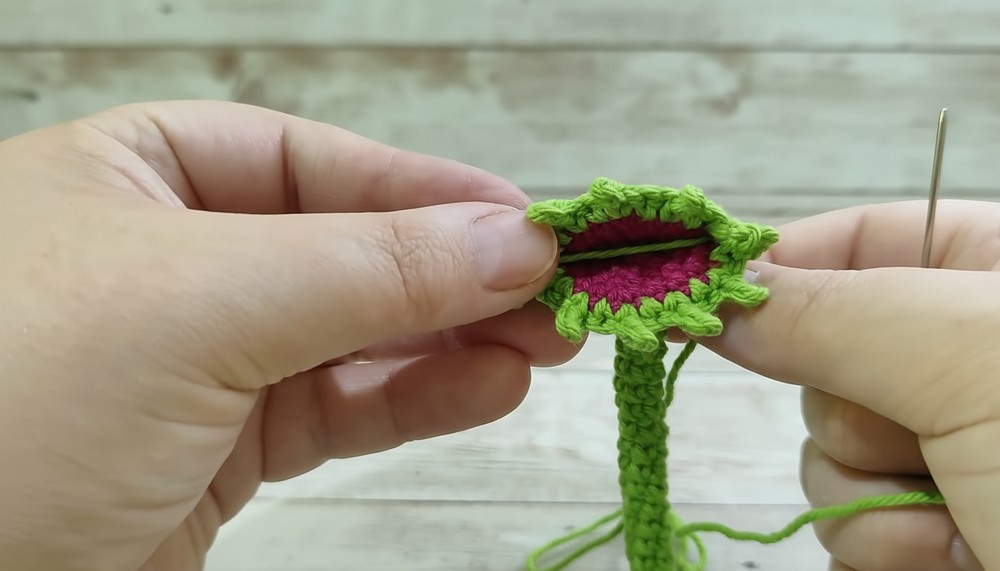
- Inner Circle (different color): Repeat the above instructions using the contrasting yarn.
Both circles should have 24 stitches. Place them together with the right sides out and crochet them together around the edges. Add 12 “leaf tips”:
- Chain 3, work 2 slip stitches back down the chain, and continue crocheting the edges together.
After completing the 12 points, leave a long tail for sewing and fold the head in half. Use the tail to sew the open edge closed.
- Outer Circle:
- Small Heads:
Follow the same instructions as above but stop at Round 3 (18 stitches) and finish with 9 points instead of 12.
Make 2 large heads and 3 small heads.
Part 5: Assembly
- Attach Plant Heads to Stems:
Using the long tail of each head, securely sew it to one end of its respective stem. Larger stems pair with larger heads, and smaller stems pair with smaller heads. - Stuff the Pot and Attach Soil Base:
- Align and sew the soil base to the pot, making sure the stitches line up perfectly. Leave an opening halfway through the sewing process and stuff the pot tightly with fiberfill. Add weights (such as small stones) for extra stability if desired.
- Finish sewing the soil base.
- Attach Stems to Soil Base:
- Arrange the stems however you like. Use pins or clips to position them before sewing to ensure proper placement.
- Sew each stem to the soil base, alternating heights for a dynamic, natural look.
Finishing Touches
- Shape and adjust stems; those with wire can be bent to enhance the plant’s appearance.
- Ensure the base is steady, and reshape stuffing or weight as needed.
- Gently clean the plant with a lint roller or lightly damp cloth to remove any loose yarn fibers.

Final Words
This crocheted carnivorous plant is a delightful decoration or gift perfect for lovers of quirky designs! While the pattern may seem detailed, working step by step will ensure success. Don’t hesitate to experiment with colors, stem lengths, or head placement for a personalized creation.
Tips for Maintaining the Pattern
- Always weave in yarn ends securely to avoid unraveling.
- If using wire, ensure its ends are tucked safely within the fabric to prevent poking.
- Store the finished plant in a cool, dry place to avoid dust accumulation.
- For a firmer pot, use starch spray or a reinforcing fabric inside if necessary.