Turn heads with this trendy crochet crop cardigan that’s stylish, lightweight, and perfect for layering over your favorite outfit for any season or occasion.
There’s something truly special about cozying up in a stylish yet lightweight wardrobe essential that feels both elegant and practical. A crochet crop cardigan is exactly that—an eye-catching piece that blends comfort with flair. Perfect for layering over dresses, tank tops, or casual outfits, this cardigan adds a touch of charm and versatility to any look.
Free Crochet Crop Cardigan Pattern That’s So Simple to Customize
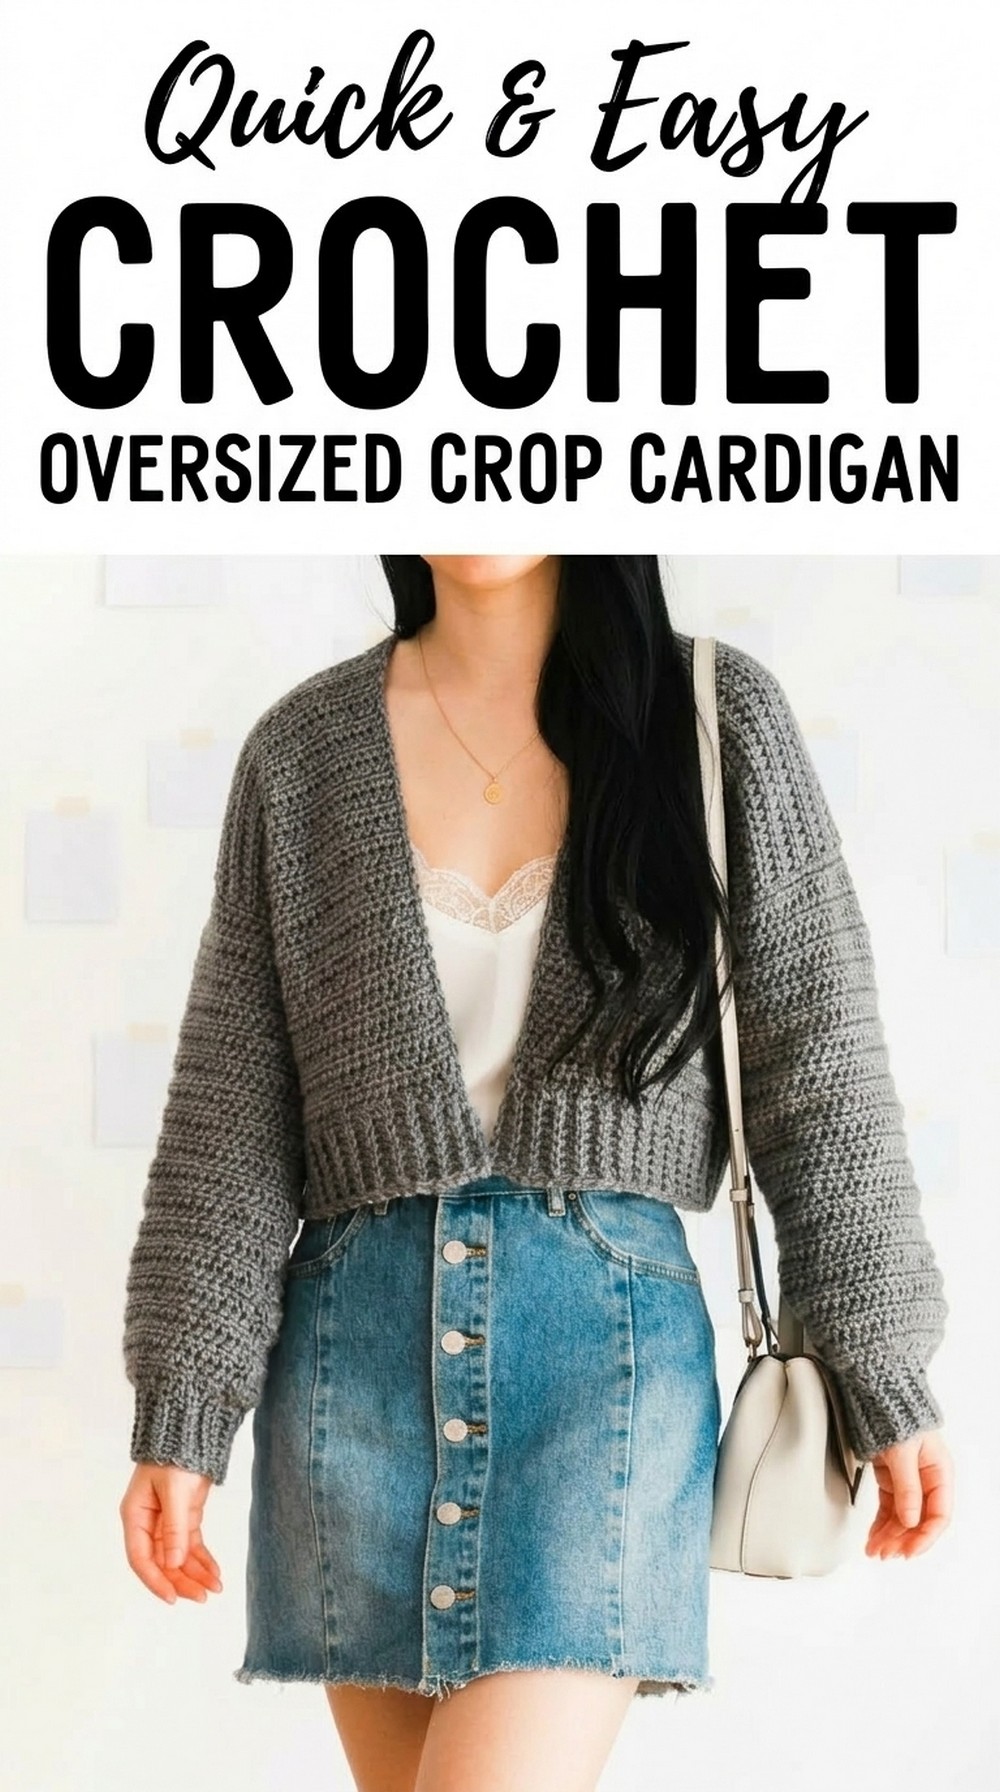
Its cropped design makes it trendy while staying breathable, making it ideal for breezy spring days, cool summer evenings, or even as an accessory during warmer months. Whether you prefer soft pastel shades or vibrant hues, the intricate crochet details make it a standout piece, offering a mix of texture and pattern that’s pleasing to the eye. Lightweight yet fashionable, it’s the perfect balance of functional and beautiful, bringing warmth without weighing you down.
FREE Crochet Cardigan Pattern
Materials Needed
- Yarn:
- Yarn Type: Aran/Worsted weight (Medium Category 4).
- Recommended Yarn: Lion Brand Heartland (Shade: Petrified Forest), or any medium-weight yarn equivalent.
- Hook:
- 6.5 mm crochet hook.
- Other Supplies:
- Stitch marker or safety pin.
- Scissors.
- Darning needle for seaming and weaving in ends.
Gauge
- 10 x 10 cm (4 x 4 inches): 14 half double crochet stitches (HDC) and 9 rows.
- Always check your gauge before beginning. Adjust your hook size to meet the correct gauge.
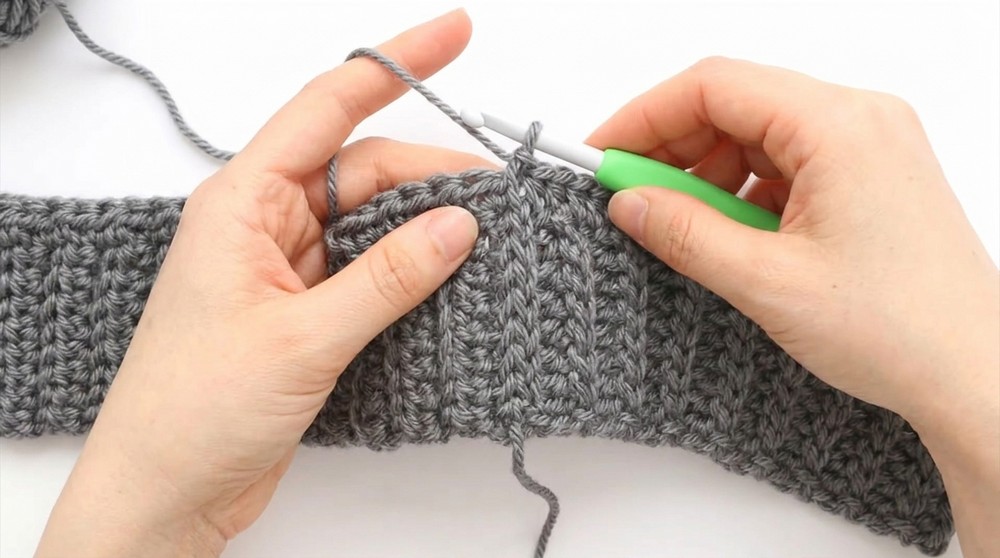
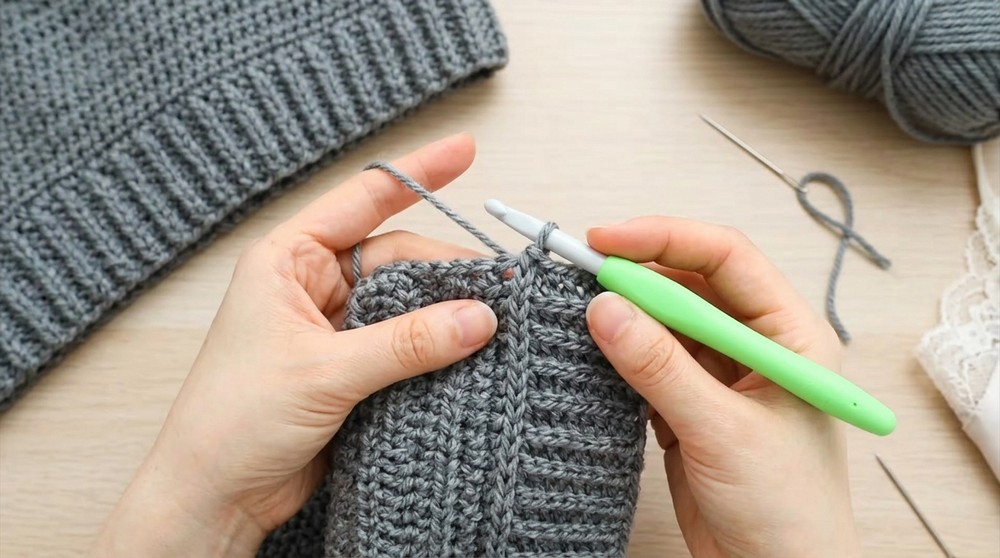
Special Techniques
- Back Loop Half Double Crochet (Back Loop HDC):
- Insert your hook into the back loop only of the stitch to create a ribbed texture.
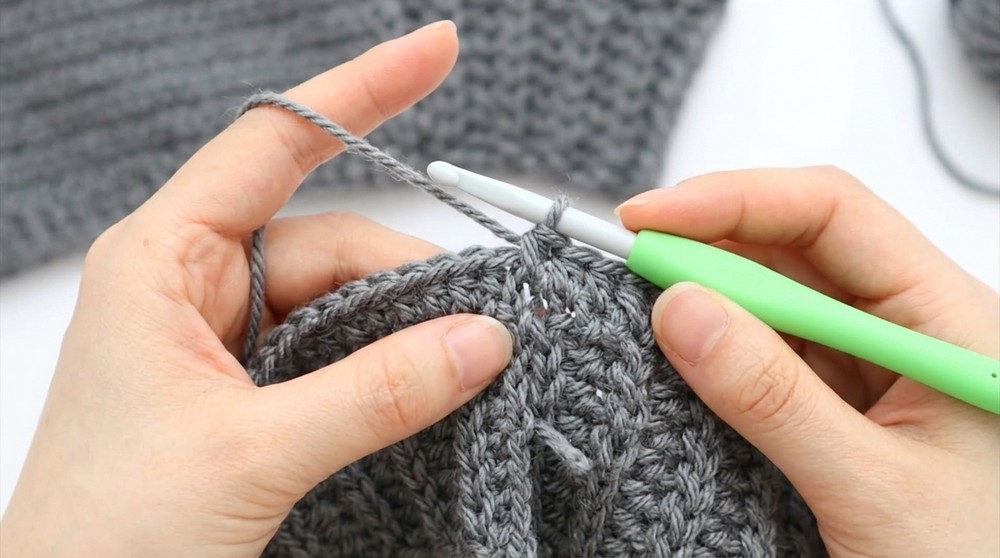
- Back Loop Slip Stitch:
- Slip stitches worked into the back loops only for ribbing details.
- Whip Stitch:
- Used for seaming the panels together.
- Even Spacing:
- Ensure the stitches are spread out evenly along edges when working slip stitches or ribbing.
Finished Size
This pattern creates a cropped sweater in Size Small. It can be customized for:
- Adjustments in body length or size (XS to 5XL) by following the customization suggestions provided.
- Sleeve and body length alterations are flexible as per your preferences.
Pattern Instructions
Body Hemline Ribbing
- Begin with a slip knot and attach it to your 6.5 mm hook.
- Chain 9.
- This determines the height of the ribbing. Adjust the number of chains for taller or shorter ribbing.
- Row 1: Work Half Double Crochet (HDC):
- HDC in the second chain from the hook and in each chain across. You should have 8 stitches total.
- Turn your work.
- Row 2: Back Loop Slip Stitches:
- Chain 1. Work slip stitches in the back loop only across the row until the last stitch.
- In the last stitch, work a regular slip stitch (under both loops).
- You should still have 8 stitches total.
- Turn your work.
- Row 3: Back Loop HDC:
- Chain 1 (does not count as a stitch).
- Work HDC in the back loops only for 7 stitches.
- In the last stitch, work a regular HDC (under both loops).
- Turn your work.
- Repeat Rows 2 and 3 until you complete 111 rows (or desired final width).
- These rows form the hemline ribbing for the body.
- These rows form the hemline ribbing for the body.
Main Body Panel
- Row 1 – Half Double Crochet Row:
- Rotate your ribbing to work along its long edge.
- Chain 1. Place 1 HDC in each ribbed row along the edge:
- Work 1 HDC into each Back Loop HDC row.
- Work 1 HDC into each Back Loop Slip Stitch row.
- You should end with 111 stitches (or your desired ribbing length).
- Turn your work.
- Row 2 – Straight HDC Row:
- Chain 1. Work 1 HDC in each stitch across the row.
- Turn your work.
- Repeat Row 2 for a total of 14 rows.
- Add or remove rows here to lengthen or shorten the cardigan.
- Panel Separation for Sleeves:
- Separate the body into two front panels and one back panel:
- Front Panels (25 stitches each).
- Back Panel (59 stitches).
- Sleeve openings are created during this step.
- Separate the body into two front panels and one back panel:
First Front Panel
- Row 1:
- Chain 1. Work 1 HDC in each of the first 25 stitches only.
- Turn your work.
- Rows 2–20:
- Chain 1. Repeat Row 1 (HDC in each stitch).
- At the end of Row 20, fasten off.
Back Panel
- Attach Yarn:
- Insert your hook into the first stitch for the back panel (starting at the designated stitch marker).
- Pull up a new loop and chain 1.
- Row 1:
- Work 1 HDC across the next 59 stitches.
- Turn your work.
- Repeat Row 2 (HDC across) for a total of 20 rows.
- Fasten off.
Second Front Panel
- Attach Yarn:
- Begin at the marked stitch on the second available side for the second front panel.
- Pull up a loop and chain 1.
- Repeat the First Front Panel pattern for 20 rows.
- Fasten off.
Sleeves
- Sleeve Hemline Ribbing:
- Follow the same ribbing instructions as the body hemline (Chain 9, HDC, Back Loop Slip Stitch, etc.).
- Work until you have 23 ribbing rows.
- Sleeve Panel:
- Rotate the ribbing to its long edge.
- Row 1:
- Chain 1. Work 1 HDC in each ribbing row edge using the sequence:
- 1 HDC in each Slip Stitch row.
- 2 HDC in each HDC row.
- This should yield 33 stitches.
- Turn your work.
- Chain 1. Work 1 HDC in each ribbing row edge using the sequence:
- Row 2 (Increase Row):
- Chain 1. (2 HDC in 1st stitch, 1 HDC in next 2 stitches) across the row.
- You should have 44 stitches.
- Turn your work.
- Row 3–34:
- Chain 1. Work 1 HDC in each stitch across. Repeat until the sleeve measures 39 cm (15.5 inches).
- Fasten Off.
- Fold the sleeve lengthwise and whip stitch the long edges together.
- Repeat for the second sleeve.
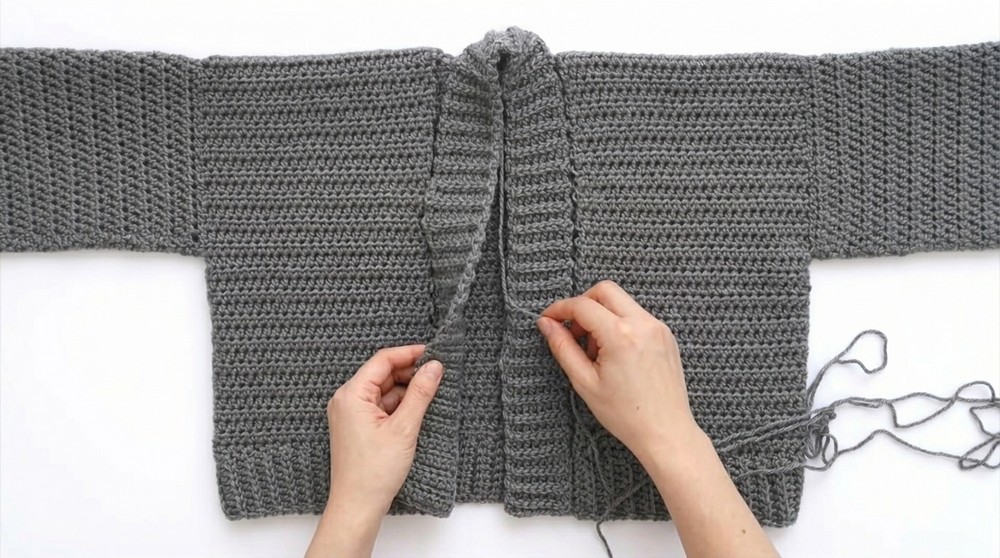
Assembly
- Seam Shoulder Panels:
- Lay the front panels over the back panel and whip stitch the shoulder seams together.
- Attach the Sleeves:
- Align the tops of the sleeves with the shoulder seams.
- Whip stitch the sleeves to the body.
- Side Seams:
- Seam the sides of the body panels together.
- Ensure any gaps below the sleeves are stitched closed.
Finishing the Neckline
- Option 1: Slip Stitch Edging
- Attach yarn to the corner of one front panel and slip stitch evenly across the neckline.
- Focus on even spacing of the stitches to avoid ruffling or puckering.
- Fasten off and weave in ends.
- Option 2: Neckline Ribbing
- Create ribbing identical to the hemline instructions.
- Crochet the ribbing to match the neckline’s length, then whip stitch it in place.
Customization Ideas
- Length Adjustments:
- Add or remove rows from the main body panel to make the cardigan cropped or full-length.
- Alternate Yarn:
- Experiment with different textures like cotton or blends for seasonal wear.
- Color Blocking:
- Use contrasting colors for ribbing, sleeves, or panels.
Important Remarks
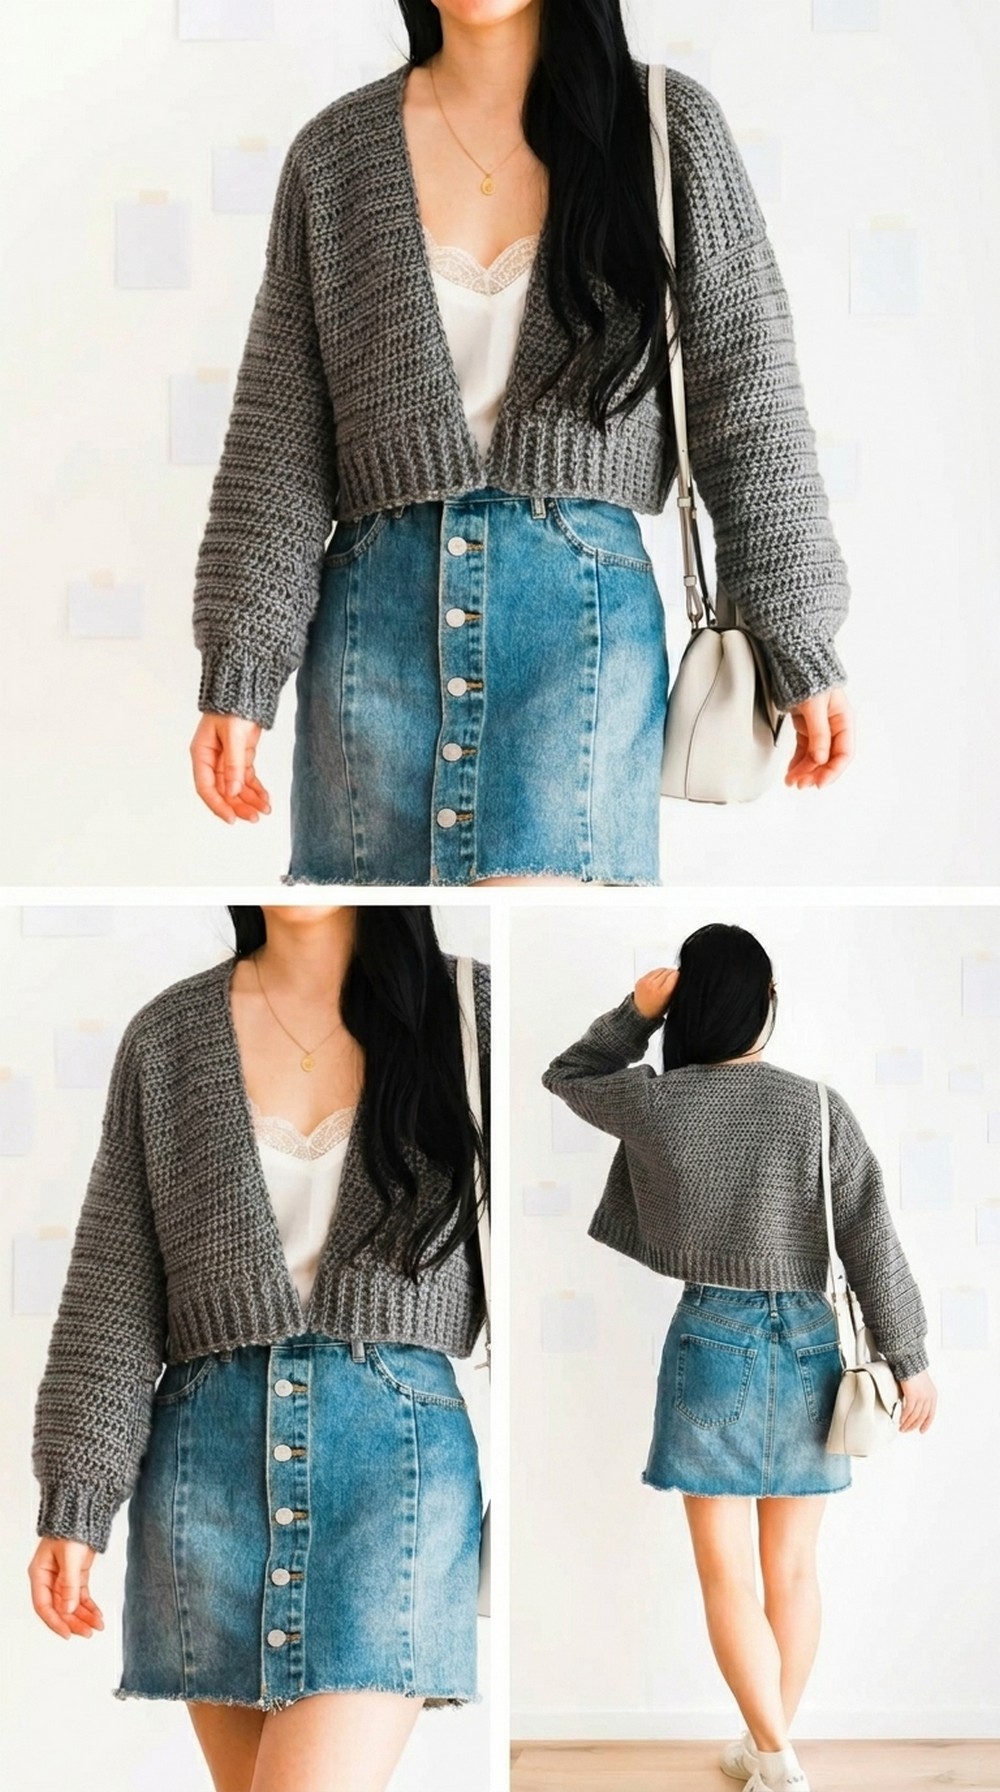
- Final Look: The Doveport Cardigan has a relaxed fit with ribbed edges, perfect for layering. It can be styled casually or dressed up based on color and yarn choice.
- Care Instructions: Machine wash at a gentle cycle or hand wash. Lay flat to dry to maintain the garment’s shape.