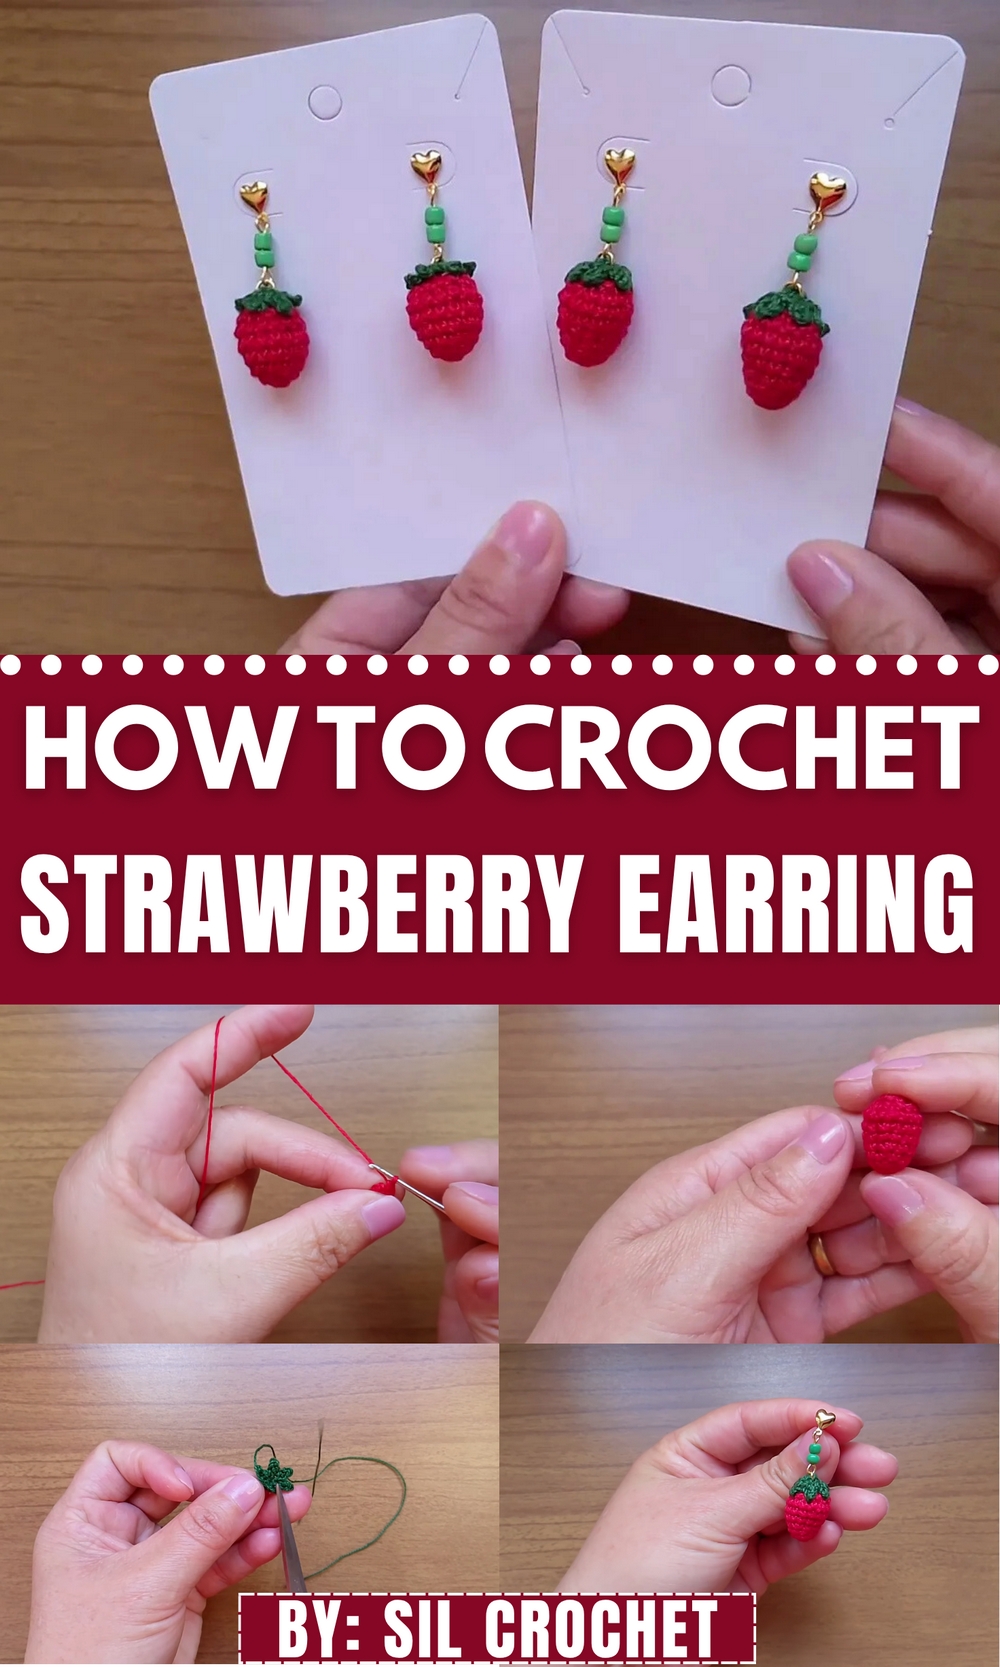
Brighten your accessory collection with this Free Crochet Strawberry Earring Pattern, offering a fun and stylish touch that’s quick and easy to make.
Strawberries have long been a symbol of sweetness and charm, inspiring countless artistic expressions. The Free Crochet Strawberry Earring Pattern offers a chance to create delicate earrings that brighten any outfit with playful elegance. These earrings serve not only as delightful accessories but also as conversation starters, showcasing unique taste and style. Their lightweight nature ensures comfort throughout the day, perfect for both casual outings and special occasions.
Charming Crochet Strawberry Earring Pattern Adding Sweet Style Instantly
Versatility is a key benefit; whether paired with summer dresses or cozy sweaters, these earrings add a pop of color and personality. Beyond their aesthetic appeal, they foster a personal connection to nature’s simple pleasures, evoking fresh summer days and joyful moments. The handmade charm adds individuality often missing in mass-produced jewelry, making each pair a little work of art.
Ideal as thoughtful gifts, they convey warmth and care to loved ones. This pattern suits various skill levels, offering a rewarding project culminating in a charming accessory. Wearing these earrings subtly infuses everyday style with sweetness and creativity.
Step-by-Step Crochet Instructions
Making the Strawberry
- Materials Required:
- Cléia yarn (single thread), red or Carminim color.
- 1.25mm crochet needle.
- Fiber filling for stuffing.
- Needle for sewing closed.
- Marker for tracking rows.
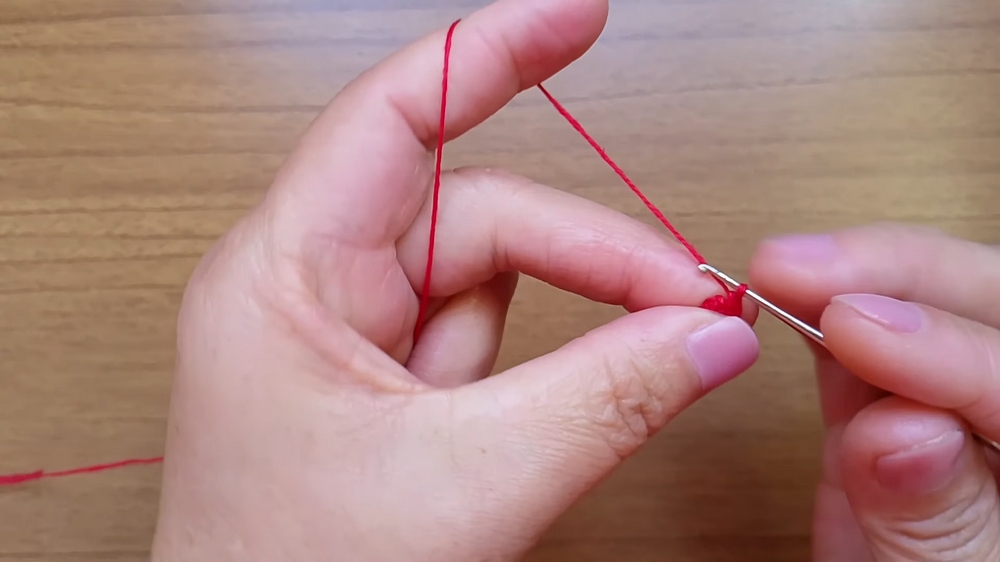
- Steps to Crochet the Strawberry:
- Row 1: Create a magic ring. Inside the ring, make 6 single crochet stitches (SC). Close the magic ring tightly.
- Row 2: Alternate 1 single crochet stitch and an increase in each stitch to get 9 stitches. Use a marker to indicate the start of the round.
- Row 3: Work stitch over stitch (9 SC total).
- Row 4: Alternate 2 SC and an increase, totaling 12 stitches.
- Row 5: Work stitch over stitch (12 SC total).
- Row 6: Alternate 3 SC and an increase, totaling 15 stitches.
- Row 7: Work stitch over stitch (15 SC total).
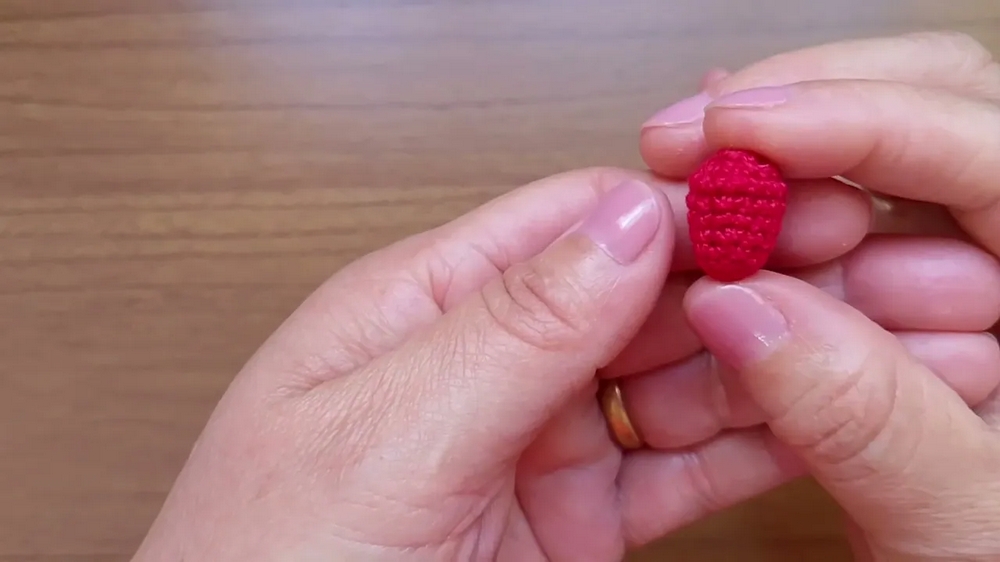
- Row 8: Begin shaping by alternating 3 SC and 1 decrease, reducing to 12 stitches.
- Add a bit of fiber filling for structure before proceeding.
- Final Decreases: Make 6 consecutive decreases to close the strawberry shape and cut the thread. Use a needle to close tightly using an “inverted magic ring” technique.
- Row 1: Create a magic ring. Inside the ring, make 6 single crochet stitches (SC). Close the magic ring tightly.
Making the Leaf
- Materials:
- Cléia yarn, green color.
- 1.25mm crochet needle.
- Steps to Crochet the Leaf:
- Create a magic ring. Inside, make 6 SC and close the ring tightly with a slip stitch.
- For each leaf:
- Create 3 chains.
- Skip the first chain, make 1 slip stitch in the second chain, and 1 SC in the next chain.
- Secure the leaf to the magic ring with a slip stitch.
- Repeat the process to make a total of 6 leaves around the ring.
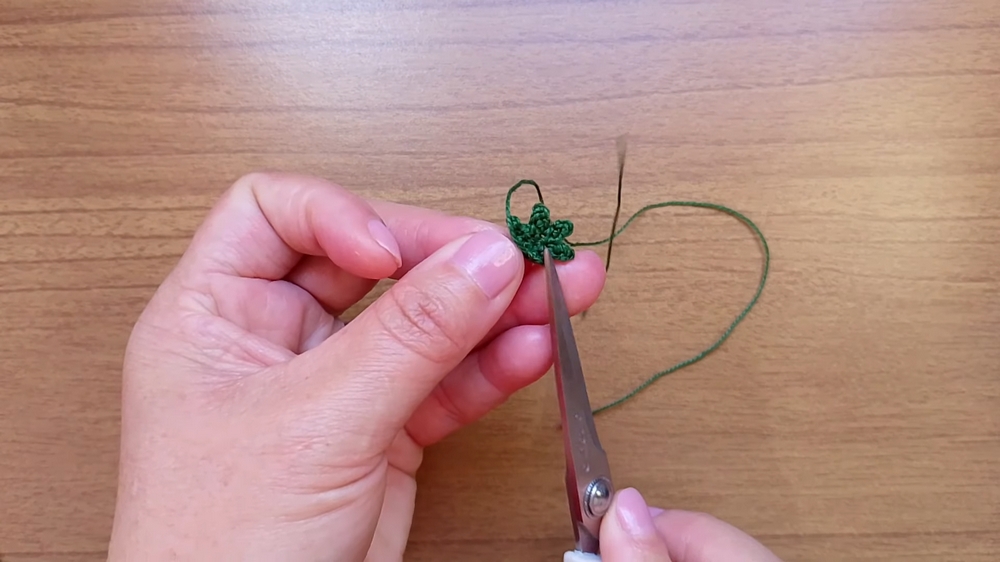
- Tie the ends securely at the back of the leaf and trim any excess thread.
- Attach the Leaf to the Strawberry:
- Center the leaf over the top of the strawberry.
- Use a sewing needle and a long thread to carefully stitch the leaf onto the strawberry, ensuring it is secure. Optionally, a small amount of glue can be applied for extra firmness.
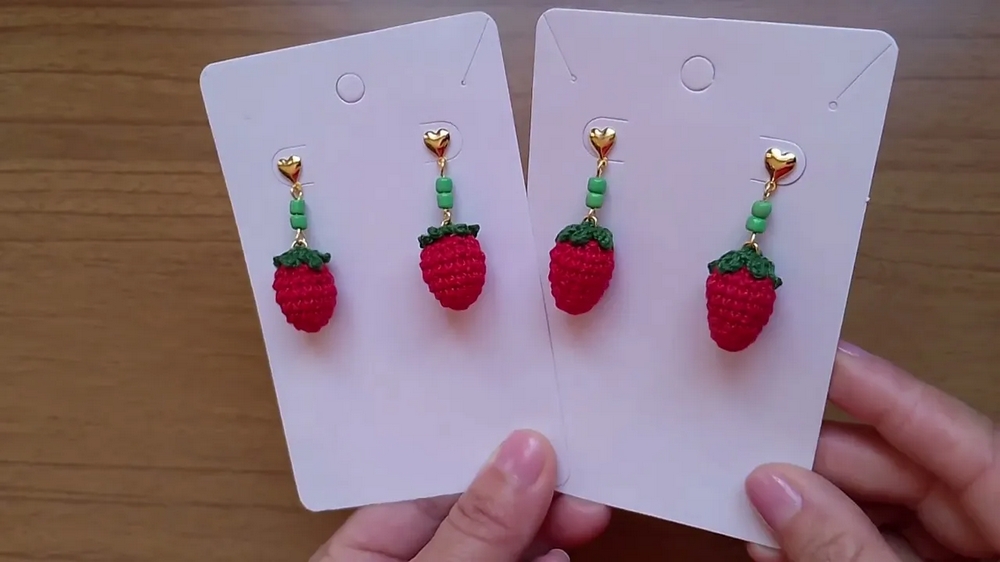
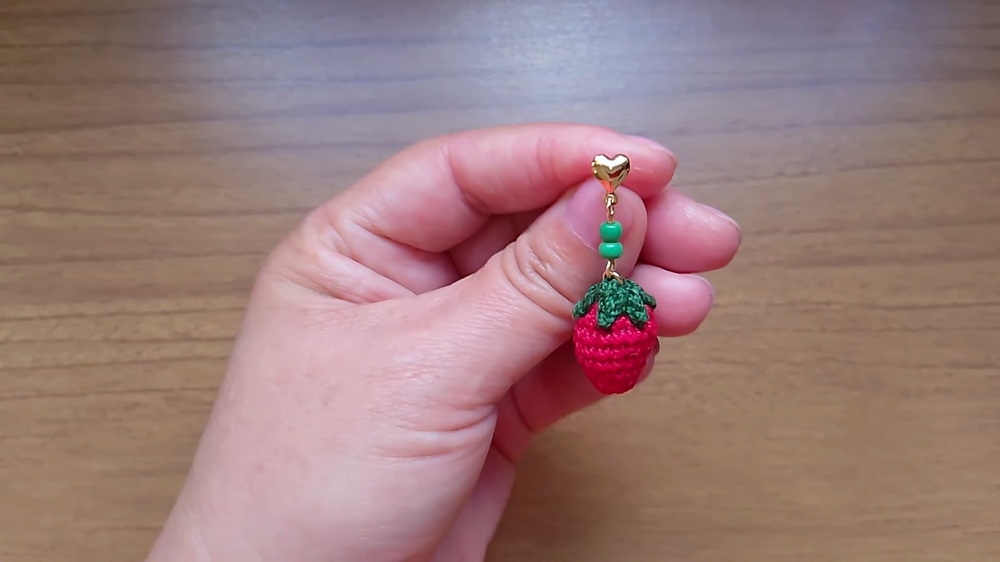
Assembling the Earring
- Use a small ring to attach the leaf to a jewelry hook or base.
- To enhance the design, add beads to a cotter pin. Trim any excess length, and form a loop that can be attached to the earring base.
- Attach the completed strawberry piece to the earring hooks, allowing it to swing freely.
Special Features
- Compact and Lightweight: The earrings are small and perfect for adding a touch of uniqueness without being heavy.
- Customizable: Yarn color, earring base types, and optional decorations can be personalized to suit different styles.
- Simplicity with Elegance: Despite its delicate size and intricate appearance, the project is simple and practical.
Level of Difficulty
The instructor mentions that the piece can be a bit challenging, especially because of the thin thread. This project is ideal for beginners with some crochet experience or intermediate-level practitioners. To make the process easier for absolute beginners, a thicker yarn can be used to create a slightly larger strawberry.
Tutor’s Suggestions
- Ensure you mark the beginning of each row using a thread or marker to prevent losing stitch counts.
- If the small size feels too fiddly, substitute the Cléia yarn with a thicker yarn like Anne yarn for a bigger strawberry.
- Use minimal stuffing to avoid distorting the delicate shape of the strawberry.
- If you struggle with the slip stitch while making the leaf, a single crochet stitch can be substituted.
Uses and Applications
- Fashion Accessory: These earrings make unique handmade jewelry that stands out for its charm and originality.
- Gifts: Perfect as a DIY gift for friends and family.
- Sellable Craft: The tutor encourages replicating the design to sell at craft fairs or online, suggesting they are in demand due to their creative appeal.
Tip
When sewing or attaching the leaf, ensure it is tightly centered for symmetry. Adding a touch of glue at the base improves long-term durability, especially if you plan to sell the earrings.
Conclusion
The strawberry earring tutorial demonstrates how creativity and simplicity can combine to create a delicate and elegant piece. This charming accessory can be personalized and has commercial value. With patience and practice, you can perfect this design and use it to explore other similar projects in crochet jewelry.