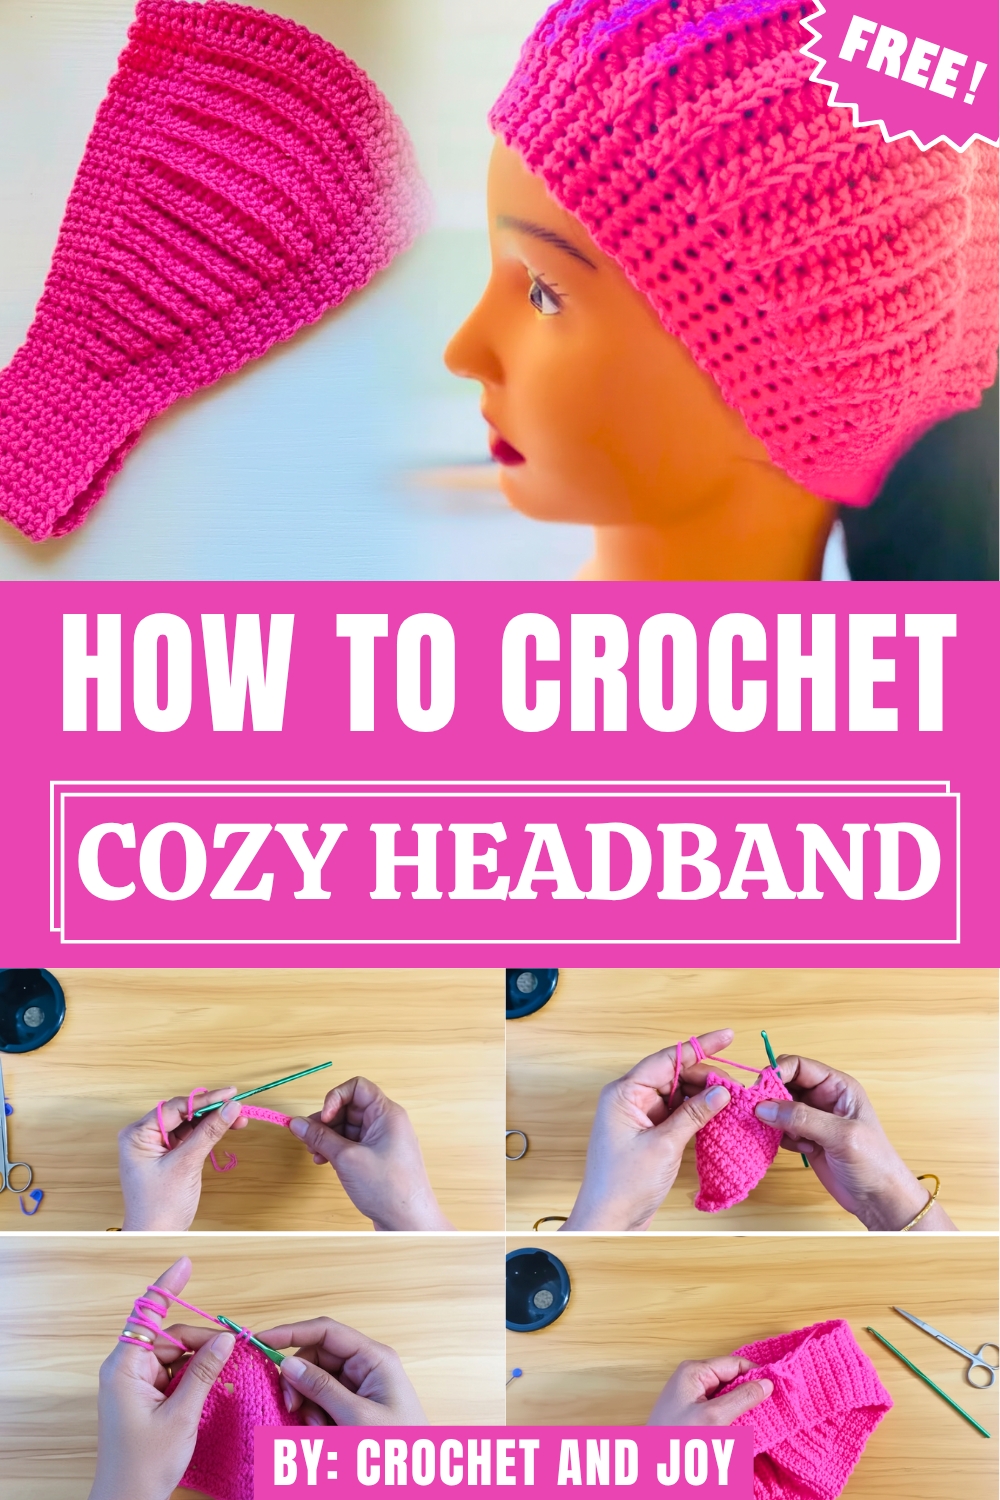
Use a Free Crochet 3-in-1 Headband Pattern that shows how to make a soft and versatile headband you can wear in three different styles for everyday comfort.
Learn how to create a cozy and stylish accessory that is both practical and beautiful. This 3-in-1 design serves as an ear warmer, neck warmer, and headband, making it a versatile addition to your wardrobe. Perfect for chilly winter days, it provides warmth and comfort while adding a trendy touch to any outfit. With simple steps, you can easily crochet this multi-purpose piece that can be worn in different ways to match your style.
Free 3-in-1 Crochet Headband Pattern Everyone Will Love
Whether you use it to keep your ears warm, wrap it around your neck for extra coziness, or wear it as a fashionable headband, this accessory is a must-have for those who love handmade creations. Prepare to make something you’ll love using every day, and enjoy the warmth and charm of this unique design.
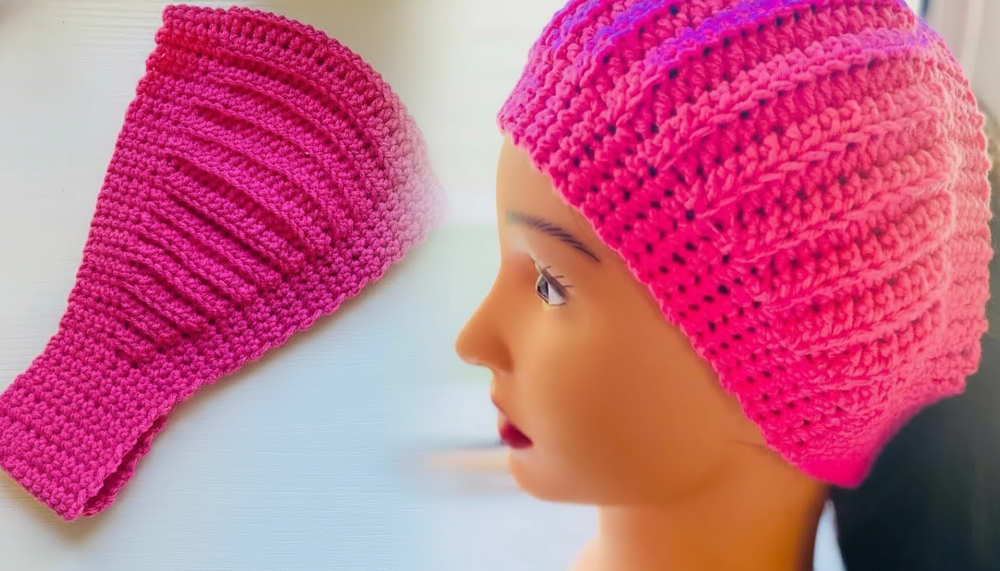
How to crochet 3-in-1 headband Pattern
Finished Size
- Approximately 20 inches in total length before joining, depending on yarn and tension.
Skill Level
- Intermediate to Advanced.
- Requires experience with single crochet, half-double crochet (in back loops), and increasing/decreasing stitches evenly.
Materials
- Yarn:
- Any 100% acrylic, light worsted (category 4) yarn.
- Hook:
- 4 mm (G/6 crochet hook).
- Additional Supplies:
- Measuring tape to ensure accurate sizing.
- Scissors.
- Two stitch markers to mark rows.
- Yarn needle for sewing and weaving ends.
Key Abbreviations
(All terms are in US crochet terminology.)
| Abbreviation | Meaning |
|---|---|
ch |
Chain |
sc |
Single Crochet |
hdc |
Half-Double Crochet |
dec |
Decrease |
sl st |
Slip Stitch |
blo |
Back Loop Only |
- Decrease (dec):
- Insert hook into the next stitch, yarn over, pull up a loop, insert hook into the following stitch, yarn over, pull up another loop (three loops on hook). Yarn over, pull through all three loops.
Special Notes
- Back Loop Stitches:
- Instructed
hdcstitches are worked into the back loops only (blo) to give texture and depth to the project.
- Instructed
- Measuring: Measure consistently to achieve 8 inches of width and 20 inches total length.
- Stitch Markers: Use markers to track the increasing/decreasing side for accuracy.
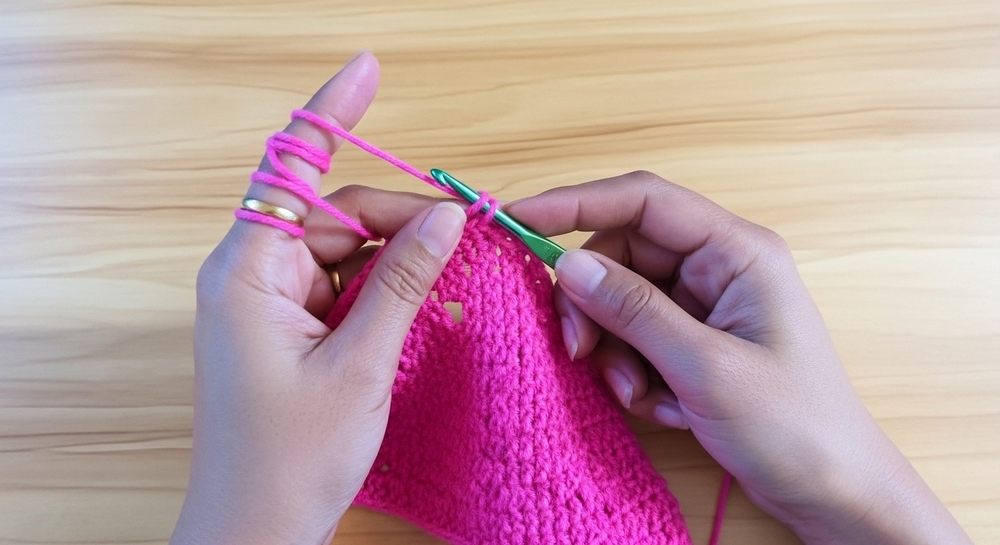
Pattern Instructions
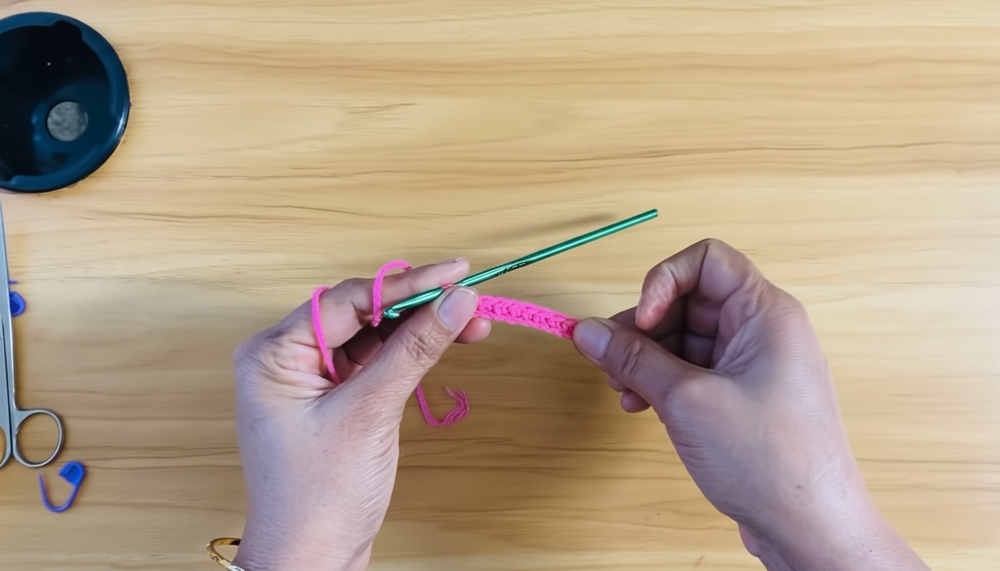
Step 1: Foundation
- Create a slip knot.
- Chain 12.
- Starting from the second chain from the hook, work 11 single crochets (sc). (Total: 11 stitches.)
Step 2: Single Crochet Rows
- Row 2–12:
- Chain 1, turn.
- Work 11 sc across the row.
- This forms a rectangular base for the headband.
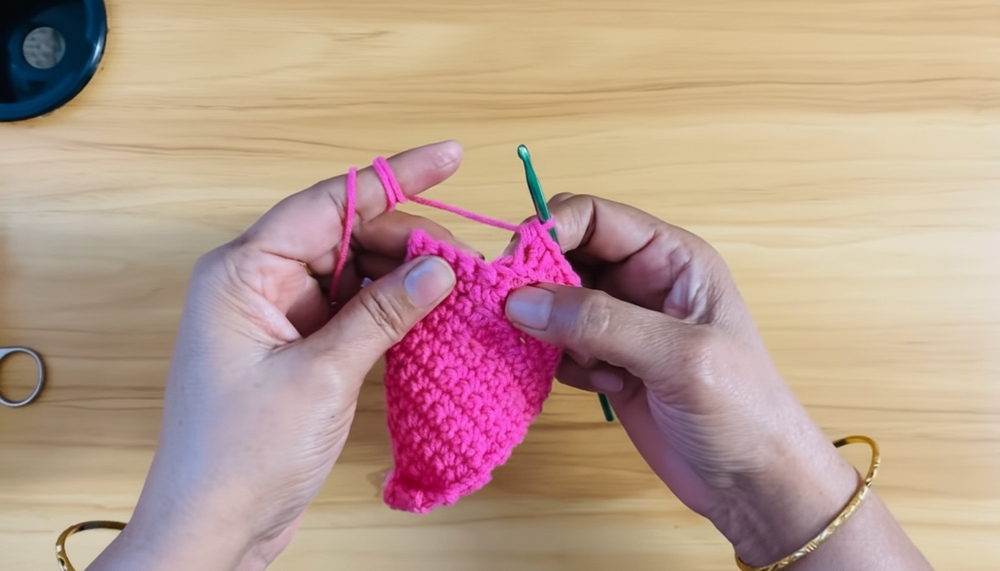
Step 3: Increase Rows – Creating Shape
- Place a stitch marker in the middle stitch for reference.
- Row 13:
- Work 5 sc along the edge.
- In the middle marked 3 stitches, work 3 hdc (into the back loop only – blo).
- Finish the row with 5 sc.
- Row 14:
- Work 5 sc.
- For the middle 3 stitches, work hdc (blo).
- Continue with 5 sc at the end. (Total: 13 stitches.)
Step 4: Gradual Increases
- Row 15:
- Work 5 sc.
- In the next 2 stitches, work 2 hdc (blo).
- In the middle stitch, work 1 hdc (blo).
- Work 2 hdc (blo) in the next stitch (to increase).
- Finish with 5 sc.
- Place a stitch marker on the side where increases happen.
Step 5: Continue Alternating Rows
- Continue alternating rows of increasing and even rows:
- Every second row, increase by 1 stitch on each side in the
hdc (blo)section. - Always maintain 5 sc on both edges of each row.
- Every second row, increase by 1 stitch on each side in the
- Repeat, increasing until the center hdc section forms 19 hdc (blo), and the total row has 29 stitches.
- Measure consistently to ensure it reaches a width of 8 inches.
Step 6: Straight Stitch Rows
- Once you’ve reached 8 inches, stop increasing.
- Work evenly:
- Each row should have 5 sc, 19 hdc (blo), and 5 sc.
- Repeat until the total length reaches 12 inches (straight portion).
Step 7: Decrease Rows
Once the straight section is completed:
- Decrease stitches symmetrically:
- Row 1: After 5 sc, work hdc (blo) but decrease on both ends of the middle section.
- Continue decreasing every second row until only 3 hdc (blo) remain.
- Work a final even row of 11 sc with no decreases.
Step 8: Joining the Ends
- Fold the headband in half lengthwise.
- Use single crochet to join the ends:
- Slip stitch through both edges, matching back loops of both sides.
- Crochet evenly across the width to secure the seam.
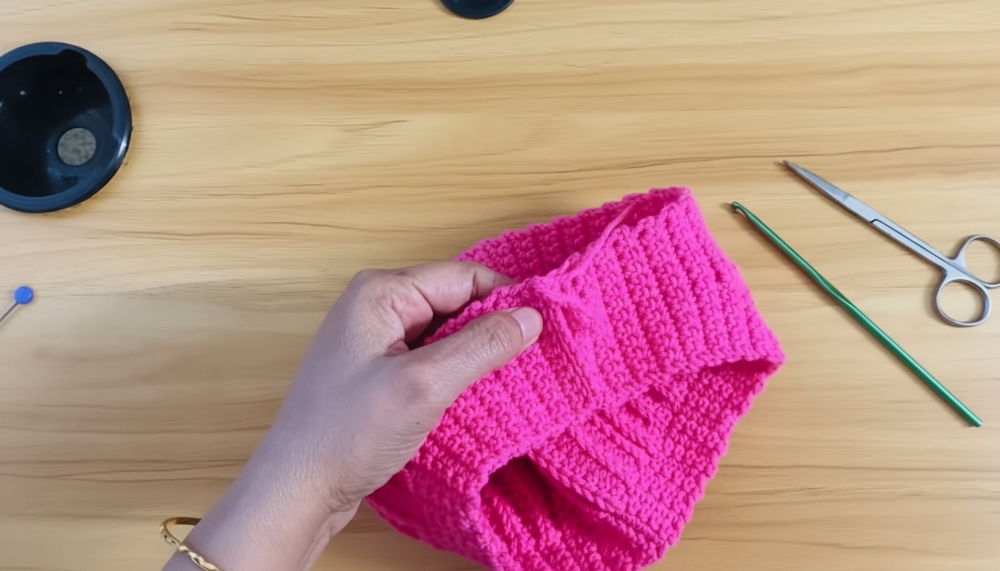
Step 9: Finishing Touches
- Weave in all loose ends with the yarn needle.
- Securely tie and hide the knots along the seam.
- Block the headband if needed to smooth edges and adjust shape.
Conclusion
Congratulations on completing your Fitted Headband! This headband’s unique texture and snug fit make it a practical accessory for cold seasons or everyday wear. The structured yet stretchy design ensures comfort while maintaining its form.
Pattern Correction
- If your rows are uneven or stitches appear unaligned, double-check placement of increases and decreases as each row builds a specific shape.
- Ensure sc sections stay at 5 stitches consistently throughout the project.
Tips
- Custom Fit: Adjust the total length to fit individual preferences. Add more rows to increase width or subtract rows to make a narrower band.
- Color Play: Use variegated or two-tone yarn to add visual interest. Alternatively, change the color of the “hdc (blo)” section for contrast.
- Care Instructions: Hand wash the completed headband in cold water and lay flat to dry to maintain elasticity and shape. Avoid excessive stretching during use.