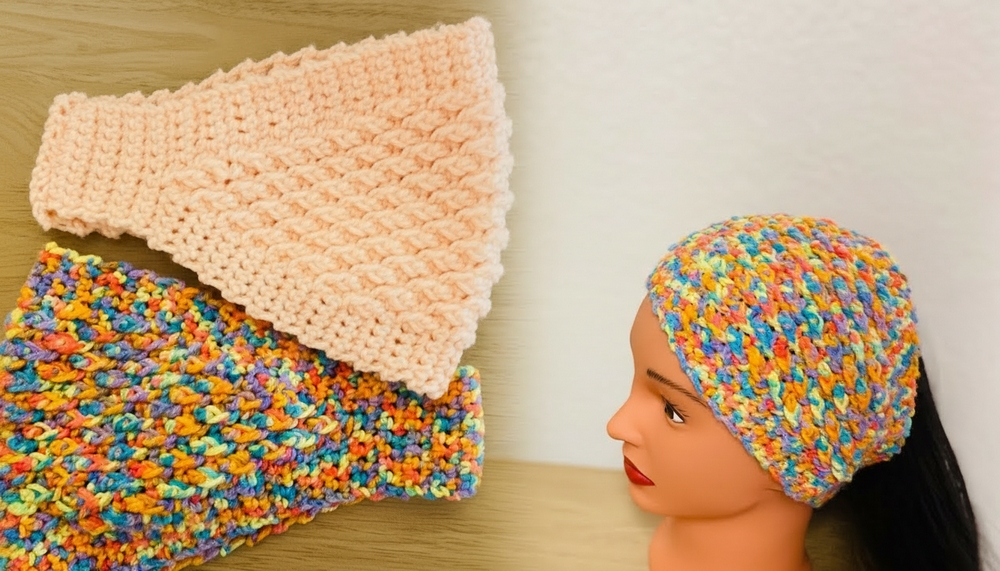
Cozy up in style with the Free Crochet Headband Pattern, a chic handmade accessory that adds warmth, texture, and playful charm to any outfit.
A frosty breeze tugs at your hair as you step outside, and suddenly, the idea of something both cozy and stylish feels like an absolute necessity. This crochet headband is the perfect answer—a blend of charm and practicality that effortlessly elevates your everyday look. Its soft, textured design not only keeps your hair neatly in place but also provides a gentle warmth, making it an essential accessory for chilly mornings or brisk evening strolls.
Simple Crochet Headband Pattern That’s Chic and Versatile
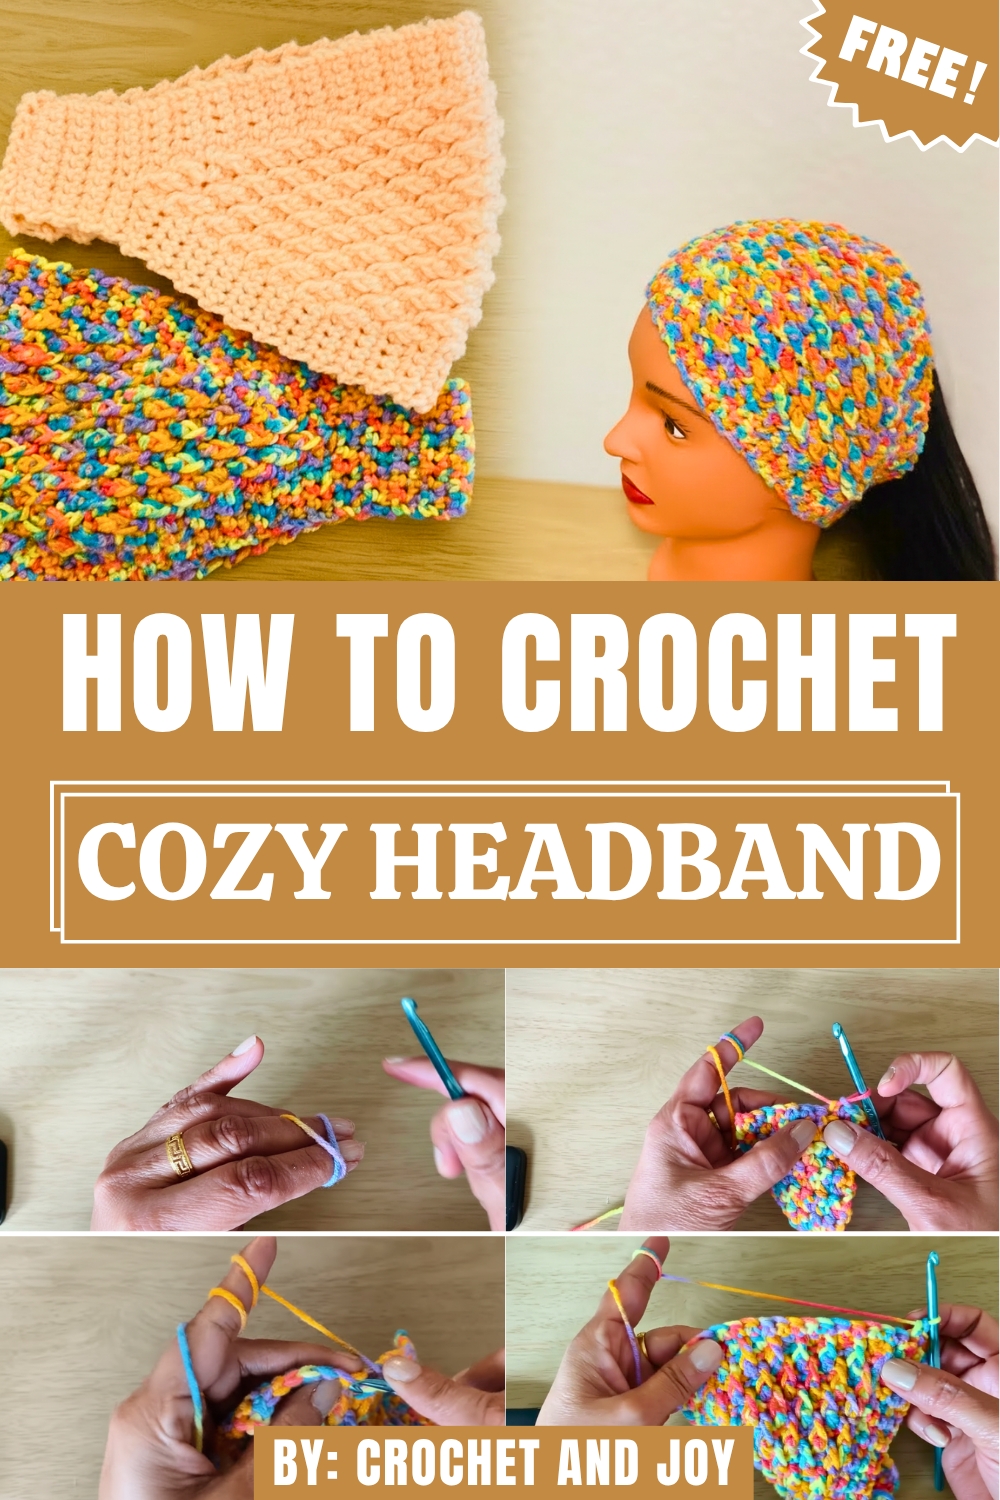
With its visually distinct ridges created through simple yet elegant stitches, this headband exudes sophistication while remaining wonderfully easy to make. Its versatility shines through, seamlessly complementing casual outfits or adding a touch of refined detail to more polished looks. Suitable for all ages, and adjustable to any size, it ensures comfort with every wear, while its durable material promises lasting quality.
Whether for personal use or as a heartfelt handmade gift, the headband’s timeless appeal lies in its practicality and beauty. It’s the kind of accessory that quietly enhances your style while serving a functional purpose, reminding us that sometimes, the simplest things can hold the most charm. Wrapped in warmth and creativity, this headband is a piece you’ll turn to time and again.
Materials Required
To complete this headband, you will need:
- Five-ply cotton yarn for a soft and durable finish.
- 5 mm crochet hook to complement the yarn’s texture.
- Scissors for cutting the yarn neatly.
- Knitting needle to stitch any loose ends.
Step-by-Step Instructions
1. Starting with the Base
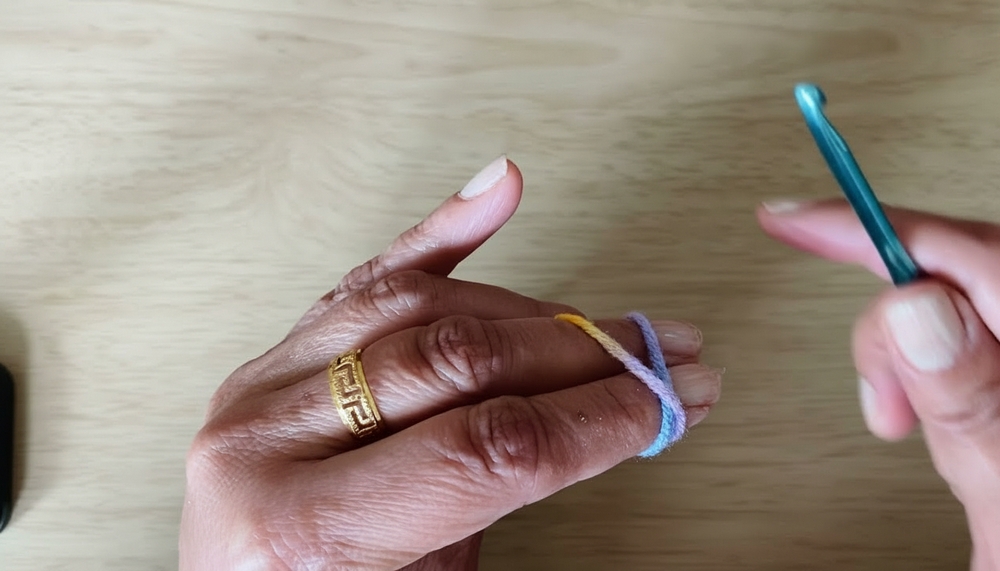
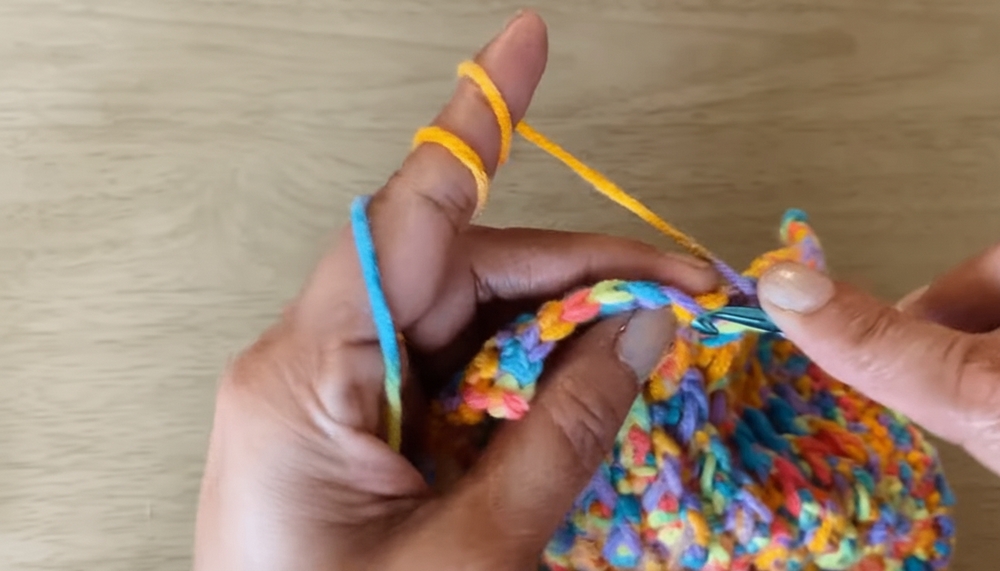
- Begin by making a slipknot.
- Chain 10 stitches to create the foundation row. Adjust the chains if needed for width.
2. First Row
- Skip the first chain and work single crochets into each of the remaining chains, leaving you with 9 single crochets.
- Chain one and turn your work.
3. Building Rows
- Continue repeating rows of single crochet (9 stitches per row) for 10 rows. This forms the base layer.
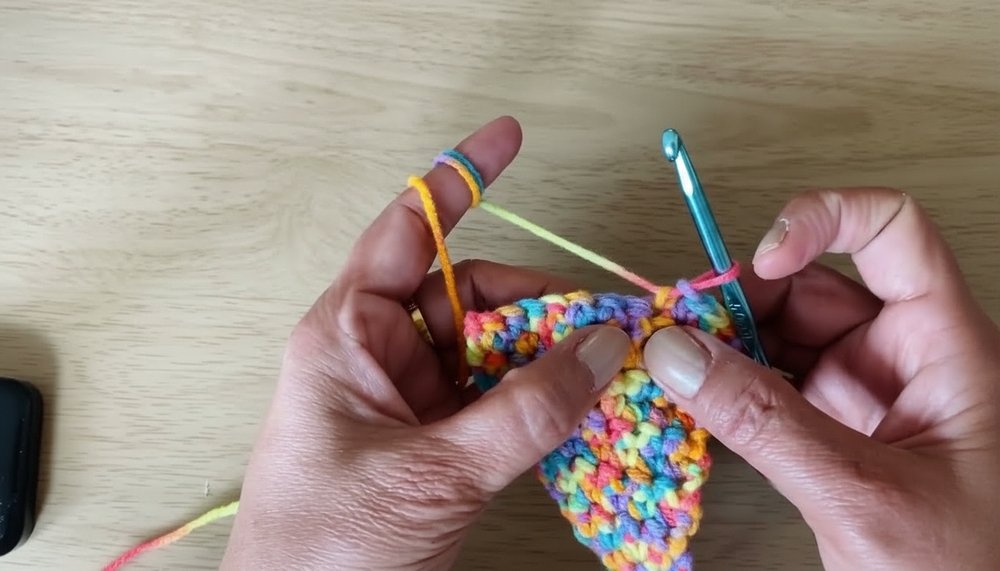
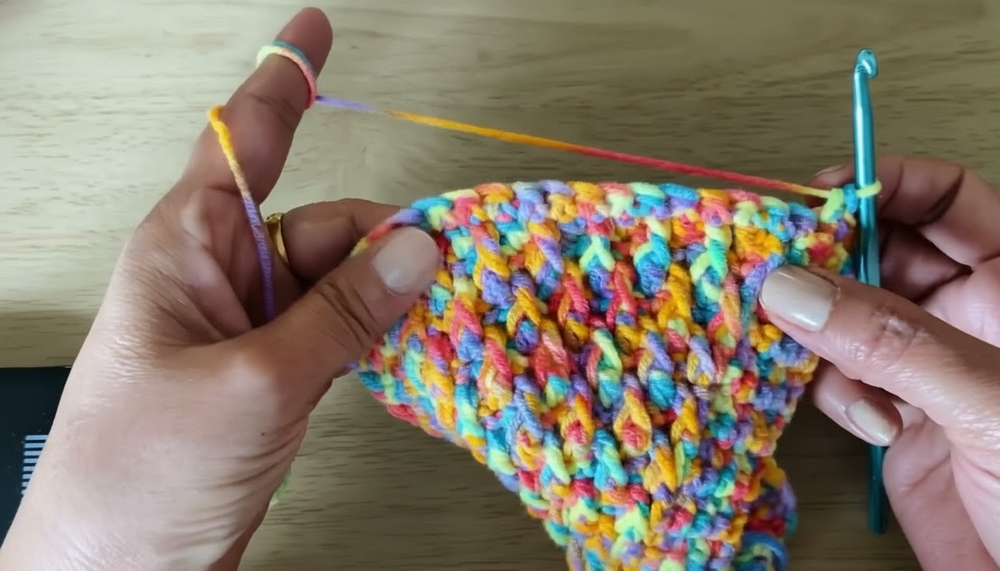
4. Introducing Double Crochets and Front Post Stitches
- In the next row, make 4 single crochets, skipping a stitch in the middle, and work a double crochet on the 5th stitch. Then complete 4 single crochets. This will leave 4 stitches on each side.
- Start incorporating front post double crochets, which are made by working around the raised stitch from the previous row. This technique gradually creates an embossed texture.
5. Increasing Stitches
- After completing row 13, increase stitches by starting with 4 single crochets on the edges and adding new double crochets in the middle.
- Alternate between front post double crochets and regular double crochets, slowly building up the texture. Every 2nd row, increase the number of stitches. For consistency, count your stitches as you go.
6. Expanding the Width
- Follow this increase pattern until your piece measures approximately 7-13 inches wide. You should begin seeing multiple raised front posts creating a ridged design in the middle.
7. Keeping Even Stitches
- Create straight rows of single crochet without further increasing stitches. This helps in maintaining a smooth edge, balancing the embossing created in the middle rows. Repeat this process for 24 rows or as needed for your desired width.
8. Decreasing Stitches
- Once the band reaches your desired dimensions, start decreasing stitches. Work through each row and reduce stitches in the same symmetry as the initial increases, focusing on maintaining the texture across the center.
- Gradually reduce the double crochets and single crochets at the edges, returning to 9 single crochets.
9. Final Rows and Closing
- Crochet 10 rows of 9 single crochets, just like the initial base rows.
- Once completed, stitch the ends together using reverse stitching with a knitting needle, ensuring a neat finish.
Special Features
- The raised texture, created through front post double crochet stitches, makes the headband visually appealing.
- The symmetry in increasing and decreasing stitches highlights the refined design.
- This pattern allows customization of width, length, and overall size depending on individual preferences.
Level of Difficulty
- Easy to intermediate: While most of the stitches are straightforward (single and double crochets), the addition of front post double crochets requires some attention to technique. Beginners may need to practice this type of stitch.
Tutor’s Suggestions
- Count each row’s stitches carefully to prevent mismatched width or uneven design.
- Stretch the finished headband gently before measuring for accuracy. It should reach approximately 51 cm (20 inches) in length when stretched.
- Take your time with the increases and decreases to maintain symmetry across the pattern.
Uses
- Wear it daily as a stylish accessory to keep hair back while adding flair to your outfit.
- Perfect for gifting to family and friends due to its handmade charm.
- This headband’s unique texture makes it suitable for both casual and semi-formal occasions.
Tip
When crocheting front post double crochets, ensure you work around the raised stitch rather than through it. This small detail significantly impacts the final texture of the headband and prevents unraveling.
Conclusion
This headband tutorial offers a fun and fulfilling crochet project, blending simplicity with creativity. The combination of single and front post double crochet stitches gives it a beautifully textured finish that’s both stylish and functional. Whether you keep it for yourself or gift it, this headband is sure to be loved and appreciated. Try it out—you’ll find the process relaxing and the result rewarding!